Last Updated on August 26, 2026 by Mason Reed
Good grow tent ventilation is about more than opening a few vents. Fresh air should normally enter through a low intake while warm, humid air leaves through a high exhaust. An inline exhaust fan handles air exchange, while one or more circulation fans keep air moving around the leaves. The right fan speed depends on tent size, heat, humidity, ducting, filters, and the plants you are growing—not one universal CFM or humidity number.
Quick Answer
Use lower grow-tent vents as fresh-air intakes and exhaust warm, humid air from a high port on the opposite side. Size the exhaust fan from the tent’s volume, then account for real filter and duct resistance. Keep gentle circulation around the canopy and adjust fan speed from actual temperature and humidity readings.
Key Takeaways
- Bring fresh air in low and exhaust warmer air high, preferably from the opposite side of the tent.
- Calculate tent volume first, but do not assume the resulting number is automatically the fan rating you need.
- Carbon filters, long ducts, bends, screens, and other restrictions reduce actual airflow; use manufacturer performance data whenever possible.
- An exhaust fan exchanges air, while circulation fans move air within the plant canopy. Most tents benefit from both.
- Temperature and humidity targets depend on the crop and growth stage. Avoid relying on one universal 40–60% RH target.
- Do not automatically shut ventilation off when the lights turn off. Dark-cycle humidity may still require exhaust and circulation.
At a Glance
| Time Required | About 20–45 minutes for a basic setup, plus observation and fine-tuning |
| Difficulty | Beginner to intermediate |
| Tools Needed | Tape measure, thermometer/hygrometer, inline exhaust fan, ducting and clamps, circulation fan; optional carbon filter and environmental controller |
| Cost | Varies widely; passive vents cost nothing if already built into the tent, while powered exhaust, controls, filters, and dehumidification add cost |
Disclosure: As an Amazon Associate I earn from qualifying purchases. Some links on this page are affiliate links, at no extra cost to you.
Understanding the Importance of Ventilation in Grow Tents
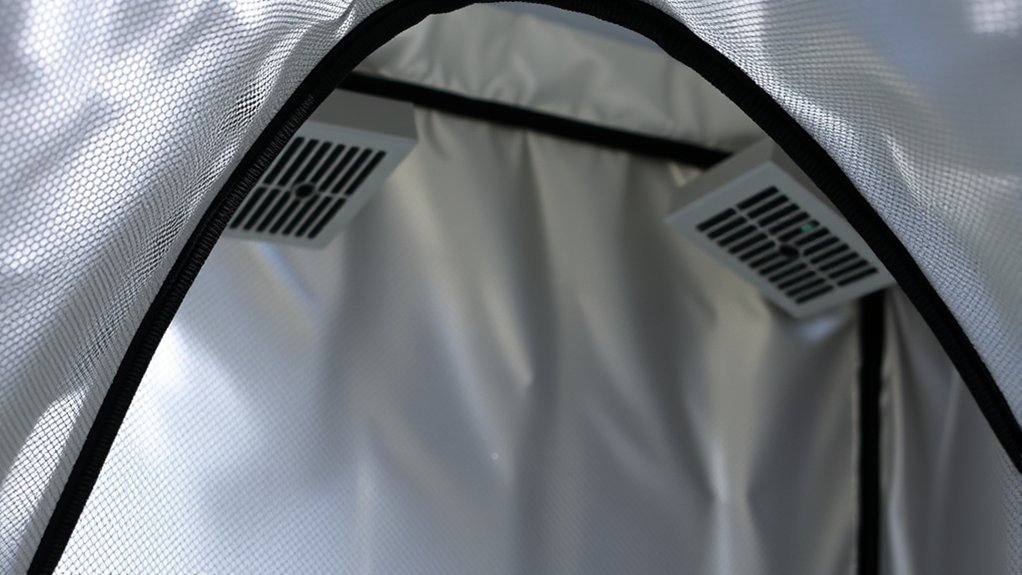
Ventilation supports several jobs at once. Plants use carbon dioxide during photosynthesis, and a closed tent can become warmer and more humid as lights operate and plants transpire. Exhausting used air and replacing it with room air helps control temperature, moisture, and gas exchange.
Ventilation is also different from air circulation. The inline exhaust fan replaces tent air. A clip-on or oscillating circulation fan mixes the air already inside the tent so leaves throughout the canopy experience more even conditions. Dense plants may need airflow both above and below the canopy.
High humidity and poor air movement can increase disease pressure. For example, the University of Minnesota notes that tomato leaf mold is strongly associated with relative humidity above 85% and recommends ventilation, plant spacing, and air circulation as part of management.
Note: More airflow is not automatically better. The goal is enough air exchange to control heat, humidity, and stale air while avoiding a harsh, constant blast directly on leaves.
Components of a Proper Ventilation System
A complete grow-tent ventilation setup usually has four separate parts:
- Exhaust fan: An inline fan removes warm, humid air from a high port.
- Fresh-air intake: A low vent allows replacement air to enter passively, or an intake fan can be added when passive airflow is not enough.
- Circulation fan: A small oscillating or clip fan mixes air around and through the canopy.
- Ducting: Duct carries exhaust air away from the tent. Shorter, straighter runs generally create less resistance.
A carbon filter is optional when odor control is needed. Its main job is to reduce odors in exhausted air. It does not replace pest prevention, sanitation, humidity control, or air circulation.
A thermometer/hygrometer is also essential. Place its sensor near the plant canopy rather than directly beside the intake opening, exhaust port, humidifier, dehumidifier, or circulation fan. Otherwise, the reading may not represent what the plants actually experience.
How to Position Grow Tent Vents Step by Step
The basic layout follows a simple path: fresh air enters low, crosses the growing area, and warm air exits high. AC Infinity’s grow-tent manual uses this same arrangement, with lower intake openings and high extraction.
- Open a lower intake. Start with a passive mesh vent or low duct port where clean room air can enter freely.
- Choose a high exhaust port. Use a port near the tent roof, preferably on the opposite side from the intake.
- Mount the inline fan securely. Confirm the airflow arrow points toward the exhaust destination.
- Add the carbon filter if needed. Install it according to its manufacturer’s approved pull-through or push-through configuration.
- Connect the ducting. Keep the run as short and straight as practical and secure every joint with appropriate clamps or sealing material.
- Add circulation airflow. Position a fan so foliage moves gently rather than whipping continuously.
- Close the tent and test it. Run the system long enough for temperature and humidity to stabilize, then adjust the exhaust speed or intake opening.
Vivosun’s current ventilation setup guide and Spider Farmer’s grow-tent ventilation guide use the same general principles: exhaust high, bring air in low, and use circulation inside the canopy.
Pro Tip: With the tent closed and the exhaust running, a slight inward pull on flexible tent walls is a simple sign of negative pressure. If the walls collapse inward aggressively, the intake may be too restricted or the exhaust speed may be unnecessarily high.
Calculating Airflow Needs for Your Grow Space
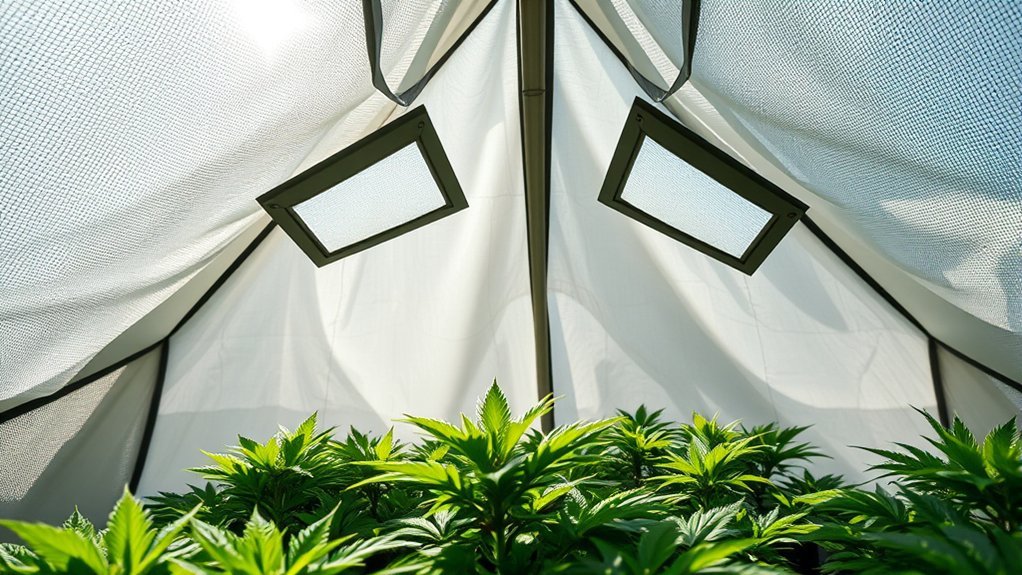
Start by calculating the tent’s internal volume:
Length × width × height = cubic feet of tent volume
For the original example:
2.25 ft × 2.25 ft × 5.25 ft = about 26.6 cubic feet
If you wanted the theoretical 26.6-ft³ air volume replaced once every three minutes, the calculation would be:
26.6 ÷ 3 = about 8.9 CFM of actual airflow
If you wanted one theoretical volume change every minute, the calculation would be:
26.6 ÷ 1 = about 26.6 CFM of actual airflow
Those calculations describe airflow through the tent. They do not automatically tell you which advertised fan rating to buy. Fan ratings can be measured under low-resistance conditions, while real systems may include a carbon filter, screens, duct length, bends, and other restrictions.
| Factor | How to Account for It |
|---|---|
| Tent volume | Length × width × height |
| Desired air turnover | Use the volume and desired turnover interval as a starting estimate, not a universal standard |
| Carbon filter | Check the filter’s rated airflow and the fan manufacturer’s performance information instead of assuming a fixed 25% loss |
| Duct length and bends | Keep ducting short and straight; restrictions increase static pressure and reduce delivered airflow |
| Lights and equipment | Use actual temperature readings to decide whether additional exhaust or cooling is required |
| Humidity load | Increase ventilation, dehumidification, or both if RH remains too high for the crop and growth stage |
Penn State’s guidance on selecting rated ventilation fans explains why fan performance should be evaluated under operating conditions that reflect the resistance of the system.
Note: The original 26.5-ft³ example is useful for teaching the calculation, but it should never be treated as the required airflow for every grow tent.
Installation Methods for Fans and Filters
Fan and filter placement can change depending on space, noise, duct routing, and the filter manufacturer’s approved airflow direction. Four common arrangements are:
Method 1: Filter and Fan Inside the Tent
Mount the filter high in the tent and connect it to the inline fan, then duct the fan’s exhaust outside the tent. This is a common configuration because warm air and odor-bearing air are collected near the top.
Method 2: Filter Inside, Fan Outside
The filter remains high inside the tent while ducting connects it to an external fan. This frees some interior space and can make the fan easier to service.
Method 3: Fan Inside, Filter Outside
Some filters allow air to be pushed through them from the fan’s exhaust side. Only use this arrangement if the filter manufacturer supports it, because pre-filter placement and recommended airflow direction can differ by model.
Method 4: Fan and Filter Outside
Ducting carries tent air to equipment mounted outside. This can free valuable headroom for tall plants, but longer duct runs and extra fittings may increase resistance.
Whichever configuration you choose, confirm the arrows on the fan, tighten clamps, seal obvious leaks, and make sure the filter’s rated airflow is compatible with the fan.
Warning: Grow tents combine electrical equipment with watering and humid air. Keep plugs, controllers, extension connections, and powered equipment away from splashes and standing water. Disconnect power before servicing fans, filters, or ducting and follow the equipment manufacturer’s safety instructions.
Managing Humidity and Temperature Levels
Your ventilation system should respond to the conditions your plants actually need. There is no single temperature and humidity range that is ideal for every crop, stage, and lighting setup.
For tomatoes, for example, temperature affects flowering and fruit set. Penn State notes that nighttime temperature extremes can contribute to blossom drop. Disease risk also rises when the canopy stays humid for long periods.
Humidity Control Techniques
Instead of automatically targeting 40–60% RH for every plant, check recommendations for your crop and growth stage. Then use your ventilation system to stay within that range.
- Measure RH close to canopy height.
- Increase exhaust speed when humidity rises beyond the crop’s target.
- Keep circulation moving through dense foliage so humid pockets do not remain trapped between leaves.
- Open enough lower intake area to replace exhausted air without creating excessive suction.
- Water at a time that allows leaves and surfaces to dry rather than leaving the tent wet for long periods.
- Use a dehumidifier in the surrounding room or growing space when outside air exchange alone cannot reduce humidity enough.
- Thin, prune, or support overly dense crops when appropriate for the species so air can move through the canopy.
For greenhouse and high-tunnel tomatoes, the University of Minnesota identifies relative humidity above 85% as a key condition behind tomato leaf mold, which is why canopy airflow and humidity control matter.
Temperature and relative humidity should also be considered together. A percentage such as 60% RH does not describe the same drying conditions at every temperature. Advanced growers may also track vapor pressure deficit, but beginners can still make good decisions by monitoring both temperature and RH and following crop-specific guidance.
Temperature Regulation Methods
An inline exhaust fan can remove warm air, but it cannot make the incoming air colder than the room that supplies it. If the room outside the tent is already too hot, simply increasing exhaust speed may not solve the problem.
- Exhaust from the highest practical location.
- Keep the intake low and reasonably far from the exhaust so incoming air crosses the growing area.
- Keep ducting short and avoid unnecessary bends.
- If equipment drivers can safely be mounted outside the tent according to the manufacturer, doing so may reduce internal heat load.
- Improve the temperature of the surrounding room when intake air itself is too warm.
- Use environmental controls to increase fan speed when temperature rises.
Do not automatically switch the exhaust fan off when the grow lights turn off. Temperature may fall quickly while moisture remains in the air. A better approach is to maintain enough dark-cycle ventilation to control humidity and reduce the fan speed only when readings show that conditions remain acceptable.
Adjusting Vent Positions Based on Plant Growth
As indeterminate tomato plants and other tall crops grow, you usually do not need to move the fresh-air intake higher. A low intake and high exhaust still create a useful low-to-high air path.
As plants grow taller and the canopy becomes denser, adjust circulation fans and equipment placement so air can move around, through, and below the foliage without blasting one area continuously.
- Keep lower intake vents open and unobstructed by pots, boxes, fabric, or foliage.
- Raise or reposition circulation fans as the canopy rises.
- Add a second small circulation fan below a dense canopy when lower foliage becomes stagnant.
- Move the inline fan or carbon filter outside the tent if tall plants need the overhead space.
- Keep leaves from being pulled against intake screens or exhaust openings.
- Recheck temperature and RH after every major canopy or equipment change.
A gentle movement of leaves is usually enough. Constant, forceful airflow against the same foliage can cause unnecessary drying or mechanical stress.
Utilizing Passive Ventilation Techniques
Most small and medium grow tents can use a passive intake: the exhaust fan removes air, creating slight negative pressure that draws replacement air through a lower mesh vent or duct opening.
AC Infinity’s ventilation instructions specifically describe using lower tent vents as passive intakes while an exhaust fan operates higher in the tent. This arrangement is simple because only the exhaust side needs a powered inline fan.
When Passive Intake Works Well
- The tent is small or medium sized.
- The lower intake area is large enough that the tent does not collapse inward strongly.
- The surrounding room has suitable fresh air.
- There is no very long or restrictive intake duct.
- Temperature and humidity remain within your target range.
When to Consider an Active Intake Fan
An active intake can help when passive openings are too restrictive, the tent is large, intake air must travel through a long duct, or the exhaust fan creates excessive negative pressure even with the available vents open.
If odor control matters, keep exhaust capacity slightly stronger than powered intake so the tent maintains modest negative pressure rather than becoming positively pressurized.
Keep intake vents clean and unobstructed. If the vent includes insect mesh, inspect it regularly because dust can slowly reduce the open area and restrict airflow.
Monitoring Airflow and Making Adjustments
Ventilation should be tuned from measurements rather than from a fixed speed setting. Watch temperature, RH, plant movement, tent-wall pressure, and canopy density.
Adjusting Fan Speed
- Increase exhaust speed if heat or humidity remains above the target for your plants.
- Reduce speed if the tent is excessively cool or dry and adequate fresh-air exchange is still maintained.
- If the tent walls pull inward too strongly, open more intake area before assuming you need a smaller fan.
- If a carbon filter or duct system noticeably reduces airflow, use the fan/filter manufacturer’s rated performance rather than assuming one fixed percentage loss.
- Keep some dark-cycle ventilation when humidity requires it instead of turning the system off on a simple lights-only schedule.
- Use temperature/RH controller settings when available so fan speed changes with real conditions.
Observing Plant Growth
Plant growth changes how air moves through the tent. A setup that works for seedlings can become restrictive when plants form a thick canopy.
| Observation | Possible Action |
|---|---|
| Canopy is getting taller | Raise or reposition circulation fans while keeping intake low and exhaust high |
| Humidity rises inside dense foliage | Improve through-canopy circulation, spacing, pruning when suitable, and exhaust capacity |
| Tent walls collapse inward strongly | Increase passive intake area or reduce excessive exhaust speed |
| Leaves whip continuously | Redirect or reduce the circulation fan |
| Temperature remains high at full exhaust | Check filter/duct restrictions and improve the temperature of the surrounding intake air |
Check environmental readings after watering, after the lights turn on, after they turn off, and whenever plant mass increases significantly. Those periods often reveal problems that a single midday reading misses.
Tips for Preventing Mold and Pests
Good airflow is one part of mold and pest prevention, but no ventilation system makes a tent pest-proof or disease-proof.
- Maintain enough ventilation to prevent prolonged high humidity and condensation.
- Move air around and through dense foliage instead of blowing only across the tent ceiling.
- Keep leaves, dead plant material, spilled growing media, and standing water from accumulating on the floor.
- Inspect intake screens for damage and keep them clean.
- Use clean tools and containers.
- Avoid repeatedly wetting foliage unless the crop and disease-management plan specifically calls for it.
- Inspect leaves regularly for spots, discoloration, webbing, insects, or fungal growth.
- Use a carbon filter for odor control when needed, not as a replacement for pest or disease management.
The University of Minnesota recommends ventilation and fan-driven air circulation as part of managing humidity around greenhouse and high-tunnel tomatoes affected by leaf mold.
Troubleshooting Grow Tent Ventilation Problems
Humidity Stays Too High
First check whether the surrounding room is already humid. Open additional intake area, make sure the exhaust duct is not blocked, check the filter for restriction, increase exhaust speed, improve circulation through the canopy, and consider room dehumidification if ventilation alone cannot reach the crop’s target.
Temperature Stays Too High
Confirm that exhaust is leaving the grow area rather than being dumped back beside the intake. Check for clogged filters and crushed or sharply bent ducting. If the room supplying intake air is hot, improve room cooling because a ventilation fan cannot cool below the temperature of its incoming air.
The Tent Sucks Inward Too Strongly
Open more passive intake area, clean the intake mesh, remove intake obstructions, or reduce exhaust speed if environmental readings permit. Slight negative pressure can be useful; extreme suction wastes fan capacity and may deform the tent.
The Tent Bulges Outward
Positive pressure usually means the powered intake is stronger than exhaust or the exhaust route is restricted. Reduce intake speed, increase exhaust capacity, or remove exhaust restrictions.
Leaves Look Wind-Stressed or Dry
Move circulation fans farther away, lower their speed, or aim them past the plants rather than directly at one spot. The goal is gentle movement throughout the canopy, not constant high-speed wind.
Airflow Became Weaker Over Time
Inspect intake screens, fan blades, ducting, and the carbon filter. Dust buildup and aging filters can reduce system airflow. Clean or replace parts according to manufacturer instructions.
Planning for Future Plant Growth and Ventilation Needs
As indeterminate tomato plants or other vigorous crops grow taller, leave enough overhead and side clearance for ventilation equipment. Planning early makes it easier to keep airflow effective without sacrificing plant space.
Anticipating Plant Height Changes
- Measure available vertical space before the crop becomes tall.
- Keep lower intake openings free from pots and foliage.
- Plan a path for relocating a fan or carbon filter outside the tent if needed.
- Leave enough duct length to make modest equipment adjustments without creating unnecessary loops.
- Support tall plants so branches do not block exhaust ports or circulation fans.
- Expect humidity to change as total leaf area increases.
Adjusting Fan Positioning Strategy
For tall crops such as indeterminate tomatoes, move circulation fans with the canopy while keeping the overall ventilation path low-to-high. If headroom becomes limited, the inline fan or filter can often be moved outside the tent while ducting continues to draw warm air from the upper area.
Secure ducting to the fan with suitable clamps, keep the airflow direction correct, and avoid tight bends. After changing equipment position, run the system and check temperature, humidity, wall pressure, and airflow around the canopy again.
An adjustable-speed exhaust system makes later changes easier because the required airflow may increase as foliage becomes denser and transpiration increases.
Frequently Asked Questions
How Often Should I Check My Tent Vents?
Check grow-tent vents at least daily when establishing a new setup and whenever plants, lighting, watering, or room conditions change. Look for blocked mesh, leaves covering an intake, damaged ducting, and unusual wall pressure. Temperature and humidity sensors can provide more continuous feedback between physical inspections.
Can I Use Tent Vents in Winter?
Yes. Grow-tent ventilation is still needed during colder seasons, although the fan may not need to run as fast if the surrounding room is cool. Do not seal the tent simply to preserve heat; trapped moisture can still become a problem. Adjust ventilation from actual temperature and humidity readings.
What Are Signs of Inadequate Ventilation?
Warning signs include persistent high temperature or humidity, condensation, musty odors, stagnant foliage, disease appearing in dense areas, weak exhaust flow, and large differences in conditions between the top and bottom of the canopy. Check intake openings, fan operation, duct restrictions, and circulation when these problems appear.
Do Vents Affect Lighting Efficiency?
Vents do not directly increase the light output or electrical efficiency of a grow light. They can indirectly support plant performance by helping control the temperature and humidity around the canopy. Open vents may also create light leaks, so photoperiod-sensitive setups may need a light-blocking intake design that does not excessively restrict airflow.
How Do I Clean My Tent Vents?
Turn off nearby powered equipment before cleaning. Vacuum or gently brush dust from mesh vents, then wipe washable surfaces with mild soap and water if the tent manufacturer allows it. Let the area dry before closing the tent. Clean fan blades, pre-filters, and duct components according to their own manufacturer instructions.
Should Lower Intake Vents Stay Open All the Time?
If the exhaust fan is running, it needs a clear source of replacement air. At least one suitable lower intake should therefore normally remain open. You can adjust how much intake area is exposed based on temperature, humidity, light-leak requirements, and the amount of negative pressure in the tent.
How Do I Know If My Grow Tent Fan Is Too Strong?
A fan may be running harder than necessary if the tent walls collapse sharply inward, temperature or humidity falls below the plant’s target, or the system creates excessive noise without improving conditions. First make sure the intake is not restricted; then reduce exhaust speed if environmental readings remain acceptable.
Conclusion
Proper grow tent ventilation starts with a simple airflow path: bring fresh air in low, remove warm and humid air high, and keep gentle circulation moving through the canopy. Calculate tent volume to establish a starting airflow requirement, but account for real filter, duct, intake, heat, and humidity conditions instead of relying on fixed percentage adjustments.
As plants grow, keep monitoring temperature, relative humidity, canopy density, and tent pressure. Move circulation fans with the plants, keep intakes clear, maintain enough dark-cycle airflow, and service filters and fans when buildup begins to reduce performance. A ventilation system that responds to real conditions is more reliable than one built around a single universal CFM or humidity number.
Sources
- AC Infinity — Advance Grow System Manual — supports lower intake, high exhaust placement, fan/filter configuration, and equipment safety guidance.
- Vivosun — How to Set Up Grow Tent Ventilation — current manufacturer guidance on exhaust, intake, fan/filter installation, and environmental monitoring.
- Spider Farmer — Grow Tent Ventilation Guide — supports low intake, high exhaust, air-volume calculations, and circulation-fan use.
- Penn State Extension — Selecting Rated Ventilation Fans — supports selecting fans from tested performance data and accounting for system operating conditions.
- University of Minnesota Extension — Tomato Leaf Mold — supports humidity, ventilation, canopy airflow, and tomato disease-management guidance.
- Penn State Extension — Tomatoes: From Seedlings to Fruit — supports tomato temperature and flowering guidance.