
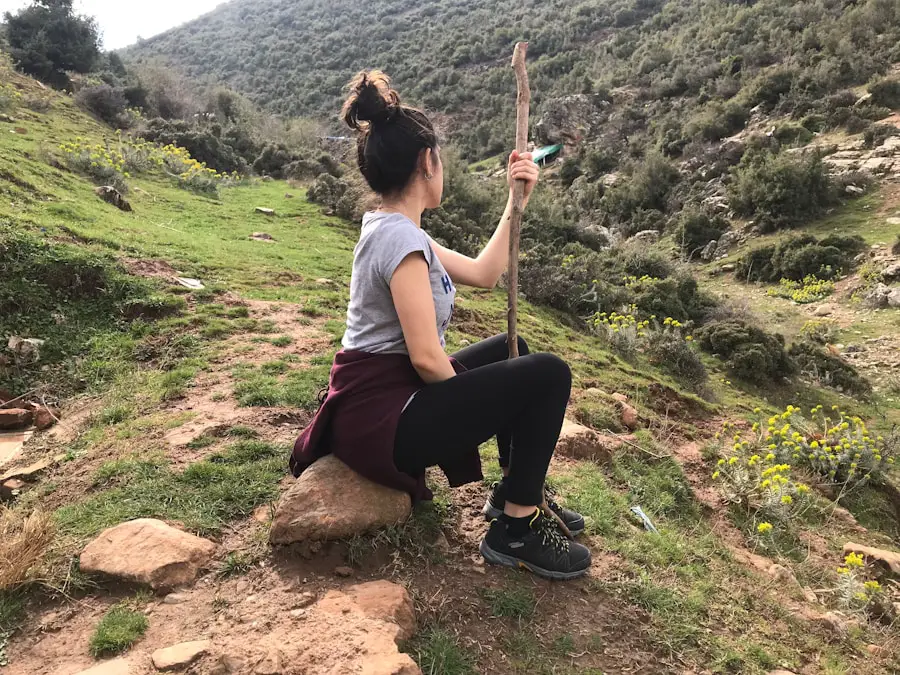
Last Updated on July 27, 2026 by Daniel Globe
Hiking poles, also called trekking poles, can improve stability on rough trails and give your upper body a useful role on climbs and descents. They can also create an unexpected problem when you fly to a hiking destination: whether they are allowed through airport security depends on the pole tips, the security authority, and your airline’s baggage rules.
Quick Answer
For flights departing through U.S. TSA checkpoints, blunt-tipped hiking poles may go in carry-on or checked baggage, but sharp-tipped poles are not allowed in carry-ons. The TSA officer has final say, and your airline can still reject poles that exceed cabin-baggage limits. International airport-security rules may be different.
Key Takeaways
- The TSA currently permits blunt-tipped hiking poles in U.S. carry-on bags after screening.
- Sharp metal or carbide-tipped hiking poles should go in checked baggage.
- Collapsing or folding a pole does not override rules about its tip, and the pole must still meet your airline’s cabin-baggage dimensions.
- International rules vary. Some countries do not allow hiking poles in hand luggage at all.
- On the trail, correctly fitted poles can improve balance and reduce some lower-extremity loading, particularly during descents.
At a Glance
| Time Required | About 5–10 minutes to check the rules and pack the poles |
| Difficulty | Easy |
| Tools Needed | Tip protectors, a sleeve or protective wrap, and access to current airport and airline rules |
| Cost | Usually no extra cost unless checked-baggage fees or protective packing are required |
Disclosure: As an Amazon Associate I earn from qualifying purchases. Some links on this page are affiliate links, at no extra cost to you.
Can You Carry On Hiking Poles on a Plane?
Yes, sometimes. For flights that pass through a U.S. Transportation Security Administration checkpoint, the current TSA hiking-pole guidance allows blunt-tipped hiking poles in carry-on or checked baggage. Sharp-tipped hiking poles are not allowed in carry-on bags.
TSA also states that the officer at the checkpoint makes the final decision about whether an item can pass through security. Your airline has a separate role: even a security-approved pole must meet the carrier’s size and baggage requirements.
Warning: Do not assume every collapsible trekking pole qualifies for carry-on travel. Many hiking poles use exposed metal or carbide points. If the underlying tip is sharp, putting the pole in checked baggage is the lower-risk choice.
U.S. Carry-On vs. Checked-Bag Rules
| Pole situation | Best approach |
| Blunt-tipped pole that fits airline cabin limits | TSA generally permits it in carry-on baggage, subject to screening and the officer’s final decision. |
| Sharp metal or carbide tip | Pack it in checked baggage and protect the point. |
| Pole longer than your airline’s carry-on limit | Check it even if TSA would otherwise permit the tip. |
| International itinerary | Check the security rules for every departure and connection, not just TSA guidance. |
Do Rubber Tip Covers Make a Sharp Pole Carry-On Safe?
Rubber protectors are useful for protecting equipment and reducing impact on hard or sensitive surfaces, but TSA’s public guidance does not provide a universal rule saying that a removable rubber cover automatically converts every sharp carbide pole into an acceptable blunt-tipped carry-on item.
If the pole still contains a sharp point beneath a removable cover, be prepared for additional screening or pack it in checked baggage rather than relying on the cap alone.
Pro Tip: Check the TSA page and your airline’s baggage dimensions again shortly before departure. Security rules and airline policies can change, and your return airport may follow completely different regulations.
International Flights Can Have Different Rules
TSA rules apply to U.S. security checkpoints, not every airport worldwide. For example, current UK government hand-luggage guidance lists walking and hiking poles as prohibited in hand luggage but permitted in hold luggage. Other countries use different standards.
For an international trip, check the security authority for your outbound airport, connecting airports, and return airport. A pole accepted when leaving the United States may still be refused during the trip home.
How to Pack Hiking Poles for Air Travel
Collapse or fold the poles to their shortest manufacturer-approved length before packing. Remove loose baskets or accessories when practical, cover the tips, and secure the sections so they cannot open or extend inside the bag.
Packing Hiking Poles in a Carry-On
- Confirm that the tips qualify as blunt under the applicable security rules.
- Collapse or fold the poles completely.
- Keep them inside the bag rather than loosely attached where they can snag or cause the bag to exceed airline dimensions.
- Protect the ends so they do not damage clothing, electronics, or the bag itself.
- Allow extra time for screening because security officers may inspect the poles.
Packing Hiking Poles in Checked Luggage
- Collapse the poles and lock the sections in place.
- Cover metal or carbide tips so they cannot puncture the suitcase or injure baggage handlers.
- Bundle the poles together or place them in a protective sleeve.
- Position them near the center or rigid edge of the suitcase rather than beneath heavy items that could bend a shaft sideways.
- If a pole is too long for your normal suitcase, check your airline’s sporting-equipment and oversized-baggage rules before traveling.
Note: Travelers who want to avoid checking luggage can also rent, borrow, or buy trekking poles at their destination. That can be simpler on trips where foreign airport rules prohibit poles in cabin baggage.
Benefits of Bringing Hiking Poles on the Trail
Once you reach the trail, trekking poles can provide stability on rocky paths, loose ground, stream crossings, snow, and steep slopes. They also let the arms share some of the work normally handled by the legs.
The clearest evidence concerns downhill loading. Research has found reductions in several knee and lower-extremity loading measures when hikers use poles during descents. A small laboratory study published in the Journal of Sports Sciences reported reductions of about 12%–25% in several measured downhill knee-force and moment variables when poles were used.
In a small biomechanical study, hiking poles reduced several measured downhill knee-loading variables by roughly 12%–25%. This supports using poles to redistribute load, but it does not guarantee that poles will prevent knee pain or injury.
Poles can also make it easier to maintain balance when carrying a backpack. However, they should not be described as a way to universally use less energy. Engaging the arms can increase oxygen consumption and overall physiological workload even when the hike does not feel harder.
They are useful for checking footing and probing snow or unclear ground ahead. In snowy or muddy conditions, the correct baskets help keep the poles from sinking deeply. Avoid using poles to move rocks, vegetation, trail structures, or other natural features unnecessarily.
Potential Drawbacks of Using Hiking Poles
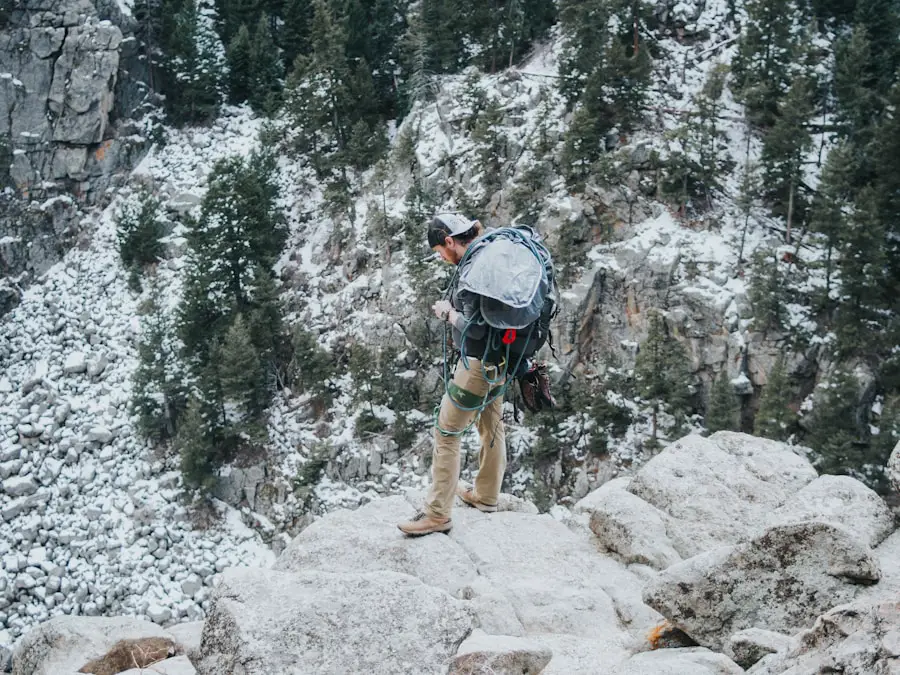
Trekking poles have a learning curve. Poor pole height or an awkward arm motion can create unnecessary strain in the shoulders, wrists, back, or neck. The goal is not to lean heavily on the poles but to use them as extra contact points while maintaining a natural walking rhythm.
Poles also add weight and bulk. Ultralight hikers may decide the extra equipment is not worthwhile on easy terrain, while hikers facing steep descents, loose rock, snow, stream crossings, or heavy backpacks may value the extra stability more.
There are also situations where you need your hands free. On scrambling routes, ladders, cables, or sections where handholds are necessary, collapse and stow the poles rather than trying to use them where they interfere with safe movement.
Tips for Choosing the Right Hiking Poles
| Factor | What to Look For |
| Material | Aluminum is usually economical and tolerant of bending; carbon/composite poles are generally lighter and reduce vibration but can be more vulnerable to severe impact damage. |
| Weight | Lighter poles reduce the amount of weight repeatedly swung with each step, but durability still matters. |
| Grip Type | Cork, foam, and rubber all feel different. Choose a grip that remains comfortable with sweaty hands and during long hikes. |
| Adjustability | Adjustable poles make it easier to change length for climbs, descents, and traverses. |
| Shock Absorption | Optional spring systems can soften impacts but add weight and moving parts. They are a preference rather than a requirement. |
| Packed Length | Important for air travel and backpack storage. Folding designs often pack shorter than traditional telescoping poles. |
| Tips and Baskets | Carbide or steel tips give traction on rough surfaces; rubber tips suit many hard or sensitive surfaces; wider baskets help in mud and snow. |
| Price | Compare durability, locks, replacement parts, packed size, and comfort instead of choosing on price alone. |
For general hiking, adjust the pole so your elbow is close to a 90-degree bend while the tip rests on the ground near your foot. Current trekking-pole fitting guidance from REI uses this as the basic neutral position.
On a sustained uphill section, shortening adjustable poles by about 5–10 cm can improve leverage and keep your shoulders from being pushed upward. On a long descent, lengthening them by about 5–10 cm can help you stay more upright. On a traverse, the uphill pole can be shorter than the downhill pole.
Grip design and wrist straps also matter. With conventional straps, bring your hand upward through the bottom of the strap and then settle it onto the grip. This lets the strap support part of the hand while allowing a more relaxed grip. Follow the manufacturer’s instructions if your pole uses a proprietary strap or quick-release system.
Carbide or steel tips provide traction on rough rock and ice. Rubber walking tips work well on hard surfaces and can reduce impact on sensitive ground. Baskets help prevent the pole from sinking deeply into mud or snow.
Etiquette When Using Hiking Poles on the Trail
Good pole technique should not create problems for other trail users. Keep the poles close to your body when passing people rather than swinging them outward. When approaching someone from behind, announce yourself politely before passing.
On narrow trails, follow posted right-of-way guidance. The National Park Service hiking-etiquette guidance notes that uphill hikers generally have the right of way and emphasizes staying on the established trail rather than stepping onto vegetation unnecessarily.
Use the appropriate pole tips for the surface. Rubber protectors can reduce ground impact in sensitive areas and are useful on many paved or hard surfaces. Most importantly, plant poles on the durable trail surface rather than reaching unnecessarily into vegetation beside the path.
Alternatives to Hiking Poles
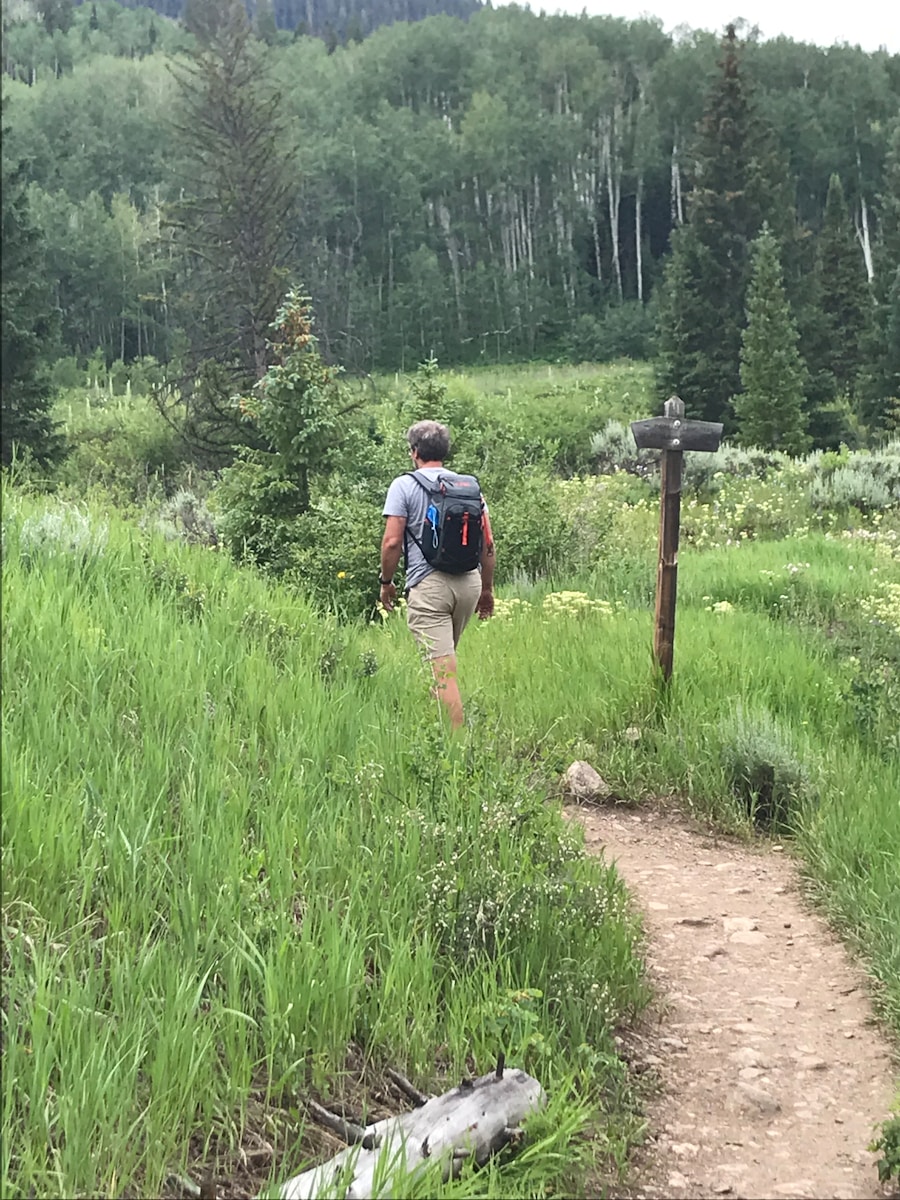
A single hiking staff is one alternative to using a pair of trekking poles. A staff can provide an extra balance point while leaving one hand free, although a pair of poles usually provides more symmetrical support on steep or uneven ground.
A sturdy walking stick may serve a similar basic purpose on suitable terrain, but do not cut live branches or remove protected natural materials simply to make one. Follow local Leave No Trace rules and regulations.
Hikers can also improve stability through strength, balance, ankle mobility, appropriate footwear, and thoughtful route selection. Natural handholds such as stable rocks may help in some situations, but test them before putting weight on them and avoid damaging vegetation.
For travelers who cannot take their normal poles in cabin baggage, renting or borrowing poles at the destination is another practical alternative.
Regulations and Restrictions for Hiking Poles on Different Trails
There is no single trail rule that applies everywhere. Regulations can vary by park, trail, cave, guided attraction, or protected area. Some locations actively recommend trekking poles for snow, ice, loose rock, or difficult terrain, while a particular facility or route may require poles to be collapsed or may restrict certain equipment.
Check the official park or land-management page before your hike, especially when visiting protected habitats or specialized facilities. Follow posted signs, remain on designated trails where required, and use rubber tips when local guidance calls for lower-impact pole use.
Understanding local rules protects natural resources and prevents surprises at the trailhead. It is more accurate to check the specific destination than to assume that all national parks either permit or prohibit trekking poles.
How to Properly Use and Maintain Hiking Poles
On level ground, most hikers use an alternating rhythm: the left pole moves with the right foot, and the right pole moves with the left foot. Keep your arm swing natural and avoid driving the poles forcefully into the ground.
On steep climbs or descents, you can occasionally plant both poles for extra stability. Secure each pole before transferring significant weight to it. For stream crossings, place the pole tip firmly on the bottom before moving the next foot.
After a hike, wipe dirt and grit from the shafts, tips, and locking mechanisms. Separate adjustable sections if the manufacturer recommends it after wet trips and let all parts dry completely before storage. Moisture trapped inside telescoping shafts can encourage corrosion or make locks harder to operate.
Check aluminum shafts for bends, carbon/composite shafts for cracks or splintering, tips for excessive wear, and locking mechanisms for slipping. Replace damaged sections rather than relying on a pole that may collapse unexpectedly.
Rubber protectors should be replaced when worn smooth, and baskets should be checked for cracks or looseness. Follow the pole manufacturer’s instructions before applying any lubricant because some locking systems work best when kept clean and dry rather than lubricated.
Used correctly, hiking poles can improve stability, redistribute some downhill loading, and make difficult terrain easier to manage. Their value depends on the route, your technique, and your personal preferences. When flying, treat airport-security rules as a separate issue from trail performance and verify those rules before every trip.
If you are planning a hiking trip to Korea, this seasonal guide can help you choose suitable weather and travel dates. Remember that seasonal planning and aviation-security rules are separate, so verify the baggage restrictions for every airport on your itinerary before packing your trekking poles.
Frequently Asked Questions
What are hiking poles?
Hiking poles, commonly called trekking poles, are lightweight poles used to improve balance and provide additional support while walking on trails. Most trekking poles are used as a pair and may be telescoping, folding, or fixed length.
Can I carry on hiking poles on a plane?
At U.S. TSA checkpoints, blunt-tipped hiking poles are currently allowed in carry-on or checked baggage, while sharp-tipped poles are not permitted in carry-on bags. TSA officers make the final decision at screening, and your airline can apply separate baggage-size rules. Other countries may use different security rules.
Can collapsible hiking poles go in a carry-on?
Collapsibility alone does not determine whether a pole can be carried on. At a U.S. TSA checkpoint, the tip must meet the current security requirement, the pole must pass screening, and its packed size must meet the airline’s cabin-baggage limits.
Do rubber tip covers make sharp hiking poles acceptable in carry-on luggage?
Do not rely on a removable rubber cover as a guaranteed way to make a sharp underlying carbide or metal point acceptable. TSA’s published rule distinguishes blunt and sharp poles, and the screening officer makes the final decision. Checked baggage is the safer choice when the underlying tip remains sharp.
Are there restrictions on carrying hiking poles in certain areas or trails?
Rules vary by destination. Many trails permit or even recommend trekking poles, but individual parks, protected areas, caves, tours, or facilities may have special equipment rules. Check the official page and trailhead signs for the exact location you plan to visit.
How do I pack hiking poles for travel?
Collapse or fold the poles completely, protect the tips, secure loose baskets or accessories, and place the poles inside a protective sleeve or between soft items. Sharp-tipped poles should be packed in checked luggage when departing through a U.S. TSA checkpoint.
Are there safety considerations when using hiking poles?
Yes. Adjust the poles to a comfortable height, keep a natural walking rhythm, plant each tip securely before relying on it, and learn the correct technique for your wrist straps. Stop using a pole if its shaft is cracked or bent or if its locking mechanism slips under load.
Sources
- Transportation Security Administration — Hiking Poles — current U.S. carry-on and checked-baggage screening guidance.
- GOV.UK — Hand Luggage Restrictions: Sports Equipment — example of international cabin-baggage rules for hiking poles.
- National Park Service — Hiking Etiquette — trail right-of-way and low-impact hiking guidance.
- PubMed — Knee Joint Forces During Downhill Walking With Hiking Poles — research on downhill knee loading.
- PubMed — Effects of Hiking Downhill Using Trekking Poles While Carrying External Loads — research on lower-extremity loading while carrying backpacks.
- REI Expert Advice — How to Use Trekking Poles and Hiking Staffs — pole length, straps, tips, baskets, and walking technique.

