Last Updated on September 10, 2026 by Daniel Globe
Starting hiking does not require expert-level fitness or expensive gear. A good first hike begins with a trail that fits your current ability, a realistic plan, comfortable clothing, enough food and water, and a few basic safety habits. The goal is to finish feeling confident enough to go again—not exhausted, lost, or underprepared.
Trail choice has a major effect on both enjoyment and safety. Beginners are usually better served by shorter, well-marked routes with modest elevation change and easy access, while experienced hikers may seek steeper climbs, rough terrain, longer mileage, or technical sections. Seasonal conditions matter too: snow, ice, heat, storms, wildfire, flooding, and temporary closures can turn an otherwise manageable trail into a poor choice.
Quick Answer
To start hiking, choose a short, well-marked trail that matches your fitness, check official trail conditions and weather, wear comfortable shoes with good traction, carry the Ten Essentials, tell someone your route and return time, and turn around if conditions worsen. Start easy; distance and difficulty can grow with experience.
Key Takeaways
- Choose a trail that matches your current fitness and experience instead of chasing mileage or elevation.
- Bring the Ten Essentials, including navigation, sun protection, layers, light, first aid, emergency shelter, extra food, and water.
- Check the forecast, official trail alerts, permits, closures, and seasonal hazards before leaving home.
- Share your route and expected return time with someone who is not on the hike.
- Learn the local trail-marker system; colors and symbols are not universal.
- Follow Leave No Trace practices, respect wildlife, and stay on durable or designated surfaces as local rules require.
- Build endurance gradually with walking, hills, strength work, and progressively harder hikes.
- Hiking with a buddy or group can add support and safety, especially while you are learning.
At a Glance
| Time Required | About 30–60 minutes to plan; choose a first hike you can finish comfortably with daylight to spare. |
| Difficulty | Beginner-friendly when the route is short, clearly marked, and appropriate for current weather and fitness. |
| Tools Needed | Comfortable footwear, small backpack, navigation, water, food, weather layers, headlamp, first aid, sun protection, and other Ten Essentials. |
| Cost | Often little or no extra cost if you already own suitable shoes, a backpack, water containers, and weather-appropriate clothing; some parks, permits, or parking areas charge fees. |
Disclosure: As an Amazon Associate I earn from qualifying purchases. Some links on this page are affiliate links, at no extra cost to you.
How to Start Hiking: 7 Simple Steps
- Pick an easy first trail. Match distance, elevation gain, terrain, and exposure to your current fitness and comfort level.
- Check official information. Review the land manager’s current alerts, permits, closures, road access, weather, and seasonal hazards.
- Dress for the conditions. Wear comfortable footwear with traction and use layers that can handle temperature or weather changes.
- Pack the essentials. Carry navigation, food, water, first aid, sun protection, a light source, emergency shelter, and other trip-specific gear.
- Leave a trip plan. Tell someone where you are going, your route, where you parked, and when they should expect you back.
- Hike conservatively. Follow trail signs, watch your footing, take breaks, eat and drink regularly, and turn around before a small problem becomes an emergency.
- Protect the trail and check in afterward. Pack out trash, respect wildlife and other visitors, follow local Leave No Trace guidance, and tell your safety contact when you return.
Start With Day Hiking
For most beginners, day hiking is the simplest place to start because the trip begins and ends on the same day and does not require a sleep system, overnight food plan, or backcountry campsite. Backpacking adds overnight gear and more complex food, water, shelter, and permit decisions. Thru-hiking is a long-distance form of backpacking that can take weeks or months. Build day-hiking skills first before treating a long trail as an overnight project.
Choose a Beginner-Friendly Trail
Before choosing a route, look at more than the trail’s distance. Elevation gain, steepness, footing, exposure, stream crossings, altitude, shade, navigation complexity, and the return route can make two hikes of the same mileage feel completely different. A first hike is usually more enjoyable when the route is well maintained, clearly marked, and easy to shorten if needed.
Local parks and nature reserves are often excellent places to begin. Portions of famous long-distance trails can also work for day hikes when the specific section is easy. For example, the Appalachian Trail Conservancy says northern Virginia through Maryland is generally considered among the easier parts of the A.T., but even there, conditions and individual sections vary. The entire Appalachian Trail is not a beginner hike.
More experienced hikers may choose routes with major elevation gain, rugged footing, scrambling, or difficult navigation. Mount Whitney is a good example of why a famous destination should not automatically become a first goal. The classic Mount Whitney Trail climbs from about 8,400 feet at the trailhead to 14,505 feet at roughly 10.7 miles, and a wilderness permit is required for day use in the Whitney Zone and for overnight Mount Whitney Trail trips. Build the skills and conditioning for demanding routes gradually.
Pro Tip: Use trail apps for discovery and recent user observations, but verify closures, permits, fire restrictions, road access, and official safety notices on the park, forest, or land-manager website before you go.
Check Seasons, Weather, and Access
A trail that is easy in mild weather may become hazardous in snow, ice, extreme heat, wildfire smoke, flooding, high water, or thunderstorms. Some access roads also close seasonally. Check the forecast and current trail conditions close to departure, and carry layers or rain protection for realistic changes in conditions.
Warning: Do not push toward a summit or turnaround point when conditions are deteriorating. If you hear thunder, seek a substantial building or hard-topped vehicle as quickly as possible; the National Park Service notes that there is no safe place outside during a thunderstorm.
Essential Gear for Hiking
Footwear: Choose Fit and Traction First
Footwear is one of the most important comfort decisions, but beginners do not always need heavy hiking boots. On a short, maintained trail, comfortable hiking shoes or trail shoes with good traction may be enough. Rough terrain, mud, snow, heavier packs, or a preference for more ankle coverage may make boots a better option. Brands such as Merrell and Salomon offer both hiking shoes and boots, but fit matters more than a logo.
Try footwear with the socks you plan to wear. Your heel should feel secure, your toes should not strike the front on descents, and nothing should pinch or rub. Avoid taking brand-new footwear on a long first outing.
Clothing and Accessories for Comfort and Protection
Layering makes it easier to adapt as temperature, wind, sun, or precipitation changes. A moisture-managing base layer, an insulating layer when conditions call for one, and a windproof or waterproof outer layer can be adjusted throughout the day. A hat, sunglasses, sunscreen, gloves, or insect protection may also be appropriate.
Cotton can stay wet and cool the body quickly in cold or wet conditions, so wool or synthetic layers are generally safer choices when getting wet could become a problem. In hot environments, prioritize shade, sun protection, breathable clothing, and enough water for the route and conditions.
Packing Essentials for a Safe and Successful Hike
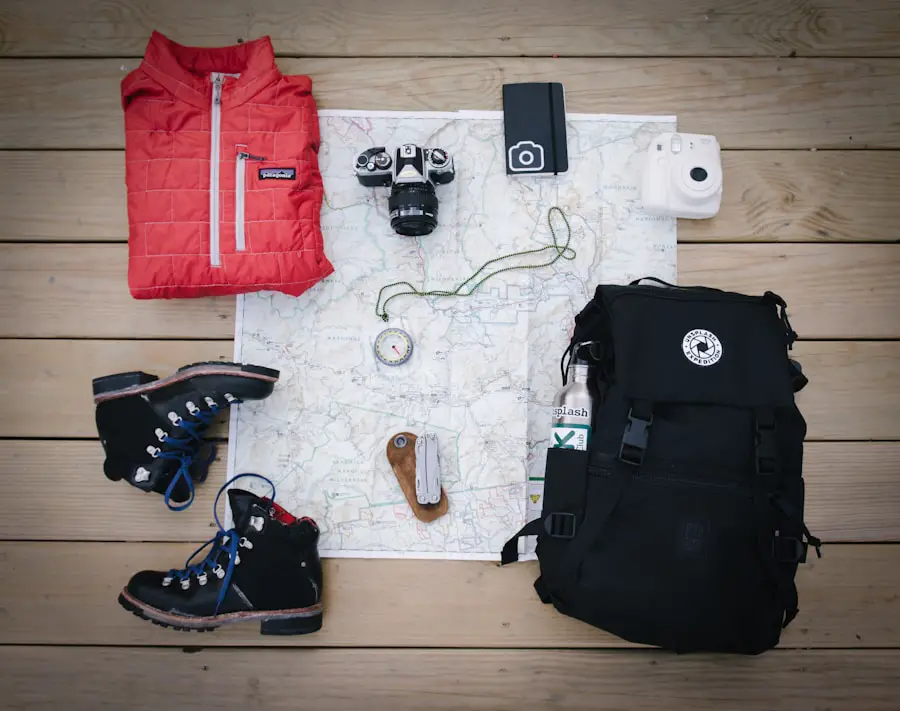
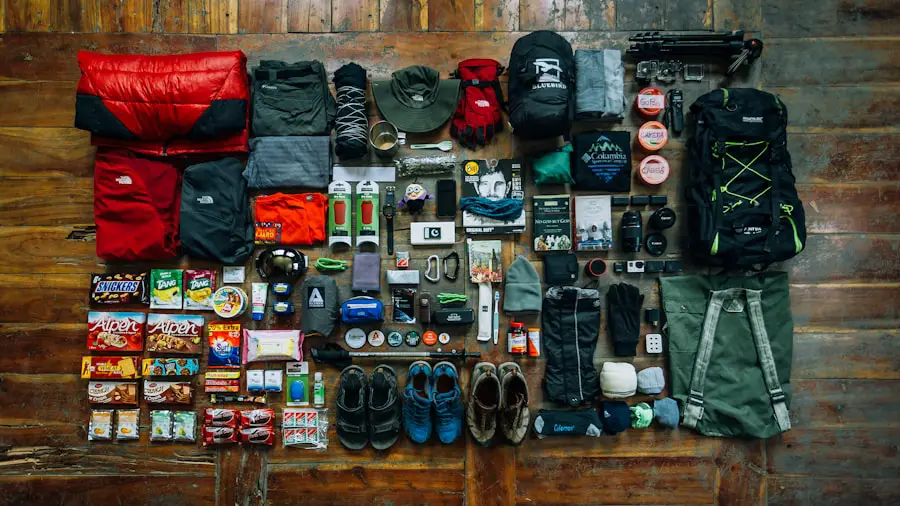
A daypack should hold more than water and snacks. The National Park Service recommends carrying the Ten Essentials: navigation, sun protection, insulation, illumination, first-aid supplies, fire, repair tools, nutrition, hydration, and emergency shelter. The exact items should be adapted to the trail, climate, trip length, group, and local rules.
- Navigation: an appropriate map plus a compass, GPS device, or downloaded offline map—and the knowledge to use it.
- Sun protection: sunscreen, sunglasses, and a hat or protective clothing.
- Insulation: extra layers and weather protection suitable for the worst realistic conditions.
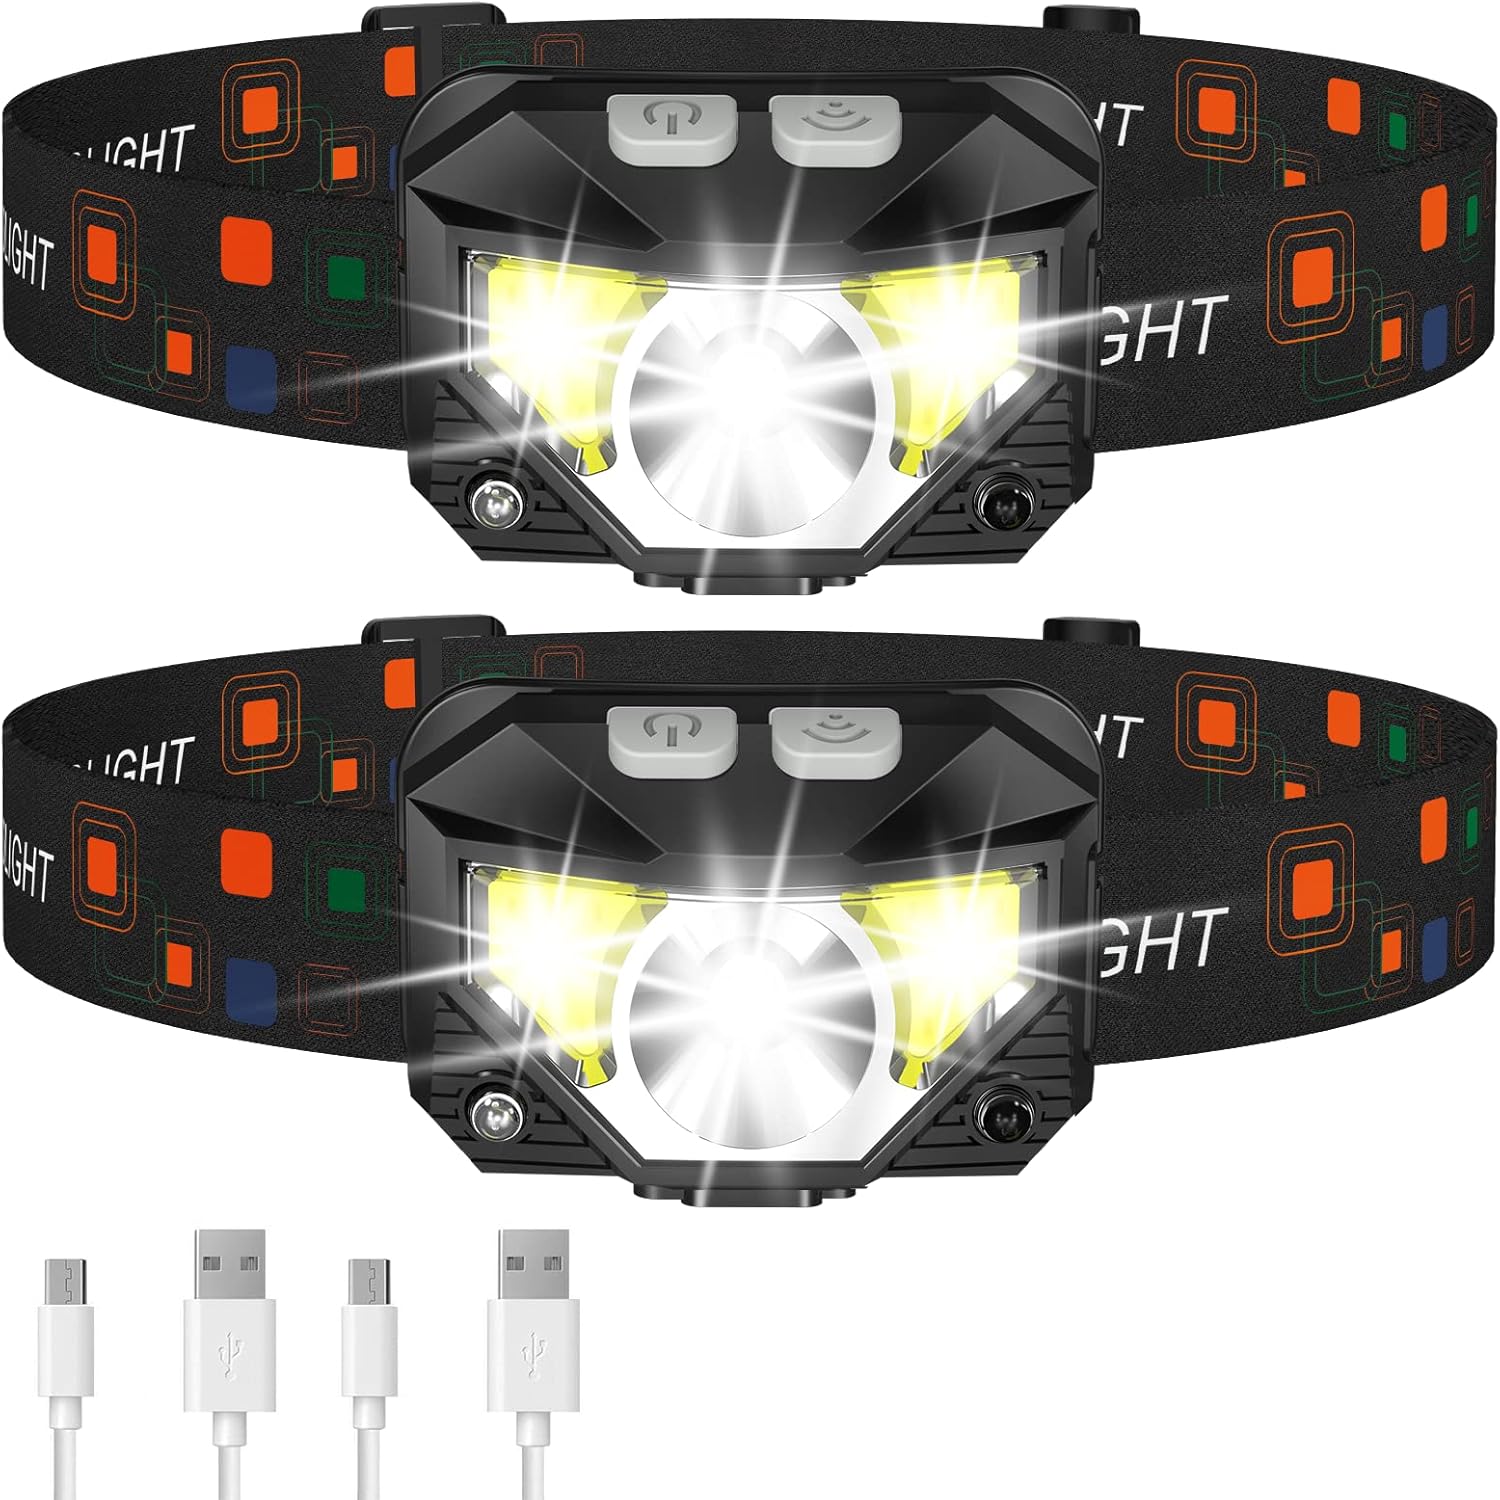
- Illumination: a headlamp or flashlight with enough power for an unexpected delay.
- First aid: a small kit matched to your group and basic first-aid knowledge.
- Fire: an emergency fire-starting method where legal and appropriate.
- Repair tools: a multi-tool or knife plus simple repair supplies.
- Nutrition: easy-to-eat food plus an emergency margin.
- Hydration: enough water and, when appropriate, a reliable treatment method for additional water.
- Emergency shelter: a lightweight emergency bivy, tarp, or space blanket appropriate for the trip.
Note: A phone is useful for maps and emergency calls, but it is not a substitute for a headlamp, navigation skills, or a trip plan. Cell coverage is unreliable in many remote areas, and batteries can fail.
Safety Tips for Hiking
Safety begins before you leave the trailhead. Know the route, likely hazards, weather, sunset time, water availability, and the physical limits of the least experienced person in the group. Carry enough supplies for an unexpected delay, and be willing to turn around.
Share Your Plan and Stay Oriented
Tell a friend or family member where you are going, your planned route, where you parked, and when you expect to return. Arrange a clear check-in time. If plans change significantly and you have service, update that person.
Carry navigation you can use without cell service. If you become lost, stop and calmly assess the situation. Use your map, compass, GPS, and visible landmarks to identify your location. Retrace your steps only when it is safe and you are confident it will return you to the route. If you cannot safely self-rescue and you contact emergency services, staying put usually makes you easier to find unless there is an immediate threat to life.
Wildlife Safety Is Location-Specific
Wildlife rules vary by species and location. In bear country, current National Park Service guidance emphasizes staying alert, hiking in groups when possible, making noise where visibility is poor, storing food and scented items properly, never approaching bears, and not running from a bear. If a bear notices you, remain calm, speak in a steady voice, and slowly create distance without sudden movements.
Do not rely on a single universal response for every bear encounter or attack. Black bears and grizzly bears can require different responses depending on whether behavior is defensive or predatory. Before hiking in bear country, check the park or forest’s current bear guidance, food-storage rules, closures, and whether bear spray is recommended and legal there.
Know When to Turn Around
Fatigue, pain, dehydration, heat illness, cold stress, fading daylight, route-finding uncertainty, rising water, or worsening weather are reasons to reassess the hike. Turning around early is a sound safety decision, not a failed hike. Treat small problems—hot spots on your feet, hunger, low water, or a navigation doubt—before they become bigger ones.
Planning Your Hike
| Trail Name | Current Length | Elevation / Terrain Note | Beginner Context |
|---|---|---|---|
| Appalachian Trail | 2,197.9 miles in 2026 | Elevation and terrain vary widely by section; there is no single official cumulative-gain figure used here. | The full trail is a major long-distance undertaking, but some individual sections are suitable for beginners. |
| Pacific Crest Trail | About 2,650 miles | Crosses deserts and major mountain terrain through California, Oregon, and Washington. | Not a beginner thru-hike; individual day-hike sections can be appropriate. |
| John Muir Trail | 210.4 miles (often rounded to 211) | About 47,000 feet of elevation gain according to Yosemite National Park’s trail description. | A high-elevation long-distance route, not a typical first hike. |
Use big trails like these only as perspective. Your first hike can be a local loop, nature trail, or short out-and-back. Before leaving, research the specific route’s distance, elevation profile, estimated hiking time, surface, junctions, water crossings, exposure, parking, fees, permit rules, pet rules, and emergency considerations.
Trail apps such as AllTrails can be useful for finding routes, reviewing recent comments, and seeing photos, but conditions can change quickly. Confirm important details with the official park, forest, state, or local land manager. Check the forecast for the trail’s actual location and elevation rather than relying only on weather in the nearest town.
A Simple First-Hike Checklist
- Confirm the trail is open and that you know where to park and start.
- Check permits, fees, reservation rules, and park hours.
- Review distance, elevation gain, terrain, and the most confusing junctions.
- Check weather, air quality, fire restrictions, water levels, or snow conditions as relevant.
- Download or carry a map before leaving cell coverage.
- Pack the Ten Essentials and trip-specific gear.
- Tell someone your route and expected return time.
- Set a turnaround time that leaves a daylight and energy margin.
Understanding Trail Markings
Trail markings help hikers stay on designated routes, but there is no universal color system. Blazes, posts, cairns, signs, and symbols can mean different things in different parks, forests, states, and trail systems. Read the trailhead signs or land-manager map before assuming a color means a particular difficulty or direction.
The Appalachian Trail is a specific example: it is marked with white 2-by-6-inch blazes. A single white blaze confirms the A.T. route, while two white blazes can signal an obscure turn, route change, incoming side trail, or another place where hikers should pay extra attention. A.T. side trails are commonly blue-blazed. Those conventions should not be generalized to unrelated trails.
Markers can also be faded, obscured, missing, or less frequent in wilderness areas. Carry a map and a backup navigation method, and pause at junctions to confirm the route rather than continuing on a guess.
Hiking Etiquette
Good trail manners make busy outdoor spaces safer and more enjoyable. Follow posted right-of-way rules because they can vary by trail. As a general convention, hikers traveling uphill are usually given the right of way. Step aside only where you can do so without damaging vegetation or creating a fall hazard.
Keep your group together at junctions, control pets as local rules require, keep music low enough that you can hear your surroundings, and do not block the trail during breaks. When passing, announce yourself politely and wait for a safe place.
Leave No Trace Principles

Leave No Trace provides seven widely used principles for reducing outdoor impacts. They are: plan ahead and prepare; travel and camp on durable surfaces; dispose of waste properly; leave what you find; minimize campfire impacts; respect wildlife; and be considerate of others.
For a day hiker, the basics are practical: stay on the trail or other durable surfaces where required, avoid shortcutting switchbacks, pack out trash and food scraps, do not feed wildlife, leave plants and natural objects in place, and follow local rules for fires, pets, toilets, and sensitive areas. If you may need to manage human waste away from a restroom, check the specific land manager’s rules first; some environments require waste to be packed out.
A successful beginner hike is not the one with the most miles—it is the one you planned well, completed safely, and want to repeat.
Building Endurance for Hiking
You do not need to train like an athlete before taking a short beginner hike, but regular walking makes hiking easier. Build gradually by increasing time on your feet, adding hills or stairs, and practicing on uneven surfaces when available. Aerobic activities such as brisk walking, cycling, swimming, or running can support cardiovascular endurance.
Strength work can also help. Squats, step-ups, lunges, calf raises, and core exercises train muscles used for climbing, descending, and maintaining balance. Progress slowly enough that joints, feet, and tendons have time to adapt.
The most specific training for hiking is hiking. Start with comfortable routes, then increase only one challenge at a time—distance, elevation, pack weight, terrain difficulty, or altitude. If you plan to carry a backpack on a longer trip, practice with it before the trip rather than making the loaded pack a surprise.
Finding Hiking Buddies
Hiking with other people can add motivation, shared navigation, and another layer of support if something goes wrong. Friends or family members who already hike may be able to introduce you to local trails and lend basic gear while you learn what works for you.
Local hiking clubs, outdoor organizations, guided walks, community recreation programs, and Meetup groups can also connect people with similar ability levels and goals. Before joining an unfamiliar group, review the planned distance, pace, elevation gain, meeting location, expected gear, and leader information so the outing fits your comfort level.
Solo hiking is possible, but beginners should be more conservative with route choice and preparation. A popular, well-marked trail with reliable access is a better place to learn than a remote route with difficult navigation. Always leave a trip plan, and consider a satellite communicator on trips where help may be far away and cell service is unreliable.
If you’re looking to start hiking, one optional piece of gear to consider is a good pair of compact binoculars. These can enhance the experience by helping you observe wildlife and scenery from a distance without approaching animals. For more information, see this article on compact binoculars for hiking.
For backpacking rather than a simple day hike, a suitable sleep system becomes essential. A sleeping bag should match the expected temperature, shelter, and conditions. For more information, read this article on the best sleeping bag for backpacking travel.
Love travel? Join Our Facebook Community
Frequently Asked Questions
What is hiking?
Hiking is walking for recreation on trails, paths, or natural terrain. It can range from a short local nature walk to a full-day mountain route or a multi-day backpacking trip.
Why should I start hiking?
Hiking is an accessible way to spend time outdoors, build walking endurance, explore natural areas, and enjoy physical activity at your own pace. The route can be scaled from easy local walks to demanding mountain trips as your fitness and skills grow.
How do I start hiking?
Start with a short, well-marked trail that matches your current fitness. Check official conditions and weather, carry the Ten Essentials, leave a trip plan with someone, and give yourself enough time to turn around before dark.
What gear do I need for hiking?
For a day hike, carry appropriate footwear and clothing plus the Ten Essentials: navigation, sun protection, insulation, illumination, first aid, fire, repair tools, food, hydration, and emergency shelter. Add trip-specific gear for heat, snow, insects, wildlife, water crossings, or other hazards.
Do I need hiking boots for my first hike?
Not necessarily. Comfortable hiking shoes or trail shoes with good traction can work well on many easy, maintained trails. Boots may be preferable for rough terrain, mud, snow, heavier packs, or hikers who want more ankle coverage. Fit and traction matter most.
How do I stay safe while hiking?
Choose a route within your ability, check official conditions and weather, carry the Ten Essentials, stay oriented, tell someone your plan, respect wildlife, and turn around when conditions, daylight, water, or your physical condition stop matching the plan.
What should I do if I get lost while hiking?
Stop and stay calm. Use your map, compass, GPS, and landmarks to identify your location. Retrace your steps only if it is safe and you are confident about the route. If you cannot safely self-rescue and have contacted rescuers, stay put unless an immediate danger requires you to move.
What are some beginner-friendly hiking trails?
Beginner-friendly trails are usually shorter, clearly marked, well maintained, and modest in elevation gain, with easy access and a simple return route. Local parks, nature reserves, ranger-led hikes, and easy day-hike sections of larger trail systems are good places to look.
How much water should I bring?
There is no single amount that fits every hike. Heat, altitude, humidity, exertion, route length, and water availability all change your needs. Start hydrated, carry enough for the planned trip plus a margin, and know whether reliable water treatment is needed for additional sources.
Sources
- National Park Service — Hike Smart — trip planning, Ten Essentials, water, food, pacing, wildlife, and general hiking safety.
- National Park Service — 2026 Bear Safety Reminder — current general precautions for hiking in bear country.
- Leave No Trace — The 7 Principles — minimum-impact outdoor practices.
- Appalachian Trail Conservancy — 2026 Official Mileage — current 2026 A.T. length.
- Pacific Crest Trail Association — Discover the Trail — official PCT length and route overview.
- Yosemite National Park — Yosemite Valley Trails — John Muir Trail distance and elevation-gain figures.