
Last Updated on August 21, 2026 by Caleb Warren
If your electric scooter isn’t charging, check the outlet, charger, cable, and connectors first. Look for frayed wires, bent pins, loose plugs, or a bad charger LED. Then inspect and clean the charging port for dirt, corrosion, or damage. Test the battery voltage and fuse with a multimeter, and check for swelling, heat, or leaks — signs that call for extra caution, not just a repair step. If those parts look fine, inspect the wiring and BMS, since a fault there can stop charging too.
Quick Answer
An electric scooter usually won’t charge because of a faulty charger, a dirty or damaged charging port, a drained or failing battery, a blown fuse, or a Battery Management System (BMS) that has cut off charging to protect the pack. Work through each part with a multimeter before assuming the battery itself is dead.
Key Takeaways
- Start with the cheapest, easiest checks first: outlet, charger, and cable.
- A dirty or corroded charging port is one of the most common — and easiest to fix — causes.
- Use a multimeter to test charger output and battery voltage before replacing parts.
- Cold or hot battery temperatures can block charging even when nothing is actually broken.
- Never charge an unattended or overnight battery, and stop immediately if you notice swelling, heat, or a chemical smell.
At a Glance
| Time Required | 15–30 minutes for the basic checks (outlet, charger, port, fuse) |
| Difficulty | Easy for charger/port checks; moderate to advanced for wiring or BMS work |
| Tools Needed | Multimeter, compressed air, a known-good replacement charger, spare fuse |
| Cost | Free (cleaning, resets) to roughly $15–$60 for a replacement charger or fuse; more for battery or BMS replacement |
Disclosure: As an Amazon Associate I earn from qualifying purchases. Some links on this page are affiliate links, at no extra cost to you.
Why Your Electric Scooter Won’t Charge
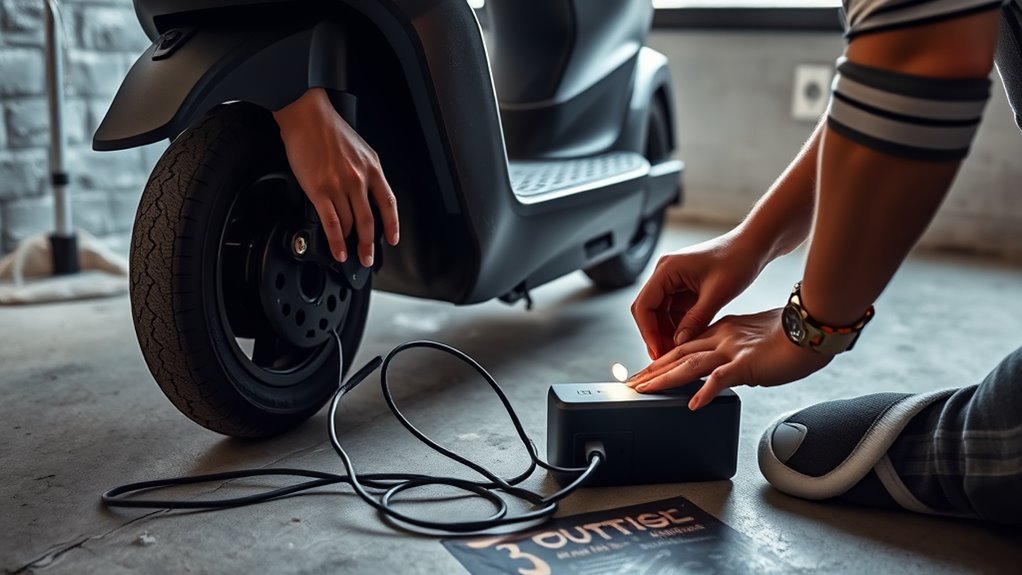
If your electric scooter won’t charge, the problem usually comes down to the charger, cable, battery, or charging circuit. Start with battery maintenance in mind: an old, over-discharged battery may no longer accept energy. Check the charging port for dirt or corrosion, since contamination can block the connection you need. Then inspect the battery area and controller for loose plugs, burnt wires, or other visible damage that can break the charging path. Your scooter’s battery management system can also stop charging on purpose, as a safety measure, if it detects a problem. Test charger output with a multimeter as one of your first troubleshooting steps; zero or very low voltage points to a faulty unit. Work through the circuit systematically so you isolate the real cause instead of guessing.
Check the Charger, Cable, and Outlet
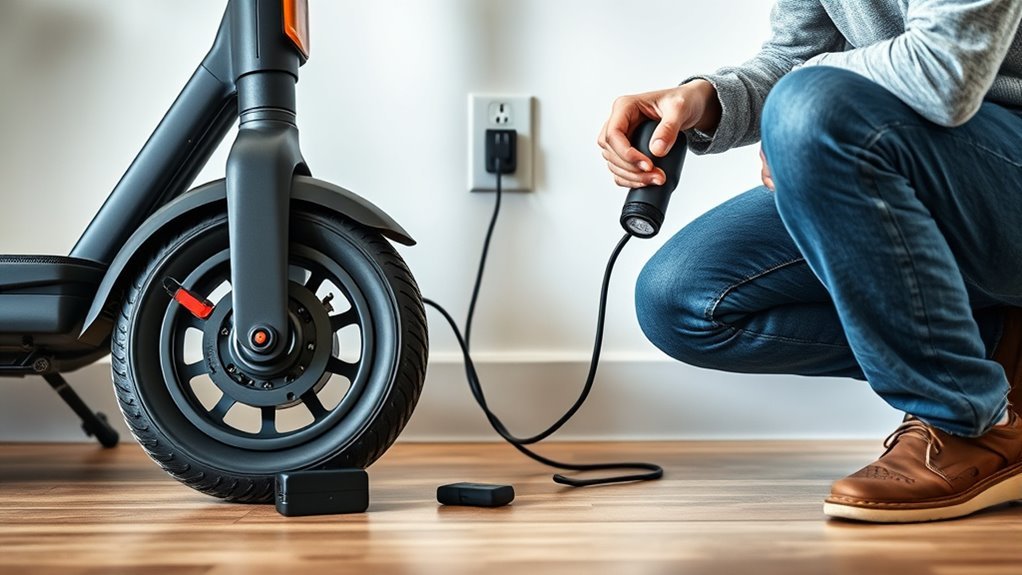
Start with the simple external checks: test the outlet with another device to confirm it’s supplying power, then inspect the charging cable for frayed wires, bent connectors, or other visible damage that can interrupt current flow. If the outlet fails, you’ve found the source. If the cable looks compromised, replace it before you continue.
Warning: Always unplug the charger from both the wall and the scooter before inspecting or handling any part of the charging system. Only use the charger that came with your scooter or one explicitly approved by the manufacturer — the U.S. Consumer Product Safety Commission has warned that mismatched or “universal” chargers used with e-scooters and similar devices carry a fire risk.
- Look at the charger’s LED: green usually means normal operation.
- No light or a red light points to a charger fault.
- Try a different, manufacturer-approved charger to isolate the problem.
These checks help you decide whether the charger or scooter needs attention. If a known-good charger works, your original unit is likely defective. If it doesn’t, the issue may lie elsewhere. Clean the charging port regularly to clear dust and debris, because a clean connection supports reliable charging.
Inspect the Charging Port
Next, inspect the charging port for dirt, debris, corrosion, or bent pins that could block a proper connection. Look closely for cracks, wobble, or other physical damage, because a loose or damaged port often causes common charging issues. If the port is removable, disconnect it and check for loose wiring or hidden internal damage. Use a multimeter with the charger plugged in to verify the port is actually receiving voltage. That test helps you separate a port fault from a deeper power problem. Clean the port carefully with compressed air to clear dust and debris without forcing anything inside.
Pro Tip: Make port cleaning part of routine maintenance — a quick check every few weeks catches corrosion before it turns into a full charging failure.
Test the Battery and Fuse
Test the battery with a multimeter while it’s unplugged to see whether its voltage is considerably below the rated level, which can point to a battery failure. If it reads low, don’t assume the charger’s at fault; you may need deeper battery maintenance. Check the battery case for bulging, cracks, or leaks, because physical damage signals degradation and weak charging performance. If the pack shows signs of over-discharge rather than damage, a slow, low-current charge from a compatible charger can sometimes recover some capacity.
- Measure voltage against the manufacturer’s rating.
- Inspect the fuse under the deck near the battery.
- Replace any blown fuse with an exact match.
A broken metal strip inside the fuse means it has failed, and replacement is necessary. Use only the original specification so you don’t create new faults.
Check Wiring and the Battery Management System
If the battery and fuse check out, move on to the wiring and the battery management system (BMS). Start a wiring inspection by looking for frayed wires, pinched insulation, loose terminals, or corrosion at the battery, charger, and BMS connections. Any bad contact can block charging or create heat. Clean debris, tighten fittings, and replace damaged leads before you test again. Then consider the BMS itself, because a faulty BMS can stop charging to protect the pack — or fail and put the pack at risk. Use a multimeter to measure voltage at the battery terminals; if the reading sits well below the rated voltage, suspect a battery fault or BMS issue. Diagnosing a BMS fault precisely usually requires professional tools, so this is a good point to consult a qualified technician if the simpler checks haven’t solved the problem.
Charging Temperature and Battery Storage
Temperature is one of the most overlooked reasons a scooter refuses to charge. Lithium-ion batteries are built with safety cutoffs that block charging outside a safe temperature window, so a scooter that’s been sitting in a cold garage or a hot car may simply refuse to accept a charge until it warms up or cools down.
Note: U.S. Fire Administration guidance recommends not charging lithium-ion batteries below about 32°F (0°C) or above about 105°F (40°C), and storing them at room temperature when possible.
If your scooter won’t charge and it’s been left somewhere very cold or very hot, bring it inside to a moderate room temperature, let it sit for 20–30 minutes, and try again before assuming a hardware fault.
Lithium-Ion Battery Safety While Charging
Because scooters run on lithium-ion packs, safe charging habits matter as much as fixing the fault itself. The U.S. Consumer Product Safety Commission advises always being present while a micromobility device charges and never charging it overnight or while you’re away from home, since battery-related fires have repeatedly occurred while devices charged unattended.
Warning: Stop charging and disconnect the battery immediately if you notice swelling, an unusual smell, discoloration, leaking fluid, excessive heat, or hissing or popping sounds. Move the scooter away from anything flammable and do not attempt to open, puncture, or continue using a damaged pack. Take a damaged or recalled battery to a battery recycler or hazardous waste facility rather than the trash.
These aren’t signs to panic over silently — they’re signs to stop, disconnect, and get professional help rather than keep troubleshooting on your own.
Frequently Asked Questions
Why is my electric scooter not charging?
Most often it’s a bad charger, a damaged cable, a dirty or corroded port, a blown fuse, an aging battery, or a BMS that has cut off charging to protect the pack. Cold or hot temperatures can also block charging even when nothing is damaged. Work through each part with a multimeter to find the actual cause.
How do I reset an electric scooter’s battery or BMS?
Turn the scooter off, unplug the charger from both the wall and the scooter, and wait 10–15 minutes before reconnecting. Some models have a dedicated power-button reset sequence or a physical reset button near the battery — check your owner’s manual, since the exact steps vary by brand and model.
Is it worth fixing an electric scooter that won’t charge?
Usually yes, if the fault is a charger, cable, port, or fuse — these are inexpensive to replace. Battery or BMS replacement costs more, so weigh that against the price of a new scooter before committing to a repair.
How do I manually charge my scooter’s battery?
Use only the charger designed for your scooter, connect it to the scooter first and then to the outlet, and match the polarity and voltage exactly as specified by the manufacturer. Never improvise with a mismatched charger, and stay nearby while it charges.
Is it safe to charge my electric scooter overnight?
No. Safety agencies including the CPSC recommend staying present while a scooter charges and never leaving it charging overnight or unattended, since battery fires have occurred while people slept.
Conclusion
If your electric scooter still won’t charge, you’ve got a clear troubleshooting path: check the charger, cable, outlet, charging port, battery, fuse, wiring, and battery management system — and don’t overlook temperature. Test each part methodically rather than guessing, since a small fault can shut the whole system down like a single broken link in a chain. If you spot swelling, heat, or a chemical smell at any point, stop and disconnect the battery rather than continuing to troubleshoot. If the problem persists after the basic checks, contact a qualified technician.
Sources
- U.S. Consumer Product Safety Commission — Micromobility Safety Center — guidance on safe charging habits and unattended-charging risk
- U.S. Fire Administration — Battery Fire Safety — safe charging temperature range and battery warning signs
- National Fire Protection Association — Lithium-Ion Battery Safety — causes and dangers of lithium-ion battery fires
- CPSC — Warning on Universal Chargers for Micromobility Products — risk of using non-manufacturer chargers
