
Last Updated on September 10, 2026 by Daniel Globe
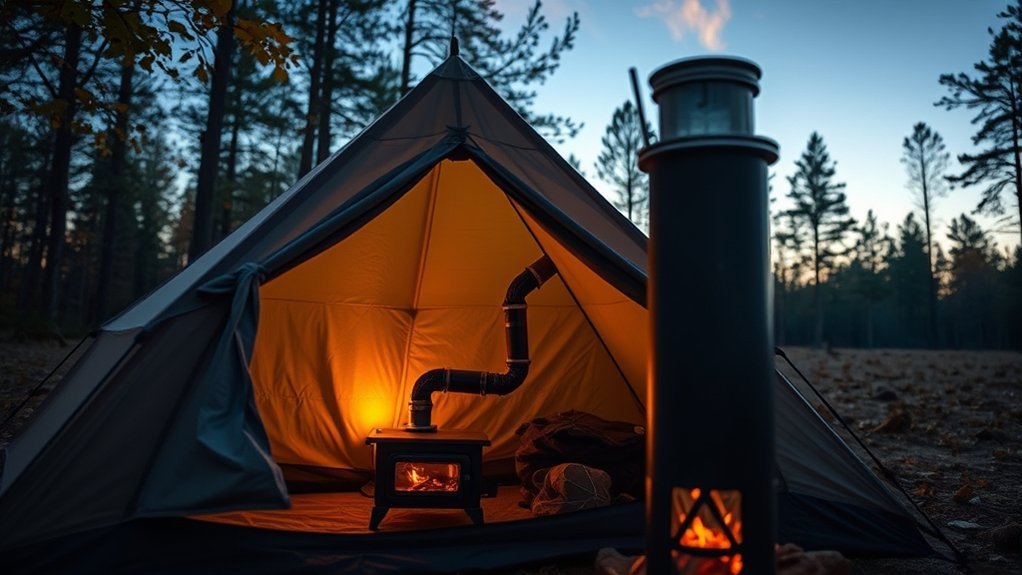
A wood-burning tent stove can make cold-weather camping far more comfortable, but only when every part of the system is compatible and installed according to its manufacturer’s instructions. Safe use depends on proper clearances, a stable stove, an approved stove jack, an unobstructed chimney, working carbon monoxide and smoke alarms, continuous supervision, and compliance with current fire restrictions.
Quick Answer
Use a tent stove only in a tent approved for that stove system. Follow the greatest clearance listed in the tent, stove, pipe, stove-jack, and heat-shield instructions. Cure a new stove outdoors, provide continuous ventilation, use working CO and smoke alarms, keep an extinguisher nearby, and never leave the fire unattended.
Key Takeaways
- There is no universal safe clearance for every tent stove. Use the largest distance required by the manuals for your complete system.
- Never place a stove in an ordinary tent or modify a tent unless its manufacturer expressly approves the installation.
- Perform all paint-curing burns outdoors before installing a new stove in the tent.
- Use a spark arrestor, but do not treat it as proof that the stove is legal during a fire restriction.
- Keep the stove attended, ventilate the tent, and leave immediately if a CO alarm sounds or anyone develops possible CO symptoms.
At a Glance
| Time Required | Varies by stove system, campsite, and experience; allow enough daylight to complete every safety check without rushing |
| Difficulty | Moderate; first-time users should practice assembling and operating the stove outdoors |
| Tools Needed | Heat-resistant gloves, eye protection, approved hearth mat, hand tools specified by the manual, level, chimney brush, CO alarm, smoke alarm, and suitable fire extinguisher |
| Cost | Variable; approved stove-jack, pipe, shielding, alarm, and fire-safety components are model-specific |
Warning: This guide does not replace the instructions supplied with your tent, stove, chimney, stove jack, heat shield, or alarms. If two instructions give different clearances or operating limits, follow the more restrictive requirement and contact the manufacturer before lighting the stove.
Disclosure: As an Amazon Associate I earn from qualifying purchases. Some links on this page are affiliate links, at no extra cost to you.
Importance of Proper Stove Installation and Pre-Installation Planning
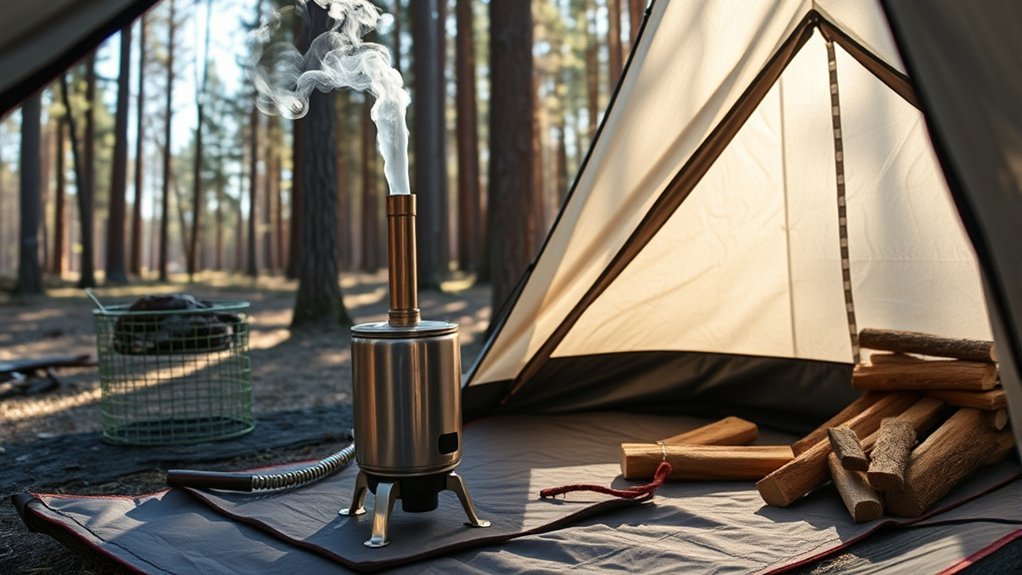
Safe installation begins before you arrive at the campsite. Confirm that the tent manufacturer allows a wood-burning stove in your exact tent model and that the stove, chimney diameter, stove jack, flashing, heat shielding, and other required parts are compatible.
Do not assume that any canvas tent can safely hold a stove. For example, Springbar approves wood-stove use only in specified tent models with the required hot-tent components and warns against modifying its other tents. Cutting a stove-jack opening into an unapproved tent can create a fire hazard and may void the warranty.
Read every manual at home. Record the required clearances around the stove body, door, chimney, stove-jack opening, roof, floor, fuel, bedding, and other combustible items. When requirements differ, use the greatest distance. Some systems require far more than six inches; the published guidance for one Winnerwell stove recommends at least 18 inches from combustible material.
Check the rules for the campsite immediately before travel. A spark arrestor does not override a campground ban, permit requirement, air-quality restriction, or wildfire closure. Restrictions can change with little notice and may prohibit wood-burning stoves while still allowing certain gas appliances. A July 2026 Forest Service restriction, for example, prohibited wood stoves throughout Mount Baker-Snoqualmie National Forest.
Pro Tip: Assemble the complete stove and chimney outdoors at home before the trip. This practice run helps you find missing pipe sections, fasteners, guy lines, tools, and incompatible parts before you reach a remote campsite.
Essential Tools, Supplies, and Understanding Clearances
Pack the safety equipment required by the stove and tent manufacturers rather than relying on a generic kit. At a minimum, most safe setups need protective equipment, floor protection, alarms, fire-control equipment, and the correct tools for the chimney connections.
Required Tools Overview
- Heat-resistant gloves: Use them when operating the door, damper, pipe, spark arrestor, or hot cookware.
- Safety glasses: Wear them during assembly, pipe cleaning, and ash removal.
- Approved hearth mat or floor protector: It must meet the dimensions and temperature limits specified for the stove system.
- Correct hand tools: Bring the wrench, screwdriver, fasteners, stakes, pipe rings, or clamps specified in the manual.
- Small level: Use it to verify that the stove will not rock or tip.
- Battery-powered carbon monoxide alarm: Position and operate it according to the alarm manufacturer’s instructions.
- Smoke alarm: Keep it far enough from normal stove heat and startup smoke to work correctly, following its instructions.
- Suitable fire extinguisher: Keep it visible, accessible, protected from freezing when required, and within its inspection date.
- Chimney brush and ash tools: Use tools sized for your pipe without damaging it.
- Approved spark arrestor: Match it to the exact pipe diameter and connection type.
- Pipe supports or guy lines: Use them when required to keep the chimney stable in wind.
CanvasCamp’s stove safety guidance recommends keeping a fire extinguisher nearby and installing both a carbon monoxide alarm and a smoke detector.
Clearance Specifications Explained
Clearance is the open space required between a hot component and anything that can burn, melt, scorch, or trap heat. Canvas, synthetic fabric, bedding, clothing, dry firewood, furniture, bags, guy lines, and personal gear should all be treated as combustible unless their manufacturer says otherwise.
Do not use a blanket six-inch rule. The minimum safe distance depends on the stove’s heat output, door orientation, chimney design, tent slope, stove-jack location, shielding, floor system, and tested installation. A heat shield may reduce a clearance only when the relevant manufacturer expressly permits that reduction and explains how the shield must be installed.
Maintain a broad no-storage zone around the stove whenever the tent provides enough room. Keeping loose gear several feet away is a useful additional precaution, but it does not replace a larger clearance stated in a manual. Never stack firewood against the stove, behind a heat shield, beneath the chimney, or where a rolling ember could reach it.
Note: “Fire-resistant” does not mean “fireproof.” A hearth mat or treated canvas can still be damaged by prolonged heat, direct flame, an overloaded stove, or a hot ember.
Step-by-Step Installation Process and Flue Pipe Assembly
-
Choose a safe site. Pitch the tent on stable ground away from dead grass, low branches, brush, and other fuel. Consider the prevailing wind and avoid positioning the chimney where sparks or smoke will blow directly onto the roof, nearby tents, or vegetation.
-
Pitch the tent completely. Stake and tension the shelter before placing the stove. A loose wall or sagging roof can move closer to hot metal after the stove is lit.
-
Install the floor protection. Lay the approved hearth mat flat and extend it in every direction required by the stove and tent instructions, especially in front of the loading door where embers may fall.
-
Assemble and level the stove. Lock the legs and shelves into their operating positions. Place the stove on the protected area, verify that it does not rock, and anchor it if the manufacturer supplies or recommends anchors.
-
Align the stove with the approved stove jack. The stove and chimney should sit naturally beneath the exit without forcing the pipe sideways. Maintain every required clearance from the tent wall, roof, center pole, door, bedding, and gear.
-
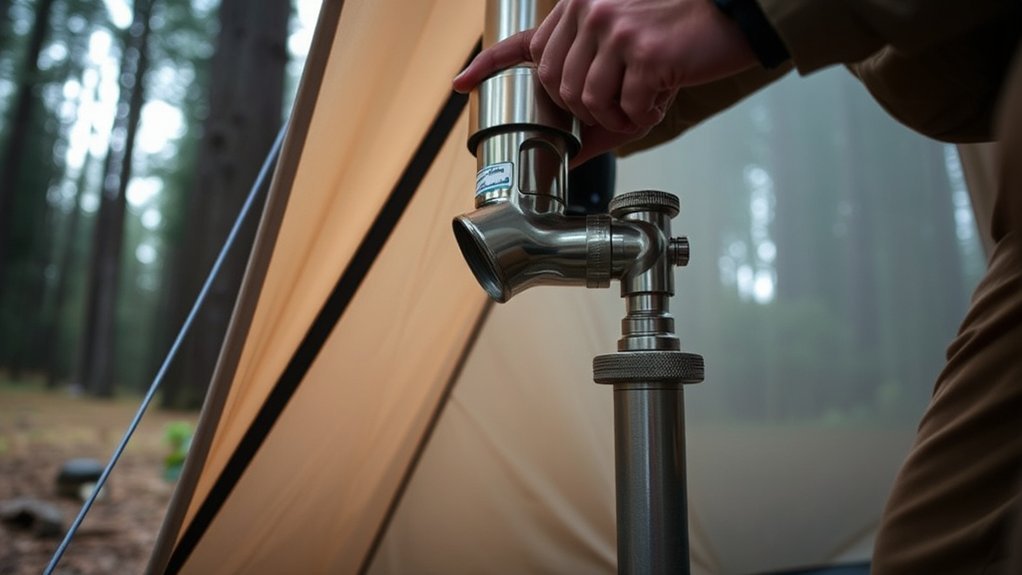
Assemble the chimney according to its manual. Pipe-joint direction differs among nested stainless sections, conventional connector pipes, double-wall sections, and roll-up titanium chimneys. Do not rely on a universal “male end up” or “male end down” rule. Seat each joint fully and install every required screw, clamp, ring, or locking mechanism.
-
Pass the chimney through the stove jack. Only the approved pipe or insulated section should pass through the opening. Bare single-wall pipe must not touch ordinary tent fabric. Keep the removable stove-jack flap and guy lines away from the chimney.
-
Support the chimney. Install the manufacturer’s support, guy lines, or stabilizer so wind cannot pull the pipe apart or press it against the stove jack. Do not make the chimney taller than the system can safely support.
-
Install the spark arrestor and weather cap. Confirm that both fit the pipe and remain accessible for inspection. An arrestor must not be so restrictive that it weakens the draft or clogs rapidly.
-
Install the alarms and extinguisher. Test the CO and smoke alarms using their test buttons. Place the extinguisher where a person can reach it while moving toward the tent exit—not where a stove fire could block access.
-
Open the required ventilation. Use the tent vents, windows, or door opening specified for occupied stove use. Do not seal the tent tightly to retain heat.
-
Complete a cold inspection. Check the stove door, damper, legs, pipe joints, stove jack, spark arrestor, alarms, extinguisher, clearances, and exit route before lighting anything.
Final Checks, Curing the Stove, and Fire Safety
A new painted stove should not be cured inside the tent. Coatings may soften, smoke, or release strong odors during their first heating cycles. Complete the manufacturer’s full curing process outdoors, let the stove cool, and inspect it before installing it in the shelter.
Verify Stove Stability
Press gently on the cold stove from several directions. The legs must remain locked, the floor protector must lie flat, and the body must not wobble. Confirm that loading the firebox or placing approved cookware on top will not make the stove unstable.
Inspect each chimney joint and support. The pipe should not lean on the stove jack or pull sideways against the stove collar. Make sure wind, snow loading, a moving tent wall, a person brushing past, or an opened stove door cannot tip the system.
Perform Curing Process
Follow the exact curing schedule in the stove manual. A typical process uses several outdoor burns, allowing the stove to cool between them. CanvasCamp directs users to cure stove paint outdoors, beginning with a small fire and progressing through larger burns.
Keep the outdoor stove on a noncombustible surface with the chimney installed as directed. Avoid touching softened paint, placing cookware on the surface, or moving the stove until it has cooled completely. Do not bring the stove into the tent while curing smoke or odor remains.
Ensure Proper Ventilation
A wood fire consumes oxygen and can produce carbon monoxide. Keep the tent’s required vents open throughout operation, even in very cold weather. Ventilation cannot compensate for a blocked chimney, leaking pipe, unsuitable stove, or incorrect installation.
Carbon monoxide is colorless and odorless. Do not rely on smell, headache, or visible smoke as your only warning. Use a working battery-powered alarm and follow its placement, temperature, humidity, testing, and replacement instructions. The U.S. Consumer Product Safety Commission recommends testing CO alarms monthly; also test the alarm before each trip and after replacing its batteries.
Warning: If a CO alarm sounds, or anyone develops headache, dizziness, weakness, nausea, chest pain, confusion, or unusual sleepiness, get everyone into fresh air immediately and call emergency services. Do not re-enter the tent to troubleshoot until the danger has been addressed.
Safe Lighting and Operation
Use only the fuel approved by the stove manufacturer. For most wood-burning tent stoves, that means clean, dry, seasoned firewood. Wet or green wood tends to smoke more and can accelerate soot and creosote deposits. Do not burn trash, treated lumber, plastics, painted wood, coal, charcoal, or other materials unless the manual specifically permits them.
Never use gasoline, lighter fluid, alcohol, or another liquid accelerant to start or revive the fire. Begin with dry tinder and kindling while the air control and any startup damper are positioned as the manual directs. Add larger pieces gradually after a stable draft develops.
Keep the loading door closed except when tending the fire. Before opening it, fully open the appropriate air control or bypass if the manual directs you to do so. Crack the door open slowly, pause while the draft pulls smoke toward the chimney, and then open it far enough to add fuel. This reduces the chance of smoke and embers spilling into the tent.
Do not overload the firebox or operate the stove above its rated temperature. Warning signs of overfiring include glowing-red metal, a roaring fire that cannot be controlled, warping, unusual ticking or popping, and excessive chimney temperature. If overfiring occurs, stop adding fuel, close the door, adjust only the controls permitted by the manual, keep everyone away from the stove, and be ready to evacuate.
Maintain continuous adult supervision. Do not leave the tent, become impaired, or go to sleep while the stove is burning if doing so would leave it unattended. Keep children and pets behind an approved barrier and teach everyone that the stove, chimney, door handle, cookware, and nearby metal can cause severe burns.
A CO alarm and spark arrestor are backup protections—not permission to ignore an incompatible tent, blocked chimney, inadequate ventilation, fire restriction, or unattended stove.
Routine Maintenance and Precautions
Maintenance frequency depends on the stove, fuel, burn temperature, chimney design, weather, and amount of use. Inspect more often after smoky burns, damp wood, prolonged low-temperature operation, or any sign of weak draft. Follow the shortest cleaning interval given in your manuals.
| When | Checks and Maintenance |
|---|---|
| Before every fire | Inspect the pipe, joints, stove jack, supports, spark arrestor, damper, door latch, floor protector, clearances, vents, alarms, and extinguisher. |
| During operation | Watch for smoke leakage, reduced draft, unusual odors, glowing metal, movement, loose supports, alarm activation, or falling embers. |
| After each fire | Allow the stove to cool, remove ash safely, and check the spark arrestor and pipe for deposits, damage, or blockage. |
| At the manual’s burn-hour interval | Disassemble and brush the chimney as directed. Some Winnerwell guidance uses approximately 20 burn hours, but your system may require a different interval. |
| Before each trip | Check corrosion, cracks, warping, missing fasteners, alarm batteries, extinguisher condition, current fire rules, and component compatibility. |
| End of season | Clean and dry every component, repair approved finishes, replace damaged parts, and store the system where moisture cannot cause rust. |
Do not continue using a cracked, badly corroded, warped, or unstable stove. Replace damaged chimney sections rather than trying to straighten, tape, or patch them with materials not approved for high-temperature stove use.
Understanding the Importance of a Spark Arrestor
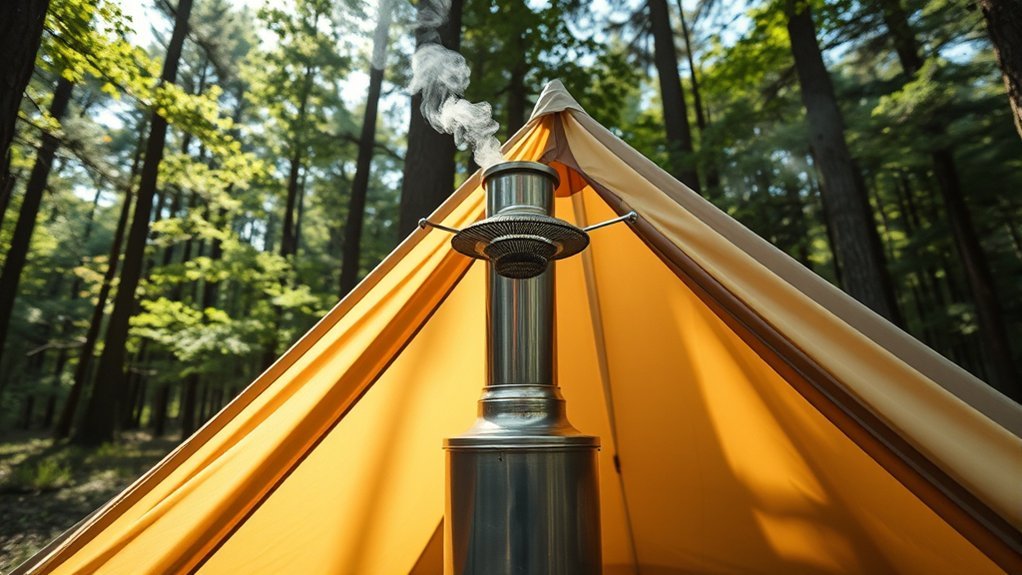
A spark arrestor is a mesh or perforated component fitted near the chimney outlet. It helps catch larger embers before they leave the pipe and land on the tent, dry vegetation, or nearby equipment. It is an important layer of protection, but it cannot capture every tiny spark or make an unsafe installation safe.
The arrestor also affects chimney flow. Soot, creosote, ash, ice, or debris can block its openings, weaken the draft, and push smoke back toward the tent. Inspect it before every fire and whenever the stove begins smoking unusually.
The Benefits of Using a Spark Arrestor
A correctly fitted arrestor reduces the number and size of hot embers released from the chimney. This can lower the chance of pinholes in the tent roof and reduce ignition risk around dry grass, leaves, branches, neighboring shelters, and stored equipment.
It also provides a visible inspection point at the chimney outlet. A heavily coated arrestor can warn you that the fuel is damp, the stove is burning too cool, the chimney needs cleaning, or the arrestor design is too restrictive for the setup.
However, an arrestor does not guarantee compliance with fire rules. Some jurisdictions specify an approved mesh size or design, while others prohibit wood stoves during high fire danger regardless of the arrestor. Confirm current requirements with the campground or land manager.
Choosing the Right Spark Arrestor
Choose the arrestor listed or supplied for your stove and chimney. Match the exact pipe diameter, material, connection type, temperature rating, and installation method. Do not force an undersized arrestor onto the pipe or balance an oversized one loosely on top.
The attachment must withstand wind and repeated heating without slipping off. Use only the locking tabs, screws, clamps, pipe rings, or guy points approved by the manufacturer. Do not drill the pipe, add hardware, or substitute window screen unless the stove manufacturer permits that modification.
Make sure the arrestor remains reachable after installation. You must be able to inspect and clean it after the system is completely extinguished and cool.
Maintenance and Precautions for Spark Arrestors
Inspect the spark arrestor before every fire and clean it whenever deposits begin to narrow its openings. The correct cleaning interval varies, so do not wait for a fixed number of trips if the stove begins drafting poorly.
| Action | Frequency | Purpose |
|---|---|---|
| Inspect the openings | Before every fire | Find soot, creosote, ash, ice, nests, or other blockage |
| Clean the arrestor | After use when deposits are present, or at the manual’s interval | Maintain draft and reduce smoke spillage |
| Check the attachment | At setup and during cold inspections | Prevent the arrestor from loosening in wind |
| Replace damaged parts | Immediately | Restore the approved fit and ember-control function |
Allow the stove and chimney to cool completely before removing the arrestor. Wear gloves and eye protection because soot and creosote can fall from the mesh during cleaning.
Tent Stove Troubleshooting
Smoke Enters the Tent
Stop adding fuel and keep the stove door closed. Open the required tent ventilation and move people into fresh air if smoke is accumulating. When it is safe to do so, check for a clogged spark arrestor, blocked chimney, closed damper, poor pipe connection, wet fuel, wind-driven downdraft, or a tent wall pressing against the stove-jack area.
Do not continue operating the stove until you identify and correct the cause. Never disconnect a hot chimney inside the tent.
The Stove Has Weak Draft
Weak draft may cause slow ignition, dark smoke, soot, and smoke spilling from the door. Verify that the air controls and damper are in their startup positions, the chimney is fully assembled, and the arrestor and pipe are clear. Use dry fuel and establish a small hot fire rather than filling a cold firebox with large logs.
The Stove or Pipe Glows Red
Glowing metal indicates dangerous overheating. Do not add fuel or open the loading door. Keep people and gear away, use only the control adjustments allowed by the manual, watch for fire spreading to the stove jack or tent, and prepare to evacuate. Have the stove inspected for warping or other heat damage before using it again.
The Carbon Monoxide Alarm Sounds
Get everyone outside into fresh air immediately. Call emergency services and follow the alarm manufacturer’s instructions. Do not silence the alarm and remain in the tent, and do not assume that opening a window makes it safe to continue sleeping or operating the stove.
Emergency Shutdown, Fire, and Ash Safety
Keep the path to the tent door clear at all times. Everyone in the tent should know where the extinguisher is, how to leave quickly, and where to meet outside.
If the tent, stove jack, chimney, nearby gear, or vegetation catches fire, evacuate immediately and call emergency services. Use the extinguisher only when the fire is small, you have a clear exit behind you, and you can operate it without approaching a failing chimney or spreading tent fire.
If you suspect a chimney fire because of roaring pipe noise, intense vibration, flames at the chimney outlet, or glowing sections, keep the stove door closed, evacuate, and call for help. Do not climb onto the tent, strike the chimney, or pour water into a dangerously hot stove.
For normal shutdown, stop adding fuel and allow the fire to burn down while it remains attended. Follow the manual for air-control settings. Do not pack, move, or disassemble the stove until every component and all ash are completely cool.
Place cooled ash in a metal container with a tight-fitting lid. Hot coals can remain hidden under gray ash for many hours, so never dump ash beside the tent, into dry vegetation, in a plastic bag, or into ordinary campsite trash while heat remains.
Frequently Asked Questions
How do I know if my tent is suitable for a stove?
Breathable fabric alone does not make a tent stove-safe. Check whether the tent manufacturer approves a wood stove in your exact model and specifies a compatible stove jack, pipe system, clearances, ventilation, floor protection, and other required components. Do not install a stove in an ordinary tent merely because it has vents or mesh panels.
Can I use a tent stove indoors?
Use a wood-burning tent stove only inside a compatible hot tent or shelter approved for that complete vented stove system. Do not use it in a house, vehicle, ordinary tent, or another unapproved enclosure. Portable gas camp stoves, charcoal appliances, and similar unvented devices must not be used inside a tent; the CDC warns that they can produce deadly carbon monoxide.
What should I do if I smell smoke?
Keep the stove door closed, stop adding fuel, increase the required ventilation, and move people outside if smoke is building up. Once conditions are safe, check the chimney, spark arrestor, damper, joints, fuel, and wind exposure. Remember that carbon monoxide has no smell, so the absence of smoke odor does not prove the air is safe.
How often should I test my carbon monoxide alarm?
Test it with the test button before each camping trip, after replacing batteries, and at the frequency stated by its manufacturer. The U.S. Consumer Product Safety Commission’s general recommendation is to test CO alarms monthly. Replace batteries and the alarm itself according to the device instructions and expiration date.
What are signs of a malfunctioning tent stove?
Warning signs include smoke leaking into the tent, weak draft, rapid soot buildup, a door that will not latch, loose pipe joints, cracked or warped metal, unstable legs, uncontrollable burning, glowing-red components, repeated alarm activation, or unusual chimney noises. Extinguish the stove safely and stop using it until the cause is corrected.
Can I sleep while the tent stove is burning?
A stove that must remain attended should not be left burning while everyone sleeps. Let the fire go out before sleeping unless the manufacturer expressly permits a different procedure and continuous responsible supervision is maintained. A CO alarm does not replace attendance.
Does a spark arrestor make a tent stove legal during a fire ban?
No. A spark arrestor may be required, but fire restrictions can still prohibit wood-burning stoves completely. Check the current rules issued by the campground, park, forest, land-management agency, county, and state before lighting the stove.
Conclusion
Safe hot-tent camping depends on the complete system, not one accessory or rule of thumb. Confirm that the tent and stove are compatible, follow the strictest manufacturer clearance, cure the stove outdoors, stabilize and support the chimney, maintain ventilation, use working CO and smoke alarms, and keep the fire attended.
Inspect the stove, pipe, and spark arrestor before every fire, clean them at the required intervals, and stop operating the stove whenever smoke leakage, poor draft, overheating, damage, or an alarm indicates a problem. Finally, check current fire restrictions before every trip—a well-installed stove is still unsafe and unlawful when local conditions prohibit its use.
Sources
- Springbar Tent/Stove Compatibility and Safety — approved tent models, required system compatibility, canvas fire risk, and manufacturer instructions
- Winnerwell Woodlander Double-View Stove Guidance — example combustible clearance, chimney cleaning interval, dry-fuel guidance, and unattended-stove warning
- CanvasCamp Stove Paint Curing, Usage and Safety Guide — outdoor curing, alarms, extinguisher, ventilation, fuel, and supervision
- U.S. Consumer Product Safety Commission: CO Alarms — alarm testing and battery guidance
- CDC Carbon Monoxide Poisoning Basics — odorless CO hazard, chimney blockage, and portable camp-stove warnings
- USDA Forest Service Fire Restriction Order, July 2026 — example of current restrictions prohibiting wood stoves
