
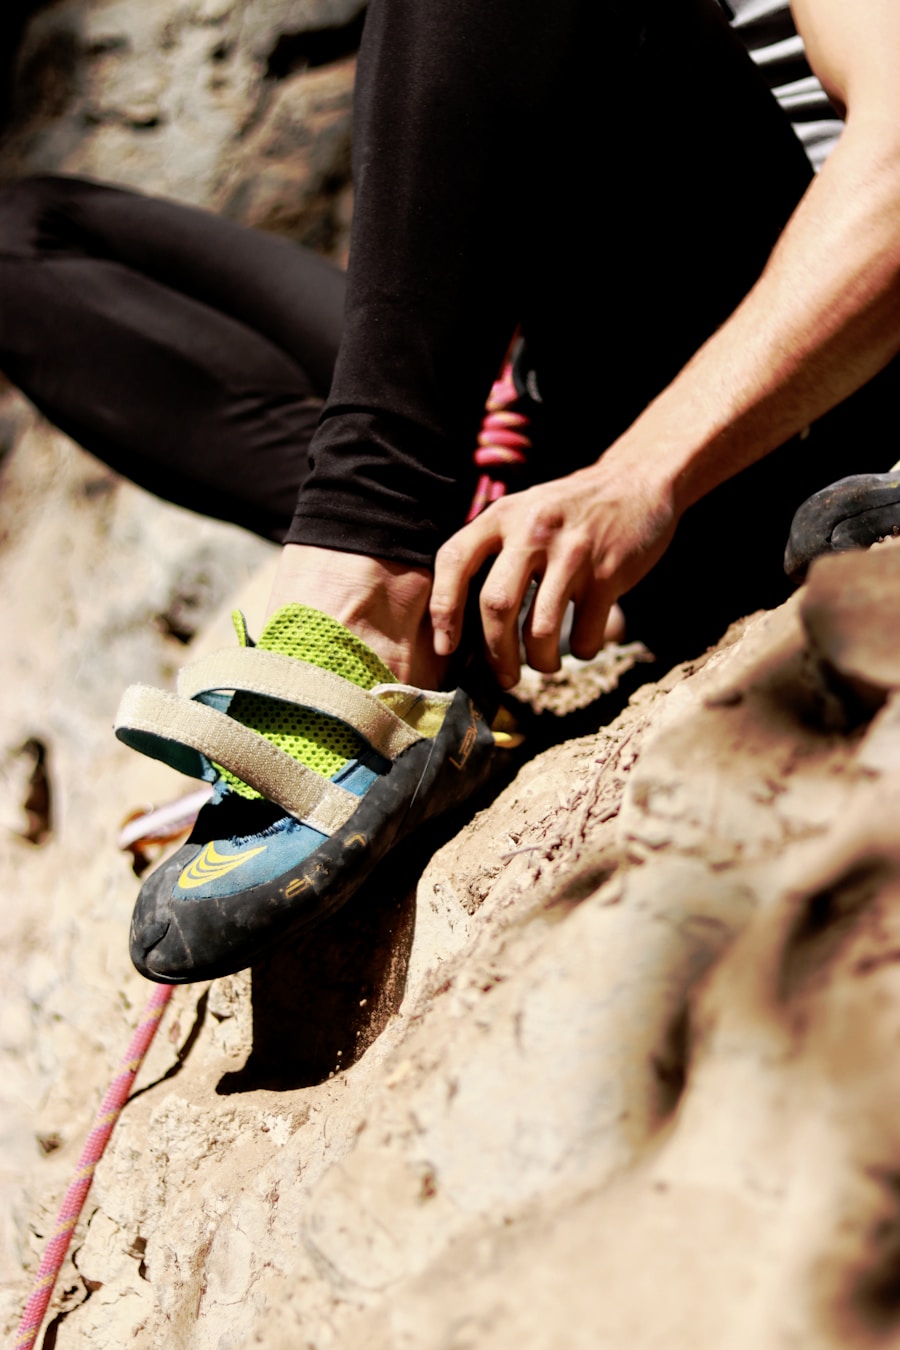
Last Updated on July 27, 2026 by Daniel Globe
Blisters can turn an otherwise enjoyable hike into a painful walk back to the trailhead. Most hiking blisters start with a combination of pressure, rubbing, heat, moisture, and repeated movement inside the shoe. Prevention starts with footwear that fits, socks that stay comfortable and as dry as practical, and quick action the moment a hot spot develops.
Quick Answer
To prevent blisters while hiking, wear properly fitted footwear, keep your socks and feet as dry as practical, and stop as soon as you feel a hot spot. Adjust your laces, remove debris or wrinkles, and protect the irritated area with paper medical tape, moleskin, or another suitable friction barrier before a blister forms.
Key Takeaways
- Choose hiking footwear that holds your heel securely without squeezing your toes or creating pressure points.
- Wear well-fitting hiking socks and carry a dry spare pair on longer or wet hikes.
- Treat a hot spot immediately instead of waiting until it becomes a fluid-filled blister.
- Leave most intact blisters alone. Protect them with padding and a clean dressing.
- If a large, very painful blister must be drained, keep the blister roof intact, clean the area, apply petroleum jelly, and cover it.
- Seek medical care for signs of infection, unexplained recurrent blisters, severe pain, or blisters complicated by conditions such as diabetes or poor circulation.
At a Glance
| Time Required | About 5–10 minutes before a hike; usually 2–5 minutes to address a hot spot on the trail |
| Difficulty | Easy; basic foot care and first aid |
| Tools Needed | Proper footwear, hiking socks, spare socks, paper medical tape or moleskin, clean bandages, petroleum jelly, and basic first-aid supplies |
| Cost | About $5–$20 for basic blister-care consumables, depending on what is already in your first-aid kit |
Note: This guide covers general blister prevention and first aid. It is not a substitute for diagnosis or individualized medical advice, especially if you have diabetes, poor circulation, reduced sensation in your feet, an immune condition, or a wound that may be infected.
Start With Footwear That Fits
Footwear is one of the biggest factors in hiking comfort. Shoes that are too loose can allow the heel or forefoot to slide repeatedly, while footwear that is too tight can concentrate pressure on the toes, sides of the feet, or heel. Either problem can create the rubbing and shear forces that contribute to a blister.
A hiking shoe or boot should hold your heel securely without pinching it. Your toes should have enough space to move naturally and should not repeatedly strike the front of the shoe on descents. Remember that feet can feel tighter in footwear later in a long hike, especially after hours of walking.
The National Park Service recommends appropriate walking footwear for the terrain and specifically lists sturdy footwear and moisture-wicking wool or synthetic socks among useful hiking equipment.
Do not choose footwear only because it is labeled a hiking boot. Trail shoes, hiking shoes, and boots can all work when they provide the traction, fit, protection, and stability appropriate for the route and the individual hiker.
Pro Tip: Test new footwear on several shorter walks before committing to a long hike. Pay attention to heel lift, toe contact on descents, rubbing around the ankle, and any spot that feels hot or tender.
Products Worth Considering
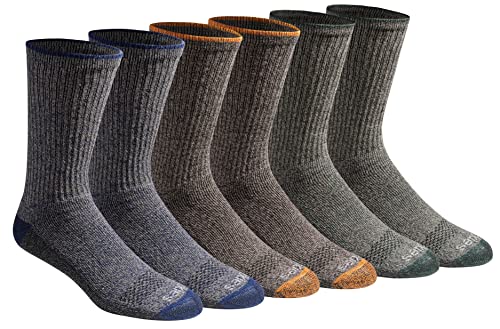
Soft Breathable Moisture Control Fibers

Mid-Crew length sits below the calf for non-restrictive, all day comfort.

Exclusive Wick Dry technology to keep feet dry and avoid the moisture build up that causes blisters.
Socks Matter: Choosing the Right Pair
Socks are easy to overlook, but they affect moisture, cushioning, fit, and how your skin moves against the inside of the shoe. A good hiking sock should fit smoothly without bunching, slipping down, or creating thick folds beneath the foot.
Wool and synthetic hiking socks are popular because they can manage moisture while remaining comfortable during extended activity. The National Park Service recommends wool or synthetic moisture-wicking socks for longer hikes and suggests carrying an extra pair.
However, sock fiber alone does not determine whether a hiker will develop blisters. A 2022 study of 203 long-distance hikers found that finishing the day in wet socks was associated with about 1.94 times the risk of foot blisters, while the proportion of natural versus synthetic fibers was not significantly associated with blistering.
In a 2022 study of long-distance hikers, wet socks were associated with about 1.94 times the risk of foot blisters compared with dry socks.
Thickness matters too. A heavily cushioned sock takes up more room inside a shoe and may make an otherwise good fit too tight. A thinner sock provides more room but less padding. Try the socks with the exact footwear you intend to hike in instead of evaluating either item separately.
Some hikers prefer a thin liner sock under a thicker hiking sock. This can shift part of the rubbing to the interface between the two socks, but it also takes up additional shoe volume. The best arrangement is the one that stays smooth, dry enough, and comfortable without crowding your foot.
Products Worth Considering

Quality Material: Made from a durable blend of 70% wool, 23% polyester, 5% spandex, and 2% nylon, these hiking socks feature an integrated high-efficiency air circulation structure that combines natural warmth with moisture-wicking performance. The innovative HyperVentM System delivers enhanced dynamic zoned mesh ventilation—adapting to movement to boost airflow and keep feet dry and fresh during extended activity

MOISTURE CONTROL FABRIC ; Made of 70% MERINO WOOL, 23% POLYESTER, 5% SPANDEX , 2% NYLON.The material of these wool hiking socks are wear-resistant , durable , and temperature regulation.These thick socks for mens and womens feature an H-system ventilation channels for optimal moisture control, keeping your feet dry and breathable at all times , helping eliminate odor and preventing your feet from stinking.

Composition:Anlisim womens hiking socks are made of 70% Merino Wool, 23% Polyester, 5% Spandex , 2% Nylon,which are wearable and durable.And you can wear them in all season.
Pre-hike Foot Care: Tips for Happy Feet
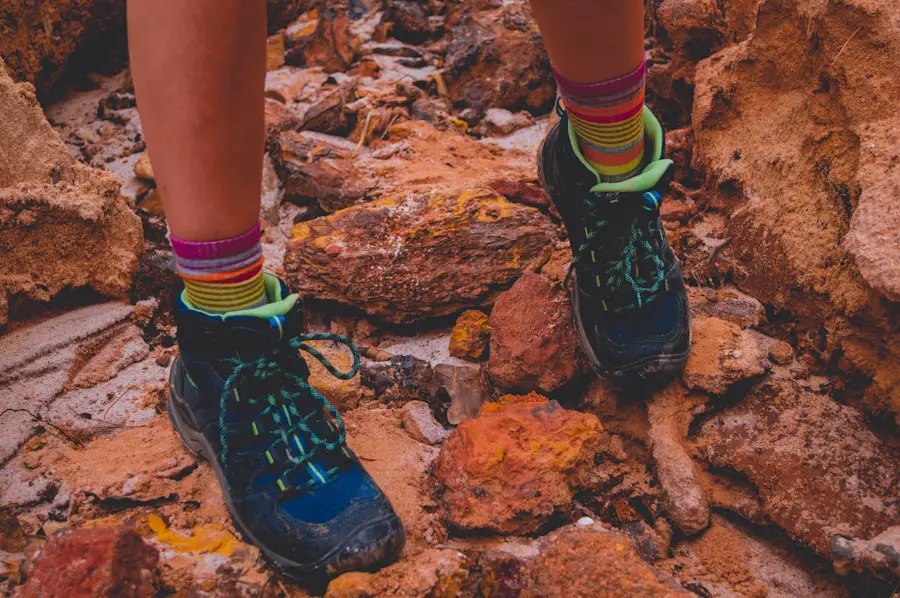
Start with clean, dry feet. Dirt, sand, sock wrinkles, or small pieces of debris can create a concentrated friction point that becomes painful after thousands of steps.
Check your feet before putting on your socks. Pay attention to existing cuts, irritated areas, cracked skin, tender calluses, or spots that blistered on previous hikes. A known problem area can be protected before you start with properly applied paper medical tape, moleskin, or another soft barrier.
Keep toenails comfortably trimmed so they do not repeatedly strike the front of the shoe on descents. Avoid cutting into the corners or leaving rough edges that can catch neighboring toes.
Make sure your socks are pulled on smoothly and your heel is seated fully in the shoe before tightening the laces. A fold in a sock that feels minor in the parking lot can become painful several miles later.
Pack a Small Blister Kit
A simple foot-care kit can prevent a minor hot spot from ending the day early. Useful items include:
- Paper medical tape or moleskin
- Clean adhesive bandages or nonstick dressings
- A small amount of petroleum jelly
- Alcohol wipes for cleaning equipment
- A dry spare pair of hiking socks
- Basic wound-cleaning supplies
A sterile or properly disinfected needle is only needed in the limited situation where an intact blister is large, very painful, and drainage is appropriate. Most intact blisters should not be punctured.
Techniques for Preventing Friction
| Technique | Evidence / Best Use | Cost |
|---|---|---|
| Proper footwear fit and lacing | Foundational. Reduces unwanted sliding and concentrated pressure. | No extra cost |
| Change wet or bunched socks | Useful for moisture and friction control; wet socks have been associated with higher blister risk in hikers. | Low |
| Paper medical tape on vulnerable areas | A 2017 systematic review found moderate-confidence evidence that paper tape may help prevent friction blisters. | Low |
| Moleskin, soft padding, or petroleum jelly | Useful as a friction barrier or padding on known problem areas when applied correctly. | Low |
Friction blisters develop from repeated movement and shear within the skin. Proper shoe fit is therefore the first line of defense. Footwear that lets the heel slide repeatedly can create a hot spot, but a shoe that compresses the foot can be just as troublesome.
Barrier products can help, although no single blister-prevention product works for everyone. A 2017 systematic review of friction-blister prevention in outdoor activities found limited high-quality evidence overall, but moderate confidence that paper tape may be effective as a barrier.
Products Worth Considering
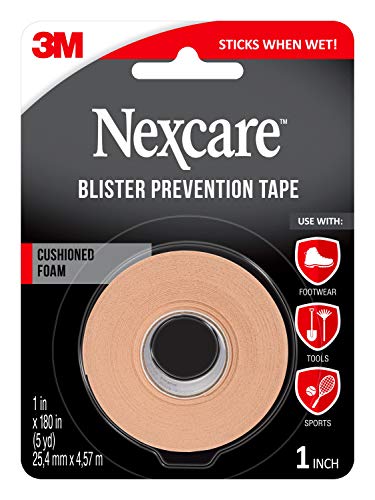
CUSHIONED PROTECTION: 1 roll of 1 in x 5 yds Nexcare Blister Prevention Tape with cushioned foam design to protect blisters and help prevent new ones
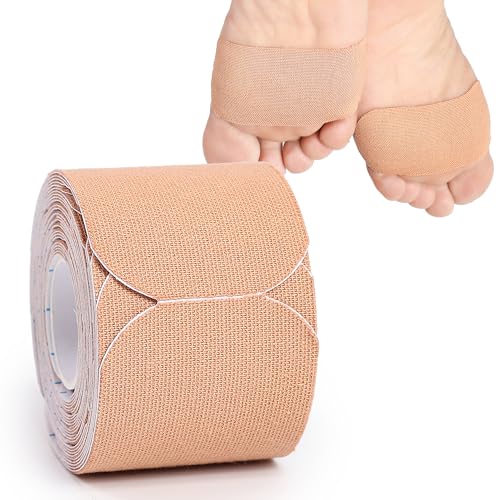
Help Prevent Blisters Caused on Feet: Put the Alimpor moleskin for blisters on the known problem areas on feet before walk. These strong foot pads do not only prevent any blisters from forming, but also no single corner rolled up or piece moved before you want to remove them!

Premium Protection. KT Health Blister Prevention Tape is crafted from high-quality synthetic non-woven fabric, specifically designed to prevent blisters, chafing, and hot spots during athletic training and outdoor activities.
Adjust Lacing When the Fit Changes
Lacing can sometimes reduce movement or relieve a pressure point. A heel-lock or surgeon’s-knot style arrangement can help reduce heel lift when the shoe otherwise fits well. Window lacing can create less pressure over a tender area on the top of the foot.
Lacing cannot rescue footwear that is fundamentally the wrong size or shape. If your toes are compressed or your heel continues to move excessively despite adjustment, the footwear itself may be the problem.
Act at the First Hot Spot
A hot spot is a burning, tender, or unusually warm area that often appears before a full blister. The American Academy of Dermatology recommends stopping when pain, discomfort, or redness begins rather than continuing until a blister forms.
- Stop walking as soon as you notice the hot spot.
- Remove the shoe and sock.
- Check for sand, grit, seams, wrinkles, or another source of pressure.
- Dry the foot and change into a dry sock if the current one is wet.
- Adjust the lacing if your heel is slipping or a specific area feels compressed.
- Cover the hot spot with smooth paper medical tape or moleskin without creating wrinkles.
- Recheck the area if discomfort returns.
Pro Tip: Five minutes spent treating a hot spot can save hours of painful walking later. Do not wait until you reach the next scheduled rest stop if your foot has already started burning.
Blister Treatment on the Trail
Even careful hikers sometimes develop blisters. Treatment depends on whether the blister is intact, very painful, already torn, or showing signs of infection.
Small or Mild Intact Blister
Leave it intact when possible. The skin over the blister protects the sensitive tissue underneath and helps reduce exposure to bacteria. Cover the blister loosely with a clean bandage.
For a blister on a weight-bearing or high-pressure area, the American Academy of Dermatology recommends padding around it. A donut-shaped piece of moleskin or other soft padding allows the blister to sit in the center rather than taking direct pressure with every step.
Large, Very Painful Intact Blister
Most blisters should not be popped. However, the AAD notes that a large and very painful blister may sometimes need to be drained.
- Wash your hands and clean the blister area.
- Disinfect a small needle with rubbing alcohol.
- Pierce the blister carefully near one edge.
- Allow the fluid to drain gently.
- Do not peel off the blister roof.
- Wash the area with soap and water.
- Apply a thin layer of petroleum jelly.
- Cover it with a clean bandage or nonstick dressing.
Warning: Do not routinely self-drain a blister if you have diabetes, poor circulation, reduced sensation, significant immune suppression, or another condition that raises the risk of wound complications. Ask a healthcare professional for appropriate care.
Torn or Already-Burst Blister
If the blister has opened on its own, wash it gently with soap and water. Do not deliberately tear away skin that is still attached unless a healthcare professional directs you to do so. The remaining blister roof can continue protecting the raw skin underneath.
Apply petroleum jelly and cover the area with a clean dressing. Replace the dressing when it becomes wet, dirty, or loose.
Blood Blister
A blood blister can form when small blood vessels are damaged along with the skin layers. Protect it from further pressure and rubbing. A large, very painful, unexplained, or worsening blood blister deserves medical evaluation rather than repeated puncturing on the trail.
If blister pain becomes severe enough to change the way you walk, consider ending or shortening the hike. Limping for miles can create additional problems in the feet, knees, hips, or opposite leg.
Post-hike Foot Care: Recovery and Prevention
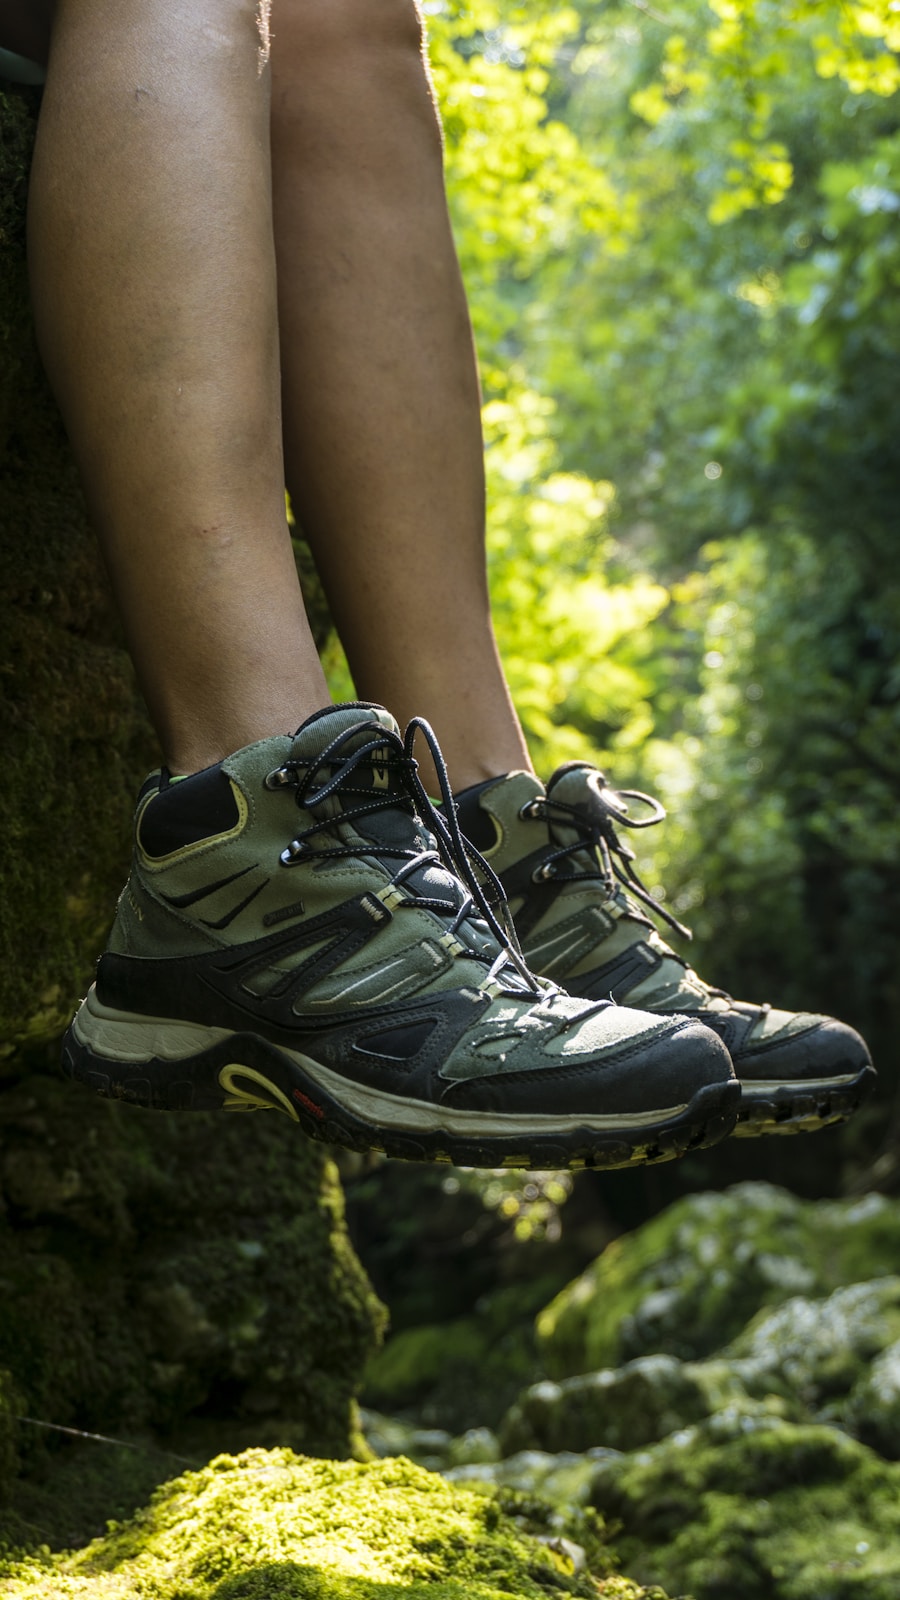
After the hike, remove damp footwear and socks and let your feet dry. Wash away dirt and sweat with soap and water, then inspect the heels, toes, sides of the feet, and other high-friction areas.
If your skin is dry but intact, moisturizer can help with dryness after the feet are clean and fully dry. Do not rub cosmetic moisturizer into an open blister or contaminated wound.
Some hikers find that resting with their feet elevated feels comfortable after a long day and may help with ordinary temporary swelling. Persistent, severe, one-sided, or unexplained swelling should not automatically be blamed on hiking and may need medical evaluation.
Dry wet shoes and socks thoroughly before using them again. On multi-day trips, rotate socks when possible and avoid putting already wet socks back on unless there is no practical alternative.
Common Mistakes to Avoid
One common mistake is choosing footwear mainly for appearance, brand, or the assumption that every hiker needs a heavy boot. Comfort, fit, traction, terrain, and the load you carry matter more than styling.
Another mistake is ignoring sock fit. A high-quality hiking sock can still cause trouble if it bunches beneath the foot, slips at the heel, crowds an already-tight shoe, or remains wet for hours.
Do not make a demanding hike the first serious outing for unfamiliar footwear. Test it on shorter walks and hikes so you can identify pressure points, heel slip, toe contact, or lacing problems beforehand.
Perhaps the most damaging mistake is ignoring the first hot spot because the group is moving, the next break seems close, or taking off your shoe feels inconvenient. Once fluid has collected beneath the skin, the problem becomes harder to manage.
Also avoid assuming more product is always better. Thick layers of tape, badly positioned moleskin, bulky sock combinations, or excessive padding can make the shoe tighter and create a new pressure point.
When to Seek Professional Help
Most uncomplicated friction blisters heal with protection from continued rubbing. According to MedlinePlus, medical attention is appropriate when a blister drains pus or the surrounding area becomes red, swollen, warm, or very painful.
Seek medical advice promptly if you notice:
- Increasing redness or swelling
- Warmth spreading around the wound
- Pus or cloudy drainage
- Increasing pain instead of gradual improvement
- Fever or feeling systemically unwell
- Red streaking extending away from the blister
- A wound that is not healing normally
- Repeated or unexplained blistering without obvious friction
People with diabetes, poor circulation, reduced foot sensation, or significant immune suppression should be especially cautious about foot wounds and should seek individualized medical guidance rather than relying only on trail self-care.
A blister caused by ordinary shoe friction is different from a deep or contaminated puncture wound. If your foot has been cut or punctured by a dirty object, the CDC recommends appropriate wound cleaning and assessment of tetanus vaccination needs based on the wound and vaccination history.
Warning: Do not continue hiking simply to meet a mileage goal when a blister is severely painful, infected, bleeding repeatedly, or forcing you to alter your gait. In remote terrain, a minor foot problem can become a much larger safety problem if it prevents you from walking normally.
If you are planning a hiking trip in Scotland, the existing Best Time to Travel to Scotland: A Seasonal Guide can also help you anticipate seasonal weather conditions. Regardless of destination, carry dry foot-care supplies when prolonged rain or wet trails are likely.
Frequently Asked Questions
What are blisters?
Blisters are fluid-filled pockets that form between layers of skin. Friction blisters commonly develop when repeated rubbing or pressure causes the skin layers to move against one another. Heat and moisture can also contribute to the conditions in which hiking blisters form.
How can I prevent blisters while hiking?
Wear properly fitted footwear and smooth, well-fitting hiking socks. Keep your feet and socks as dry as practical, carry a spare pair on longer trips, and stop immediately when you feel a hot spot. Correct the source of rubbing and protect the area with paper medical tape, moleskin, or another suitable barrier.
What type of socks should I wear to prevent blisters while hiking?
Choose hiking socks that fit smoothly and manage moisture without making your shoes too tight. Wool and synthetic hiking socks are common choices. Research suggests that keeping socks dry may matter more than whether their fibers are primarily natural or synthetic.
How should I care for my feet before hiking?
Start with clean, dry feet, comfortably trimmed toenails, smooth socks, and footwear that has already been tested. Check known blister-prone areas before starting and protect them when needed. Remove grit or debris from socks and shoes before walking.
Are there lacing techniques that can help prevent blisters?
Yes. A heel-lock or surgeon’s-knot style lacing pattern can sometimes reduce heel lift, while window lacing can relieve pressure over a sensitive area on top of the foot. Lacing adjustments cannot correct shoes that are fundamentally too small, too large, or the wrong shape.
Should I pop a hiking blister?
Usually not. Leave an intact blister alone and protect it from further friction. If an intact blister becomes large and very painful, careful drainage may sometimes be appropriate. Keep the blister roof in place, wash the area, apply petroleum jelly, and cover it with a clean dressing.
How long does a friction blister take to heal?
The American Academy of Dermatology says most blisters heal on their own in about one to two weeks. Healing can take longer if the area keeps rubbing, the blister roof is repeatedly damaged, or an infection develops.
Can I keep hiking with a blister?
A small protected blister may not prevent you from walking, but continuing to rub the area can make it worse. Stop and address the source of friction first. If pain is severe, the blister appears infected, or you are changing your gait to compensate, shortening or ending the hike is the safer choice.
Sources
- American Academy of Dermatology — How to Prevent and Treat Blisters — blister prevention, padding, drainage, wound care, and infection warning signs.
- MedlinePlus — Blisters — causes, basic treatment, infection symptoms, and guidance for higher-risk medical conditions.
- National Park Service — Hike Smart — hiking footwear, moisture-wicking socks, spare socks, and blister supplies.
- Wilderness & Environmental Medicine — Prevention of Friction Blisters in Outdoor Pursuits — systematic review of socks, antiperspirants, and barrier methods including paper tape.
- Journal of Tissue Viability — Sock Composition and Foot Blisters in Hikers — research on wet socks, sock fibers, and blister risk in long-distance hikers.
- CDC — Clinical Guidance for Wound Management to Prevent Tetanus — cleaning contaminated wounds and assessing tetanus vaccination needs.
