
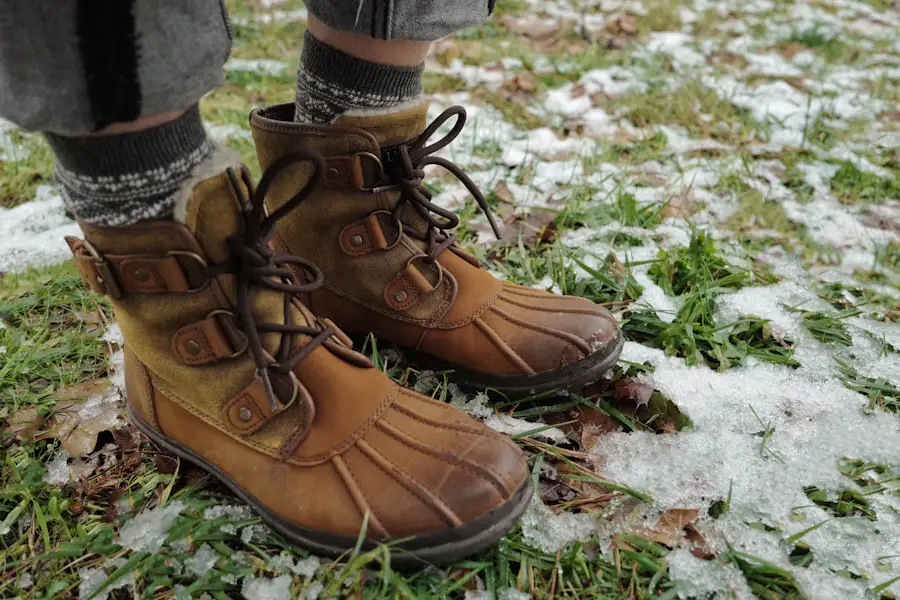
Last Updated on July 27, 2026 by Daniel Globe
Hiking boots work best when the footwear, socks, fit, and lacing all work together. A boot that feels fine for two minutes on flat ground can become painful on a long descent if your toes hit the front, your heel slips, or your socks trap moisture. The goal is a secure fit that holds your heel and midfoot without squeezing your toes.
Quick Answer
To wear hiking boots correctly, pair them with moisture-wicking socks, loosen the laces before stepping in, seat your heel fully, and lace the boot snugly without crushing your forefoot. Your toes need room on descents, your heel should move very little, and any hot spot should be fixed before it becomes a blister.
Key Takeaways
- Choose hiking footwear for the terrain, trip length, pack weight, and weather rather than assuming a heavy boot is always better.
- A good fit holds the heel securely while leaving enough room for your toes to move without hitting the front on descents.
- Break in stiff boots gradually, but do not expect break-in to correct the wrong size, width, or shape.
- Wear moisture-wicking wool or synthetic hiking socks instead of slow-drying cotton.
- Adjust lacing to solve specific problems such as heel lift or pressure on the top of your foot.
- Treat hot spots early, keep boots clean and dry, and replace footwear when traction or structural support is noticeably worn.
At a Glance
| Time Required | About 10–15 minutes for an initial fit and lacing check; stiff boots may need several progressively longer outings to break in. |
| Difficulty | Easy |
| Tools Needed | Hiking boots, moisture-wicking hiking socks, your usual insoles or orthotics, and optional blister tape or moleskin. |
| Cost | $0 in additional cost if you already own the boots and socks; optional insoles, replacement laces, and blister supplies add to the cost. |
Disclosure: As an Amazon Associate I earn from qualifying purchases. Some links on this page are affiliate links, at no extra cost to you.
Choose the Right Hiking Boots for Your Adventure
The first step is matching your footwear to the hike. Current REI hiking-footwear guidance recommends considering terrain, distance, trip duration, and the load you plan to carry rather than choosing only by boot height.
For paved, groomed, or well-maintained trails with a light pack, a hiking shoe or lightweight low-cut hiker may provide enough grip and protection without the extra weight of a backpacking boot. Moderate trails with roots, rocks, water crossings, and elevation changes may call for more cushioning, stability, and underfoot protection.
On rugged terrain or multiday trips with a heavier pack, many hikers prefer a more structured mid- or high-cut boot with a firmer sole. The added structure can improve protection and load support, but a taller boot is not automatically the best choice for every hiker.
Waterproof vs. Non-Waterproof Hiking Boots
Weather matters too. Waterproof footwear is useful in persistent rain, mud, wet vegetation, and cold conditions. Waterproof membranes such as GORE-TEX are designed to block liquid water while still allowing water vapor from sweat to move outward.
The tradeoff is that waterproof boots are often warmer and less breathable than comparable non-waterproof footwear. In hot, dry conditions, a ventilated hiking shoe or boot made with mesh and lightweight synthetic materials may feel cooler and can dry faster after becoming wet.
Note: Waterproof does not mean your feet can never become damp. Sweat, water entering over the collar, damaged membranes, and worn exterior water-repellent treatments can all affect comfort.
How to Wear Hiking Boots Step by Step
- Put on your hiking socks first. Use the same sock thickness you expect to wear on the trail.
- Loosen the boot fully. Open the laces far enough that you can slide your foot in without crushing the heel collar.
- Seat your heel. Tap your heel gently toward the back of the boot so it sits fully in the heel cup.
- Snug the lower laces. The forefoot should feel secure but not squeezed. Your toes should still move comfortably.
- Secure the ankle section. Tighten the upper laces enough to limit excessive heel movement without restricting circulation.
- Stand and walk. Check for pinching, rubbing, numbness, or pressure on the top of the foot.
- Test an incline if possible. Walk uphill and downhill. Your heel should remain controlled, and your longest toe should not strike the front of the boot on the descent.
- Readjust on the trail. Feet can change slightly as they warm and swell, so stop and relace if you notice pressure or slipping.
Pro Tip: Test new hiking boots on stairs, a store ramp, or another safe incline before committing to a long hike. Downhill movement often reveals toe contact and heel slip that you will not notice while standing still.
Properly Fitting Your Hiking Boots for Comfort and Support
A well-fitted hiking boot should feel secure without feeling tight. The American Academy of Orthopaedic Surgeons recommends shopping later in the day because feet can swell as the day goes on. Wear the socks and any insoles or orthotics you normally use while hiking.
Have both feet measured and fit the larger foot. Shoe sizing varies among brands, so use the marked size only as a starting point. Length, width, arch position, heel shape, and overall internal volume all affect whether a boot works for your foot.
Check the Toe Box
You should be able to wiggle your toes without the sides or top of the toe box pressing against them. AAOS general shoe-fitting guidance suggests roughly 3/8 to 1/2 inch of room beyond the longest toe. REI also recommends enough space that your toes do not hit the front when the footwear is tested on an incline.
Too little room can cause painful toe contact on descents. Too much room can let the foot slide around and create friction.
Check the Heel and Midfoot
Your heel should sit securely in the heel cup with minimal movement. A small amount of movement can occur in some new boots, but repeated lifting and rubbing can create hot spots and blisters.
The midfoot should feel supported without numbness, tingling, or concentrated pressure. If firm lacing still leaves excessive empty space above your foot, the boot may have too much internal volume for your foot shape.
A useful fit rule: secure at the heel and midfoot, roomy at the toes, and free of pressure points before you leave the store or start a long trail.
Warning: Do not buy painfully tight hiking boots expecting them to stretch into the correct size. Persistent numbness, sharp pressure, or toes striking the front of the boot indicates a fit problem that lacing or break-in may not solve.
Breaking in Your Hiking Boots for Long-Term Use
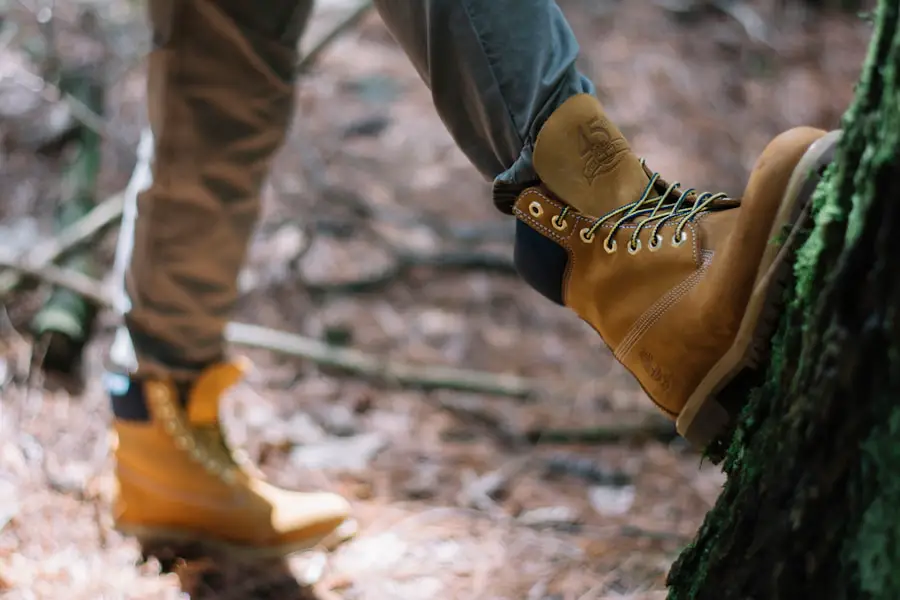
After buying new hiking boots, give yourself time to learn how they feel before taking them on a long trek. Break-in needs vary by construction. Flexible hiking shoes and light hikers may feel comfortable almost immediately, while stiff leather backpacking or mountaineering boots can require substantially more use before they soften.
Start by wearing the boots at home with your normal hiking socks and insoles. Then take short walks around your neighborhood. If they remain comfortable, progress to short hikes on uneven ground and gradually increase distance and pack weight.
Pay attention to pressure points, heel rubbing, and toe contact during every stage. Minor lacing adjustments can sometimes solve localized pressure, but break-in cannot turn the wrong size, width, or shape into a properly fitting boot.
Avoid shortcuts such as soaking new boots and immediately walking long distances in them. Gradual use is easier on your feet and allows you to identify fit problems before you are miles from the trailhead.
Socks Matter: Selecting the Best Pair for Hiking
| Feature | Merino Wool / Blend | Synthetic | Cotton |
|---|---|---|---|
| Moisture Management | Very good | Very good | Poor for prolonged hiking because it holds moisture and dries slowly |
| Warmth | Good for its weight; available in many cushion levels | Varies widely by thickness and fiber | Can feel cold when wet |
| Drying Speed | Moderate | Usually fast | Slow |
| Odor Control | Typically very good | Varies by fabric treatment and construction | Limited |
| Best Use | All-season hiking and backpacking | Warm weather, fast drying, and high-output hiking | Better reserved for casual use than long hikes |
The right socks reduce friction, move moisture away from the skin, and add cushioning where your boots need it. The National Park Service recommends wool or synthetic moisture-wicking socks for longer hikes, and bringing a spare pair is useful if your socks become wet.
Merino wool is popular because it manages moisture, provides useful temperature regulation, and tends to resist odor. Synthetic hiking socks can also wick moisture well and often dry quickly.
Sock thickness must match the boot. A thick, cushioned sock can improve warmth and padding, but it also takes up more space. If your boots already fit closely, switching to a much thicker sock can make the toe box or midfoot too tight. Thin socks reduce bulk but may provide less cushioning.
Choose a sock that stays smooth against your foot. Wrinkles, bunching, and damp fabric can increase friction and contribute to hot spots.
Techniques for Lacing Your Hiking Boots for Maximum Support
Lacing changes how pressure is distributed across the boot. It can fine-tune a good fit, but it cannot repair a boot that is fundamentally too long, short, narrow, wide, or high-volume.
Surgeon’s Knot for Heel Slip
For a hiking boot with lace hooks, a surgeon’s knot is one of the most useful ways to keep tension in the lower boot and reduce heel movement:
- Snug the laces over the forefoot without overtightening them.
- At the pair of hooks near the point where the top of your foot begins to flex, cross the laces.
- Wrap the laces around each other twice instead of once.
- Pull the knot snug and run each lace to the next hook so the tension stays in place.
- Repeat at the next hook pair if additional heel hold is needed, then finish lacing normally.
Window Lacing for Top-of-Foot Pressure
If a specific spot on the top of your foot feels pinched, create a “window” over that area. Unlace to just below the pressure point, run each lace straight upward on its own side rather than crossing directly over the sore area, and resume normal crossing above it.
Toe-Relief Lacing
If toe pressure develops unexpectedly while you are already on the trail, skipping the lowest eyelet or hook can temporarily create more room in the front of some boots. This is a short-term adjustment, not a substitute for replacing footwear that consistently hurts your toes.
These methods follow the principles in REI’s hiking-boot lacing guide.
Pro Tip: Lacing can be slightly different for climbs and descents. If your feet slide forward downhill, stop and secure the heel before continuing rather than simply pulling every lace as tight as possible.
Maintaining and Cleaning Your Hiking Boots for Durability
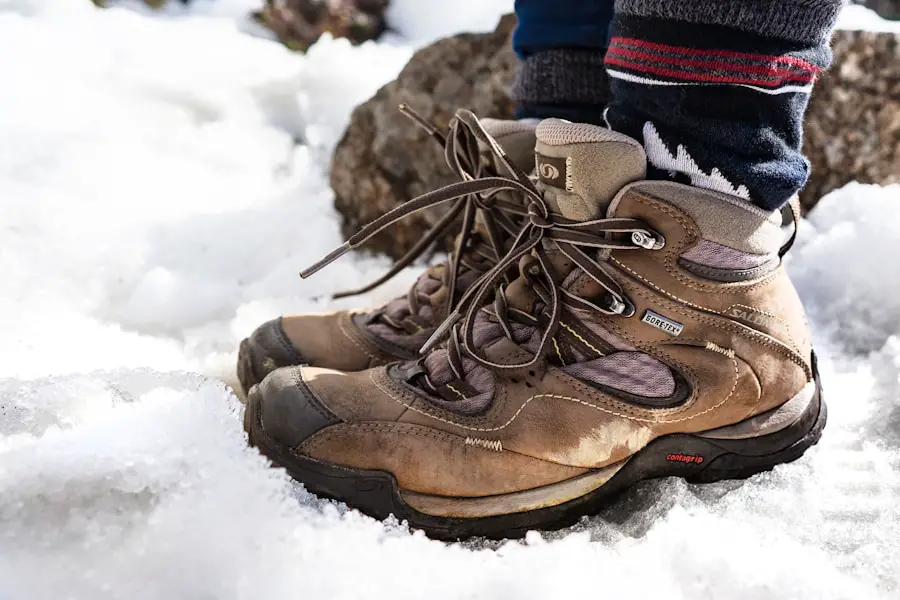
Regular cleaning helps preserve the upper, outsole, stitching, and waterproof treatments. After a muddy hike, remove loose soil before it dries into seams and textured materials.
For GORE-TEX footwear, the manufacturer’s official footwear-care instructions recommend removing the laces, shaking out dirt and gravel, removing the footbed when possible, brushing off loose dirt, and cleaning with lukewarm water and a small amount of liquid detergent. Leather footwear may have additional manufacturer-specific requirements.
Dry Boots Correctly
Remove wet insoles and let the boots dry naturally at moderate temperatures. Avoid radiators, fireplaces, hair dryers, and other intense direct heat, which can damage adhesives, leather, foams, and waterproof construction.
Do not leave boots wet for long periods. Air circulation or a suitable convection-style boot dryer can speed drying without exposing the footwear to extreme heat.
Restore Water Repellency When Needed
A waterproof membrane and the exterior water-repellent finish perform different jobs. When water stops beading on compatible GORE-TEX footwear, Gore recommends restoring the durable water repellent with an appropriate water-based product. Follow the boot manufacturer’s instructions because leather and other upper materials may require different treatments.
Note: GORE-TEX advises against waterproofing waxes or greases on its footwear when those products could interfere with breathability. Always follow the care instructions for your exact boot.
Knowing When to Replace Your Hiking Boots for Safety
There is no universal replacement mileage for every hiking boot. Terrain, body weight, pack weight, walking mechanics, outsole compound, midsole material, construction, and care all affect lifespan. Condition matters more than a single mileage number.
Inspect your footwear regularly and consider replacement or professional repair when you notice:
- Outsole lugs that have become smooth enough to reduce traction.
- Cracks, splits, or major separation between the upper, midsole, and outsole.
- A midsole that feels noticeably flattened or no longer cushions as it once did.
- A heel counter or upper that has lost enough structure that the foot moves excessively.
- Persistent leakage after proper cleaning, drying, and care when waterproof performance is important.
- New rubbing, fatigue, or instability that cannot be explained by socks or lacing.
Some durable boots can be resoled, so outsole wear does not always mean the entire boot must be discarded. Check with the manufacturer or a qualified boot-repair service before replacing an otherwise sound pair.
Tips for Preventing and Treating Blisters and Hotspots While Hiking
Blisters usually start with friction, pressure, heat, and moisture. Prevention begins with properly fitting boots and moisture-wicking socks. Carrying a spare pair of socks can help when your feet become wet.
During a hike, treat a hot spot as an early warning. Stop before the area becomes a full blister. Dry the skin if needed, smooth out the sock, adjust your laces, and protect the irritated area with moleskin, athletic tape, or a blister dressing that works well for your skin.
If a Blister Forms
According to Mayo Clinic blister first-aid guidance, a blister that is not very painful is generally best kept intact because the unbroken skin helps protect against bacteria. Cover it with an appropriate bandage, blister dressing, or moleskin to reduce further friction.
If a blister is painful enough that drainage is necessary, wash your hands and the area, use clean technique, drain from near the edge, and leave the overlying skin in place rather than peeling it away. Protect the area afterward with a clean nonstick dressing.
Warning: Seek medical care for signs of infection such as worsening warmth, spreading redness or discoloration, pus, or increasing pain. People with diabetes, poor circulation, or a higher risk of infection should use extra caution and seek medical guidance before draining a blister themselves.
If your hiking trip also includes fishing, this guide on the best travel fishing rods can help you plan compact outdoor gear. Regardless of what else you carry, check your hiking boots before leaving because footwear problems can end a trip quickly once rubbing or toe pressure begins.
Frequently Asked Questions
What are the best socks to wear with hiking boots?
Choose moisture-wicking hiking socks made from merino wool, synthetic fibers, or a blend of the two. Match the sock thickness to the amount of space inside your boots. Cotton is generally a poor choice for long hikes because it absorbs moisture and dries slowly.
How should hiking boots fit?
Hiking boots should hold the heel and midfoot securely without painful pressure. Your toes should have room to wiggle, and your longest toe should not hit the front of the boot while walking downhill. Fit the larger foot and test the boots with your normal hiking socks.
Should hiking boots be waterproof?
Waterproof hiking boots are useful for persistent rain, mud, wet vegetation, and colder conditions. Non-waterproof footwear is often lighter, cooler, and faster drying, which can make it a better choice for hot and dry trails. Choose according to the conditions you actually expect.
How do I break in hiking boots?
Wear them first at home with your normal hiking socks and insoles, then progress to short walks and short hikes before increasing mileage and pack weight. Flexible hiking shoes may need little break-in, while stiff leather boots can take considerably longer. Break-in cannot correct a boot that is the wrong size or shape.
How do I lace hiking boots to stop heel slipping?
On hiking boots with hooks, try a surgeon’s knot near the ankle-flex point. Wrap the crossed laces around each other twice, pull them snug, then run them to the next hooks. This helps preserve lower-boot tension and can reduce heel movement without overtightening the toe box.
When should hiking boots be replaced?
Replace or repair hiking boots when worn outsole lugs reduce traction, the sole separates, the midsole loses cushioning, structural support collapses, or recurring fit problems appear. Do not rely on one mileage number because boot lifespan varies greatly by construction, terrain, load, and use.
Can I wear hiking boots for everyday use?
Yes. Hiking boots can work for everyday walking, outdoor jobs, wet weather, or rural environments. However, their extra weight, stiffness, warmth, and aggressive tread may feel unnecessary for indoor or urban use compared with lighter casual shoes or hiking shoes.
Sources
- REI — How to Choose Hiking Boots and Hiking Shoes — footwear type, terrain, load, fit, and break-in guidance.
- American Academy of Orthopaedic Surgeons — Shoes: Finding the Right Fit — end-of-day fitting, sizing, and general shoe-fit principles.
- REI — How to Lace Hiking Boots — surgeon’s-knot, window-lacing, and toe-relief techniques.
- GORE-TEX — Footwear Care Instructions — cleaning, drying, and restoring water repellency.
- U.S. National Park Service — Hike Smart — hiking footwear and moisture-wicking sock recommendations.
- Mayo Clinic — Blisters: First Aid — friction-blister prevention, protection, drainage, and infection warning signs.

