
Last Updated on August 26, 2026 by Caleb Warren
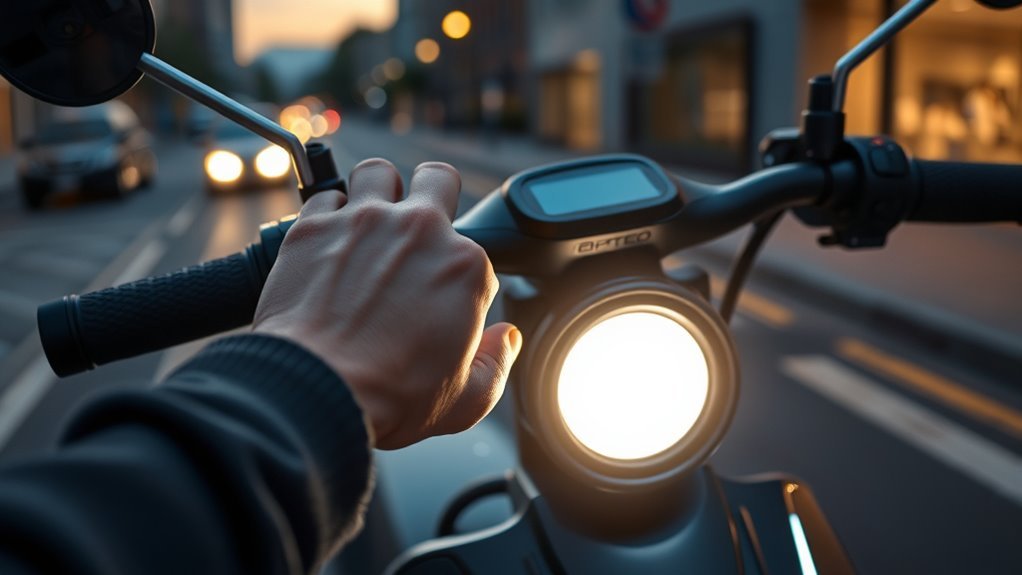
Electric scooter lights do not all use the same control. In most cases, you first power on the scooter and then use a dedicated light button, the main power button, or a multifunction Menu button. Some shared scooters switch their lights on automatically. The safest approach is to identify your exact model before trying repeated button combinations.
Quick Answer
Turn the scooter on, then use the light control specified for your model. It may be a lightbulb button, a single press of the power button, or a double press of a Menu button. Check that the headlight actually illuminates before riding, because the same button sequence can perform different functions on different scooters.
Key Takeaways
- Power the scooter on before trying to activate its headlight.
- Do not assume a double press controls the lights; on some scooters it changes the riding mode instead.
- Ninebot MAX G30/G30P, Levy, Xiaomi, Bird, and Lime models use different lighting controls.
- Test the front light, rear light, and brake light separately before riding after dark.
- If basic checks fail, avoid opening the battery or controller unless the manufacturer specifically provides a user-service procedure.
At a Glance
| Time Required | Usually less than 1 minute for normal operation; several minutes for basic troubleshooting |
| Difficulty | Easy |
| Tools Needed | None for normal operation; owner’s manual or manufacturer app may help |
| Cost | Usually $0 unless the light, switch, wiring, or another component requires repair |
Disclosure: As an Amazon Associate I earn from qualifying purchases. Some links on this page are affiliate links, at no extra cost to you.
Locate Your Scooter’s Light Button
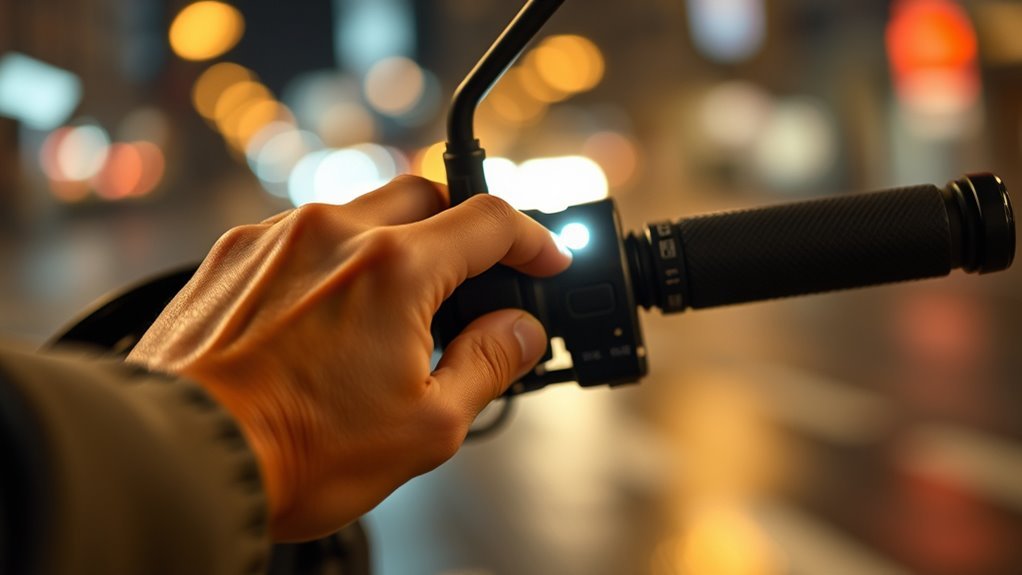
Start by checking the handlebars and dashboard. A scooter may have a dedicated button marked with a lightbulb icon, or its lights may share the main power or Menu button. Look for a headlight symbol on the display as well, because some dashboards show an icon when the light is active.
If you cannot identify the control, find the exact model name and check its owner’s manual. This matters because identical-looking button actions can do different things. For example, a double press may operate the lights on one scooter but change the speed mode on another.
Pro Tip: Look for the model number on the deck, stem, frame label, packaging, receipt, or manufacturer app before searching for instructions. Using the exact model prevents you from following controls intended for a different generation.
Power On the Scooter
Most built-in scooter headlights require the scooter’s electrical system to be on. Place the scooter on a stable surface, press the power control as instructed for your model, and wait for the dashboard or status lights to appear.
Power Button Basics
The power button is commonly located on the dashboard or throttle assembly. Some scooters turn on with one short press, while others require you to hold the button briefly. Do not keep holding or repeatedly clicking the button without knowing what those actions do, because long presses and double presses can control other functions.
- Make sure the scooter has enough battery charge to power on.
- Confirm the dashboard wakes up normally.
- Check for a headlight icon or warning/error icon.
- Keep the scooter stationary while testing controls.
- Use the exact owner’s manual if the button response is unclear.
If the display remains completely dark, troubleshoot the scooter’s power or charging problem before treating the issue as a failed headlight.
Confirm the Scooter Is Fully Powered On
“Ready mode” is not a universal scooter term, so the important check is simply that the scooter has completed its normal startup and the dashboard is responding. If you see an error or wrench symbol, check the manufacturer’s documentation before riding.
If the scooter powers on normally but only the headlight remains dark, the problem is more likely related to the light control, settings, lamp, connection, or another lighting-system fault than to the scooter being completely unpowered.
Turn On the Headlight
With the scooter powered on, activate the headlight using the control specified for that model. Depending on the scooter, this may involve:
- Pressing a dedicated lightbulb button.
- Pressing the main power button once while the scooter is already on.
- Double-pressing a separate Menu or function button.
- Using a dashboard control or manufacturer app on models that support it.
- Doing nothing on a shared scooter whose lights turn on automatically after unlocking.
After operating the control, look at the actual headlight rather than relying only on a dashboard icon. Also check whether the rear running light comes on and whether the brake light responds when you squeeze the brake lever, if your scooter is equipped with one.
There is no universal electric-scooter light-button sequence. Always match the procedure to the exact scooter model.
Change Light Modes and Settings
Some electric scooters provide additional lighting functions, but high beam, low beam, flashing modes, and adjustable brightness are not universal features. Do not repeatedly double-click the power button expecting it to change the light unless your manual says that it does.
Switching Light Modes
If your scooter supports more than one lighting mode, follow its specific control sequence. A light icon on the dashboard can help confirm the selected setting, but always verify the actual lamp output before riding.
- Test lighting controls while stationary.
- Do not assume flashing mode is available.
- Do not confuse speed-mode changes with light-mode changes.
- Use automatic-light settings only if your scooter supports them.
- Check local rules before using any flashing or nonstandard lighting mode on public roads.
Adjusting Brightness Levels
Many commuter scooters have a fixed-brightness headlight and provide no rider-adjustable brightness setting. If your scooter does offer brightness adjustment through its display or companion app, use only the procedure documented by the manufacturer.
A brighter setting can improve forward illumination on a dark route, but the built-in headlight should not be assumed to provide enough visibility for every road or speed. If the beam is unusually weak, flickering, discolored, or intermittent, treat that as a possible fault rather than assuming you simply need to change a brightness setting.
Model-Specific Controls
Model-specific instructions matter because manufacturers assign different functions to the same buttons. For example, the Segway Ninebot MAX G30/G30P uses a single press of its power button for the headlight while powered on, but a double press changes the riding mode. Levy uses a different Menu-button sequence, and some shared scooters use automatic lights.
Note: The model instructions below were checked against official manufacturer/support documentation available in August 2026. Firmware and hardware revisions can still change controls, so the manual for your exact scooter takes priority.
Turn On Lights on Popular Models
- Segway Ninebot MAX G30/G30P: Power the scooter on. While it is on, press the power button once to turn the headlight on or off. A double press switches riding modes instead. See Segway’s official MAX G30P support page.
- Levy Electric Scooter: Hold the Power button for about two seconds to start the scooter, then double-press the Menu button to turn the headlight and taillight on or off. Levy identifies the Menu control as the button on the throttle assembly. See the official Levy operating guide.
- Xiaomi Electric Scooter 4 Go: With the scooter powered on, press the power button once to switch the front and rear lights on or off. Double-clicking changes the speed mode on this specific model. See Xiaomi’s official lighting instructions. Other Xiaomi models may use a different sequence, so check the exact manual.
- Bird Air: Bird’s support guidance says to power on the scooter and single-tap the power button to test the headlight. Bird models are not all identical, so do not apply this sequence to every Bird vehicle.
- Bird Three shared scooter: Bird describes the Bird Three as having an automatic LED headlight and tail/brake light, so there is normally no rider light-switch procedure like the one used on many privately owned scooters.
- Lime shared scooters: Lime’s Gen 2.5 owner documentation states that the front and rear lights should turn on automatically when the scooter is unlocked. If a rental scooter’s lights are not working, do not open or repair it; report the problem through Lime and choose another scooter.
Fix Scooter Lights That Won’t Turn On
If the lights stay off after you use the correct control, work through the simplest checks first:
- Confirm the scooter powers on normally. If the display is dead, charge the scooter using the manufacturer-approved charger and troubleshoot the power problem first.
- Retry the exact light command. Use the manual rather than experimenting with random long presses or double presses.
- Check the dashboard. Look for a headlight symbol, error code, wrench icon, or other warning.
- Check app settings if applicable. Some connected scooters expose lighting or firmware settings in their official app.
- Restart the scooter. Power it off normally, wait several seconds, then start it again.
- Inspect the light externally. Look for a cracked lens, water inside the housing, a visibly damaged cable, or an obviously loose external connector that the manual identifies as user-accessible.
- Compare the lights. If the rear light works but the headlight does not, the fault may be isolated to the front-light circuit or lamp. If every light is out, a control or electrical fault may be broader.
- Contact the manufacturer or a qualified technician if the problem requires opening the deck, battery, controller, or protected electrical system.
Warning: Do not open, puncture, modify, bypass, or attempt improvised repairs on a lithium-ion battery pack or controller to fix a lighting problem. The U.S. Consumer Product Safety Commission recommends compatible components and qualified repair practices for micromobility electrical systems.
Check the Battery and Wiring Safely
Start with the battery status. If the scooter cannot power on, charge it according to the manufacturer’s instructions and test again. If the scooter operates normally but the headlight alone does not work, do not assume the battery is the cause.
Next, perform only a visual inspection of safely accessible wiring. Turn the scooter off and look for obvious damage around the headlight, stem, and externally visible cables. Frayed insulation, exposed conductors, crushed wiring, corrosion, or water inside a light housing are reasons to stop using the scooter until it is repaired.
Do not remove the battery cover or deck merely to search for a blown fuse. Some scooters do not have a user-serviceable lighting fuse, and opening the electrical system may create a shock, short-circuit, fire, or warranty risk. Follow the service procedure in the owner’s manual or use an authorized technician where required.
The U.S. Consumer Product Safety Commission advises consumers to use compatible batteries and chargers and to have repairs performed by qualified technicians.
Ride Safely With Scooter Lights On
Once the scooter lights are working, check them before any ride in darkness or reduced visibility. A headlight can help you see road edges, debris, and surface changes, while the rear light helps other road users see you from behind.
- Confirm the headlight produces a steady beam without flickering.
- Make sure the taillight is visible and unobstructed.
- Test the brake light separately if your scooter has one.
- Clean dirt from the light lenses.
- Do not ride with damaged or exposed electrical wiring.
- Slow down when darkness, fog, rain, glare, or other conditions reduce visibility.
- Wear appropriate protective equipment, including a helmet.
- Follow your local rules for scooter use, lighting, road access, and nighttime riding.
For a shared Bird or Lime scooter, perform a quick pre-ride inspection and choose a different vehicle if its lights are not functioning correctly rather than attempting a repair yourself.
Frequently Asked Questions
How do I turn the lights on on my electric scooter?
Power the scooter on, then use the light control specified in its manual. Common methods include pressing a dedicated light button, pressing the power button once while the scooter is on, or double-pressing a separate Menu button. Some rental scooters activate their lights automatically.
Are scooters good for autistic kids?
A scooter may be enjoyable for some autistic children, but suitability depends on the child’s age, balance, coordination, sensory comfort, judgment, and ability to follow safety instructions. Use an age-appropriate scooter, a properly fitted helmet, and close adult supervision. A pediatrician or occupational therapist can provide individualized advice when needed.
How do I turn on the headlight on my scooter?
Start the scooter, then operate its documented headlight control. Do not automatically double-click the power button: on scooters such as the Segway Ninebot MAX G30/G30P, one press controls the headlight while a double press changes the riding mode.
Why are my scooter lights not working?
Possible causes include using the wrong button sequence, a scooter that is not fully powered on, a settings or firmware issue, a damaged light, visible cable damage, a loose manufacturer-approved connector, or another electrical fault. Check the manual and basic external items first, then use qualified service if internal electrical work is required.
Do electric scooter lights turn on automatically?
Some do. Automatic lighting is common on certain shared-fleet scooters; for example, Bird describes Bird Three lighting as automatic, and Lime’s Gen 2.5 documentation says its front and rear lights should activate when the scooter is unlocked. Privately owned scooters often require manual activation.
Does double-clicking the power button always turn on scooter lights?
No. Button assignments vary widely. On a Ninebot MAX G30/G30P, for example, a single press while powered on operates the headlight and a double press switches riding modes. Always use instructions for the exact model.
Sources
- Segway MAX G30P Support — official product support and G30/G30P user documentation.
- Levy Scooter Operating Guide — current power, headlight, taillight, and Menu-button instructions.
- Xiaomi Electric Scooter 4 Go Lighting Support — official front- and rear-light control instructions.
- Bird Three — official information on automatic LED lighting.
- Lime Scooter Rules — official pre-ride light and safety checks for shared vehicles.
- U.S. Consumer Product Safety Commission Micromobility Battery Safety Guidance — battery, charger, component compatibility, and qualified-repair guidance.
Conclusion
To turn on your electric scooter lights, start by powering on the scooter and identifying the correct control for your exact model. It may be a dedicated light button, the power button, a Menu button, or an automatic system. Confirm the headlight, taillight, and brake light actually work before riding. If the correct control does not activate them, check basic settings and visible damage, then use manufacturer support or qualified service rather than opening the battery or controller without approved instructions.
