

Last Updated on July 30, 2026 by Caleb Warren
Back pain can turn a travel day or hike into a struggle, but the backpack itself is not always the only problem. Load weight, torso fit, strap adjustment, packing order, lifting technique, fitness, and walking time all affect comfort. The safest approach is to carry only what you need, keep dense items close to your spine, place most of the load on your hips when the pack has a supportive hipbelt, and stop to adjust the pack when discomfort begins.
Quick Answer
To prevent back pain from backpack travel, use a pack sized to your torso, keep the load as light as practical, place heavy items close to your back, and wear both shoulder straps. Tighten the hipbelt first, then adjust the shoulder, load-lifter, and sternum straps. Stop if you develop sharp pain, numbness, weakness, or balance problems.
Key Takeaways
- There is no single safe weight percentage for every adult. About 10% of body weight for a day hike and about 20% for overnight backpacking are general starting points, not hard medical limits.
- A good fit starts with torso length and hipbelt position, not height alone.
- Dense items belong in the pack’s core, close to the spine and balanced from side to side.
- Use both shoulder straps. Do not routinely carry a loaded backpack on one shoulder or assume front carrying will fix pain.
- Persistent pain, numbness, weakness, or bladder or bowel symptoms need medical attention rather than another strap adjustment.
At a Glance
| Time Required | 10–15 minutes for a fit and packing check; longer for a loaded walk test |
| Difficulty | Easy |
| Tools Needed | Luggage or bathroom scale, flexible tape measure, mirror or helper |
| Cost | $0 if you already own the pack and measuring tools |
Disclosure: As an Amazon Associate I earn from qualifying purchases. Some links on this page are affiliate links, at no extra cost to you.
How Heavy Should a Travel Backpack Be?
Pack weight should match the trip, your fitness, the terrain, the weather, and the support built into the backpack. For adults, REI gives general starting points of about 10% of body weight for a day-hiking pack and about 20% for an overnight backpacking pack. These figures are guidelines, not guarantees that a load will be comfortable or safe for every person.
For adults, think of 10% for a day pack and 20% for an overnight pack as upper planning guides—not targets you must reach.
Carry less when you have a history of back or shoulder pain, poor balance, recent surgery, pregnancy, reduced strength, or a route with steep or uneven ground. Water, food, medication, rain protection, and other essential safety gear should not be removed just to meet a percentage. Reduce optional clothing, duplicate electronics, oversized toiletries, and heavy containers first.
Note: The often-repeated 10–15% limit is mainly associated with school-backpack guidance for children and teenagers. The American Academy of Pediatrics advises keeping a child’s backpack at no more than 15% of body weight; adult travel and backpacking loads require different judgment.
Products Worth Considering

Airline-Approved Personal Item: Measuring 18x14x8 inches, travel backpack personal item size meets requirements of major budget airlines and fits under the airplane seat or in the overhead bin

Lightweight & Durable - Durable fabrics in high-wear areas combine with smart design to create a lightweight and tough travel pack that will last a lifetime.

Airline-Approved Personal Item: 18x14x8 inches travel backpack meets requirements of major budget airlines and fits under the airplane seat or in the overhead bin
Selecting the Right Backpack Size

Selecting the right backpack size is a major step in preventing back and shoulder pain. For a framed hiking or travel pack, torso length—not overall height—is the key sizing measurement. Measure from the bony bump at the base of your neck to the line across the tops of your hip bones, then compare that number with the manufacturer’s size chart.
The hipbelt should wrap the top of your hip bones rather than your waist or abdomen. The pack should sit close to your back without forcing you to lean forward. If the hipbelt slides down, the shoulder straps gap behind your shoulders, or the pack cannot be tightened without pinching, try another torso size or suspension setting.
- Day travel or sightseeing: Choose the smallest capacity that holds your daily essentials without bulging.
- Overnight travel or hiking: Use a framed pack with a supportive hipbelt if the load is too heavy for a simple daypack.
- Air travel: Check airline size limits separately; a bag that fits your body may still be too large for carry-on use.
Pro Tip: Test a new pack with realistic weight for at least 15–30 minutes. An empty backpack can feel perfect even when its suspension does not fit you under load.
Products Worth Considering
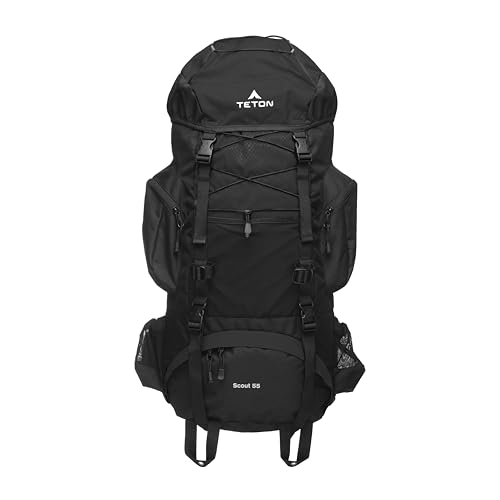
NOT YOUR BASIC BACKPACK: Feature rich at this price point; Comfort and balanced backpack for men and women.

85 Liters: Ample storage for all your essential gear. 4lb 14oz empty weight, 32 x 19 x13 inches, optimal carry weight 40-65 pounds.
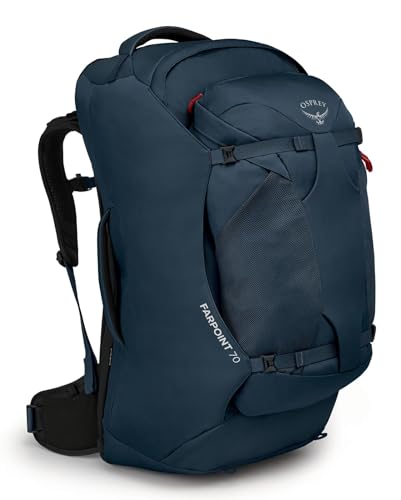
Lightweight & Durable - Durable fabrics in high-wear areas combine with smart design to create a lightweight and tough travel pack that will last a lifetime.
Importance of Wide Straps and Adjustable Features
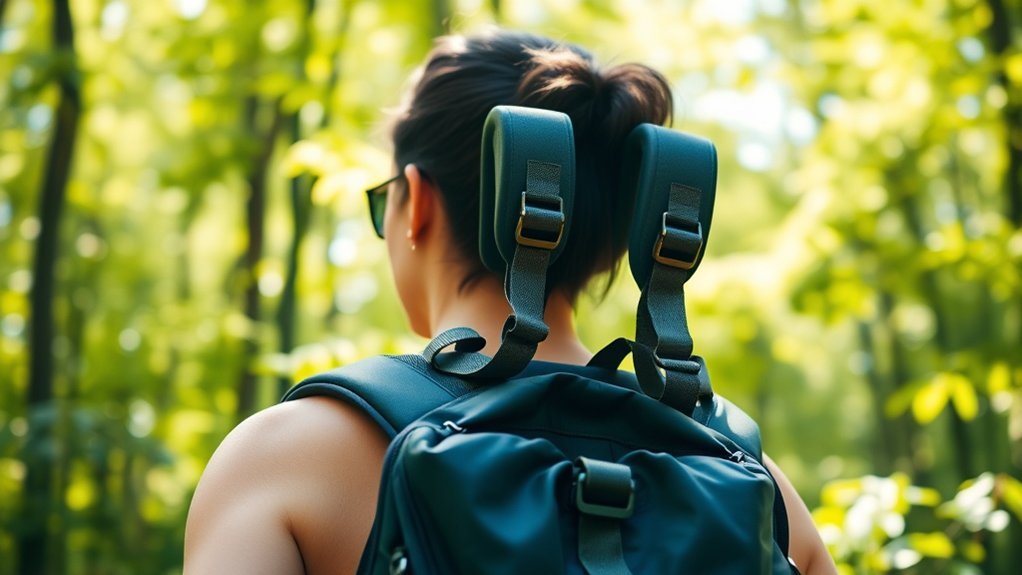
Wide, padded shoulder straps spread pressure over a larger area and are less likely to dig into your shoulders. Padding improves comfort, but it cannot compensate for an overloaded pack or the wrong torso size. A useful travel or hiking pack may also have a hipbelt, sternum strap, load-lifter straps, compression straps, and an adjustable torso system.
For a supportive pack, the hipbelt should carry much of the load while the shoulder straps hold the backpack close to the body. The sternum strap keeps the shoulder straps in a comfortable position; it should not be tightened so much that it restricts breathing. Load lifters should feel snug, not rigid.
Products Worth Considering

Compact Size: Measuring 10.2 × 4.3 × 13.0 inches and weighing just 0.71 lbs, this 10L small backpack for women men is lightweight, yet easily holds your daily essentials without feeling bulky
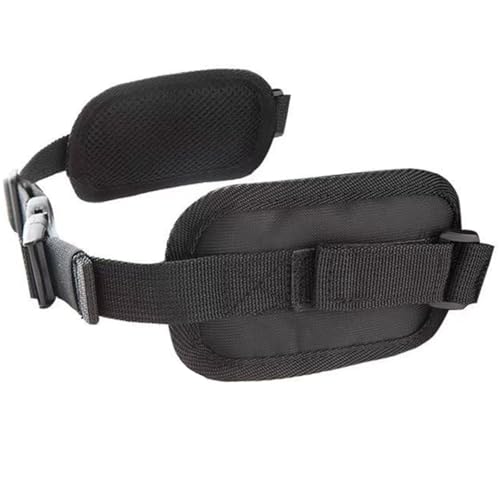

50L HIGH-CAPACITY: Include Main compartment, two zipped front pocket, sleeping bag compartment, mesh side pockets, you can put your tents, blanket,cooking gear and other equipment & accessories in this backpack, backpack internal layout clear classified easily, more convenience to you.
How to Adjust Backpack Straps in the Right Order
- Loosen the straps. Loosen the shoulder straps, load lifters, sternum strap, and hipbelt before putting on the loaded pack.
- Set the hipbelt. Position its padding over the tops of your hip bones, buckle it, and tighten it firmly without pinching.
- Tighten the shoulder straps. Pull down and back until the pack rests close to your body. The straps should wrap your shoulders without carrying all the weight.
- Adjust the load lifters. Tighten them enough to bring the top of the pack closer without creating a gap or pressure at the shoulder joint.
- Set the sternum strap. Place it at a comfortable chest height and tighten only enough to stabilize the shoulder straps.
- Walk and fine-tune. Take several minutes to walk, climb stairs, and turn. Loosen or tighten one component at a time.
Packing Techniques for a Balanced Load
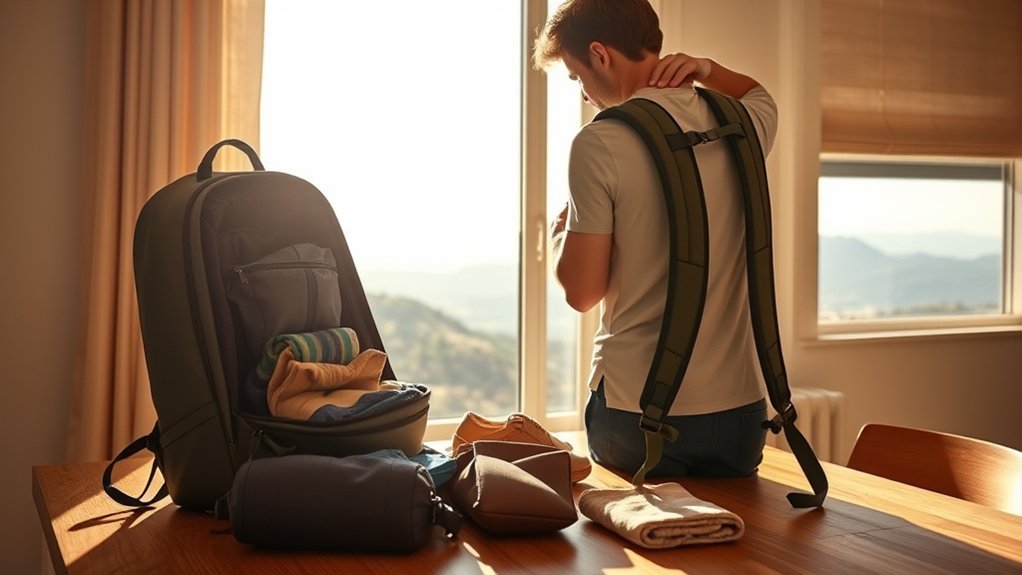
A balanced load feels centered over your hips instead of pulling you backward or to one side. A practical packing system uses a bottom zone for bulky soft items, a core zone for dense gear, and a top zone for items needed during the day.
- Bottom: Place bulky, lighter items you will not need soon, such as a sleeping bag or spare soft clothing.
- Core and close to the back: Put dense items such as food, a laptop, a cook kit, or a full water reservoir near your spine and around the middle of the pack.
- Top: Keep a rain layer, first-aid kit, warm layer, and other items needed quickly near the top.
- Side pockets: Balance water bottles and other side loads so one side is not heavier.
- Outside of the pack: Limit dangling gear. It can sway, catch on objects, and pull the load off center.
Fill empty spaces with soft items and tighten compression straps so the contents cannot shift. Avoid placing a hard-edged object directly against your back. If the pack still feels lopsided, unpack it and compare the weight on each side rather than trying to correct the imbalance by tightening one shoulder strap.
Regularly Assessing Backpack Contents
Review the load before each trip and again during a long journey. A travel backpack often becomes heavier as receipts, food, water, souvenirs, chargers, and unused clothing accumulate. Regular checks keep the pack lighter and make important items easier to reach.
Importance of Regular Checks
Perform a full check while packing, a quick check each morning, and another whenever the pack becomes noticeably less comfortable. Confirm that liquids are sealed, side pockets remain balanced, compression straps are tight, and no hard object is pressing through the back panel. A weekly check can help during long-term travel, but trip-based checks are more useful than a rigid schedule.
Identifying Unnecessary Items
Lay out everything and group it by purpose. Remove duplicate chargers, full-size toiletries that can be decanted, extra shoes, bulky packaging, unread books, and “just in case” items that are easy to buy at the destination. Do not remove necessary medication, water treatment, weather protection, navigation tools, or emergency supplies simply to reduce the scale reading.
Weight Management Strategies
Weigh the packed bag, then reduce optional items in small rounds. Packing cubes can improve organization, but they do not reduce weight. Record the final pack weight so you can compare future trips and identify which categories keep growing.
| Item Type | Keep, Reduce, or Remove? |
|---|---|
| Medication, identification, and required documents | Keep and protect from moisture |
| Water, food, rain gear, and safety equipment | Keep the amount appropriate for the route and conditions |
| Toiletries | Reduce to travel-size quantities |
| Clothing | Keep versatile layers; remove duplicates |
| Unused equipment, heavy packaging, and souvenirs | Remove, ship, or move to wheeled luggage |
Carrying Methods for Even Weight Distribution
Wear a backpack on both shoulders. Using only one shoulder makes the load asymmetrical and can cause the pack to pull away from your center of balance. If the pack has a hipbelt and the load is substantial, buckle and adjust it rather than letting all the weight hang from the shoulders.
Do not “switch sides” with a two-strap backpack as a routine carrying method. Instead, use both straps and briefly change strap tension to relieve a pressure point. On long walks, take the pack off during breaks, move your shoulders gently, and check whether the load has shifted.
How to Lift and Put On a Loaded Backpack
- Stand beside the upright backpack with your feet apart and knees bent.
- Use the haul loop or another reinforced handle, not a shoulder strap.
- Lift with your legs and rest the pack on your thigh or a bench.
- Slide one arm into a shoulder strap, bring the pack onto your back under control, and insert the other arm.
- Buckle the hipbelt and readjust the remaining straps.
Warning: Do not jerk a heavy pack from the floor by one shoulder strap. This can strain you, damage the harness, and make the load harder to control.
Monitoring Backpack Sway While Walking
A well-loaded backpack should move with your torso rather than swing from side to side. Sway wastes energy, changes your balance, and can make your shoulders and lower back work harder. Check the pack while walking on level ground, climbing stairs, and stepping over a curb.
| What You Notice | Likely Cause | What to Do |
|---|---|---|
| Pack swings side to side | Loose compression or shoulder straps; uneven side load | Center the contents and tighten straps in small steps |
| Pack pulls backward | Dense items are too far from the spine or the pack is too heavy | Move heavy items inward and remove optional weight |
| Shoulder numbness or deep strap marks | Too much weight on the shoulders, overtightened straps, or poor fit | Stop, loosen the straps, reset the hipbelt, and reduce the load |
If repeated adjustments do not stop the sway, the backpack may be too large, too small, poorly packed, or too heavy for its suspension system.
Allowing Time for Body Adjustment
A new pack may feel unfamiliar, but sharp pain, numbness, or weakness is not a normal “break-in” stage. Practice with a light load, then increase distance and weight gradually over several outings. The amount of preparation needed depends on your current fitness and the demands of the trip; there is no universal two-week adjustment period.
For a demanding backpacking trip, build strength, endurance, and balance in advance. A structured backpacking plan may begin about eight weeks before the trip and add loaded hikes gradually. Useful exercises include step-ups, squats, rows, bridges, bird dogs, and planks. Start slowly and stop or modify an exercise that causes pain.
Note: This article provides general education, not a diagnosis or individual treatment plan. Ask a clinician or physical therapist for personalized advice if you have an existing back condition, recent injury or surgery, neurological symptoms, or pain during exercise.
Recognizing Signs of Persistent Pain
Stop carrying the pack and reassess it if you develop worsening back, neck, or shoulder pain; numbness or tingling; weakness; loss of balance; pain shooting into one or both legs; or difficulty completing normal activities. Remove the pack, lighten it, and check the fit. Do not keep walking in the hope that severe or neurological symptoms will fade.
Seek medical advice when pain persists, returns whenever you carry the pack, or limits sleep, walking, or daily activities. Get urgent medical help for new bladder or bowel problems, numbness around the buttocks or genitals, new leg weakness or inability to walk, shooting pain down both legs, fever and chills, or significant trauma. These are among the emergency warning signs listed in University Hospitals Sussex’s low-back-pain guidance.
Warning: New bladder or bowel difficulty, saddle-area numbness, major leg weakness, inability to walk, or back pain after serious trauma requires urgent medical assessment.
Alternative Carrying Options for Comfort
An alternative bag can help when the load is too heavy for comfortable backpack use, but each option has limits. The best first steps are still to reduce the load and improve fit. Choose an alternative based on the surface, distance, weight, and your ability to lift, pull, or carry it safely.
Front Carrying Techniques
Holding a small bag in front can improve access and visibility for a short time, but it does not automatically distribute weight evenly. A heavy front load can pull your torso forward, block your view of steps, and create a new set of neck and shoulder problems. Do not carry a full-size backpack on your chest as a routine fix for back pain. Use front carrying only for a light item or a brief transfer, and keep your path visible.
Wheeled Bag Options
A wheeled bag can reduce the time a heavy load spends on your back, especially in airports, stations, and smooth urban areas. Choose a handle height that lets you stay upright, switch pulling hands when practical, and avoid twisting while lifting the bag over curbs or stairs. Wheels are less useful on rough trails, deep gravel, snow, and long stairways.
Crossbody Sling Bags
A crossbody or sling bag may work for a light, compact load because the strap is less likely to slide off than a one-shoulder tote. It still places more load on one side than a two-strap backpack, so it is not the best choice for heavy gear or long walks. Keep the bag close to the body, shorten the strap enough to limit swinging, and switch to a backpack or wheeled bag when the load grows.
Sharing Safety Tips and Best Practices
Use this short safety check before leaving a hotel, campsite, airport, or home:
- Weigh the loaded backpack and compare it with the type and length of the trip.
- Remove optional items before removing essential safety gear.
- Confirm the hipbelt sits on the hips and both shoulder straps are in use.
- Center dense items close to the spine and balance both sides.
- Tighten compression straps so the contents cannot shift.
- Lift the pack with bent knees and a controlled motion.
- Walk for several minutes and check for sway, leaning, pressure, numbness, or pain.
- Stop and adjust early instead of waiting for discomfort to become severe.
When traveling with other people, help each other check shoulder-strap alignment, hipbelt position, and objects pressing through the back panel. Encourage anyone with persistent or neurological symptoms to seek medical care rather than pushing through the trip.
Frequently Asked Questions
How often should I replace my backpack?
There is no reliable two- or three-year replacement rule. Replace or repair the pack when the frame is bent, seams are separating, buckles slip, shoulder straps are torn, padding has collapsed, the hipbelt no longer holds its position, or the suspension cannot keep the load stable.
Can I use a regular bag instead of a backpack?
Yes, for a light load and short distance. A two-strap backpack usually offers better symmetry for moderate loads, while a wheeled bag may be better for heavy travel gear. Totes, messenger bags, and sling bags can become uncomfortable because they load one side more than the other.
What should I do if my backpack feels too heavy?
Stop and put the pack down safely. Remove optional items, move dense gear close to your spine, balance the two sides, and reset the hipbelt and shoulder straps. Split the load, ship items, or use wheeled luggage if it remains too heavy. Do not push through sharp pain, numbness, weakness, or loss of balance.
Are there specific exercises to strengthen my back?
A balanced program can include step-ups, squats, rows, bridges, bird dogs, planks, walking, and balance work. Increase resistance and pack weight gradually. Exercise should not cause sharp or radiating pain; people with current symptoms or medical conditions should get individual guidance from a qualified clinician or trainer.
How can I find a comfortable fit for my backpack?
Measure your torso and hips, select the matching manufacturer size, and test the pack with realistic weight. Set the hipbelt first, then tighten the shoulder straps, load lifters, and sternum strap. Walk for at least 15–30 minutes and reject a pack that slips, gaps, pinches, or makes you lean.
Where should a backpack sit on my back?
A supportive pack should sit close to the torso, with the hipbelt centered over the tops of the hip bones. The shoulder straps should wrap smoothly around the shoulders without large gaps, and the pack should not sag far below the hips or pull you backward.
Should I carry a backpack on one shoulder to give the other side a break?
No. Use both shoulder straps for a loaded backpack. To relieve pressure, stop for a break, loosen and retighten the straps, or shift some load between the hipbelt and shoulder harness. One-shoulder carrying makes the load uneven and is more likely to create discomfort.
Conclusion
Preventing back pain during backpack travel starts with a realistic load, the correct torso size, and careful adjustment. Keep dense gear close to your spine, balance both sides, use both shoulder straps, and let a supportive hipbelt carry much of the weight. Check the pack whenever it begins to sway or pull, and reduce the load rather than forcing your body to adapt to pain. Most importantly, treat numbness, weakness, radiating pain, balance changes, or bladder and bowel symptoms as health concerns—not packing inconveniences.
Sources
- REI Co-op: How Much Should Your Pack Weigh? — adult day-hike and backpacking weight guidelines.
- REI Co-op: How to Size and Fit a Backpack — torso measurement and strap-adjustment sequence.
- REI Co-op: How to Pack and Hoist a Backpack — load zones, balance, compression, and safe hoisting.
- REI Co-op: Conditioning for Backpacking and Hiking — gradual strength and endurance preparation.
- American Academy of Orthopaedic Surgeons: Backpack Safety — two-strap use, wide padded straps, centered loads, and safe lifting.
- University Hospitals Sussex NHS Foundation Trust: Low Back Pain — urgent warning signs and general medical guidance.
