
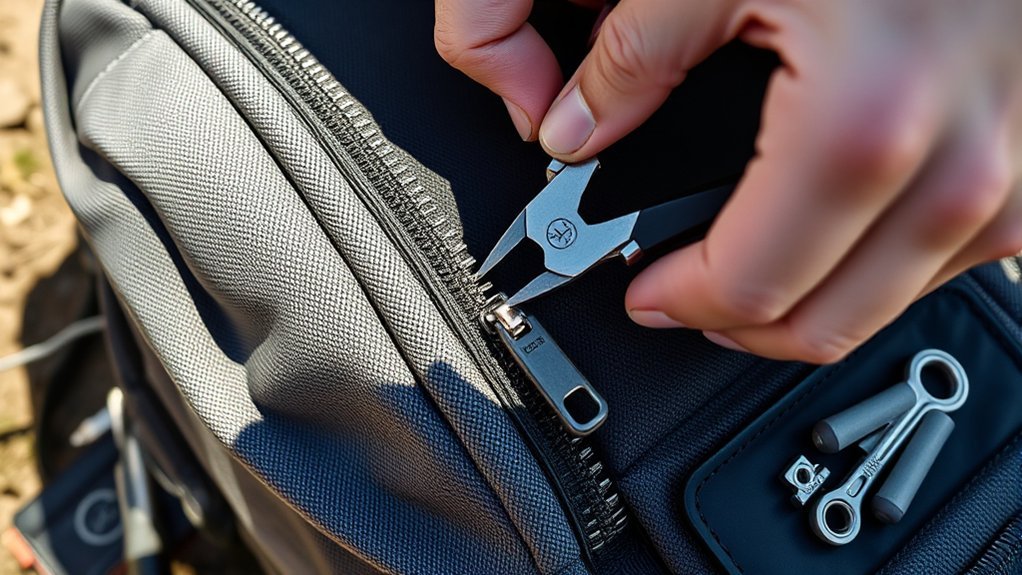
Last Updated on July 30, 2026 by Caleb Warren
A backpack zipper that will not close does not always have damaged teeth. When the zipper closes and then splits open behind the slider, the slider is often worn or slightly spread apart. Start with a careful inspection, clean away dirt or trapped fabric, and adjust only the correct part. This guide explains when a simple fix works and when the zipper needs a new slider or full replacement.
Quick Answer
First, inspect the zipper. If it closes but splits open behind the slider, the teeth are usually intact and the slider is loose. Clean the track, then gently crimp the metal slider—not the teeth—in tiny, even steps. Replace the slider if crimping fails. Missing teeth or torn tape usually require zipper replacement.
Key Takeaways
- A zipper that opens behind the slider usually has a worn or loose slider, not misaligned teeth.
- Never squeeze molded plastic teeth or nylon coils with pliers.
- Remove trapped fabric, grit, and dirt before adjusting or replacing parts.
- A temporary slider crimp may restore closure, but a worn slider often needs replacement.
- Missing teeth, torn zipper tape, or major chain damage usually require professional repair or a complete zipper replacement.
At a Glance
| Time Required | 5–15 minutes for cleaning or a temporary slider adjustment; 20–45 minutes for slider replacement |
| Difficulty | Easy for cleaning and careful crimping; moderate for replacing a slider and stop |
| Tools Needed | Flashlight, soft toothbrush, clean cloth, needle-nose pliers, and optional end nippers, safety glasses, matching slider, and replacement top stop |
| Cost | No cost for cleaning or a basic adjustment if you own the tools; replacement-part prices vary by zipper type, size, and brand |
Disclosure: As an Amazon Associate I earn from qualifying purchases. Some links on this page are affiliate links, at no extra cost to you.
Understanding Zipper Misalignment and Slider Wear
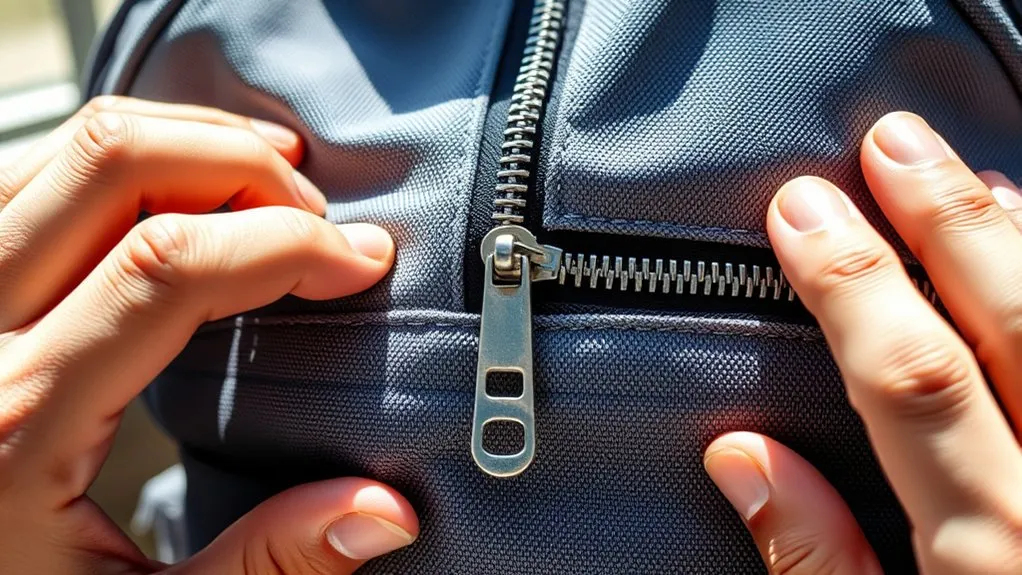
A zipper joins two rows of elements by guiding them through a slider. Depending on the backpack, those elements may be a continuous nylon coil, molded plastic teeth, or separate metal teeth. The slider has channels that bring both sides together as it moves.
If the zipper closes and then immediately opens behind the slider, the zipper chain may still be usable. The slider can wear and spread slightly over time, preventing it from pressing the two sides together firmly enough. Current repair guidance from REI and iFixit treats this as a slider problem rather than a reason to squeeze the zipper teeth.
True tooth or chain damage looks different. You may see a missing molded tooth, a torn coil, a bent metal element, frayed zipper tape, or an element pulling away from the tape. These problems cannot be corrected by tightening the slider alone.
Pro Tip: Close the zipper slowly while watching the area directly behind the slider. If the chain joins inside the slider but opens again one or two inches behind it, a loose or worn slider is the likely cause.
Know the Parts of the Zipper
- Slider: The metal or plastic body that moves along the zipper chain and joins or separates it.
- Pull tab: The handle attached to the slider. A broken pull does not always mean the slider itself is damaged.
- Teeth or coil: The interlocking elements attached to both sides of the zipper tape.
- Zipper tape: The woven fabric strip sewn into the backpack.
- Top stops: Small parts that prevent the slider from running off the top of the zipper.
- Bottom stop or closed end: The point where the two sides remain joined at the bottom or end of a pocket zipper.
Identify Your Zipper Type
Before buying replacement parts, determine whether the backpack uses a coil, molded plastic-tooth, or metal-tooth zipper. The replacement slider must match both the zipper type and its size. Some sliders have a size or model marking on the back. Double-slider compartments also require the correct slider orientation. The iFixit zipper-identification guide explains the main tooth, size, separating, and locking categories.
Note: A replacement slider that looks close enough may still be the wrong size. An incorrect slider may bind, fail to join the chain, or damage the elements.
Tools Needed for the Repair
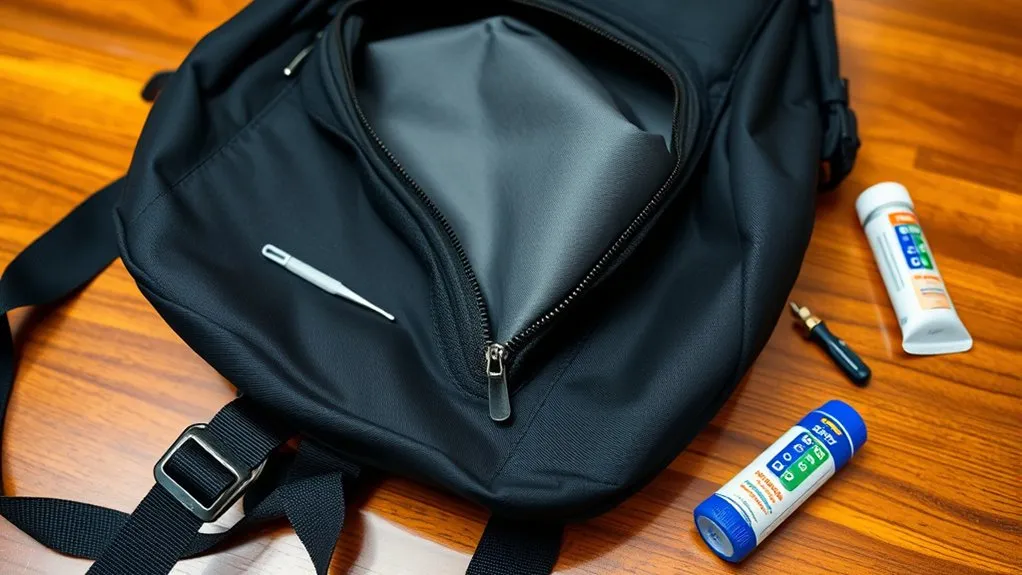
The tools depend on what is wrong with the zipper. Begin with the least invasive repair and gather additional parts only if the slider must be replaced.
For Cleaning and a Temporary Slider Adjustment
- A bright light or flashlight.
- A soft, dry toothbrush.
- Tweezers for loose threads or debris.
- A clean cloth.
- Small needle-nose or smooth-jaw pliers.
For Slider Replacement
- Safety glasses.
- End nippers or flush cutters for removing a top stop.
- Needle-nose pliers.
- A replacement slider that matches the zipper type and size.
- A compatible replacement top stop.
Warning: Do not clamp the zipper teeth, nylon coil, fabric tape, or pull tab. Adjust only the metal slider body. Wear eye protection when cutting or removing a zipper stop because small metal pieces can spring away.
Inspect the Zipper and Find the Failure
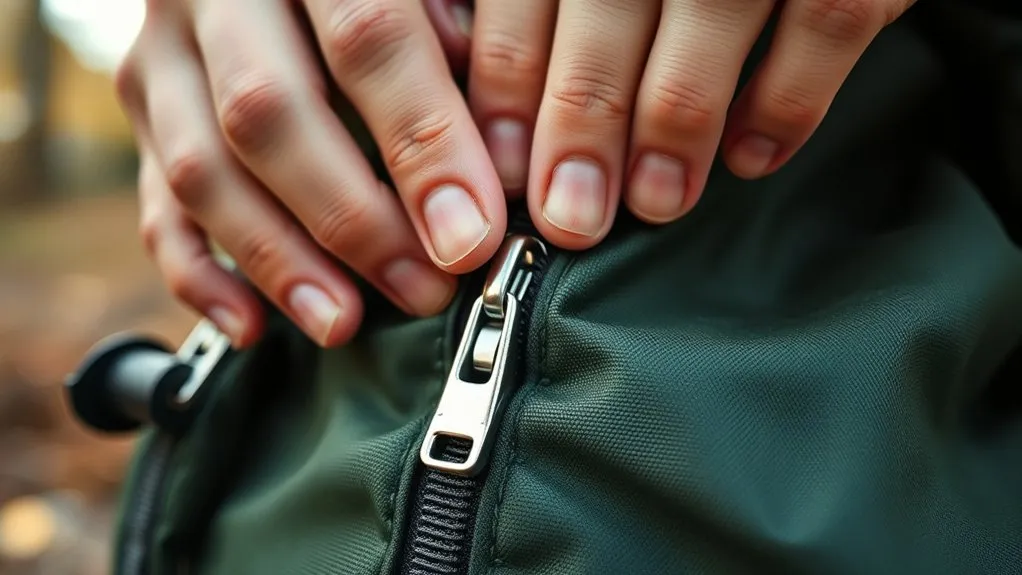
Empty the backpack before beginning. Removing the load takes pressure off the zipper and makes it easier to see the complete track. Open the compartment as far as the slider allows, then inspect both sides from end to end.
Visual Inspection Techniques
- Look for trapped material. Check for lining fabric, loose thread, hair, grit, or sticky residue inside the slider.
- Inspect the chain. Look for missing teeth, flattened coil sections, bent metal elements, or teeth pulling away from the tape.
- Inspect the tape. Check for tears, fraying, loose stitching, or separation between the chain and the backpack fabric.
- Check the stops. Confirm that the top stops and closed end are present and secure.
- Watch what happens behind the slider. If the chain joins and then opens again, the slider is probably loose or worn.
Check Alignment Without Using a Fixed Gap Measurement
There is no universal gap measurement that proves a backpack zipper is misaligned. Zipper dimensions differ by type and size. Instead, compare both sides visually and check whether they enter the slider at the same angle.
The two sides should lie flat and feed into the slider without twisting. If one side is stretched, folded, or under more tension than the other, gently flatten the backpack fabric before moving the slider. Do not pull the slider forcefully through an uneven section.
Fix a Stuck or Dirty Backpack Zipper First
A slider may stop moving because fabric, thread, sand, or dried residue is caught inside it. Do not yank the pull tab. Force can bend the slider, tear the tape, or pull elements from the chain.
- Place the backpack on a flat surface and remove tension from the compartment.
- Look closely at the front and back of the slider.
- Use tweezers to pull loose thread or fabric away from the direction in which it entered.
- Move the slider backward a small amount while easing the trapped material free.
- Brush dirt from both sides of the zipper with a soft toothbrush.
- Wipe the area with a slightly damp cloth if the backpack manufacturer permits it, then let the zipper dry.
- Test the slider with short, gentle movements.
Patagonia’s current zipper-repair guidance recommends removing trapped fabric and cleaning dirt rather than lubricating a jammed zipper. REI also advises against petroleum jelly, oil, and soap because they can collect dirt.
Note: Some zipper manufacturers permit a small amount of dry zipper wax or paraffin on compatible products. Use it only after cleaning, follow the backpack maker’s instructions, and test an inconspicuous spot because wax can mark some fabrics. Do not spray silicone or oil across the backpack.
Using Pliers to Adjust a Loose Slider
Try this repair only when the zipper teeth or coil and tape are intact, but the zipper splits open behind a metal slider. Crimping is a temporary adjustment. If the metal is worn or weakened, the slider will need replacement.
- Empty and open the compartment. Move the slider to an area where you can reach both sides of it.
- Inspect the slider. Confirm that it is metal and that the pull tab, fabric, and zipper elements are clear of the pliers.
- Grip one side of the slider body. Place the plier jaws on the slider’s outer side wall, not on the teeth or pull.
- Apply very light pressure. Make one small squeeze. Do not try to flatten the slider.
- Repeat on the other side. Use the same amount of pressure so the slider remains even.
- Test the zipper. Move the slider several inches and check whether the chain remains closed behind it.
- Stop as soon as it works. Additional pressure can make the slider too tight, causing it to jam or scrape the zipper chain.
If the slider still separates the chain, make no more than one or two additional tiny adjustments. A slider that becomes difficult to move has been tightened too far. Repeated bending also weakens the metal.
Pro Tip: Take a close photo of the slider before adjusting it. The photo gives you a reference for its original shape and may show a size or model number needed for replacement.
Replace a Worn or Broken Slider
A replacement slider is the better repair when gentle crimping does not hold, the slider is cracked, or the slider has become too tight. REI notes that replacing a worn slider resolves many common zipper failures, provided the chain itself is not damaged.
- Identify the zipper. Match the zipper type, size, locking style, pull direction, and single- or double-slider design.
- Buy the correct slider and top stop. Compare the replacement with the old slider before removing anything.
- Move the old slider away from the top stop. Work on a clear, well-lit surface.
- Put on safety glasses. Use end nippers to remove only the top stop on the side needed to release the slider. Avoid cutting the zipper tape.
- Remove the old slider. Note which way it faces before sliding it off.
- Install the replacement. Feed both sides evenly into the new slider in the same orientation as the old one.
- Test before fitting the stop. Move the slider several times to confirm that it joins the chain smoothly.
- Install a new top stop. Crimp the stop onto the tape with needle-nose pliers so the slider cannot run off the end.
- Test again. Open and close the zipper several times before loading the backpack.
The iFixit plastic-tooth slider-replacement guide shows the same basic process of removing a stop, replacing the slider, testing it, and installing a new stop. Coil zippers require a slider made for coil chain rather than molded teeth.
Warning: Stop and use a professional repair service if the zipper end is buried inside a sewn seam, the tape must be cut, the chain is pulling away from the tape, or you cannot identify the correct replacement slider.
What to Do About Bent, Missing, or Damaged Teeth
Slightly Bent Metal Teeth
A single metal tooth that remains firmly attached may sometimes be nudged back into line with smooth-jaw pliers. Support the zipper tape, make the smallest possible adjustment, and test the zipper after each movement. Stop if the tooth loosens, cracks, or begins pulling away from the tape.
Molded Plastic Teeth or Nylon Coil
Do not squeeze individual molded teeth or nylon coils. Plastic can crack, and a coil can flatten or detach from the tape. If one section is distorted, first check whether debris or a damaged slider is causing the problem.
Missing Teeth, Broken Coil, or Torn Tape
Missing elements and torn zipper tape are structural damage. Tightening or replacing the slider will not restore the missing part. According to Patagonia, damaged teeth that will not join and more extensive zipper damage may require professional repair or replacement.
An experienced repair technician may sometimes isolate damage near the end of a pocket zipper by installing a new stop before the damaged area. This shortens the usable opening and is not suitable for every backpack. Damage in the middle of a main compartment usually calls for replacement of the complete zipper line.
Ensuring Proper Alignment
After cleaning, adjusting, or replacing the slider, make sure both sides of the zipper enter the slider evenly.
- Lay the backpack flat. Remove any twist from the fabric around the zipper.
- Reduce tension. Do not test the repair while the compartment is overfilled.
- Guide both sides evenly. The zipper tape should remain flat instead of folding into the slider.
- Pull in the zipper’s direction. Avoid lifting or twisting the pull tab sideways.
- Check the stitching. Loose stitching can let the tape shift even when the slider and teeth are sound.
Testing the Zipper Functionality
Fully Open the Zipper
Open the zipper as far as its design permits. Check that the slider stays on the track, both sides remain level, and no element catches at the repaired area. Confirm that the top stops prevent the slider from coming off.
Perform a Smooth Closing Test
- Close the zipper slowly with the backpack empty.
- Watch the chain directly behind the slider.
- Feel for scraping, tightness, or sudden changes in resistance.
- Open and close it five to ten times.
- Place a light load in the compartment and repeat the test.
The repair is successful when the slider moves with steady resistance, the chain stays joined, and the zipper does not reopen behind the slider. Do not begin with a full load, because heavy pressure can hide a poor adjustment until the zipper bursts open.
Troubleshooting Common Issues
- The zipper closes but splits open behind the slider: Clean the chain, then make a tiny, even adjustment to a metal slider. Replace the slider if the problem returns.
- The slider will not move: Check for fabric, thread, grit, bent elements, or a slider that was crimped too tightly. Do not force it.
- The pull tab broke off: Fit a temporary cord loop or replacement pull. Replace the full slider only if its crown or body is damaged.
- The slider came off one side: It may be possible to retrack it if the teeth, coil, tape, and stops are intact. A damaged entry point or torn tape needs a more involved repair.
- The slider came off the end: Replace the missing stop after putting the slider back on. Do not continue using the zipper without a stop.
- A tooth or coil section is missing: Do not try to close the gap with pliers. Seek a zipper-line repair or replacement.
- The zipper tape is torn: Stop using the compartment. Continued pulling can enlarge the tear and damage the backpack fabric.
- A double-slider zipper no longer meets evenly: Confirm that both sliders face the correct direction and that neither is worn, compacted, or installed one tooth out of alignment.
Tips for Preventive Maintenance
- Do not overfill the backpack. Pressure from packed items can force the zipper chain apart.
- Pull the slider in line with the track. Sideways pulling twists the slider and places uneven force on the tape.
- Support curved openings. Use your free hand to bring both sides together when closing a heavily curved compartment.
- Remove grit early. Brush away sand, dried mud, and crumbs before they enter the slider.
- Keep fabric clear. Tuck loose lining and compression straps away from the zipper path.
- Follow the backpack maker’s cleaning instructions. Strong cleaners, heat, and careless machine washing can damage coatings, fabric, or zipper parts.
- Dry the backpack before storage. Store it in a cool, dry place with the compartments relaxed rather than tightly stuffed.
- Inspect stops and stitching. A loose stop or seam is easier to repair before the slider comes off.
Benefits of Repairing Over Replacing
Repairing the slider is often the most efficient choice when the zipper chain and tape remain intact. A cleaning, careful adjustment, or correctly matched replacement slider can restore normal use without replacing the entire backpack.
- Lower cost: Cleaning or replacing one small part is usually less expensive than buying a new backpack.
- Less waste: Extending the usable life of the backpack keeps functional fabric, straps, padding, and hardware in service.
- Faster recovery: A basic slider repair may be completed at home without shipping the backpack away.
- Preserved fit and features: You keep a backpack that already fits your body and organizes your gear well.
Repair the slider when the zipper chain is sound. Replace the zipper when the teeth, coil, or tape can no longer carry the load safely.
Repair is not always the better choice. A main-compartment zipper with widespread missing teeth, torn tape, or damage inside a complex seam may require professional replacement to remain dependable.
Frequently Asked Questions
Can I fix a backpack zipper that has completely separated?
It depends on what separated. A slider that came off an otherwise intact track may be retracked or replaced. If the zipper tape tore away, teeth are missing, or the chain is damaged, the zipper usually needs sewing or complete replacement. Do not squeeze the teeth together with pliers.
What should I do if the zipper slider is broken?
Identify the zipper type and size, then obtain a matching slider and top stop. Remove the old stop, slide off the damaged slider, install the replacement in the same orientation, test it, and fit a new stop. Use a professional repair service when the zipper end is sewn deep inside the backpack.
How do I prevent zipper teeth from becoming misaligned?
Avoid overfilling the compartment, keep lining and straps out of the track, pull the slider straight, and support both sides of a curved opening while closing it. Brush away sand and dirt, and repair loose stitching or stops before the slider comes off.
Is there a temporary fix for a stuck backpack zipper?
Remove pressure from the compartment, inspect both sides of the slider, and gently pull trapped fabric or thread free while easing the slider backward. Brush away grit before trying again. Do not yank the pull or force the slider over an obstruction.
Can I use lubricant on a backpack zipper?
Clean the zipper first. Avoid oil, petroleum jelly, bar soap, and uncontrolled silicone spray because residue can collect dirt or mark the fabric. Use a small amount of dry zipper wax only when the backpack or zipper manufacturer approves it, and test it on a hidden area first.
Can a missing zipper tooth be replaced?
Individual teeth or damaged coil sections usually cannot be restored reliably on an installed backpack zipper. Damage near an end may sometimes be isolated with a new stop, but damage in the working section commonly requires replacement of the zipper line.
How can I tell whether the slider is the problem?
Inspect the teeth or coil and tape first. If they appear intact but the zipper joins inside the slider and splits open directly behind it, the slider is likely loose or worn. If you can see missing elements, torn tape, or chain damage, the problem is not limited to the slider.
Conclusion
Fixing a backpack zipper starts with identifying the failed part. Clean away debris and free trapped fabric before reaching for tools. When an intact zipper opens behind the slider, a tiny, even adjustment to the metal slider may provide a temporary fix, while a matching replacement slider offers a more dependable repair.
Do not squeeze plastic teeth or nylon coils. Missing teeth, broken coil sections, torn tape, and damage hidden inside a sewn seam usually need professional repair or complete zipper replacement. After any repair, test the zipper several times with an empty backpack and then with a light load before trusting it with your gear.
Sources
- Patagonia — How to Fix a Zipper and Keep Your Gear Going — diagnosis, cleaning, slider replacement, and limits of repairing damaged teeth.
- REI — How to Fix a Zipper — temporary slider crimping, permanent slider replacement, cleaning, and professional-repair triggers.
- iFixit — Zipper Identification — zipper types, sizes, parts, and replacement-slider selection.
- iFixit — Plastic Tooth Zipper Slider Replacement — stop removal, slider installation, testing, and top-stop replacement.
- YKK — Zipper Usage Instruction Manual — zipper construction, handling precautions, and wax-related considerations.

