
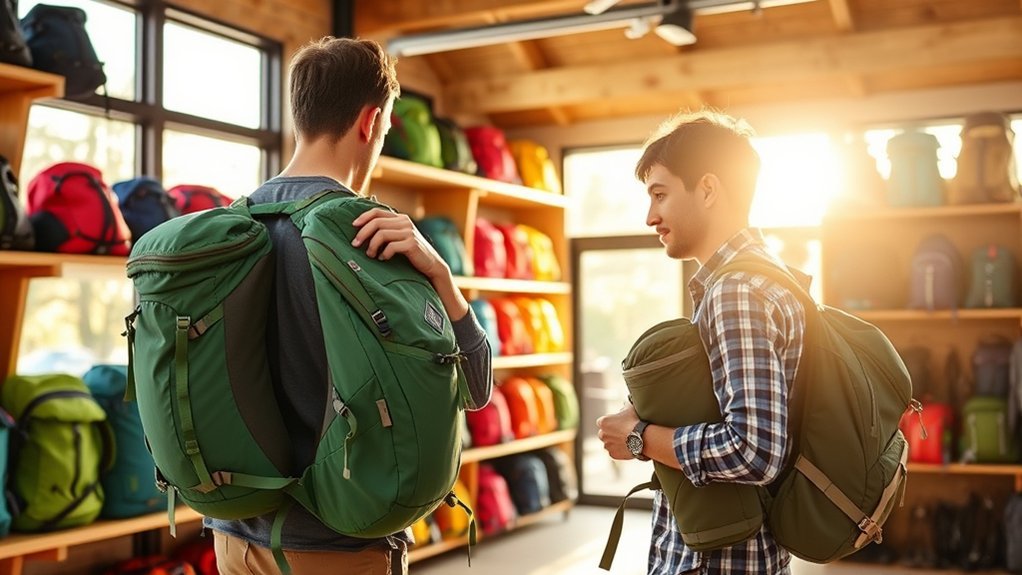
Last Updated on July 30, 2026 by Caleb Warren
Choosing a hiking backpack is easier when you work backward from the trips you actually take. Start with the gear you must carry, choose enough capacity for that load, and then focus on torso length, hip-belt fit, suspension, and comfort. A pack that fits your body and supports your real trail weight is more useful than one chosen only because it is light, large, or popular.
Quick Answer
Choose a hiking backpack by matching its capacity to your longest typical trip, measuring your torso and hips, and testing the pack with realistic weight. The padded hip belt should grip your upper hips, the shoulder straps should wrap without gaps, and the pack should remain stable during a 10- to 20-minute walk.
Key Takeaways
- Choose for the activity you do most often rather than buying the largest pack you might someday need.
- Capacity describes storage space; it does not tell you how comfortably the suspension carries weight.
- Torso length and hip size matter more than your height, clothing size, or the pack’s gender label.
- Test the pack with your normal gear or realistic weight before deciding that it fits.
- Do not remove essential safety equipment merely to reach an arbitrary pack-weight target.
At a Glance
| Time Required | About 30–60 minutes to measure, load, adjust, and walk-test a pack |
| Difficulty | Easy, but comparing several loaded packs gives better results |
| Tools Needed | Flexible tape measure, your normal gear or test weights, and a mirror or helper |
| Cost | Measuring and fitting are free; pack prices vary by capacity, materials, suspension, and features |
Disclosure: As an Amazon Associate I earn from qualifying purchases. Some links on this page are affiliate links, at no extra cost to you.
Decide What It’s For
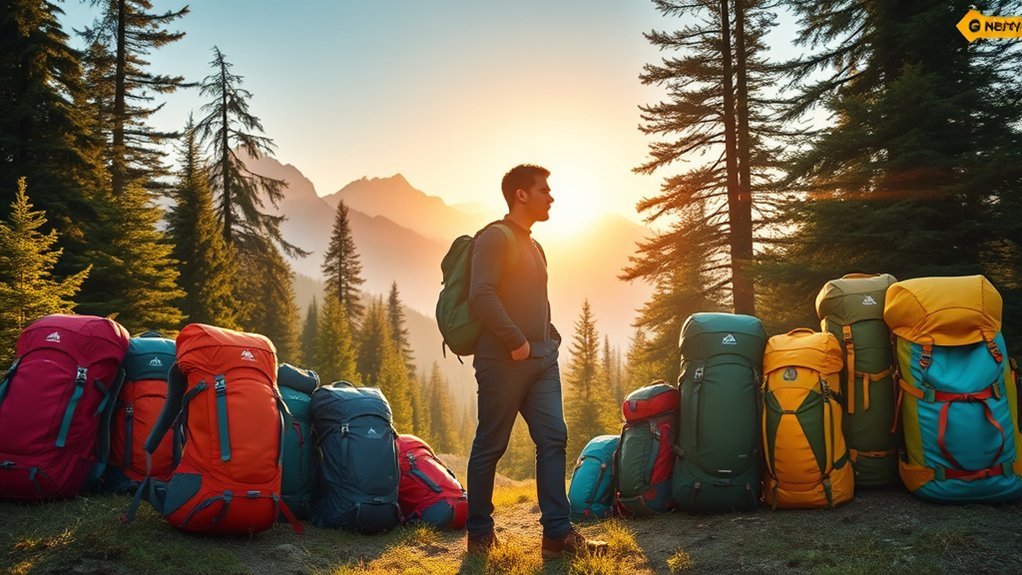
Begin with the activity you expect to do most often. A small trail-running pack, a ventilated daypack, a climbing pack, and a multiday backpacking pack solve different problems. Buying for your normal use will usually produce a better result than choosing a large pack for a rare future trip.
List the gear you would carry on your longest typical outing. Include water, food, extra clothing, navigation, lighting, first aid, sun protection, rain protection, and any activity-specific equipment. The National Park Service Ten Essentials provide a useful safety baseline, although the exact contents should change with the route, season, weather, and group.
- Short walks and fast hikes: Prioritize low weight, stability, bottle access, and enough room for essential safety gear.
- Full-day hikes: Look for space for water, food, layers, rain protection, first aid, and seasonal equipment.
- Climbing or scrambling: A narrow shape, durable fabrics, helmet or rope storage, and secure tool attachments may matter more than ventilation.
- Overnight backpacking: Choose a suspension designed for the total weight of shelter, sleep system, food, fuel, water, and clothing.
- Winter, family, or photography trips: Allow extra space for bulky insulation, children’s supplies, camera protection, or specialized gear.
Warning: Do not leave behind navigation, illumination, first-aid supplies, weather protection, food, water, or other essential emergency equipment simply to meet an arbitrary pack-weight goal.
Determine Backpacking Style
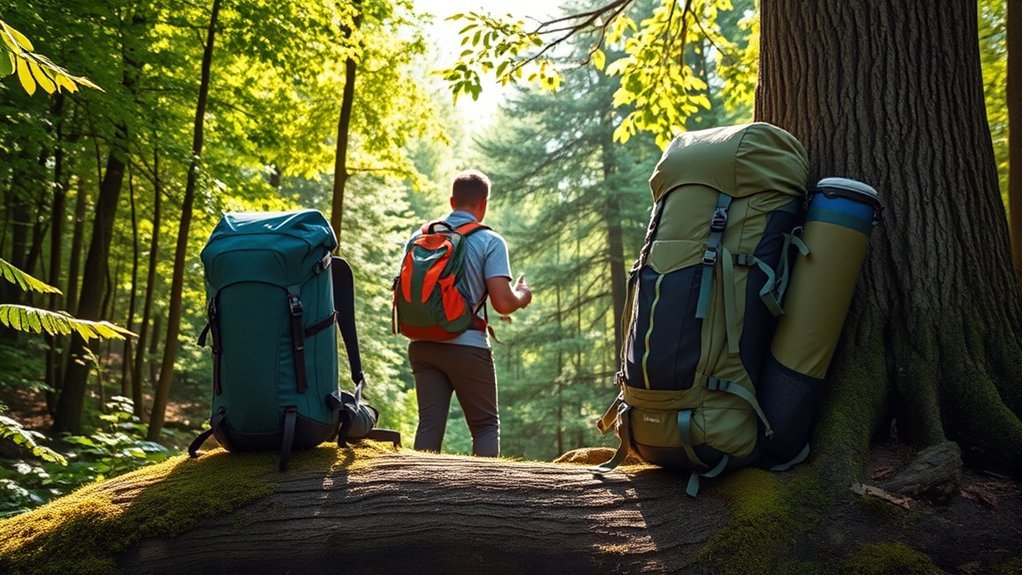
Your backpacking style affects both the amount of space you need and the type of suspension that will feel comfortable. Instead of labeling yourself by one weight number, consider how compact your gear is, how much food and water you carry, and whether you value speed, durability, ventilation, organization, or heavy-load support.
Lightweight vs. Gear-Intensive
A lightweight setup uses compact gear and removes unnecessary duplication. A gear-intensive setup may include winter insulation, climbing equipment, camera gear, a bear-resistant food container, group shelter parts, or supplies for children. Neither approach has one universal weight range.
Check the recommended load range for each specific backpack. A very light frameless pack may be comfortable with a compact load but uncomfortable when overloaded. A somewhat heavier pack with a structured frame and supportive hip belt can feel better when carrying more food, water, or equipment.
The best pack is not automatically the lightest pack. It is the lightest option that fits correctly, holds the required gear, and supports the intended trail load.
Trip Duration Considerations
Trip length is a useful starting point, but gear bulk can change the answer. A hiker with compact equipment may complete an overnight trip with a smaller pack than someone carrying a bulky sleeping bag, cold-weather layers, or group gear.
The following ranges are practical starting points based on current daypack guidance and backpacking-pack guidance:
| Typical Trip | Starting Capacity | What Changes the Size |
| Short hike or fast outing | About 10–20L | Water needs, weather, remoteness, and emergency gear |
| Full-day hike | About 21–35L | Cold-weather layers, camera gear, family supplies, or technical equipment |
| One to three nights | About 30–50L | Gear compactness, season, food, water, and shared equipment |
| Three to five nights | About 50–80L | Food volume, resupply options, required food storage, and climate |
| More than five nights or bulky expedition load | About 70L or more | Resupply, winter equipment, group gear, water carries, and specialized equipment |
These ranges are starting points rather than guarantees. Make a gear list, place the items together, and estimate their total bulk before purchasing a pack.
Climate and Terrain Factors
Cold, wet, exposed, or technical terrain usually requires more equipment than a mild, well-traveled route. Winter insulation and sleeping bags are bulky. Desert routes may require large water carries. Bear-country regulations may require a rigid food container that does not fit easily into every pack.
- Hot conditions: Look for airflow, breathable shoulder straps, and easy access to water.
- Wet climates: Use a waterproof liner or dry bags for critical gear, even when the pack includes a rain cover.
- Cold or snowy routes: Allow space for insulation, gloves, traction equipment, and emergency shelter.
- Rugged or off-trail travel: Favor durable fabrics, secure compression, and a narrow, stable profile.
- Climbing or mountaineering: Check for compatible tool loops, rope storage, ski attachments, or reinforced panels.
Decide on Capacity and Weight
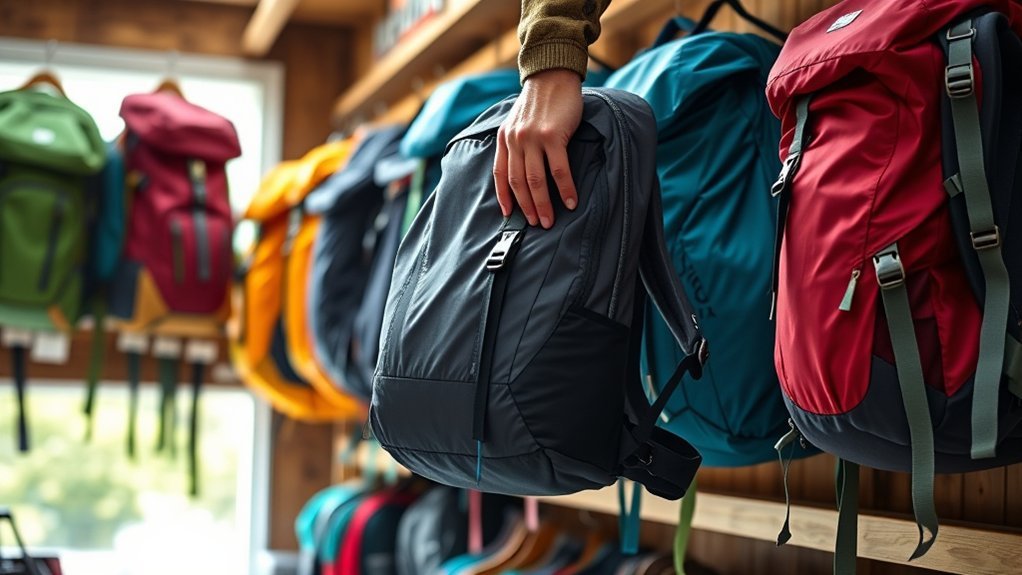
Capacity and carrying ability are not the same thing. Liters describe the pack’s internal volume. They do not tell you how much weight its frame, hip belt, shoulder harness, and stitching can support comfortably.
After estimating the volume you need, compare each model’s own specifications. Look at its empty weight, intended use, frame design, torso range, hip-belt range, and recommended load. A pack that is comfortable with a light day-hiking load may not remain comfortable when filled with several days of food and water.
Choose a Pack Type That Matches the Load
- Frameless packs: Light and flexible, but usually best with compact, carefully packed loads. A folded sleeping pad may provide structure in some systems.
- Framesheet or lightly framed packs: Common in daypacks and lighter overnight packs. They add shape and help prevent hard objects from pressing into your back.
- Internal-frame packs: Designed to transfer more of the load to the hips and control movement. They are common for overnight and multiday backpacking.
A larger pack is not automatically safer or more versatile. Extra space can encourage overpacking, while a partly empty pack may sag unless its compression straps control the load. Choose enough room for necessary gear plus a small amount of flexibility, not large amounts of unused space.
Pro Tip: Bring your actual shelter, sleeping bag, food container, camera cube, or other bulky equipment when shopping. Confirm that these items pass through the opening and sit in the intended position before buying the pack.
Importance of Fit
A correctly sized hiking backpack should move with you without concentrating pressure on one spot. Torso length determines where the shoulder harness and hip belt meet your body. Hip circumference determines whether the padded belt wraps far enough to grip your upper hips without running out of adjustment.
Measuring Torso Length
Use a flexible tape and ask another person to help when possible. Follow these steps:
- Tip your head forward and locate the prominent C7 vertebra at the base of your neck.
- Place your hands on the top edges of your hipbones with your thumbs pointing toward your spine.
- Imagine a horizontal line connecting the tops of the hipbones at the iliac-crest level.
- Stand naturally and measure from C7 down the curve of your spine to that horizontal line.
- Compare the result with the size chart for the exact pack model.
Backpack sizing is based mainly on torso length, not overall height. If your measurement falls between sizes, do not automatically choose the smaller one. Try both sizes under load and check the harness contact, hip-belt position, and remaining adjustment range.
The Osprey size and fit guide and Gregory fit guide show why measurements and adjustment instructions must be checked for the specific brand and model.
Hip Strap Alignment
The padded hip belt should wrap around and grip the upper hips. On many packs, the padding sits approximately halfway above and halfway below the top of the hipbone, although the exact position varies by suspension design.
After tightening the belt, check that:
- The padding makes secure contact rather than floating above the hips.
- The buckle has adjustment room in both directions.
- The padded sections do not meet or overlap at the front.
- The belt does not slide down after several minutes of walking.
- There is no sharp pressure on the front points of the pelvis.
A thin webbing strap on a small daypack may control bounce without carrying much load. A structured backpacking hip belt is designed to transfer a larger share of the load to the pelvis. Do not expect both designs to feel or perform the same way.
Adjustable Features Importance
Adjustable torso systems can help one pack fit a wider range of bodies, but adjustment cannot correct every mismatch. The frame length, shoulder-harness shape, hip-belt contour, and distance between the shoulder straps still need to suit your body.
Useful adjustments include:
- Torso length: Positions the shoulder harness in relation to the hip belt.
- Shoulder straps: Draw the lower pack toward the body without lifting the hip belt off the hips.
- Load lifters: Pull the upper pack closer on compatible designs and help control backward lean.
- Sternum strap: Stabilizes the shoulder straps without restricting breathing.
- Hip-belt stabilizers: Pull the lower pack closer to the hips and reduce sway.
Evaluate Gear and Weight Distribution
Weigh the complete load, including the backpack, food, water, fuel, and small items that are easy to overlook. Water and several days of food can change how a pack feels even when the rest of the gear is compact.
Pack the heaviest dense items close to your back and near the body’s center rather than far from the spine. Keep hard or pointed objects from pressing through the back panel. Use the lower compartment for bulky, relatively light items such as a sleeping bag when the pack is designed that way.
- Bottom: Bulky items not needed during the day, such as a sleeping bag or sleep clothing.
- Middle and close to the back: Dense items such as food, cooking equipment, or a bear canister when it fits securely.
- Top and outer pockets: Rain gear, insulation, first aid, snacks, navigation, headlamp, and other frequently used items.
- Side pockets: Balanced water bottles or other items that will not fall out while bending or scrambling.
Avoid hanging heavy equipment far from the pack body. An unbalanced external load can pull you backward, catch on vegetation, and swing while you walk.
Features and Functionality
Choose features according to how they improve access, stability, or safety. More pockets and zippers add convenience, but they can also add weight and create more potential failure points.
High-Value Features to Compare
- Pack access: Top-loading designs are simple, while front or side zippers make buried equipment easier to reach.
- Compression straps: Stabilize a partly filled pack and can secure selected equipment.
- Hydration compatibility: Check the reservoir sleeve, hose ports, and clip placement, or confirm that bottles are reachable while wearing the pack.
- Hip-belt pockets: Keep snacks, sunscreen, a phone, or a small camera accessible.
- Ventilated back panel: Improves airflow but may hold the load farther from the spine.
- Tool attachments: Useful only when they securely fit the trekking poles, ice axe, helmet, skis, or other gear you actually carry.
- Removable components: A lid, frame stay, straps, or hip belt can add flexibility when the design remains stable without them.
- Emergency whistle: Often integrated into the sternum-strap buckle and useful when easy to reach.
Water Resistance and Rain Protection
Many hiking backpacks use water-resistant fabric or a durable water-repellent finish, but water can still enter through seams, zippers, openings, or worn coatings. A rain cover protects much of the exterior but may not fully protect the harness side or stop water in severe wind-driven rain.
Note: Protect critical items such as insulation, electronics, maps, and sleep clothing inside waterproof dry bags or a durable pack liner. Do not rely only on the pack fabric or rain cover.
Materials and Construction
Nylon and polyester are common backpack materials, but the fiber name alone does not establish quality. Compare fabric weight or denier, weave, abrasion panels, reinforcement, coatings, seams, buckles, and zipper placement.
- Inspect stitching around shoulder straps, the hip belt, haul loop, and compression anchors.
- Check whether high-wear areas use reinforced fabric.
- Operate every buckle and zipper with the pack loaded.
- Look for replaceable buckles or repair support when long service life matters.
- Check whether the frame or stays create pressure points through the back panel.
Gear Selection
The pack and the equipment inside it form one system. A pack cannot fix equipment that is too bulky for its capacity, and buying a larger pack can hide unnecessary gear rather than solve the underlying problem.
Ultralight Gear Benefits
Reducing unnecessary weight can improve comfort and leave more capacity for food, water, or required safety equipment. Start with the heaviest categories—shelter, sleep system, backpack, and cooking equipment—rather than cutting tiny essentials that provide safety or reliability.
Evaluate each lighter item for:
- Weather protection appropriate for the route
- Durability and expected service life
- Ease of use when tired, cold, or wet
- Compatibility with the rest of the gear system
- Repairability in the field
An ultralight item is not automatically the best choice when it reduces warmth, support, reliability, or safety below what the trip requires.
Multifunctional Equipment Choices
Multifunctional equipment can reduce duplication when each use is realistic. Useful examples include:
- A cooking pot that also serves as a bowl
- A buff used as sun protection, a light hat, or a neck covering
- Trekking poles that support a shelter specifically designed for them
- A sit pad that reinforces a compatible frameless pack
- A poncho designed to cover both the hiker and backpack
- A repair kit that works with the shelter, sleeping pad, clothing, and pack
Do not assign a second use that compromises a critical item. Shelter, insulation, navigation, and water treatment must still perform their primary jobs when conditions worsen.
Budget and Value
Set a budget after deciding the capacity and suspension you need. Paying for a more complex frame or many pockets does not create value when those features do not match your trips. At the same time, choosing only by the lowest price can lead to poor fit, weak components, or a pack that must be replaced early.
Compare:
- Fit and comfort with the intended load
- Warranty terms and repair services
- Availability of replacement buckles or components
- Fabric and construction in high-wear areas
- Return policies that permit a careful indoor fit test
- Used or rental options for infrequent trips
A simpler pack that fits well can offer more value than a premium pack whose suspension does not match your torso, hips, or load.
Community Feedback and Experiences
Experienced hikers can help identify long-term durability issues, noisy frames, awkward pockets, difficult bottle access, or fit patterns that may not be obvious during a quick store visit. Use community feedback to create questions, not as a substitute for trying the pack yourself.
Give the most weight to reviews from people who:
- Carry a load similar to yours
- Use the pack in comparable weather and terrain
- Report their torso and hip measurements
- Describe both advantages and limitations
- Have used the pack for more than one short outing
Local hiking clubs and outdoor stores can also provide access to rentals, fitting assistance, trail-specific advice, and information about required food-storage equipment.
Adjustability and Weight Distribution Features
Complete the fitting process with realistic weight inside the pack. Soft test weights or your own gear are better than one hard object because they reproduce the pack’s normal shape.
How to Adjust a Loaded Hiking Backpack
- Loosen the hip belt, shoulder straps, load lifters, sternum strap, and hip-belt stabilizers.
- Put on the loaded pack and position the padded hip belt over the upper hips according to the manufacturer’s instructions.
- Tighten the hip belt firmly enough to prevent sliding without causing pinching or numbness.
- Pull the shoulder straps down and back until they wrap smoothly around the shoulders. Do not tighten them so far that the hip belt lifts.
- Gently tighten the load lifters, when fitted, to bring the upper pack closer without creating a gap at the shoulders.
- Fasten the sternum strap at a comfortable height and tighten only enough to stabilize the shoulder straps.
- Adjust the lower stabilizer straps and compression straps so the load does not sway.
Walk-Test the Pack
Walk for at least 10–20 minutes. Use stairs, bend, reach, and step over obstacles if the testing area allows it. A short walk often reveals problems that are not noticeable while standing still.
A promising fit should have:
- No sharp or burning pressure points
- No numbness in the shoulders, arms, hips, or legs
- A hip belt that remains in position
- Shoulder straps that maintain smooth contact without large gaps
- A stable load that does not sway or pull strongly backward
- Enough remaining strap adjustment for clothing changes
- Easy access to water and frequently used items
Try another size or model if the shoulder straps begin too far above or below the shoulders, the hip belt cannot grip the hips, the frame presses into the body, or the pack requires extreme strap tension to remain stable.
Common Backpack-Buying Mistakes
- Choosing capacity before making a gear list
- Buying by height or clothing size instead of torso and hip measurements
- Trying on an empty backpack
- Assuming every pack of the same volume carries the same load
- Buying extra space “just in case” and then overpacking it
- Choosing by brand reputation without confirming fit
- Ignoring bottle access, food-container fit, or winter gear bulk
- Assuming water-resistant fabric makes the entire pack waterproof
- Removing safety equipment to meet an arbitrary weight target
Backpack Cleaning and Maintenance
Follow the care label and the pack manufacturer’s instructions. General care begins by emptying every pocket, removing loose dirt, and cleaning stains with lukewarm water, a soft brush or cloth, and a mild product approved by the manufacturer.
Many structured hiking packs should not be placed in a washing machine or dryer because agitation and heat can damage coatings, foam, frames, and hardware. The Deuter backpack cleaning guide, for example, recommends gentle cleaning with lukewarm water and pH-neutral soap followed by complete air drying.
- Open pockets and zippers while drying.
- Keep the pack away from direct high heat.
- Remove salt and sweat from shoulder straps and hip-belt padding.
- Clean dirt from zipper teeth before forcing a stuck zipper.
- Store the pack completely dry in a ventilated location.
- Inspect stitching, buckles, coatings, and frame components before the next trip.
Sources
- REI Co-op: Daypacks—How to Choose — daypack capacities, uses, fit factors, and feature selection
- REI Co-op: How to Choose a Backpack — backpacking capacity, fit, and feature guidance
- Osprey: Backpack Size and Fit Guide — torso measurement, hip-belt sizing, and loaded-pack fitting
- Gregory: Pack Fit Guide — torso sizing and harness-adjustment guidance
- U.S. National Park Service: Ten Essentials — essential safety equipment for hiking
- Deuter: How to Clean a Backpack — cleaning, drying, and storage guidance
Frequently Asked Questions
What materials are best for hiking backpacks?
Nylon and polyester are both common choices. Durability depends on more than the fiber name, so compare denier, weave, reinforcement, coatings, seams, zippers, and construction in high-wear areas. A lighter fabric may suit maintained trails, while reinforced fabric may be better for climbing, scrambling, or off-trail travel.
How do I clean and maintain my backpack?
Follow the care label for the exact model. Empty the pack, brush away loose dirt, and spot-clean it with lukewarm water and a mild cleaner approved by the manufacturer. Avoid machine washing or drying unless the manufacturer expressly allows it. Open the pockets and let the pack air-dry completely before storage.
Can I use a regular backpack for hiking?
A regular backpack may work for a short, easy hike when it fits securely and holds the required water, clothing, food, and safety gear. For longer trips or heavier loads, a hiking-specific pack normally provides better stability, ventilation, bottle access, compression, and load transfer.
What brands are considered the best for hiking backpacks?
There is no single best brand for every body and trip. Osprey, Gregory, Deuter, REI Co-op, and other established outdoor brands offer capable packs, but the correct choice is the model that fits your torso and hips, supports your load, and provides the features you will use. Test several brands with weight before deciding.
How do I choose a color for my hiking backpack?
Choose a color you will be comfortable using for years. Bright colors can make you easier to identify in poor visibility or an emergency, while dark and earth-tone fabrics may show dirt differently or blend into the surroundings. Fit, function, and durability should still take priority over color.
What size backpack is best for a day hike?
A pack around 10–20 liters may be enough for a short outing, while 21–35 liters suits many full-day hikes. Choose according to water needs, weather layers, emergency supplies, food, and specialized gear rather than trip duration alone.
How should a hiking backpack fit?
The padded hip belt should grip the upper hips, the shoulder straps should wrap smoothly without large gaps, and the load should stay close to the body. The pack should not slide, sway, cause numbness, or create sharp pressure during a loaded walking test.
Does a hiking backpack need to be waterproof?
Not every hiking backpack must be fully waterproof, but important equipment must stay dry. Water-resistant fabric and a rain cover may help, yet water can enter through seams and openings. Use a waterproof pack liner or dry bags for insulation, electronics, sleep clothing, and other critical items.
Conclusion
Choosing the right hiking backpack comes down to four checks: it must hold the gear your trip requires, support the complete loaded weight, match your torso and hips, and remain comfortable while you move. Measure carefully, compare model-specific load guidance, and walk-test the pack with realistic weight. A thoughtful fit test will tell you more than capacity, brand name, or empty-pack weight alone.
