
Last Updated on September 10, 2026 by Daniel Globe
What you wear hiking should match the weather, trail surface, distance, and difficulty of the route. Comfortable footwear, moisture-managing clothing, protective layers, and a properly fitted pack can make a hike safer and more enjoyable. Just as important, you should carry enough water, food, navigation equipment, and emergency supplies to handle delays or changing conditions.
Quick Answer
For hiking, wear sturdy trail footwear, moisture-wicking socks and clothing, and layers you can add or remove as conditions change. Carry a rain shell, sun protection, water, food, navigation tools, a headlamp, first aid supplies, and emergency gear. Adjust your clothing and equipment for the terrain, weather, elevation, and length of the hike.
Key Takeaways
- Choose hiking shoes, trail runners, or boots that fit well and provide enough grip and protection for the terrain.
- Use moisture-wicking base layers, an insulating layer when needed, and a weather-resistant outer shell.
- Carry the essential safety systems: navigation, sun protection, insulation, light, first aid, fire where appropriate, repair tools, food, water and treatment supplies, and emergency shelter.
- Check the forecast, trail conditions, water availability, and route before leaving, and tell someone when you expect to return.
- Change your clothing and equipment for heat, desert exposure, rain, snow, ice, elevation, and other trail-specific hazards.
Disclosure: As an Amazon Associate I earn from qualifying purchases. Some links on this page are affiliate links, at no extra cost to you.
Choose Hiking Footwear for the Terrain
Proper footwear provides the foundation for a comfortable hike. Rocky paths, mud, loose gravel, roots, and steep slopes place different demands on your feet, so there is no single type of hiking shoe that is best for every trail.
Low-cut hiking shoes or trail runners can work well on maintained trails when you prefer lighter, more flexible footwear. Hiking boots may provide more protection and support when carrying a heavier pack or traveling over rough, wet, snowy, or off-trail terrain. The National Park Service recommends sturdy footwear with appropriate tread for demanding hiking conditions.
Fit is more important than the label on the shoe. Your heel should feel secure, your toes need enough room to avoid striking the front of the shoe on descents, and the footwear should not create pressure points. Wear new footwear on shorter walks before a long hike to confirm that the fit works for you. A break-in period can help some boots soften, but it cannot correct a fundamentally poor fit.
Outsole design also matters. Deep or strategically placed lugs can improve traction on loose or muddy surfaces. Some specialized rubber compounds, including Vibram Megagrip, are specifically designed to provide traction on both wet and dry terrain. Grip still depends on the individual shoe, tread pattern, surface, and conditions.
Do Not Forget Hiking Socks
Wear socks that fit smoothly without bunching and that move moisture away from your feet. Merino wool and synthetic hiking socks are common choices. Cotton socks absorb moisture and dry slowly, which can leave feet uncomfortable and may contribute to friction during a long hike.
For longer hikes, a spare pair of dry socks can be useful if the first pair becomes soaked. Stop when you notice a hot spot instead of waiting for it to become a blister.
Pro Tip: Try on hiking footwear with the socks you plan to wear on the trail. Check the fit again late in the day, when feet may be slightly more swollen than they are first thing in the morning.
Choosing the Right Clothing for the Trail
Good hiking clothing helps manage sweat, temperature changes, wind, rain, and sun exposure. Instead of relying on one heavy garment, use layers that can be added, removed, or vented as conditions change.
Layering System
Your base layer sits next to the skin and should move perspiration away from your body. Merino wool, polyester, nylon, and other quick-drying blends are common choices. In cool or wet weather, cotton is usually a poor choice because it absorbs moisture and dries slowly. National Park Service guidance for variable mountain weather similarly recommends wool or synthetic layers rather than cotton.
Insulation and Climate
The middle layer provides warmth. A fleece jacket is versatile because it continues to insulate reasonably well when damp and releases some excess heat. A lightweight insulated jacket or vest can provide more warmth when temperatures drop or when you stop moving.
Traditional down insulation offers excellent warmth for its weight but performs poorly when thoroughly wet unless adequately protected. Synthetic insulation or water-resistant down may be a better choice when persistent moisture is expected.
Weather Protection and Visibility
The outer layer protects you from wind and precipitation. A waterproof, breathable rain shell is a versatile option; Gore-Tex is one example of a waterproof/breathable membrane, but many alternatives are available. For prolonged rain, rain pants can also prevent your lower layers from becoming soaked.
Bright or high-visibility clothing can make you easier to see in poor visibility, during hunting seasons where relevant, or during an emergency. Always check local regulations and conditions for the area you plan to visit.
The best hiking outfit is not one fixed set of clothes. It is a flexible system that lets you stay comfortable as your effort level and the weather change.
Essential Gear for Carrying Your Supplies
A well-fitted backpack keeps water, clothing, food, and emergency equipment organized without putting unnecessary strain on your shoulders. Pack size should be based on what the specific trip requires rather than choosing the largest pack available.
Compact daypacks around 10 to 20 liters can work for short hikes with minimal gear, while roughly 20 to 35 liters is a common range for full-day outings. Overnight and multiday trips generally need more room; packs of about 30 to 50 liters may work for efficient weekend loads, while 50 liters or more is common for longer trips. Cold-weather equipment can require additional capacity.
Fit matters as much as volume. Backpack sizing is generally based on torso length, and a supportive hip belt can transfer part of the load from the shoulders to the hips. Padded shoulder straps, ventilation, sternum straps, and accessible pockets can improve comfort and organization.
Place frequently used items such as snacks, water, maps, sunscreen, rain gear, and a first aid kit where you can reach them without unpacking everything. Water-bottle pockets or a hydration reservoir can make drinking easier during the hike.
Pack the Ten Essential Systems
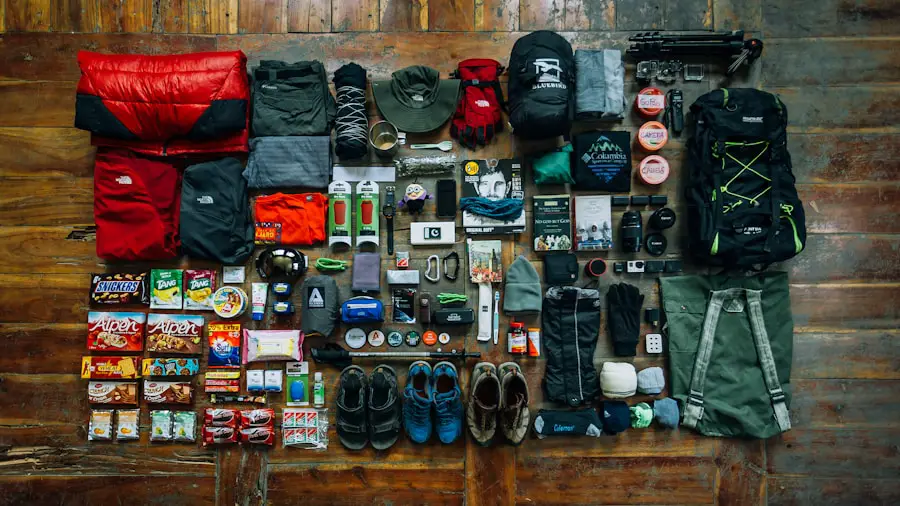
The National Park Service Ten Essentials provide a useful baseline for deciding what belongs in your pack:
- Navigation: map, compass, GPS, or another appropriate navigation system.
- Sun protection: sunscreen, sunglasses, protective clothing, and a hat.
- Insulation: extra clothing suitable for unexpected weather.
- Illumination: a headlamp or flashlight plus adequate battery power.
- First aid: supplies appropriate for the group and trip.
- Fire: an emergency fire-starting method when legal, safe, and appropriate for the location.
- Repair tools: items such as a multitool, tape, or repair supplies suited to your equipment.
- Food: enough food for the planned trip plus a margin for unexpected delays.
- Hydration: adequate water plus treatment equipment when the route requires it.
- Emergency shelter: a lightweight bivy, space blanket, tarp, or another suitable emergency shelter.
Remote trips may also justify a satellite messenger or personal locator beacon, especially where cell coverage is unreliable.
Protecting Yourself from the Elements
| Element | Protection Method | Why It Helps |
| Sun | Broad-spectrum SPF 30+ sunscreen, protective clothing, sunglasses, hat, and shade | SPF 30 filters about 97% of UVB when properly applied; clothing and shade add protection |
| Rain | Waterproof shell and, when needed, rain pants; an umbrella may suit sheltered, low-wind trails | Helps prevent clothing and insulating layers from becoming saturated |
| Wind | Wind-resistant shell or suitable outer layer | Reduces convective heat loss and wind chill |
| Cold | Wicking base layer, insulation, shell, hat, and gloves as conditions require | Traps warm air while allowing layers to be adjusted as activity changes |
Sun exposure is easy to underestimate on open trails and at higher elevations. Wear a wide-brimmed hat or other suitable sun hat, UV-blocking sunglasses, and clothing that covers exposed skin when practical.
The American Academy of Dermatology recommends broad-spectrum, water-resistant SPF 30 or higher. Sunscreen should be reapplied according to the product directions, including after heavy sweating or swimming. The CDC also recommends combining sunscreen with clothing, hats, sunglasses, and shade rather than relying on sunscreen alone.
Rain and wind require a different strategy. Waterproof gear should keep precipitation out while allowing enough ventilation to manage sweat. Open pit zips or other vents and remove insulation before you become excessively warm.
Warning: A rain jacket does not make a thunderstorm safe. The National Weather Service says there is no completely safe place outdoors when lightning is in the area. If you hear thunder, move toward a substantial enclosed building or hard-topped vehicle when one is reachable. On exposed mountain terrain, descend promptly and avoid ridges, summits, isolated trees, and other exposed locations.
Navigational Tools and Safety Equipment
Reliable navigation matters even on a familiar-looking trail. Carry a map appropriate for the route and know how to interpret trail junctions and landmarks. A compass provides a battery-free backup, while a GPS device or smartphone can provide position information and detailed digital maps.
Download maps before leaving cell coverage. A mapping app may continue to show your GPS position without mobile service if its maps are stored offline, but features that require internet access may stop working. Keep the phone protected from weather and conserve power when service is poor.
A portable power bank can extend device life, but electronics should not be your only emergency system. Carry an independent light source such as a headlamp or flashlight. A whistle is another lightweight signaling tool, and a multitool or basic repair kit can solve minor equipment problems.
Before departing, review the route, current closures, expected weather, sunset time, water availability, and known hazards. Tell a responsible person where you are going, which route you plan to use, and when they should expect you back.
Check the Forecast Before You Commit
Mountain and desert weather can change rapidly. Check an official forecast before leaving and continue watching the sky during the hike. Establish a turnaround time before reaching exposed terrain rather than waiting until bad weather is already overhead.
The National Weather Service lightning guidance emphasizes reaching proper shelter before a thunderstorm arrives. A tent, picnic shelter, or isolated tree is not a safe substitute for a substantial enclosed building or hard-topped vehicle.
Hydration and Nutrition for Hiking
Hydration Guidelines
Around half a liter of water per hour can be a useful starting estimate for moderate hiking, but it should not be treated as a fixed requirement. Temperature, humidity, pace, elevation, body size, sun exposure, and route difficulty can change fluid needs substantially.
For example, current Great Smoky Mountains National Park guidance lists at least one liter per two hours of hiking as a basic planning amount, while extremely hot environments can require considerably more. Research the specific park or trail because local guidance is often more useful than a universal formula.
Carry enough water to reach the next dependable supply, and do not assume a stream will be flowing simply because it appears on a map.
Note: Clear-looking backcountry water can still contain disease-causing organisms. According to the CDC, boiling is the most reliable way to kill germs. When boiling is not practical, filtering followed by an appropriate disinfection method can provide broader protection than many ordinary backpacking filters alone. Always follow the treatment product’s instructions.
See the CDC backcountry water-treatment guidance before relying on lakes, rivers, or streams for drinking water.
Nutrition for Energy
Pack food that is easy to eat and provides enough energy for the length and difficulty of the hike. Trail mix, nuts, dried fruit, sandwiches, energy bars, jerky, and similar foods are convenient because they require little or no preparation.
During long or hot hikes, regular meals and snacks also help replace energy and salts lost during sustained activity. Do not wait until you feel exhausted before eating.
Meal Planning for Longer Hikes
For longer hikes or backpacking trips, lightweight meals can reduce pack weight and preparation time. Dehydrated meals are one option, but simple foods that require little cooking may also work well.
Balance carbohydrates for readily available energy with protein and fat for longer-lasting fuel. Carry a little more food than the planned itinerary requires so an unexpected delay does not immediately become a food shortage.
First Aid Kit and Emergency Supplies
A first aid kit should match the length of the trip, group size, and distance from professional help. Common supplies include adhesive bandages, sterile gauze, medical tape, antiseptic or wound-cleaning supplies, blister treatment, gloves, and any personal medications you may need.
Some hikers also carry an over-the-counter pain reliever or allergy medication when those medicines are appropriate for them. Use medicines according to the label and any guidance from your healthcare professional.
Emergency equipment should extend beyond the first aid kit. A whistle can help signal rescuers, while an emergency bivy or space blanket can reduce exposure if an injury or navigation problem forces you to stop unexpectedly. Carry a headlamp or flashlight even when you expect to finish before dark.
Fire-starting equipment is included in the traditional Ten Essentials, but that does not mean starting a fire is always safe or legal. Observe all local fire bans, wilderness rules, and wildfire restrictions.
Equipment only helps when you know how to use it. Basic first aid training, navigation practice, and familiarity with your emergency equipment are valuable before a problem occurs.
What to Wear in Different Hiking Conditions
Hot and Desert Trails
For hot, exposed trails, choose lightweight, breathable clothing and use sun-protective coverage such as a long-sleeve sun shirt, hat, and sunglasses. Carry more water when local conditions require it and plan around the hottest part of the day when possible.
Desert temperatures can also change quickly after sunset, so an extra layer may still be appropriate even on a hot daytime hike.
Rainy and Humid Trails
In persistent rain, prioritize quick-drying clothing and a waterproof shell. Rain pants may be useful in heavy precipitation or wet vegetation. Keep important insulating layers and emergency supplies protected inside your pack with waterproof bags or another reliable water-resistant system.
Cold, Snowy, and Icy Trails
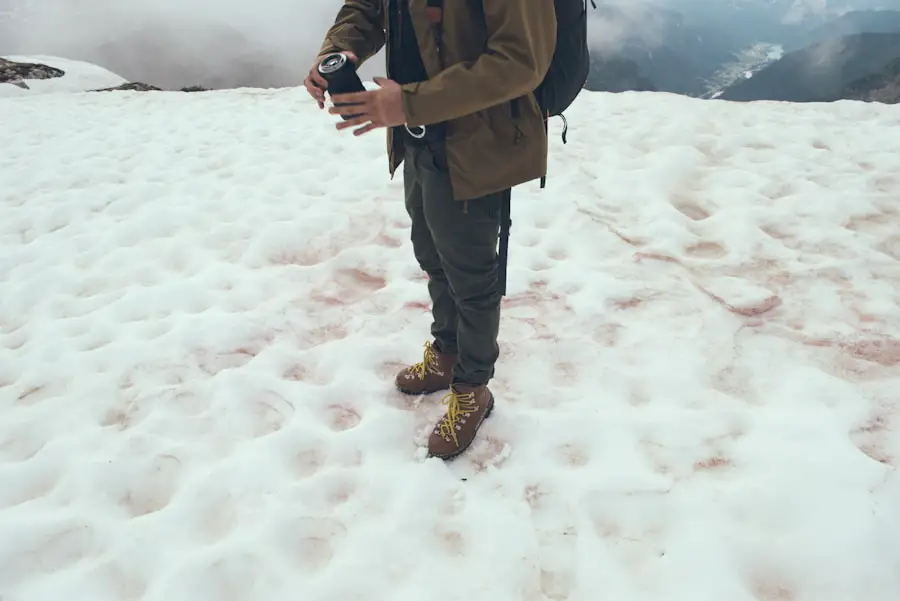
Cold-weather hiking usually requires a wicking base layer, insulation, a weather-resistant shell, gloves, warm headwear, and footwear suitable for the conditions. Avoid wearing so many layers while moving that your clothing becomes saturated with sweat; add insulation when you slow down or stop.
Hard-packed snow and ice may require traction devices fitted to your footwear. Rocky Mountain National Park advises traction devices for packed snow and ice and notes that snowshoes are more appropriate for soft, deeper snow.
Crampons and other mountaineering equipment may be necessary on steeper or more technical terrain, but they require appropriate judgment and skills. Do not treat technical winter travel as an ordinary hike simply because traction equipment is available.
Mountainous and Uneven Trails
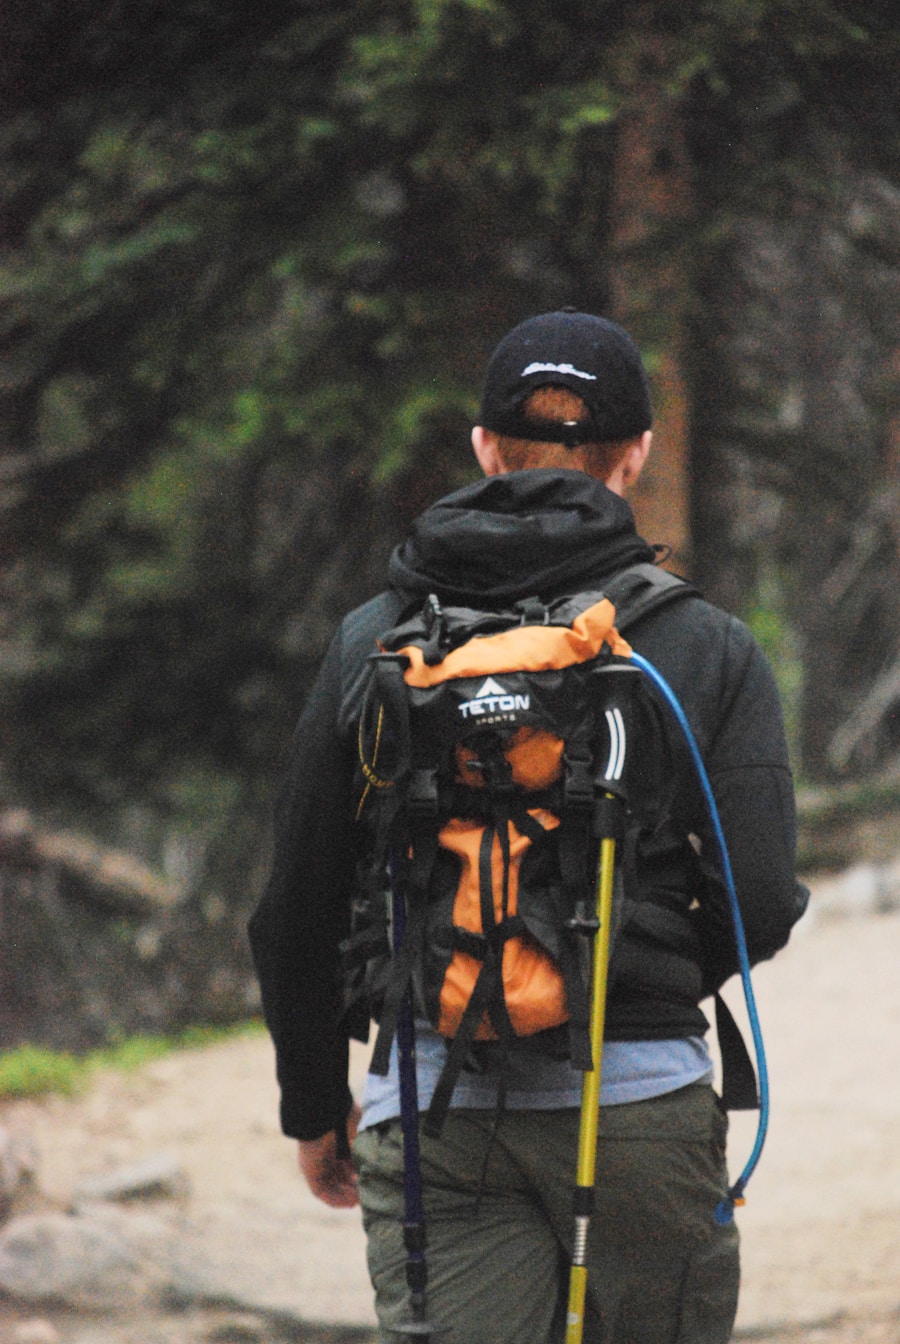
Mountain trails may justify sturdier footwear and trekking poles for additional balance on steep climbs, descents, loose rock, or uneven ground. Carry sufficient insulation even when the trailhead is warm because temperature, wind, and precipitation can change with elevation.
Flat and Maintained Trails
Easy terrain may allow lighter footwear and a smaller pack, but basic preparation still matters. Water, sun protection, navigation, appropriate clothing, illumination, and emergency supplies can remain important even on relatively short hikes.
Pro Tip: Pack for the conditions you could realistically encounter before you return, not only for the weather you see at the trailhead.
Prepare Before You Leave the Trailhead
A few minutes of preparation can prevent many avoidable problems. Confirm the trail distance, elevation change, expected difficulty, parking or permit requirements, closures, water availability, and current weather. Make sure everyone in the group has clothing and footwear suited to the route.
Check that electronic devices are charged, download any maps you need offline, and confirm that your headlamp works. For remote routes without dependable cell service, consider whether a satellite messenger or other emergency communication device is appropriate.
Finally, leave your route and expected return time with someone who is not on the hike. If your plans change significantly, update that person when communication is available.
If you’re planning a hiking trip, it is also worth considering how the rest of your equipment fits the route. Proper clothing works best as part of a complete hiking or backpacking system. For longer overnight trips, see this guide to the best ultralight tent for backpacking. A shelter that matches your conditions can make an overnight hiking trip more comfortable and better prepared for changing weather.
Love travel? Join Our Facebook Community
Frequently Asked Questions
What should I wear for hiking?
Wear moisture-wicking clothing that lets you move freely. Start with a synthetic or merino base layer, add insulation when conditions require it, and carry a wind- or waterproof shell when the forecast calls for changing weather. Quick-drying hiking pants or shorts, suitable socks, and trail footwear complete the basic outfit.
What type of footwear is best for hiking?
Choose footwear based on terrain, weather, pack weight, and personal comfort. Trail runners or hiking shoes can work well on maintained trails, while supportive boots may be preferable for rugged, wet, snowy, or off-trail terrain. Good fit and appropriate traction matter more than simply choosing the heaviest boot.
Should hiking shoes be broken in before a long hike?
Wear new hiking footwear on shorter walks before a long trip so you can identify pressure points, heel movement, or toe contact. Some traditional boots soften with use, but a break-in period will not fix shoes that are fundamentally the wrong size or shape for your feet.
What accessories should I bring for hiking?
Useful essentials include a hat, sunglasses, sunscreen, backpack, water, food, map, compass or GPS, headlamp, first aid kit, emergency shelter, and appropriate repair supplies. Rain gear, insect repellent, traction equipment, or a satellite messenger may also be useful depending on the route.
What should I consider when choosing hiking clothing?
Consider the forecast, elevation, terrain, sun exposure, wind, precipitation, trip duration, and how hard you expect to work. Choose breathable, quick-drying fabrics and carry layers you can add or remove. Your clothing should also allow unrestricted movement and protect you from the conditions you may encounter before returning.
Are there any clothing items to avoid when hiking?
In cool or wet conditions, avoid relying on cotton because it absorbs moisture and dries slowly. Also avoid clothing that restricts movement, creates persistent rubbing, or is unsuitable for the expected temperature. Footwear that causes pressure points or allows your toes to hit the front on descents should be replaced rather than simply endured.
How much water should I bring on a hike?
There is no single amount that fits every hike. About half a liter per hour can be a planning starting point for moderate conditions, but heat, elevation, exertion, exposure, body size, and local water availability can increase your needs. Check guidance for the specific trail or park and carry enough to reach the next dependable water source.
What should I pack for a short day hike?
Even for a short hike, carry appropriate navigation, sun protection, extra insulation, illumination, first aid supplies, food, water, and enough emergency equipment to deal with an unexpected delay. Adjust the list for weather, terrain, remoteness, and the needs of everyone in your group.
Sources
- U.S. National Park Service — Ten Essentials — navigation, insulation, illumination, first aid, food, hydration, repair equipment, and emergency shelter.
- Great Smoky Mountains National Park — Hiking — current hiking equipment and baseline water-planning guidance.
- CDC — Water Treatment When Hiking, Camping, or Traveling — boiling, filtering, disinfection, and limitations of treatment methods.
- CDC — Sun Safety Facts — sunscreen, clothing, hats, sunglasses, shade, and reapplication.
- National Weather Service — Lightning Safety — thunderstorm avoidance and safe shelter guidance.
- American Academy of Dermatology — Understanding Sunscreen Labels — broad-spectrum protection and the UVB filtration provided by SPF 30.

