
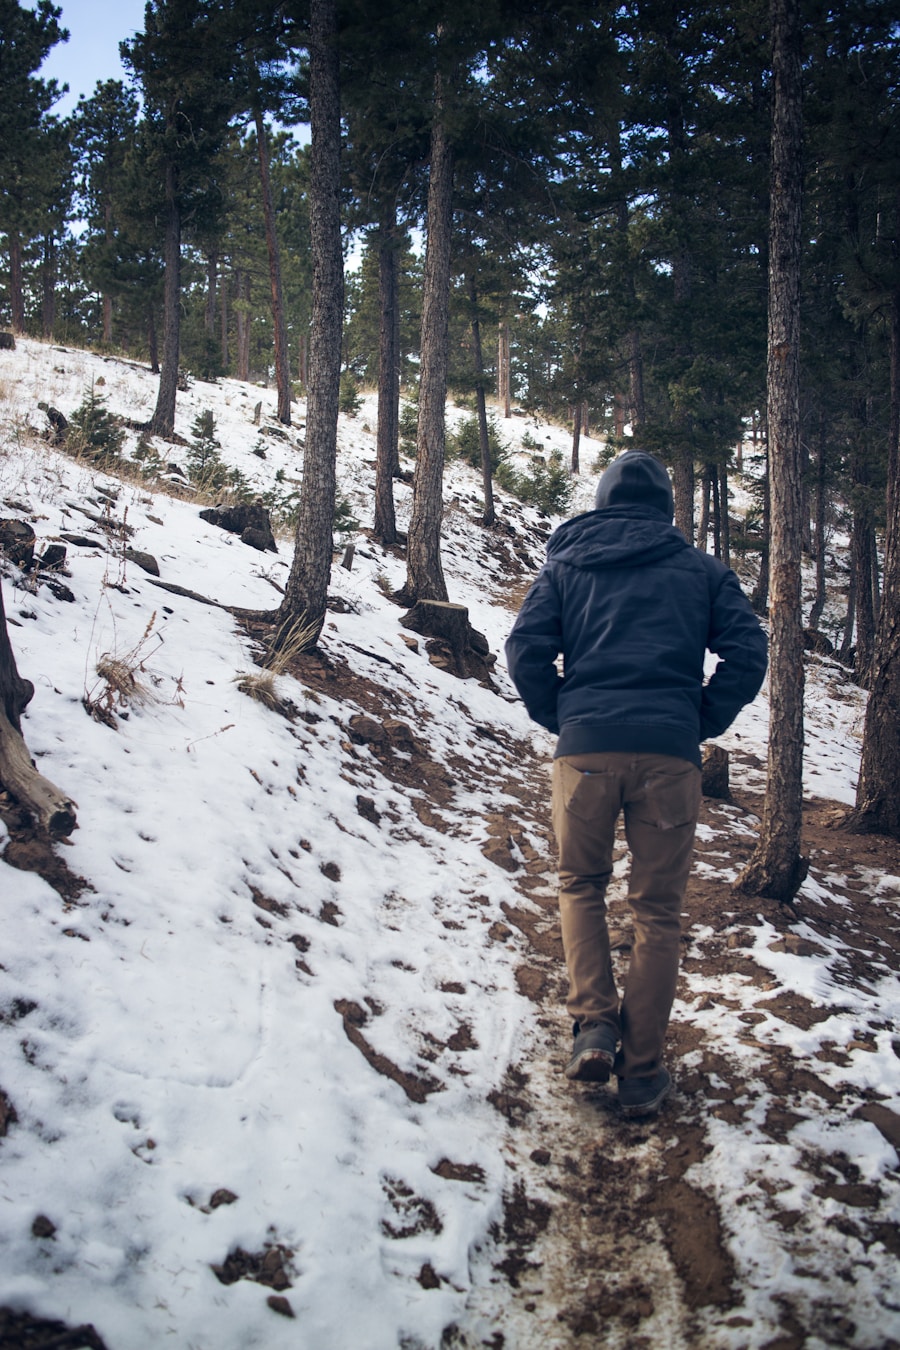
Last Updated on September 10, 2026 by Daniel Globe
Winter hiking can be comfortable and rewarding when your clothing works as a system instead of as one heavy outfit. The goal is to stay warm without getting soaked in sweat, block wind and wet snow, protect your hands and feet, and carry enough backup gear for changing conditions. Your exact setup should match the temperature, wind, precipitation, trail surface, elevation, and length of the trip.
Quick Answer
For winter hiking, wear a moisture-wicking wool or synthetic base layer, an insulating midlayer, and a windproof or waterproof shell. Add wool or synthetic socks, waterproof boots, a hat, gloves or mittens, and traction suited to the surface. Carry dry extra layers and adjust clothing early to avoid heavy sweating.
Key Takeaways
- Use adjustable layers rather than relying on one bulky coat.
- Choose wool or synthetic base layers and avoid cotton where getting wet could leave you cold.
- Use an insulating layer such as fleece, down, or synthetic insulation, then add wind and precipitation protection as conditions require.
- Wear waterproof winter footwear that fits without crowding your socks, and carry traction appropriate for snow or ice.
- Pack navigation, extra clothing, food, water, a headlamp, first aid, emergency shelter, and other Ten Essentials even on a day hike.
Disclosure: As an Amazon Associate I earn from qualifying purchases. Some links on this page are affiliate links, at no extra cost to you.
Check Conditions Before Choosing Your Winter Hiking Clothes
Your clothing list should start with the forecast, not your closet. Check the expected temperature, wind, precipitation, trail conditions, recent snowfall, and local closures before leaving. Higher elevations can be colder and windier than the trailhead, and fresh snow can hide the trail or slow your pace.
The National Park Service winter hiking guidance recommends checking weather and trail conditions, carrying reliable navigation, and being ready to turn around when conditions change. If your route is in or below avalanche terrain, also check the local avalanche forecast before committing to the trip.
Pro Tip: Dress so you feel slightly cool when you first start moving, then adjust as your body warms up. Open vents or remove a layer before you become heavily sweaty. Put insulation back on promptly when you stop.
Base Layers: Start Warm by Staying Dry
A base layer sits next to your skin and helps manage moisture while adding light insulation. This matters because sweat left against the body can chill you rapidly once your activity level drops. The CDC notes that hypothermia can occur even in cool temperatures when a person becomes chilled by rain, sweat, or cold-water exposure.
Merino wool and synthetic fabrics such as polyester are common winter-hiking choices. Merino is valued for temperature regulation, moisture management, and natural odor resistance; Woolmark documents these performance characteristics. Synthetic base layers can also move moisture well, usually dry quickly, and are often less expensive.
Avoid cotton as a primary next-to-skin layer when cold and wet conditions are possible. Cotton absorbs moisture and can remain wet for a long time, reducing its usefulness as winter insulation.
Your base layer should fit close enough to maintain contact with the skin without restricting movement or circulation. Flatlock seams can reduce rubbing, while stretch panels or ventilation zones may improve comfort during high-output hiking. Choose a light, midweight, or heavier base layer according to the conditions and how warm you normally run.
Cold danger is not limited to subfreezing days: sweat and wet clothing can contribute to dangerous chilling even when the air temperature is above freezing.
Insulating Layers: Trap Warmth Without Overheating
The insulating layer traps warm air between your base layer and shell. Fleece is useful for active hiking because it is breathable, relatively light, and quick to dry. It can work well while climbing or moving at a steady pace, especially when you need warmth without trapping too much sweat.
Down is highly compressible and offers excellent warmth for its weight. It is especially useful as a warm layer for rest stops and cold, dry conditions. Its weakness is moisture: once natural down becomes thoroughly wet and loses loft, its insulating performance drops. Water-resistant treatments can help with light moisture, but down should still be protected from saturation.
Synthetic insulated jackets are generally more forgiving in damp weather and continue to provide useful warmth when wet. They also tend to dry faster than down. A current Patagonia guide to down and synthetic insulation describes the same practical tradeoff: down excels in dry conditions and packability, while synthetic insulation is better suited to cold, wet environments.
You do not need to wear every insulating layer all day. A common system is a breathable fleece or light synthetic layer while moving plus a warmer puffy jacket carried in the pack for breaks, unexpected delays, or falling temperatures.
Outer Shell: Block Wind, Rain, and Wet Snow
Your shell protects the layers underneath from wind and precipitation. In wet or stormy conditions, look for a waterproof, windproof, breathable jacket with enough room for your insulating layers.
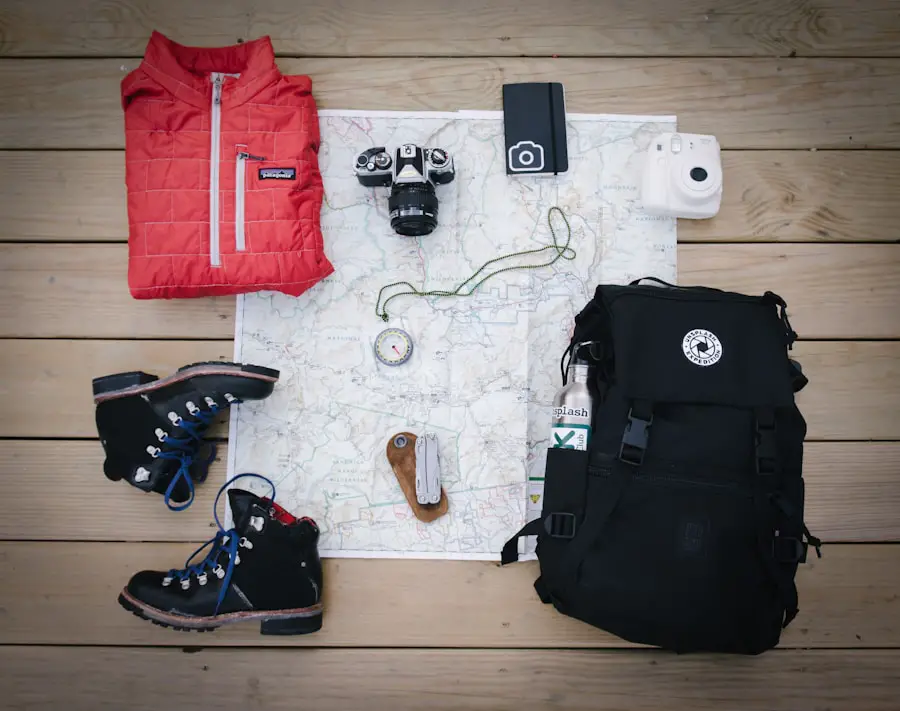
Waterproof-breathable membranes such as GORE-TEX are designed to block liquid water and wind while allowing some moisture vapor to escape. Breathability does not mean you cannot sweat, so mechanical ventilation still matters during hard climbs.
Useful shell features include an adjustable hood, cuffs that seal around gloves, a hem that blocks blowing snow, and pit zips or other vents. The jacket should fit over your midlayers without compressing their insulation or leaving excessive loose fabric to flap in strong wind.
In dry weather, you may not need to wear a waterproof shell continuously. Carry it and add it when wind, snow, sleet, or rain makes the extra protection worthwhile.
Winter Hiking Pants and Lower-Body Layers
Your legs need the same moisture, insulation, and weather-management strategy as your upper body, although many hikers need less insulation on their legs while moving.
- Base layer bottoms: Use wool or synthetic long underwear when temperatures or wind call for extra warmth.
- Hiking pants: Choose flexible synthetic or wool-blend pants that dry faster than cotton jeans.
- Insulated pants: Consider fleece-lined or insulated pants for very cold, low-output conditions.
- Shell pants: Carry or wear wind-resistant or waterproof pants when you expect strong wind, wet snow, rain, deep snow, or extended exposure.
Avoid overdressing your legs on steep climbs. Sweat trapped in pants can become a problem once you stop moving.
Footwear: Choosing the Right Boots for Winter Hiking
| Boot Feature | What to Look For |
|---|---|
| Insulation | Enough insulation for your conditions without crowding the foot. Insulation weights are useful product details but should not be treated as exact universal temperature ratings. |
| Waterproofing | A waterproof membrane or construction that helps keep snow, slush, and water away from your socks. |
| Traction | Winter-friendly tread helps on snow, but icy trails may still require a separate traction device. |
| Support and Fit | The boot should feel secure without pinching. Leave enough space for your winter sock and normal toe movement. |
| Weight | Warmer and more supportive boots are often heavier. Balance warmth and protection against the distance and difficulty of your hike. |
Insulated, waterproof hiking boots are often a good choice for snowy or cold trails because your feet are exposed to snow, slush, and long periods of contact with cold ground. Insulation should match your conditions, but more is not automatically better if the boot becomes so tight that your foot is compressed.
Wear wool or synthetic hiking socks that fit comfortably inside the boot. Very thick socks can create problems if they make the boot too tight. Carrying a dry spare pair is useful when wet feet are a realistic possibility.
Gaiters can keep snow from entering around the top of the boot and protect the lower legs in deep or wet snow. They are especially helpful when breaking trail.
Traction Cleats vs. Snowshoes vs. Crampons
Choose traction for the surface rather than using one device for every winter trail. Current National Park Service traction guidance recommends traction devices on hard-packed snow and ice and snowshoes when snow becomes soft and deep.
- Traction cleats or microspikes-style devices: Useful on many packed-snow and icy hiking trails.
- Snowshoes: Better for soft, deeper snow where boots would sink and make travel slow or exhausting.
- Mountaineering crampons: May be appropriate on steeper, firmer snow or ice, but require suitable footwear and the knowledge to use them correctly.
Note: A boot marketed for winter hiking is not automatically compatible with every crampon. Check the boot and traction-device manufacturer’s compatibility instructions before relying on the combination.
Accessories: Hats, Gloves, and Scarves for Added Warmth
Cold-weather accessories protect areas that are difficult to keep warm once they become chilled. Cover your head and ears with a warm hat, hood, or balaclava. In very cold or windy conditions, a neck gaiter or scarf can also protect the neck and exposed parts of the face.
Mittens are usually warmer than gloves because the fingers share heat, while gloves provide more dexterity for adjusting packs, zippers, trekking poles, and navigation tools. One flexible system is a thin liner glove under a warmer glove or mitten. Carrying a dry backup pair is wise when wet snow is likely.
The National Weather Service recommends covering exposed skin in extreme cold because the fingers, toes, nose, and ears are particularly vulnerable to frostbite.
Do Not Forget Sun Protection
Winter sun can still burn exposed skin, and bright snow can create intense glare. Carry sunglasses, sunscreen, and lip protection even when the air temperature is low. Sunglasses are especially important in open snowfields and at higher elevations.
Backpack and Gear: Carry Winter Essentials
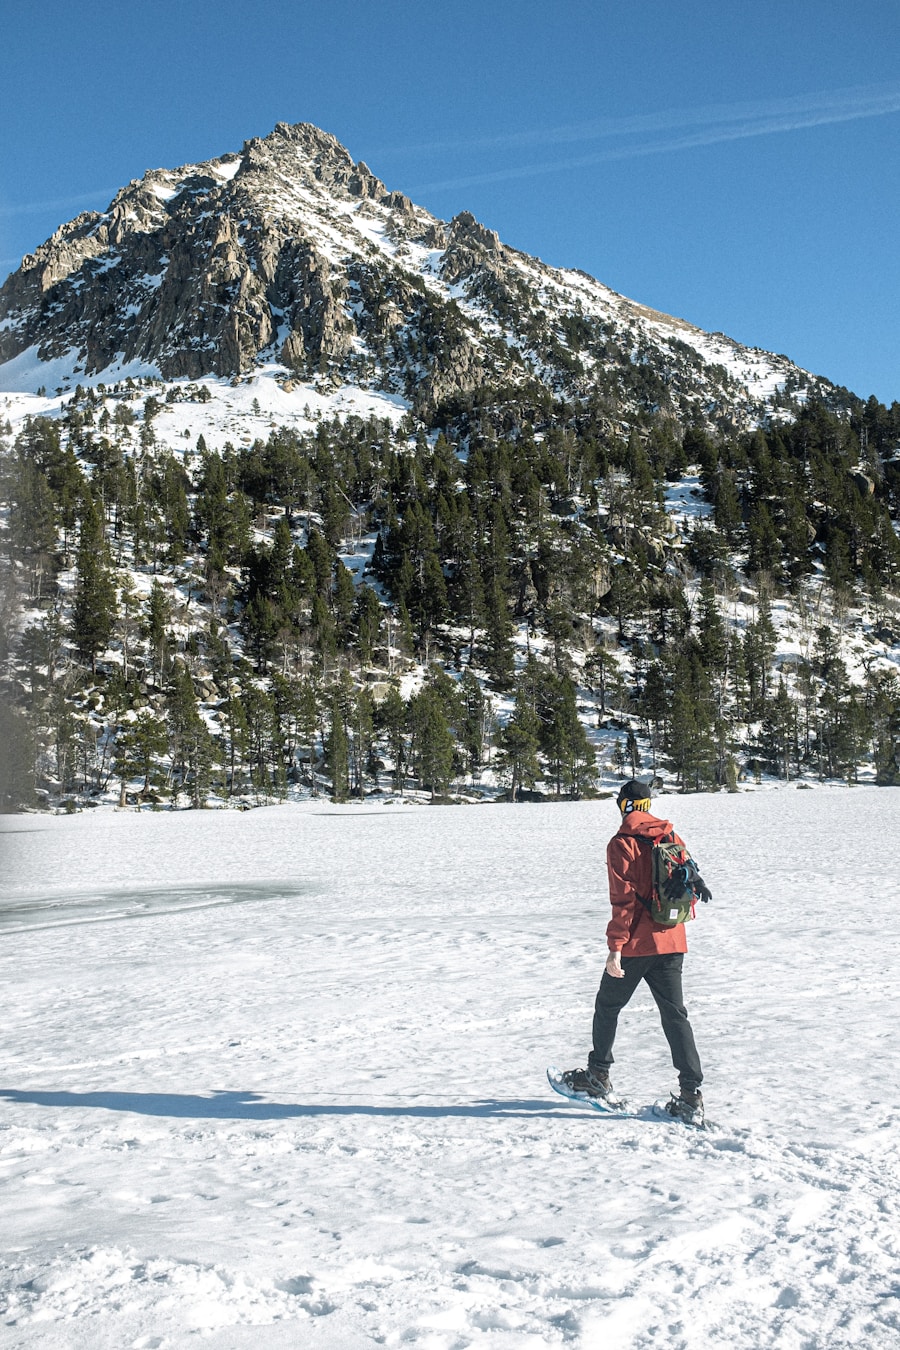
A comfortable backpack lets you carry extra clothing, food, water, navigation tools, safety equipment, and traction without filling your pockets or carrying items in your hands. An adjustable hip belt and shoulder straps can improve comfort when the load becomes heavier.
There is no single backpack capacity that is right for every winter day hike. Winter equipment is bulkier than summer gear, so choose a pack large enough for your actual clothing, food, water, emergency shelter, traction, and group equipment without leaving essential items behind.
Carry enough food for the planned hike plus a reasonable emergency margin. Favor foods you can eat without cooking. Continue drinking in cold weather even when you do not feel as thirsty as you might in summer. Insulated bottles or sleeves can help slow freezing in very cold conditions.
A winter first-aid and emergency kit may include your normal first-aid supplies plus an emergency bivy or space blanket, hand warmers, a whistle, repair supplies, and fire-starting materials where their use is legal and appropriate.
The Winter Ten Essentials
The National Park Service Ten Essentials provide a useful baseline:
- Navigation: map, compass, GPS, and the knowledge to use them.
- Sun protection: sunglasses, sunscreen, and protective clothing.
- Extra insulation and weather protection.
- Illumination: headlamp or flashlight.
- First-aid supplies.
- Fire-starting equipment where appropriate.
- Repair kit and tools.
- Extra food.
- Water and, where needed, water-treatment capability.
- Emergency shelter such as a bivy, tarp, or space blanket.
Navigation Tools: Navigate Winter Trails Safely
Snow can cover trail markers, footprints, junctions, and familiar terrain. Carry a topographic map appropriate to the route and know how to use it with a compass. GPS devices and downloaded smartphone maps are useful additions, but they should not be your only navigation method.
Do not assume you will have cellular service. Download maps before the trip and carry a backup battery or power bank. Extreme cold can shorten usable battery life, so keep critical electronics protected when possible.
Never blindly follow another person’s tracks. They may leave the trail, head toward private property, or lead into hazardous terrain. Stop and confirm your position whenever the route becomes uncertain.
Choose the Right Traction for the Trail
Winter trails can change from deep powder to packed snow to exposed ice during the same hike. Carrying the correct traction is therefore part of route planning, not an optional comfort upgrade.
Trekking poles can improve balance on uneven snow and slippery sections, but they do not replace proper foot traction. If an icy slope has dangerous exposure and you do not have the equipment or experience for it, turn around rather than trying to force the route.
Avalanche Safety for Winter Hikers
Snowshoeing and winter hiking can enter avalanche terrain even when no skiing or climbing is involved. If your planned route passes through, underneath, or near avalanche-prone slopes, check the current forecast from the appropriate regional avalanche center.
Avalanche.org explains that an avalanche forecast is the starting point for understanding current danger and snowpack conditions. Forecasts do not make a route safe by themselves; your terrain choices still control much of your exposure.
Warning: If you do not know how to recognize avalanche terrain, read a forecast, travel safely, and use rescue equipment, choose a route that avoids avalanche terrain and get appropriate training before attempting more serious backcountry objectives. A transceiver, probe, and shovel are not substitutes for avalanche knowledge.
Safety Equipment and Emergency Supplies
Winter hikes have smaller safety margins than many warm-weather outings. Short daylight hours, changing weather, snow-covered routes, and slow travel can turn a delayed day hike into an emergency.
Carry a headlamp even when you expect to finish in daylight. Bring spare batteries or another reliable power source. A whistle can help attract attention, while a multi-tool or knife can support simple repairs. Emergency shelter is especially important because it gives you protection from wind and precipitation if an injury or navigation problem prevents you from returning on schedule.
Tell a trusted person your planned route, trailhead, expected return time, vehicle information when useful, and what they should do if you fail to check in. Update them when you return.
Know the Signs of Hypothermia and Frostbite
Hypothermia warning signs can include persistent shivering, exhaustion, confusion, fumbling hands, memory problems, slurred speech, and unusual drowsiness. Frostbite may cause numbness and skin that becomes unusually pale, waxy, firm, or discolored.
Warning: Hypothermia is a medical emergency. If someone develops signs of hypothermia or severe frostbite, move them toward shelter and professional medical care as quickly and safely as conditions allow. Remove wet clothing when practical and prevent further heat loss while arranging emergency help.
The CDC’s hypothermia guidance provides current symptoms and emergency recommendations.
Manage Heat Throughout the Hike
A good winter outfit is adjustable. You may start in a base layer and light fleece, add a shell when the wind rises, remove the fleece on a steep climb, and put a puffy jacket on as soon as you stop for lunch.
Do not wait until your clothing is soaked before changing layers. If you are sweating heavily, reduce insulation or open vents when conditions allow. If you begin to feel chilled, stop early enough to add warmth before your hands become too cold to operate zippers and buckles.
Carrying at least one dry backup layer gives you a margin if clothing becomes wet from snow, rain, or sweat.
Other Travel Gear for a Winter Hiking Trip
For the travel portions of the trip, clothing such as traveler pants may be useful, but regular travel pants should only be used on the trail when their fabric and weather protection suit winter conditions. A portable phone charger can be especially useful for keeping navigation and communication devices powered in cold weather.
Personal travel items that do not affect trail safety can stay at your lodging or in your vehicle as appropriate. For example, this guide to the best travel razor may help with general trip packing, but it is not part of a winter hiking safety kit.
Frequently Asked Questions
What should I wear for winter hiking?
Start with a wool or synthetic moisture-managing base layer. Add an insulating fleece, synthetic jacket, or down layer as needed, then carry a windproof or waterproof shell. Wear weather-appropriate pants, wool or synthetic socks, waterproof boots, gloves or mittens, and a warm hat or hood. Adjust layers throughout the hike so you stay warm without becoming soaked in sweat.
What type of fabric is best for winter hiking clothing?
Merino wool and synthetic fabrics such as polyester are good choices for base and insulating layers because they manage moisture better than cotton. Fleece and synthetic insulation are useful in damp conditions, while down provides excellent warmth for its weight when it can be kept dry.
What kind of footwear is suitable for winter hiking?
Choose waterproof hiking boots with enough insulation for the conditions and enough interior space for a comfortable wool or synthetic sock. Winter tread helps on snow, but separate traction may still be required on packed snow or ice. Gaiters can help keep deep snow out of the boots.
Do I need snowshoes, microspikes, or crampons for winter hiking?
It depends on the surface and terrain. Snowshoes are designed for soft, deeper snow. Microspikes-style traction cleats work well on many packed-snow and icy hiking trails. Mountaineering crampons may be needed on steeper, firmer snow or ice, but they require compatible footwear and appropriate skills. Check current trail conditions before choosing your equipment.
What accessories should I bring for winter hiking?
Bring sunglasses, sunscreen, a hat, gloves or mittens, navigation tools, a headlamp, food, water, first-aid supplies, repair tools, emergency shelter, and extra clothing. Hand warmers can provide additional comfort. A portable stove is optional rather than essential for most day hikes; ready-to-eat food and adequate emergency gear should not depend on being able to cook.
Is cotton okay for winter hiking?
Cotton is a poor choice for critical winter layers because it absorbs moisture and can stay wet for a long time. Wool and synthetic fabrics are generally safer and more practical for base layers, insulating layers, socks, and hiking pants when cold or wet conditions are possible.
Do winter hikers need avalanche equipment?
Only routes that enter or are exposed to avalanche terrain require an avalanche-specific travel plan, but hikers can encounter that terrain just as skiers and snowshoers do. Get avalanche education before entering it, check the local forecast, travel with trained partners, and know how to use the required rescue equipment. Beginners should choose routes that avoid avalanche terrain until they have the necessary training.
Sources
- National Park Service — Winter Hiking Tips — winter trip planning, clothing, navigation, traction, food, water, and safety essentials.
- National Park Service — Hiking with Traction Devices — traction for hard-packed snow and ice versus snowshoes for deeper snow.
- Centers for Disease Control and Prevention — Preventing Hypothermia — hypothermia risk, warning signs, and emergency response.
- National Weather Service — During Extremely Cold Weather — frostbite, exposed-skin protection, and cold-weather safety.
- Avalanche.org — Get the Forecast — current avalanche forecasting and backcountry decision-making guidance.
- Patagonia — Down vs. Synthetic Insulation — practical differences between natural down and synthetic insulation in dry and wet conditions.
