
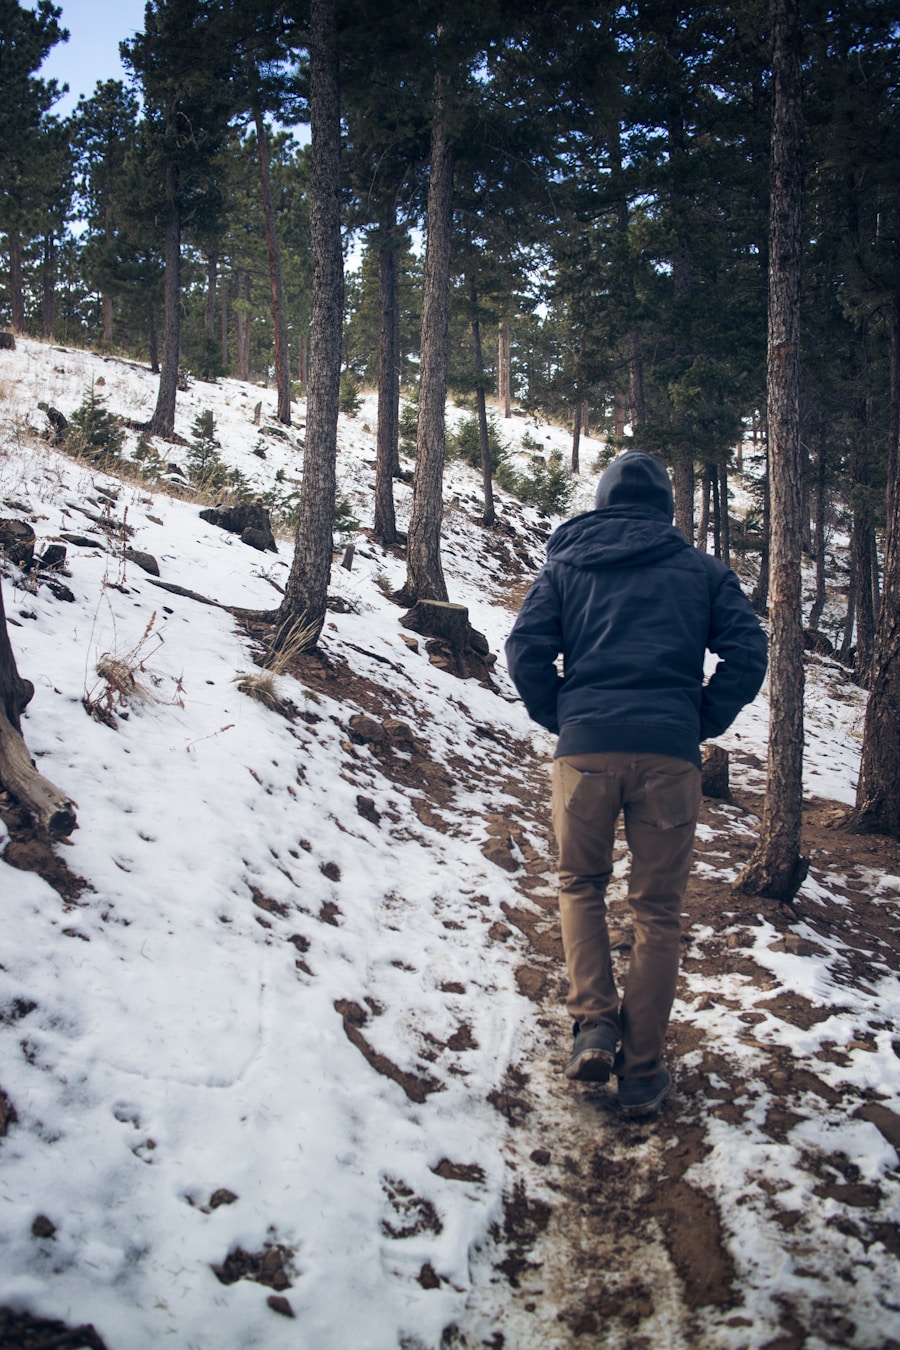
Last Updated on September 10, 2026 by Daniel Globe
Winter hiking can turn a familiar trail into a very different trip. Snow can hide the route, ice can change your footing, daylight is shorter, and cold or wet clothing can quickly become a safety problem. A good winter hiking gear checklist therefore goes beyond warm clothes: it should cover footwear, traction, navigation, food, water, lighting, emergency supplies, and a plan for changing conditions.
Quick Answer
For winter hiking, wear moisture-managing base layers, warm insulation, and a wind- and weather-resistant shell. Add suitable boots, gaiters, traction for the actual trail conditions, navigation tools, a headlamp, food, water, emergency shelter, first aid, and extra dry layers. Check weather and trail conditions before leaving.
Key Takeaways
- Choose winter hiking footwear for the terrain, temperature, snow depth, and load you will carry rather than assuming one type of boot is best for every trip.
- Use a base layer, insulating layer, and weather-protective outer shell so you can add or remove clothing as your activity level changes.
- Carry traction devices for icy trails and consider snowshoes when snow is deep and unconsolidated.
- Choose a backpack that fits properly and has room for water, food, dry layers, emergency shelter, first aid, and the rest of your winter essentials.
- Carry a map, compass, and/or GPS or offline map, and know how to use them; do not assume you will have cell service.
- Bring a reliable headlamp plus spare batteries or backup power even when you expect to finish before dark.
- Pack enough food and water for the planned hike plus a margin for delays, and protect water from freezing in very cold conditions.
- Check the weather, trail conditions, daylight, and avalanche forecast where relevant, and leave your route and expected return time with someone you trust.
Disclosure: As an Amazon Associate I earn from qualifying purchases. Some links on this page are affiliate links, at no extra cost to you.
Winter Hiking Footwear and Traction
Footwear has a major effect on comfort and control on a winter trail. Hiking boots usually provide a stiffer platform, more protection around the foot and ankle, and better compatibility with snow and traction equipment than lightweight road shoes. A higher collar can offer extra support and help keep debris or snow out, but it should not be treated as a guarantee against ankle sprains.
Trail-running shoes are lighter and more flexible, which makes them popular for fast hiking and well-maintained trails. However, they generally offer less protection from deep snow, cold, mud, and rough terrain. In winter, choose footwear based on temperature, snow depth, trail surface, your pack weight, and how far you will be from help.
Boot Fit
A winter hiking boot should hold the heel securely without crushing the toes. Leave enough room for the socks you actually plan to wear and for normal foot swelling during a long hike. Boots that are too tight can reduce comfort and may make cold feet harder to manage, while oversized boots can allow excessive movement and blisters.
Waterproofing, Gaiters, and Socks
Waterproof boots are particularly useful in wet snow and slush. Gaiters can keep snow, mud, and debris from entering around the boot opening. Wool or synthetic hiking socks are generally better suited to cold, damp conditions than cotton because they manage moisture more effectively.
Traction Devices, Snowshoes, and Crampons
The National Park Service winter hiking guidance recommends traction devices when walking on ice and snow and notes that snowshoes may be appropriate in deeper snow.
- Over-shoe traction devices: Useful on packed snow and icy hiking trails when compatible with your footwear.
- Snowshoes: Better suited to deep, soft snow where ordinary footwear sinks significantly.
- Trekking poles: Can improve balance on uneven or slippery ground. Snow baskets help prevent poles from sinking deeply into soft snow.
- Mountaineering crampons: Intended for more technical snow and ice travel. They should be matched to compatible footwear and used with the skills required for the terrain.
Pro Tip: Check recent trail reports before choosing traction. The same trail can require snowshoes after fresh snowfall and over-shoe traction after repeated traffic, melting, and refreezing.
Clothing
Layering: The Key to Adaptability
Layering lets you regulate heat and moisture as weather and activity levels change. A practical winter system usually has three main parts.
- Base layer: Wool or synthetic fabric worn next to the skin to move moisture away from the body.
- Mid-layer: Fleece, wool, synthetic insulation, or down that adds warmth.
- Outer layer: A shell that blocks wind and, when conditions require it, protects against rain or wet snow.
Avoid relying on one very heavy jacket for all conditions. You may be warm while standing still but quickly overheat during a steep climb. Adjust layers before you become soaked with sweat, and add insulation promptly when you stop.
Activity-Specific Considerations
Match your clothing to the temperature, wind, precipitation, terrain, and intensity of the hike. Thermal leggings or long underwear can add warmth under hiking pants in cold conditions. In wet snow, waterproof or weather-resistant pants may be valuable. During high-output hiking, breathable layers help reduce moisture buildup.
The National Park Service recommends warm, quick-drying winter clothing and extra dry clothing in case your worn layers become wet. Its winter guidance also emphasizes carrying protection for both precipitation and wind.
Accessories and Brands
Hats, gloves or mittens, neck gaiters, and suitable socks are important because the head, hands, face, and feet can be exposed to wind and cold. Carrying a spare pair of gloves and socks provides a useful backup if the first pair becomes wet.
Brands such as Patagonia and The North Face offer outdoor clothing for a range of climates, but brand name matters less than fit, fabric, insulation, weather protection, and suitability for the conditions you expect.
Note: Sun protection still matters in winter. Carry sunglasses, sunscreen, and lip protection, especially where snow glare and higher elevation increase exposure.
Backpack
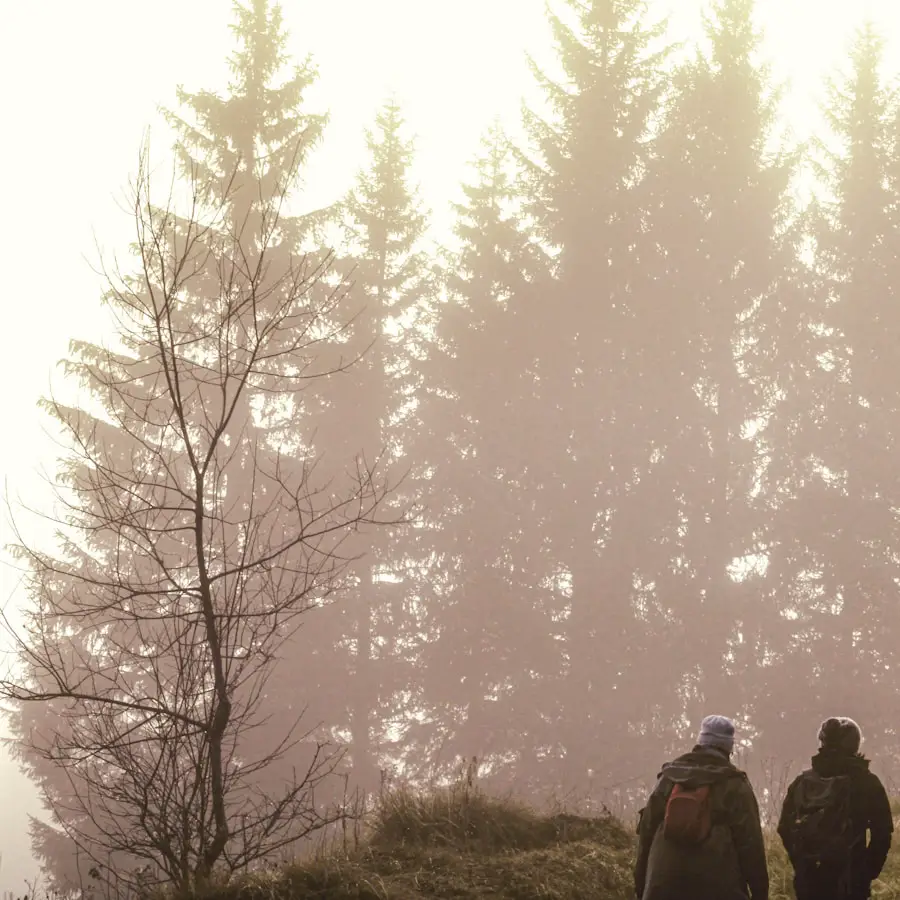
A backpack is the main storage system for your clothing, water, food, safety gear, and emergency supplies. Choose capacity based on the trip rather than relying on a single universal size. A short, mild day hike may require relatively little space, while a long winter day or overnight trip can require substantially more room for bulky insulation and emergency equipment.
Many daypacks fall roughly in the 15- to 30-liter range, but winter hikers may need more space than summer hikers because extra insulation, gloves, traction equipment, and emergency shelter take up room.
Fit matters as much as volume. Shoulder straps should sit comfortably, and a hip belt can help transfer part of the load away from the shoulders. Compression straps can stabilize the load, while exterior pockets make frequently used items easier to reach.
Hydration reservoirs are convenient in mild weather, but hoses can freeze in very cold conditions. Bottles may be easier to monitor and insulate. A pack liner or waterproof stuff sacks can help keep critical insulation and spare clothing dry.
Brands such as Osprey and Deuter offer packs in many sizes and harness designs. The best choice is the one that fits your torso, carries the intended load comfortably, and has enough capacity for the safety margin required by the trip.
Navigation Tools
Winter can make navigation harder because snow may cover the trail tread, footprints may lead away from the intended route, and familiar landmarks can look different. The National Park Service Ten Essentials includes map, compass, and GPS navigation and recommends knowing how to use them before heading out.
| Navigation Tool | Best Use | Main Limitation |
|---|---|---|
| Topographic map | Route overview, terrain, landmarks, and backup navigation | Requires map-reading skills and protection from moisture |
| Compass | Orienting the map and establishing direction | Useful only when the user knows how to take and follow bearings |
| GPS device or offline map app | Location checks, route tracking, and detailed digital mapping | Depends on battery power and the map being available offline |
A compass can help you orient a map and maintain direction even when a trail is hidden. GPS devices and smartphone apps can provide detailed location information, but batteries can drain and phones can be damaged or lost. Download maps before leaving coverage and carry a backup navigation method.
Google Maps and Apple Maps can help with driving directions and some trailhead locations, while Waze is primarily designed for road navigation. None should be treated as a substitute for appropriate backcountry maps, route knowledge, and navigation skills.
Warning: Do not follow unknown footprints simply because they appear to form a trail. Snow can hide junctions and established routes, and another person’s tracks may lead somewhere you do not intend to go.
Winter Trail Conditions and Avalanche Awareness
Snow depth and surface conditions can change throughout a winter day. Fresh snow may require flotation such as snowshoes, while repeated traffic, melting, and refreezing can create hard-packed ice that calls for traction.
Stay off questionable lake, pond, or stream ice unless the area is officially managed for that use and conditions are confirmed safe. The appearance of ice alone does not tell you whether it can support a person.
In snowy mountain areas, determine whether your route enters or passes below avalanche terrain. The National Park Service advises hikers to be avalanche aware and check local safety information. In the United States, Avalanche.org, a partnership involving the U.S. Forest Service National Avalanche Center and the American Avalanche Association, connects recreationists with regional avalanche forecasts and education.
A forecast is not a substitute for training. People entering avalanche terrain should understand terrain selection, current avalanche problems, rescue procedures, and the equipment required for their activity.
Winter safety starts with choosing conditions and terrain that match your skills—not simply carrying more equipment.
Insulation
Insulation traps warm air around the body. The right amount depends on temperature, wind, precipitation, activity level, and how warm or cold you personally tend to run.
Down is valued for its warmth-to-weight ratio and compressibility. Traditional down loses much of its loft and insulating ability when thoroughly wet, so it works best when it can be kept dry. Synthetic insulation is usually bulkier for comparable warmth but continues to provide useful insulation when damp and generally dries faster. Current Patagonia insulation guidance describes down as especially useful for lightweight warmth in dry cold and synthetic insulation as a strong option for wet conditions.
A light insulated jacket that works for an autumn hike may be inadequate for prolonged winter exposure. Pack enough warmth for rest stops and an unexpected delay, not only for the heat you generate while climbing.
For an overnight winter trip, the insulation system expands to include a sleeping bag and insulated sleeping pad appropriate for the expected conditions. A bag’s temperature rating should be considered together with the user’s clothing, sleeping pad, shelter, weather, and personal cold tolerance rather than treated as a guarantee of comfort.
Lighting
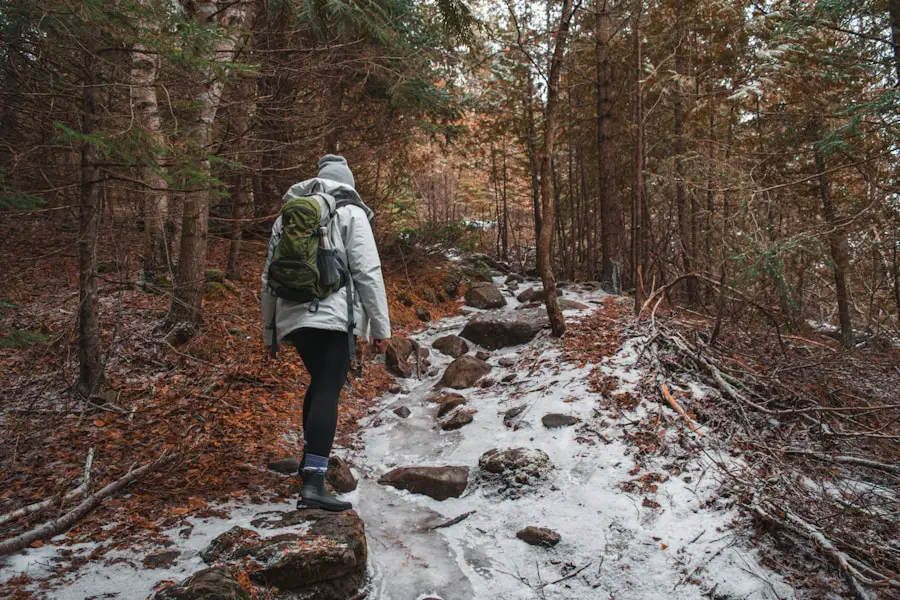
Winter days are short, and a delayed hike can easily extend beyond sunset. A headlamp is usually the most practical trail light because it leaves both hands free for poles, navigation, clothing adjustments, or first aid.
Choose a headlamp with enough output for the kind of trail you will travel and check its batteries before leaving. Carry spare batteries or a suitable backup power source. In cold conditions, keep spare batteries protected from extreme cold when practical.
Lanterns can provide broad light around a campsite but are less useful as primary trail-navigation lights. Brands such as Black Diamond and Petzl manufacture headlamps for outdoor use, but battery reliability, controls that work with gloves, weather resistance, runtime, and appropriate brightness are more important than the logo.
Nutrition and Hydration
Food and water help support physical effort and temperature regulation during winter activity. Pack foods that are easy to eat in the cold and do not require complicated preparation. Nuts, dried fruit, sandwiches, bars, jerky, and similar trail foods are common options, while dehydrated meals are convenient for trips where you already plan to carry a stove and hot water.
Bring enough food for the planned hike plus extra for an unexpected delay. The National Park Service includes extra food and hydration among its Ten Essentials.
Cold weather can make people less eager to drink, but hiking still requires fluid. Carry enough water for the trip or a reliable treatment method where appropriate. In freezing temperatures, protect bottles and filters from freezing according to their manufacturer’s instructions. Some hikers use insulated bottle sleeves or carry bottles inside the pack rather than leaving them exposed.
Electrolyte drinks or supplements can be useful during prolonged exercise or when an individual needs them, but they are not automatically required for every winter hike. Ordinary food and water may be adequate for many shorter trips.
Brands such as Clif Bar and Mountain House offer convenient outdoor foods, but the important considerations are calories, digestibility, dietary needs, preparation requirements, and whether the food remains practical to eat in cold temperatures.
Emergency Supplies
A winter emergency kit should prepare you for injury, route-finding problems, equipment failure, sudden weather, and an unexpected wait for help. The exact kit depends on the route and remoteness, but the NPS Ten Essentials provides a useful starting framework:
- Navigation: Map, compass, and/or GPS.
- Sun protection: Sunglasses, sunscreen, and sun-protective clothing.
- Insulation: Extra warm and weather-protective layers.
- Illumination: Headlamp or flashlight with backup power.
- First aid: Supplies appropriate for the group plus personal medications.
- Fire: A reliable fire-starting method where fires are safe and permitted.
- Repair tools: Items such as a multi-tool, repair tape, or equipment-specific repair supplies.
- Food: Extra food beyond the planned amount.
- Hydration: Water plus appropriate treatment supplies when needed.
- Emergency shelter: An emergency bivy, tarp, space blanket, or another shelter suitable for the trip.
A whistle can help signal rescuers more efficiently than repeatedly shouting. A multi-tool may help with simple equipment repairs, while waterproof matches or a lighter can be useful where fire is legal and conditions permit safe use.
Regularly inspect the kit. Replace expired first-aid items, dead batteries, damaged shelter material, empty lighters, and food or medications that are no longer usable.
Warning: Hypothermia and frostbite can become medical emergencies. Watch for uncontrolled shivering, confusion, unusual drowsiness, poor coordination, slurred speech, numbness, or pale/waxy skin. Get the person out of the cold, replace wet clothing when possible, and seek appropriate emergency medical help. Do not rub or massage frostbitten tissue.
Plan Before You Leave
The best equipment cannot compensate for a poor trip plan. Before a winter hike:
- Check the latest weather forecast, including temperature, wind, precipitation, and expected changes.
- Check current trail and road conditions with the responsible land manager.
- Know the route, distance, elevation change, and likely winter travel time.
- Check sunrise and sunset and carry a headlamp even if you plan to return in daylight.
- Tell a trusted person exactly where you are going and when you expect to return.
- Check avalanche information if the route is in or near avalanche terrain.
- Choose a conservative turnaround time and be willing to turn back when weather, visibility, trail conditions, fatigue, or equipment problems worsen.
Snow can make travel much slower than the same hike in summer. Leave enough margin that a slower pace does not force you into unnecessary risk late in the day.
Pro Tip: Pack the insulation and emergency gear needed for an unplanned delay, not merely the clothing that feels comfortable while you are actively hiking.
If your winter hiking trip is part of a longer international journey, luggage organization may also affect how easily you transport bulky layers and other travel equipment. For separate travel-planning advice, see this guide to the best carry-on luggage for international travel. Carry-on luggage is a travel consideration rather than a substitute for the hiking equipment listed above.
Love travel? Join Our Facebook Community
Frequently Asked Questions
What should I wear for winter hiking?
Use a moisture-managing wool or synthetic base layer, an insulating mid-layer, and a wind- and weather-protective outer shell. Add warm socks, gloves or mittens, a hat, and a neck or face covering as conditions require. Carry extra dry insulation for an unexpected stop or wet clothing.
What type of fabric is best for winter hiking clothing?
Merino wool and synthetic fabrics such as polyester or nylon are common choices because they manage moisture and dry more effectively than cotton. Fleece, wool, synthetic insulation, and down can all serve as insulating layers, while a suitable shell protects against wind, rain, or snow.
What kind of footwear is suitable for winter hiking?
Choose hiking boots or shoes that fit well and match the temperature, terrain, snow depth, and moisture level. Waterproof boots and gaiters are useful in snow and slush. Packed ice may require over-shoe traction, while deeper snow may call for snowshoes.
Do I need to wear a hat and gloves for winter hiking?
In cold conditions, covering the head and hands helps reduce heat loss and protects exposed skin. Gloves or mittens should match the temperature and moisture conditions. Carrying a dry spare pair is useful on longer or colder trips.
Should I bring extra clothing for winter hiking?
Yes. Pack at least enough additional insulation and dry clothing to handle a temperature drop, wet layer, long rest stop, or unexpected delay. Spare socks and gloves are especially useful because hands and feet can become uncomfortable quickly when clothing becomes wet.
Do I need microspikes, snowshoes, or crampons?
It depends on the trail. Over-shoe traction devices are useful on many packed or icy hiking trails, while snowshoes provide flotation in deeper snow. Mountaineering crampons are more technical equipment for appropriate steep snow or ice terrain and require compatible footwear and suitable skills. Check current trail conditions before choosing.
What are warning signs of hypothermia or frostbite?
Possible hypothermia signs include persistent shivering, confusion, poor coordination, slurred speech, and unusual drowsiness. Frostbite can cause numbness and pale, white, grayish-yellow, firm, or waxy-looking skin. Move out of the cold and seek medical help when hypothermia or significant frostbite is suspected.
Sources
- U.S. National Park Service — Ten Essentials — navigation, insulation, illumination, first aid, food, hydration, repair supplies, fire, sun protection, and emergency shelter.
- U.S. National Park Service — Winter Hiking Tips — winter clothing, traction, snowshoes, maps, trail conditions, trip planning, and avalanche awareness.
- Rocky Mountain National Park — Winter Backpacking Gear Checklist — winter footwear, gaiters, snow travel, spare clothing, lighting, water, and emergency equipment.
- National Weather Service — Cold Weather Safety — wind chill, frostbite, hypothermia, exposed skin, and cold-weather precautions.
- CDC — Preventing Hypothermia and Frostbite — cold-injury prevention and medical-safety guidance.
- National Avalanche Center / Avalanche.org — Avalanche Basics — avalanche awareness, forecasts, education, and training resources for snowy backcountry terrain.

