
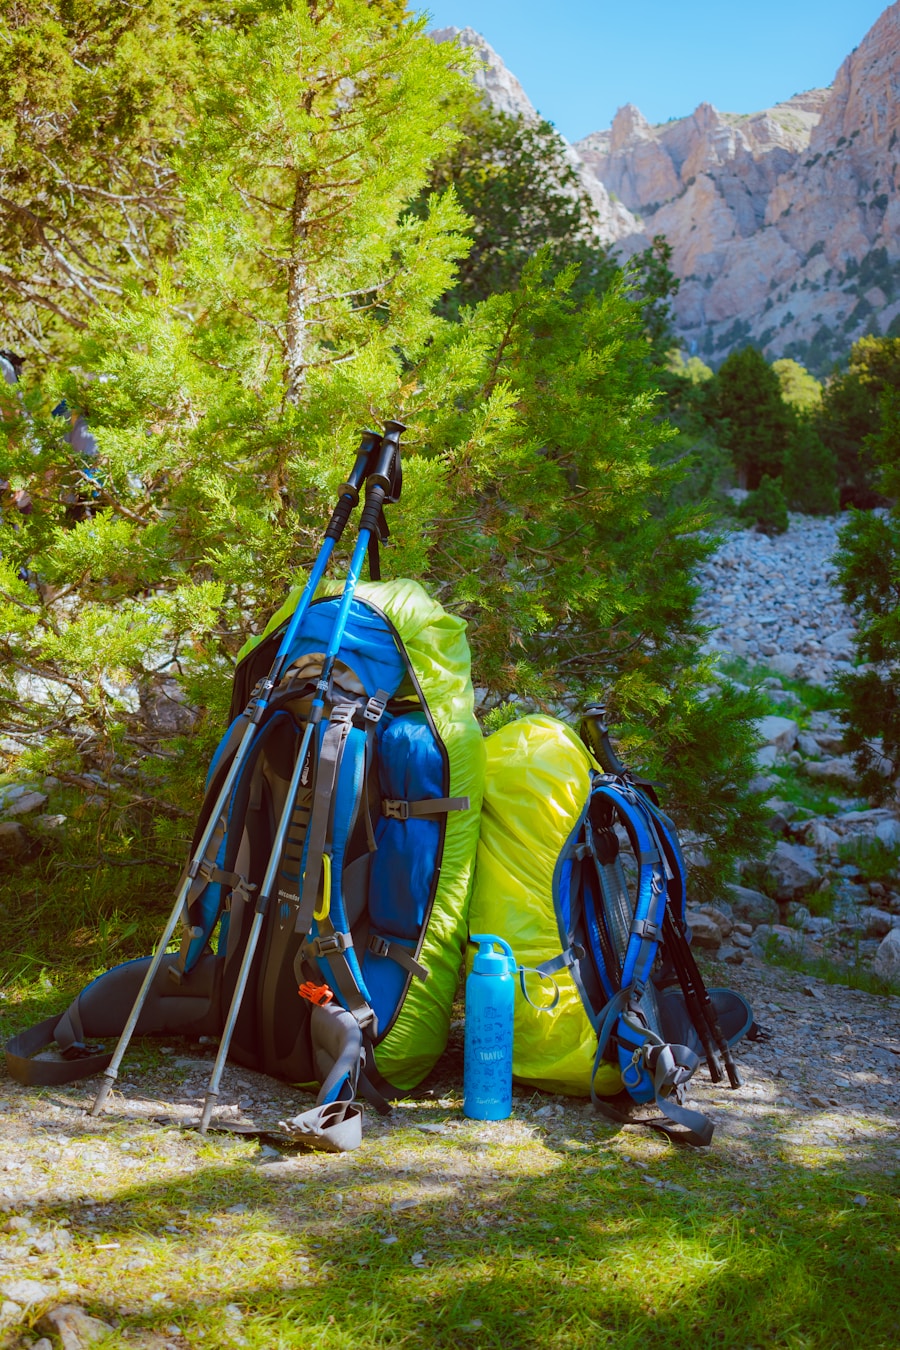
Last Updated on July 27, 2026 by Daniel Globe
Packing a hiking bag well is about more than fitting everything inside. Your pack needs to carry the right safety gear, food, water, clothing, and navigation tools while keeping the load stable and comfortable. The best setup depends on your route, weather, trip length, available water, and whether you are heading out for a few hours or several nights.
Quick Answer
To pack a hiking bag, start with the Ten Essentials and trip-specific gear. Put light, bulky items low in the pack, dense items such as food near the center of your back, and frequently used items near the top or in outside pockets. Carry enough water or a reliable treatment system, then adjust the hip belt, shoulder straps, load lifters, and sternum strap.
Key Takeaways
- Choose a pack based on trip length, conditions, gear volume, and torso fit rather than capacity alone.
- Carry the Ten Essentials, including navigation, illumination, first aid, emergency shelter, extra food and water, and weather protection.
- Pack light bulky gear low, heavy dense gear in the core close to your back, and frequently used items where you can reach them quickly.
- Treat questionable natural water properly and check water availability before leaving the trailhead.
- Check local food-storage, fire, permit, waste-disposal, and weather rules before every hike.
At a Glance
| Time Required | About 15–30 minutes once your gear is gathered |
| Difficulty | Easy, with extra planning for overnight or remote trips |
| Tools Needed | Trip checklist, route information, backpack, gear, and an optional luggage or hanging scale |
| Cost | No added cost if you already own the required hiking gear |
Disclosure: As an Amazon Associate I earn from qualifying purchases. Some links on this page are affiliate links, at no extra cost to you.
Plan the Hike Before Packing Your Bag
Your packing list should begin with the trip, not the backpack. Check the route distance, elevation gain, expected hiking time, terrain, forecast, daylight, reliable water sources, trail closures, permits, and destination-specific regulations.
The National Park Service Ten Essentials guidance recommends preparing for unexpected injuries, weather changes, delays, and emergencies even when you are only planning a day hike.
Tell a trusted person where you are going, your route, where you parked, who is with you, and when you expect to return. For remote trips, a written trip plan can make it much easier for search-and-rescue teams to respond if you fail to come back as scheduled.
Note: Check the official website for the exact park, forest, wilderness area, or trail before leaving. Food-storage rules, fire restrictions, permits, seasonal closures, and waste-disposal requirements can change by location and season.
Choose the Right Hiking Backpack
The correct backpack depends on how long you will be outside and how much gear your particular trip requires. A small pack may be enough for a short hike, while cold weather, technical terrain, family gear, or an overnight shelter can require much more space.
Current daypack guidance from REI places many general hiking packs in the 21–35-liter range, although short minimalist outings may use 10–20 liters and gear-heavy day trips may require more. For backpacking, approximately 30–50 liters can work for efficient 1–3-night trips, while 50–80 liters is common for 3–5-night outings.
Do not choose a bigger pack simply because it gives you extra room. Unused capacity can encourage overpacking.
Fit Matters More Than the Number on the Label
A well-fitted backpack should match your torso length and sit securely without pulling you backward. Adjustable shoulder straps, a supportive hip belt, a sternum strap, and load lifters can improve comfort and stability on packs designed for heavier loads.
When trying a backpack, load it with realistic weight rather than judging an empty pack. According to Osprey’s pack-fitting guidance, the hip belt should sit over the hip bones, followed by adjustment of the shoulder straps and load lifters so the pack remains close to the body.
- Loosen the straps before putting the loaded pack on.
- Position and tighten the hip belt over your hip bones.
- Snug the shoulder straps without crushing your shoulders.
- Adjust the load lifters, if present, to bring the upper pack closer to your body.
- Fasten the sternum strap so the shoulder straps remain stable without restricting breathing.
- Walk, bend, and step up and down to check for rubbing, bouncing, or pressure points.
Pro Tip: Test a backpack with approximately the same weight you expect to carry on the trail. A pack that feels comfortable empty can feel very different once it contains water, food, and overnight equipment.
Essential Gear and Equipment
Once the backpack fits correctly, gather the gear required for your route. The exact list changes with season, terrain, remoteness, and trip length, but the National Park Service organizes basic preparedness around the Ten Essentials.
- Navigation: map, compass, GPS device, or offline navigation app.
- Sun protection: sunglasses, sunscreen, and protective clothing.
- Insulation: extra clothing appropriate for the expected conditions.
- Illumination: headlamp or flashlight plus spare power.
- First aid: a kit appropriate for the group and trip.
- Fire: an emergency fire-starting method where its use is legal and safe.
- Repair tools: knife or multi-tool plus trip-specific repair supplies.
- Nutrition: enough food for the planned hike plus an emergency reserve appropriate for the trip.
- Hydration: drinking water and, when needed, a treatment method.
- Emergency shelter: a tarp, bivy, emergency blanket, or other suitable shelter.
For overnight trips, add a tent or other appropriate shelter, sleeping bag, and sleeping pad. Choose a sleeping bag with a temperature rating suitable for the conditions you expect to encounter. Down insulation can provide an excellent warmth-to-weight ratio, while synthetic insulation is often more forgiving in damp conditions.
Cooking equipment may include a compact stove, appropriate fuel, lightweight cookware, utensils, and a method for cleaning up. A multi-tool or knife can help with food preparation and simple field repairs.
Your first aid kit should be matched to your group and trip rather than treated as a fixed universal list. Common items include adhesive bandages, gauze, wound-cleaning supplies, blister care, tweezers, pain relievers you can safely take, and personal medications.
Warning: Carrying a lighter or matches does not give you permission to build a fire. Check current local fire restrictions before the trip, and never use an open flame when fires are prohibited or conditions make fire unsafe.
Packing Clothing and Footwear
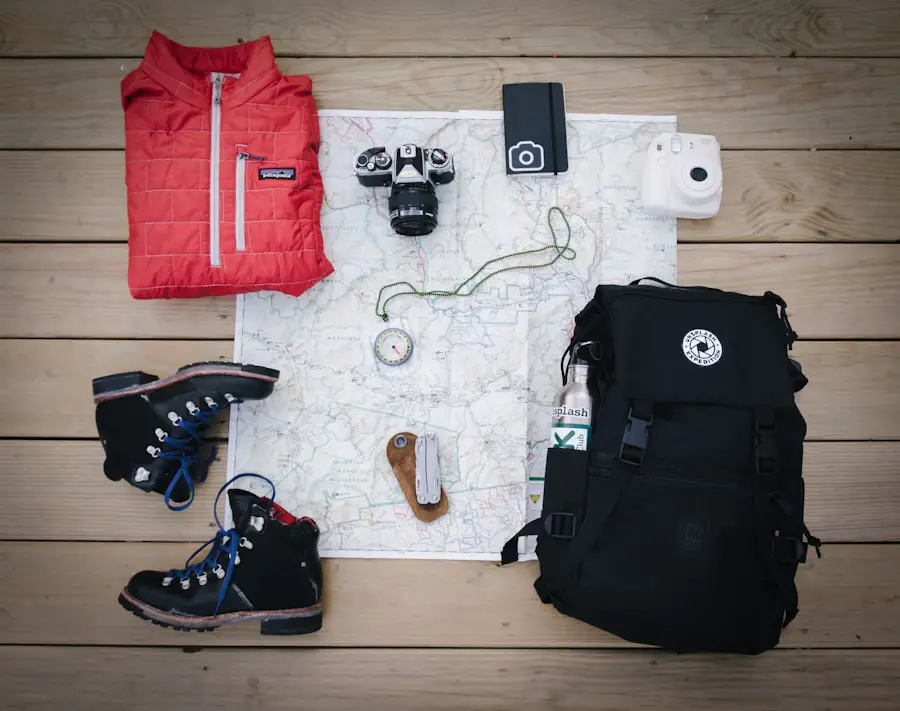
Clothing and footwear can have a major effect on comfort and safety. A flexible layering system lets you add or remove insulation as temperature, wind, precipitation, and exertion change.
Start with a moisture-wicking base layer. Merino wool and synthetic materials are popular because they manage moisture and dry more effectively than ordinary cotton in many hiking conditions.
Add an insulating middle layer when temperatures require one. Fleece and insulated jackets are common choices. Your outer layer should match the weather forecast and may include a waterproof, breathable rain shell or wind-resistant jacket.
Choose hiking pants or shorts that allow free movement and suit the terrain. Convertible pants can be convenient when temperatures change through the day.
Footwear should provide the traction, protection, and support appropriate for the trail. Trail runners may work well on many maintained routes, while boots can offer additional protection or support for rough terrain and heavier loads. Wear new footwear on shorter walks before a demanding hike so you can identify rubbing or fit problems before committing to a long day.
Extra socks are especially useful on wet or multiday trips. Odor-resistant options such as the merino wool travel socks discussed here can also work well for hiking when their cushioning and fit suit your footwear.
Organizing Food and Water
| Trip Type | Food Approach | Water Plan | Storage |
|---|---|---|---|
| Short day hike | Ready-to-eat snacks and a simple meal if needed | Carry enough for the route and conditions | Keep food sealed and accessible |
| Long or hot day hike | Regular snacks plus extra emergency food | Increase carried water or confirm reliable refill points | Follow local wildlife rules |
| Overnight trip | Lightweight meals, snacks, and an emergency reserve | Carry water plus treatment equipment when natural sources will be used | Use required animal-resistant storage |
| Multiday trip | Calorie-dense meals organized by day | Map dependable sources and carry backup treatment | Store food, trash, and scented items according to destination rules |
Plan food around trip length, cooking facilities, temperature, and how much weight you are willing to carry. Nuts, trail mix, energy bars, nut butter, jerky, dried fruit, tortillas, and other shelf-stable foods are convenient because they require little or no preparation. Freeze-dried meals are another popular option for overnight trips because many only require hot water.
If you bring perishable foods, keep food-safety limits in mind. The USDA’s outdoor food-safety guidance says perishable food should remain properly chilled and should not stay in the 40°F–140°F danger zone for more than two hours, or more than one hour when temperatures are above 90°F.
How Much Water Should You Carry?
There is no single correct amount for every hiker. Your needs change with temperature, humidity, altitude, pace, body size, sun exposure, and trip duration. Hot or strenuous conditions can increase fluid needs substantially.
Start hydrated, drink regularly, and plan your supply before leaving. Do not assume a blue line on a map guarantees usable water; seasonal streams and springs can dry up.
Your water plan should answer two questions before you start hiking: how much can you carry, and exactly where can you safely get more?
Treat Backcountry Water Correctly
Natural water can look clean and still contain disease-causing organisms. The CDC recommends treating water when you are unsure it is safe. Boiling is the most reliable way to kill germs. When boiling is impractical, filtering followed by disinfection can provide broader protection than relying on an ordinary filter alone.
Follow the manufacturer’s instructions for your filter, purifier, UV device, or chemical disinfectant. Treatment effectiveness differs by product and by the organisms present.
Hydration reservoirs make frequent sipping convenient, while bottles make it easier to see exactly how much water remains. Either system can work well if it is reliable for your trip.
Store Food for Wildlife
Do not assume a normal backpack or stuff sack provides safe wildlife storage. Rules differ among parks and wilderness areas. Some destinations require approved bear-resistant food containers, while others provide lockers or specify another storage method.
The National Park Service bear-safety guidance notes that food, trash, toiletries, sunscreen, insect repellent, and many other scented products may all need to be stored securely.
Warning: Always follow the food-storage rules for the exact destination. A storage method permitted in one park may be prohibited or inadequate in another.
Safety and Emergency Supplies
Emergency equipment can turn an unexpected delay into a manageable situation. Keep first aid, illumination, insulation, emergency shelter, navigation, repair equipment, extra food, and water appropriate for your route.
A headlamp is generally easier to use than a handheld flashlight because it leaves both hands free. Pack spare batteries or another dependable power source if your light requires one.
A whistle is a small, lightweight signaling tool. A multi-tool or knife can help with simple repairs and other practical tasks.
In remote terrain, consider an emergency communication device. A personal locator beacon and a satellite messenger are not exactly the same thing. A registered 406 MHz PLB is designed primarily to send a distress alert through the international satellite search-and-rescue system. NOAA identifies PLBs as dedicated wilderness distress beacons. Satellite messengers may offer two-way messaging and tracking depending on the device, service plan, and satellite coverage.
Learn how your emergency device works before leaving home, keep it accessible, and do not treat it as a substitute for planning, navigation skills, or appropriate equipment.
Navigation Tools and Maps
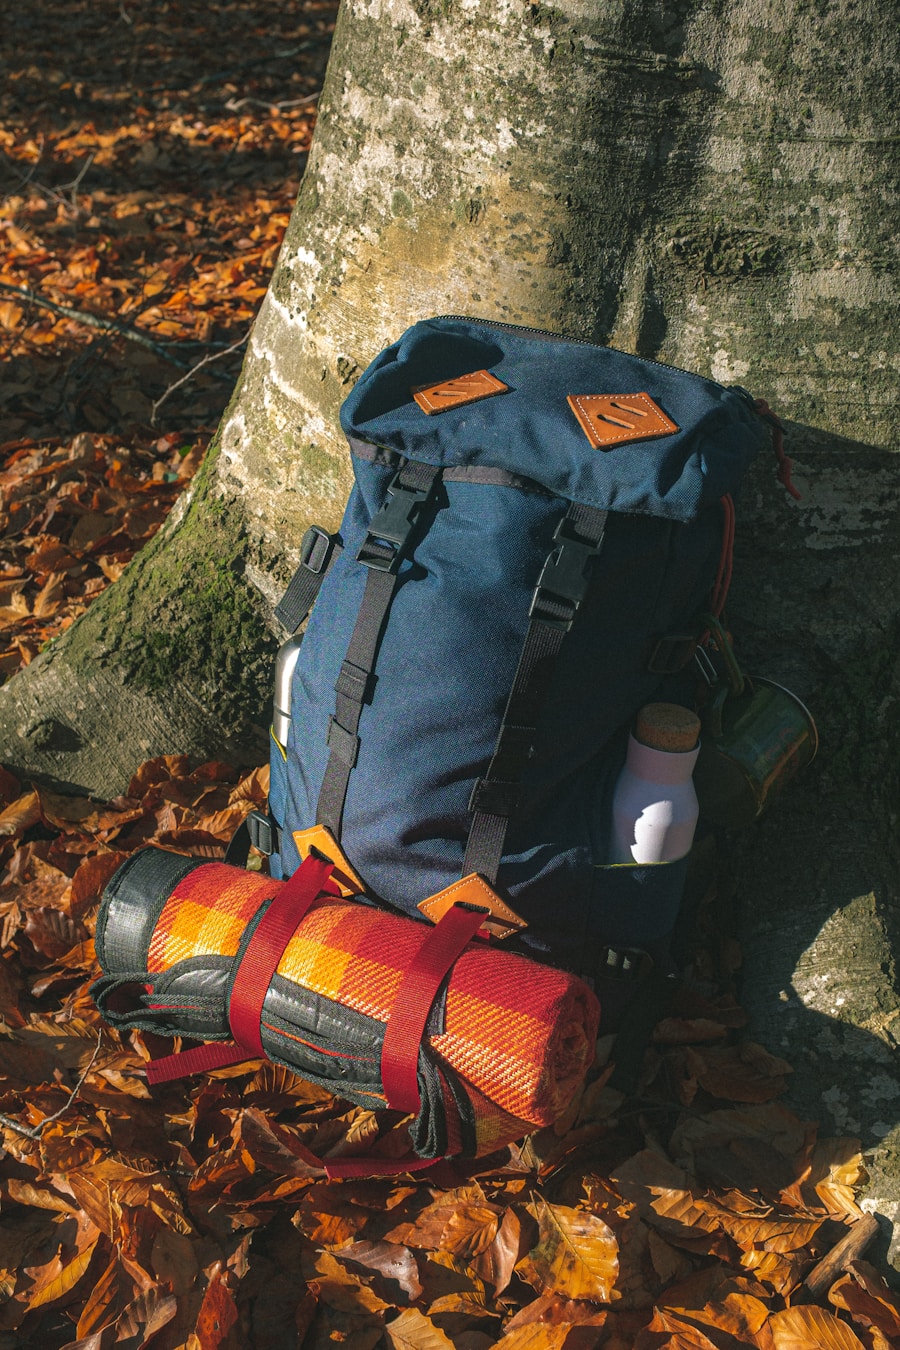
Digital navigation is convenient, but it should be prepared before the trip. Download maps for offline use, verify the route, charge your device, and consider carrying a backup battery.
Cell service and GPS are not the same thing. Your phone may be able to determine its location from navigation satellites even when there is no cellular connection, but online map tiles, calls, messages, and cloud-based route information may fail without service. Battery failure can also leave an electronic map useless.
A paper topographic map and compass provide a backup that does not depend on charging or cellular data. Learn how to orient the map, identify terrain features, take a bearing, and relate the map to your surroundings before relying on those skills in an emergency.
Keep navigation equipment where you can reach it without emptying the entire backpack.
Pro Tip: Put your phone in airplane mode when appropriate after downloading offline maps. This can reduce unnecessary battery use in areas where the phone repeatedly searches for cellular service.
Personal Items and Hygiene
Pack only the hygiene products you need, but plan how they will be used and disposed of. Useful items can include sunscreen, insect repellent, hand sanitizer, toilet paper, a small trowel where catholes are allowed, a quick-dry towel, toothbrush supplies, and required personal medications.
Biodegradable soap should still be kept away from lakes and streams. General Leave No Trace guidance recommends carrying washing water at least 200 feet from natural water sources and using only small amounts of soap.
Where local rules permit catholes, Leave No Trace recommends digging them about 6–8 inches deep and at least 200 feet from water, camps, and trails. Some environments and heavily used destinations require human waste to be packed out instead, so check the specific rules before leaving.
Pack out trash, hygiene products, and anything else local regulations require you to carry out. Never assume that “biodegradable” means an item can be left on the ground.
If you wear contact lenses, bring enough lens-care supplies for the entire trip and a backup plan such as glasses.
How to Pack a Hiking Bag Efficiently
Lay out all of your gear before loading the backpack. Group similar items together and remove unnecessary duplicates. Stuff sacks or packing cubes can make small items easier to find, but too many organizers can add weight and create wasted space.
1. Pack Light, Bulky Gear at the Bottom
The bottom of an overnight pack is a good place for equipment you will not need until camp, such as a sleeping bag, sleep clothing, or other light compressible items.
Avoid putting the densest items at the very bottom because they can make a backpack sag and pull inefficiently.
2. Put Dense Gear in the Core Near Your Back
Food, a stove, cookware, and other heavy equipment generally belong in the pack’s core near your spine. This keeps the center of gravity closer to your body and reduces the feeling that the pack is pulling backward.
A hydration reservoir is usually easiest to install before the pack is completely full.
Keep fuel securely sealed and separate it from food in case of leakage.
3. Cushion Hard Items
Use spare clothing, a tent body, or other soft equipment to fill gaps around cookware, food containers, or other hard objects. Nothing sharp or rigid should press directly into your back.
4. Keep Frequently Used Items Near the Top
Rain gear, an insulating layer, first aid supplies, water-treatment equipment, and other items you may need quickly should remain easy to reach.
Do not bury an emergency item underneath equipment that would take several minutes to unload.
5. Use Pockets for Trail Essentials
Hip-belt and exterior pockets are useful for items such as:
- snacks;
- water bottles;
- sunscreen;
- lip balm;
- insect repellent;
- map or route notes;
- phone or camera;
- gloves or a lightweight hat.
Keep important safety equipment secure enough that it cannot fall out when you bend, scramble, or remove the pack.
6. Secure Exterior Equipment
Sleeping pads, trekking poles, tent components, or other bulky equipment may be attached externally when the pack is designed for it. Tighten the attachment points so the load does not swing or snag vegetation.
Avoid hanging numerous loose objects from the outside. A compact load is quieter, more stable, and less likely to catch on branches or rocks.
7. Adjust the Loaded Pack
Once the bag is loaded, put it on and repeat the fitting sequence: hip belt first, then shoulder straps, load lifters, and sternum strap.
Walk around for several minutes. Climb stairs if possible. Lean slightly forward, step sideways, and check whether the load shifts.
If something feels wrong, repack it before the hike instead of assuming you will get used to the discomfort.
Day-Hike vs. Overnight Packing
Typical Day-Hike Priorities
- Navigation and route information
- Water and emergency treatment method when appropriate
- Food plus an emergency reserve suitable for the route
- First aid and blister care
- Headlamp
- Extra insulation and rain protection
- Sun protection
- Emergency shelter
- Repair tool
- Emergency communication appropriate for the location
Additional Overnight Gear
- Tent, tarp, hammock system, or other suitable shelter
- Sleeping bag or quilt
- Sleeping pad
- Cooking equipment and fuel when needed
- Additional meals and snacks
- Extra clothing
- Destination-compliant food storage
- Expanded hygiene and waste-disposal supplies
Cold weather, snow travel, scrambling, mountaineering, fishing, photography, or hiking with children can add specialized equipment. Pack these extras only after your core safety equipment is covered.
For photographers, a purpose-built travel camera backpack may make sense when protecting camera equipment is a major part of the trip. Anglers hiking to remote water may also choose a compact travel fishing rod. Specialized gear should not displace water, navigation, weather protection, first aid, or other essentials.
Final Pack Check Before Leaving
Before walking away from the trailhead, take one final minute to check the loaded bag.
- Confirm that you have navigation information for the entire route.
- Verify that water bottles or reservoirs are full.
- Confirm any planned natural water sources and treatment method.
- Make sure food and scented items meet local wildlife-storage requirements.
- Check the forecast and current trail conditions again.
- Confirm that your headlamp works.
- Keep rain gear, insulation, snacks, navigation, and first aid accessible.
- Secure every exterior strap and attached item.
- Make sure someone has your itinerary and expected return time.
- Walk briefly with the pack and correct pressure points before starting.
Note: The lightest backpack is not automatically the safest backpack. Reduce duplicate and luxury items first; do not cut navigation, weather protection, required water, emergency shelter, first aid, or other equipment your route genuinely requires simply to reach an arbitrary pack-weight target.
Frequently Asked Questions
What should I consider when packing my hiking bag?
Consider the route length, elevation, weather, terrain, daylight, water availability, remoteness, local regulations, wildlife, and whether you are taking a day hike or staying overnight. Your packing list should be based on those conditions rather than on a generic checklist alone.
What are the essential items to pack in a hiking bag?
Start with the Ten Essentials: navigation, sun protection, insulation, illumination, first aid, emergency fire capability where legal and safe, repair tools, extra food, hydration and water treatment when needed, and emergency shelter. Add trip-specific gear for weather, terrain, overnight camping, wildlife, or technical travel.
How should I organize my hiking bag?
Put light, bulky items that you will not need while hiking near the bottom. Keep heavy dense equipment in the middle of the pack and close to your spine. Store rain gear, first aid, extra layers, water treatment, and other frequently needed items near the top or in accessible pockets.
How much water should I pack for a hike?
There is no universal amount that fits every hike. Plan around trip duration, temperature, humidity, altitude, exertion, your personal needs, and the availability of dependable refill points. Carry extra capacity in hot or dry areas and never count on untreated natural water without an appropriate treatment plan.
What is the best way to pack heavy items?
Keep dense items in the pack’s core and close to your back, generally around the middle to upper-middle portion of the main compartment rather than at the very bottom. Center the load from side to side so the pack does not pull in one direction.
What size backpack is best for hiking?
For many ordinary day hikes, roughly 21–35 liters offers useful space for water, food, layers, and emergency gear. Short minimalist outings can use less, while winter or equipment-heavy hikes may require more. Backpacking trips often use about 30–50 liters for efficient 1–3-night trips and 50–80 liters for 3–5 nights, although gear size and conditions can change those needs.
What are some tips for packing a hiking bag efficiently?
Lay everything out before packing, remove unnecessary duplicates, group similar gear, fill empty spaces around hard objects with soft clothing, keep emergency items accessible, and secure anything attached outside. Finish by wearing the fully loaded backpack for several minutes and correcting any shifting, pressure, or rubbing.
Sources
- U.S. National Park Service — Ten Essentials — essential hiking and emergency equipment.
- Centers for Disease Control and Prevention — Backcountry Water Treatment — boiling, filtration, disinfection, and water-safety guidance.
- USDA Food Safety and Inspection Service — Food Safety While Hiking and Camping — outdoor food storage and temperature safety.
- Leave No Trace — Dispose of Waste Properly — cathole, washing, trash, and backcountry sanitation practices.
- NOAA SARSAT — 406 MHz Emergency Distress Beacons — personal locator beacon use in remote environments.
- REI — How to Choose a Backpack — backpack capacity, fit, and trip-length guidance.

