
Last Updated on September 10, 2026 by Daniel Globe
Buying hiking boots is less about finding the toughest-looking pair and more about matching the footwear to your feet, your trail, and the conditions you expect. A light hiking shoe may be ideal for maintained trails, while rough terrain, heavy packs, snow, or technical travel can call for stiffer and more protective footwear. Fit matters most of all: even a premium boot will cause problems if your toes are cramped or your heel slides.
Quick Answer
To buy hiking boots, first match the footwear to your terrain, trip length, pack weight, and weather. Then focus on fit: your heel should stay secure, your toes need room to move, and your longest toe should not hit the front on descents. Choose waterproofing, stiffness, traction, and ankle height only when your hiking conditions justify them.
Key Takeaways
- Choose hiking footwear for the terrain, distance, pack weight, weather, and season you actually expect to encounter.
- A correct fit is snug without pinching. Your heel should stay mostly in place, while your toes need enough room to wiggle and avoid striking the front downhill.
- Waterproof membranes help in rain, mud, and snow but generally make footwear warmer and less breathable than ventilated non-waterproof models.
- Traction depends on the rubber compound and the shape, depth, direction, and spacing of the lugs—not simply on having the deepest tread.
- High collars and stiff construction may add support, but boot height alone does not guarantee protection from ankle sprains.
- Try several models because length, width, heel shape, arch shape, and foot volume differ between both people and footwear designs.
At a Glance
| Time Required | About 30–60 minutes to compare and fit several pairs, plus short test walks before a major trip |
| Difficulty | Easy to moderate; fit is more important than technical expertise |
| Tools Needed | Your normal hiking socks, any orthotics or insoles you use, and preferably an incline or test ramp |
| Cost | Roughly $100–$250 for many mainstream hiking shoes and boots; premium backpacking and mountaineering footwear can cost more |
Disclosure: As an Amazon Associate I earn from qualifying purchases. Some links on this page are affiliate links, at no extra cost to you.
Start With the Hiking You Actually Do
Before comparing brands or materials, define where the footwear will be used. According to REI’s hiking-footwear guidance, distance, terrain, and the load you carry should all influence the amount of protection and support you choose.
For smooth, maintained trails and light daypacks, a flexible hiking shoe may give you all the protection you need without the weight of a traditional boot. Rough rock, loose terrain, long trips, and heavier packs may justify a stiffer midsole, stronger upper, deeper outsole, or higher collar.
Weather matters too. Cold rain, mud, shallow snow, and consistently wet vegetation can make waterproof footwear useful. In hot weather or on trips where shoes are likely to become completely submerged, a lighter non-waterproof shoe may feel cooler and dry faster.
Note: “More boot” is not automatically better. Extra stiffness, waterproofing, and protection usually add weight and can reduce flexibility or ventilation. Buy the amount of footwear your route requires.
Choose the Right Type of Hiking Footwear
Modern hikers have more choices than simply low boots or high boots. Hiking shoes, mid-height boots, backpacking boots, and mountaineering boots overlap in some uses, so focus on their construction rather than the label alone.
| Footwear Type | Best For | Typical Tradeoff |
| Hiking shoes | Day hikes, maintained trails, light packs, fast hiking | Light and flexible, but usually less protective than burly boots |
| Mid-height hiking boots | Mixed terrain, longer day hikes, moderate loads | More coverage and structure with some added weight |
| Backpacking boots | Multi-day trips, heavier packs, rough or rocky trails | Stiffer and more protective but heavier and slower to break in |
| Mountaineering boots | Snow, ice, alpine travel, and technical terrain | Very stiff and specialized; crampon compatibility must match the intended activity |
Mountaineering boots are not simply heavy hiking boots. If you will use crampons, verify that the boot and crampon binding systems are compatible. A flexible hiking shoe may accept some strap-on traction devices but is not automatically suitable for technical mountaineering.
Waterproof or Breathable: Which Is Better?
Waterproof hiking footwear usually uses a waterproof-breathable membrane inside the upper. Products such as GORE-TEX footwear technology are designed to block external water while allowing water vapor to escape.
That does not mean waterproof boots are always the coolest option. A membrane creates more of a barrier than open mesh, so waterproof footwear generally gives up some ventilation compared with a similar non-waterproof design.
Choose Waterproof Footwear When
- You regularly hike through cold rain, mud, wet grass, or shallow snow.
- Keeping external moisture out is more important than maximum ventilation.
- The trail is wet but water is unlikely to pour over the top of the boot.
Consider Non-Waterproof Footwear When
- You mainly hike in hot or dry conditions.
- You sweat heavily and prioritize airflow.
- Your footwear may be fully submerged during frequent stream crossings and fast drying is more useful than keeping shallow water out.
Pro Tip: Waterproofing cannot stop water that enters over the collar. Pairing suitable footwear with gaiters can help keep rain, snow, mud, and trail debris from entering around the top.
Finding the Perfect Fit
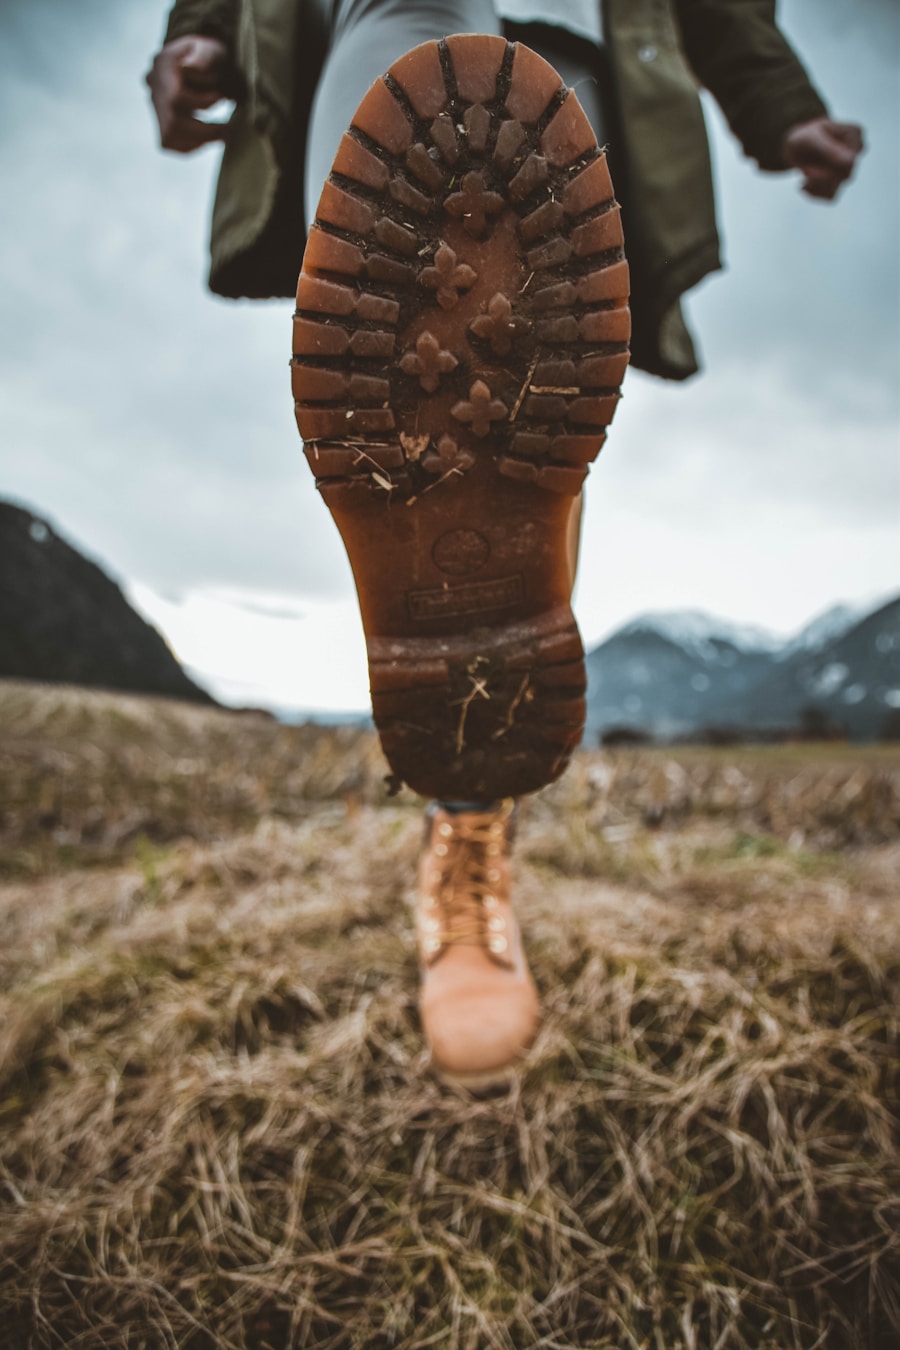
The fit of a hiking boot is one of the most important parts of the purchase. Poorly fitting footwear can create rubbing, pressure points, toe impact, and blisters. Fit should feel secure without squeezing your foot.
Wear the same type of socks you plan to use while hiking. The REI fitting guide recommends a fit that is snug everywhere but tight nowhere, with enough room to wiggle your toes. It also suggests removing the insole and standing on it as one way to check length; roughly a thumb’s width between your longest toe and the end of the insole is a useful starting point.
Check Length, Width, and Volume
Do not judge a boot by the size printed on the box alone. Two boots labeled the same size can fit very differently because their lasts—the forms around which the footwear is shaped—can differ in heel width, forefoot width, instep height, and overall volume.
Measure both feet and fit the larger foot. If you use prescription orthotics or aftermarket insoles, bring them when trying on boots because they can change the space inside the shoe.
Test Your Heel
Lace the footwear securely and walk uphill. A small amount of movement can occur, especially in a new boot, but significant heel lifting or repeated rubbing is a warning sign. Before changing sizes, experiment with the lacing because heel-lock techniques can improve the fit in some footwear.
Test Your Toes Downhill
Walk down an incline or fitting ramp. Your toes should not repeatedly strike the front of the boot. Toe impact on a short store ramp can become painful after hours of descending.
Check for Pressure Points
Walk for several minutes and pay attention to the sides of your forefoot, your little toe, the top of your foot, heel, arch, and ankle bones. Do not assume a painful pressure point will disappear once the boot breaks in.
Warning: Do not buy boots that are painfully tight because you expect them to “stretch into the right size.” Leather can soften and conform with wear, but the boot’s basic length, last shape, and internal volume will not magically become correct.
Consider Materials and Construction
The material above the sole affects weight, durability, drying time, water resistance, flexibility, and break-in. The midsole and internal support structure matter just as much because they determine how cushioned, stiff, and protective the footwear feels underfoot.
| Material or Component | What It Means for Hikers |
| Full-grain leather | Highly durable and abrasion resistant with good water resistance, but usually heavier and slower to break in than synthetic uppers |
| Nubuck or split-grain leather | Can balance durability and flexibility; split-grain constructions are often combined with mesh to save weight and improve ventilation |
| Synthetic nylon/polyester uppers | Usually lighter, faster drying, and quicker to break in, although some constructions may wear sooner than burly leather |
| Waterproof membrane | Helps keep external water out but generally reduces ventilation compared with an otherwise similar non-waterproof mesh shoe |
| EVA midsole | Often lighter and more cushioned; density can vary to provide different levels of support |
| TPU midsole | Generally firmer and durable, making it common in footwear designed for heavier loads and rougher use |
| Shank or rock plate | Adds structure or underfoot protection and can reduce how much sharp rocks are felt through the sole |
Also inspect the toe cap, rand, lace hardware, tongue gusset, stitching, and bonded areas. These details can affect protection and durability, but no single construction method determines whether a boot is waterproof or long-lasting. Evaluate the complete design.
Evaluate Traction and Underfoot Support
Most hiking outsoles use rubber with raised tread features called lugs. Traction depends on more than lug depth. Rubber compound, lug direction, shape, spacing, and the amount of rubber contacting the ground all influence grip.
Deep, widely spaced lugs work well in mud because they can bite into soft ground and shed debris. Rocky, uneven terrain often benefits from multidirectional lugs. On smooth wet rock, however, an extremely deep open tread is not automatically best; a design that places more suitable rubber against the surface may perform better.
Some outsole designs also include a heel brake or more pronounced rear tread to improve control on descents. Companies such as Vibram develop specific lug geometries to improve traction, illustrating why tread shape matters along with depth.
Do You Need a Stiff Boot?
A stiffer midsole can make rocky ground feel more stable and reduce how much your foot bends around sharp or uneven surfaces. This can be useful on long hikes, under heavier packs, or on technical terrain. On smooth easy trails, the same stiffness may simply feel heavy and restrictive.
What About Ankle Support?
A higher, more structured collar can restrict some ankle movement and may feel more supportive, especially when combined with a stable sole and secure fit. However, collar height should not be treated as a guarantee against ankle sprains. Research on high-top footwear and injury prevention has produced mixed results, so fit, conditioning, balance, terrain awareness, and appropriate medical guidance after previous injuries still matter.
Note: If you have recurrent ankle instability, a recent sprain, or another foot or ankle condition, choosing a taller boot is not a substitute for individualized advice from an appropriate healthcare professional.
The best hiking boot is the one that fits your foot and matches your route—not the one with the most features.
Test Comfort Before Committing
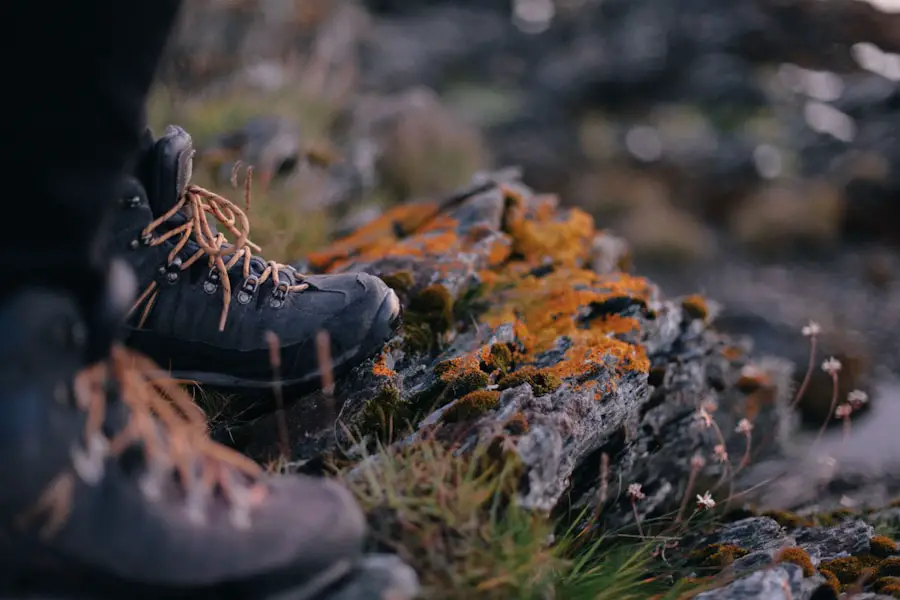
Once you have narrowed the choices by terrain, construction, and fit, spend time walking in each candidate. Comfort is personal, so reviews cannot tell you whether a particular last matches your foot.
Walk on flat ground, climb stairs or a test ramp, and descend. Pay attention to heel lift, toe impact, rubbing, arch pressure, and any hard edge around the ankle. Try bending and twisting the footwear with your hands as well. A very stiff boot may make sense for rough terrain but may be unnecessary for easy day hikes.
Understand the Break-In Period
Do not assume every hiking shoe needs weeks of break-in. Flexible hiking and trail shoes may feel close to their final fit almost immediately. Stiffer backpacking boots, full-grain leather boots, and mountaineering footwear may need progressively longer walks before a major trip.
Break-in should soften and flex appropriate materials; it should not be used to correct a boot that is the wrong length, width, or overall shape.
Pro Tip: Buy important hiking footwear well before a major trip. Test it first around home, then on short walks, and finally on a local hike with the socks and pack you expect to use.
Use This 7-Step Hiking Boot Buying Checklist
- Define your terrain. Decide whether you mainly hike maintained dirt, mud, loose rock, steep mountain trails, snow, or technical alpine terrain.
- Consider distance and pack weight. Long trips and heavier loads may justify more underfoot structure and protection.
- Choose waterproof or breathable construction. Base the decision on temperature, rain, snow, stream crossings, and how quickly you want the footwear to dry.
- Measure and fit your feet. Account for length, width, foot volume, hiking socks, and any orthotics or insoles you use.
- Test uphill and downhill. Check for heel movement on climbs and toe impact on descents.
- Compare traction and stiffness. Match the outsole and midsole to the surfaces you expect rather than automatically choosing the most aggressive boot.
- Test before your major hike. Break in stiffer footwear gradually and make sure no pressure points or rubbing develop.
Compare Brands, Prices, and Long-Term Value
Brand reputation can help narrow a search, but it should never override fit. Hiking-footwear companies use different lasts, and even two product lines from the same company can feel different.
Instead of deciding that one brand is universally best, compare:
- Available widths and overall foot shape.
- Intended terrain and pack load.
- Pair weight.
- Waterproof versus non-waterproof construction.
- Midsole stiffness and cushioning.
- Outsole design and rubber.
- Toe and side protection.
- Warranty and retailer return policies.
- Whether the model can be resoled, if long-term repairability matters to you.
Current mainstream hiking boots commonly fall around the $100–$250 range, although sale models may cost less and premium backpacking or mountaineering footwear can cost considerably more. Paying more does not guarantee a better fit, so treat price as one factor rather than a quality score.
Read user reviews for patterns such as premature sole separation, waterproofing failures, unusual sizing, lace-hardware problems, or rapid tread wear. A single complaint does not establish a defect, but repeated reports can help you identify issues worth checking yourself.
Common Hiking Boot Buying Mistakes
- Buying by normal street-shoe size alone. Hiking footwear shape and sizing vary.
- Choosing waterproof boots automatically. Hot-weather hikers may prefer ventilation and faster drying.
- Assuming taller always means safer. Collar height is only one part of stability and does not guarantee injury prevention.
- Ignoring downhill fit. Boots that feel fine on level ground can cause toe impact on long descents.
- Buying boots that already hurt. Break-in will not fix an incompatible last.
- Testing with the wrong socks. Sock thickness changes internal volume and fit.
- Choosing the deepest tread for every surface. Lug design should match the terrain.
- Waiting until the day before a trip. Stiffer footwear should be tested well in advance.
Maintenance and Care Tips
Cleaning your hiking boots helps remove abrasive dirt and gives you a chance to inspect the uppers, sole, seams, and lace hardware. After a muddy hike, remove loose debris with a soft brush or cloth. Follow the footwear manufacturer’s instructions before using detergents, conditioners, waterproofing treatments, or other products.
For footwear containing a GORE-TEX membrane, GORE-TEX’s official care instructions recommend removing loose dirt, cleaning with lukewarm water and a small amount of liquid detergent where appropriate, and drying naturally at moderate temperatures. Direct heat should be avoided.
Care for Waterproof Footwear
A waterproof membrane and the outer water-repellent treatment do different jobs. When water stops beading on an appropriate GORE-TEX outer material, the manufacturer recommends restoring the durable water-repellent treatment with a suitable water-based product. Waxes and greases can harm breathability on some membrane footwear, so always check the boot manufacturer’s instructions first.
Care for Leather Boots
Leather may need a manufacturer-approved conditioner or treatment to prevent excessive drying and cracking. Do not automatically apply heavy waxes or oils because some products can change appearance, breathability, stiffness, or compatibility with waterproof membranes.
Dry and Store Boots Correctly
Remove insoles when practical and let damp footwear dry in a ventilated area at moderate temperature. Avoid placing boots directly against a heater, stove, fire, or other intense heat source. Once dry, store them in a cool location away from prolonged direct sunlight.
Warning: Inspect older boots before a remote hike. Look for sole separation, cracked or hardened rubber, damaged stitching, torn uppers, worn tread, and failing lace hardware. A comfortable old boot is not useful if its sole is beginning to detach.
Keep the Rest of Your Gear Secondary to Fit
If you are planning a hiking trip, footwear should be selected around the trail before optional travel accessories are considered. A travel razor, lightweight laptop for travel, or travel fishing pole may make sense for a particular itinerary, but none changes the basic hiking-boot decision: match the footwear to your feet, terrain, weather, distance, and load first.
Frequently Asked Questions
What should I consider when buying hiking boots?
Start with the terrain, trip length, pack weight, weather, and season. Then compare fit, weight, flexibility, waterproofing, outsole traction, underfoot protection, and durability. Fit should receive the highest priority because even technically impressive footwear will perform poorly if it rubs, pinches, or lets your toes strike the front.
What type of hiking boots should I buy?
For light hiking on maintained trails, a hiking shoe or flexible light boot may be enough. Rough terrain, long trips, or heavier packs can justify a more structured backpacking boot. Snow, ice, and technical alpine travel may require purpose-built mountaineering footwear with the correct crampon compatibility.
How should hiking boots fit?
Hiking boots should feel secure without painful pressure. Your toes should have room to wiggle, your heel should remain reasonably secure when climbing, and your toes should not strike the front when walking downhill. Try the boots with your hiking socks and any orthotics or replacement insoles you normally wear.
How much toe room should hiking boots have?
You need enough room that your longest toe does not hit the front during descents. As a starting check, REI recommends removing the insole, standing on it, and looking for roughly a thumb’s width between your longest toe and the end. The final test should still be how the complete boot feels when properly laced and walked on an incline.
What material should I look for in hiking boots?
There is no single best material. Full-grain leather is durable and abrasion resistant but usually heavier. Synthetic uppers are commonly lighter, quicker drying, and faster to break in. Many boots combine leather or synthetic materials with a waterproof membrane. Choose according to the balance of durability, weight, ventilation, flexibility, and weather protection you need.
How do I ensure my hiking boots are waterproof?
Choose footwear specifically sold as waterproof and check what waterproof membrane or construction it uses. Keep the upper clean, follow the manufacturer’s care instructions, and restore the appropriate durable water-repellent treatment when needed. Remember that water can still enter over the top of a waterproof boot.
Are waterproof hiking boots better than non-waterproof boots?
Not for every hike. Waterproof boots are useful in cold rain, mud, wet vegetation, and snow. Non-waterproof footwear usually ventilates better and can dry faster, which may be preferable in hot climates or on trips involving repeated deep water crossings.
Do hiking boots need to be broken in?
It depends on the construction. Lightweight hiking shoes may require little break-in, while stiff leather, backpacking, and mountaineering boots often benefit from progressively longer walks before a major trip. Break-in can soften a correctly sized boot, but it cannot fix the wrong length, width, or foot shape.
Are high hiking boots better for ankle support?
A high, structured collar can limit some ankle motion and may feel more supportive, especially when paired with a stable sole. However, height by itself does not guarantee that a boot will prevent ankle sprains. Fit, sole stiffness, conditioning, balance, terrain, and any history of ankle injury also matter.
Sources
- REI Co-op: How to Choose Hiking Boots and Shoes — footwear types, fit, upper materials, midsoles, internal support, waterproofing, lug design, and crampon compatibility.
- U.S. National Park Service: Hike Smart — sturdy footwear and general trail-safety guidance.
- GORE-TEX: Footwear Care Instructions — cleaning, drying, and durable water-repellent treatment guidance.
- GORE-TEX Footwear Technology — waterproof and breathable membrane characteristics.
- PubMed: Interventions for Preventing Ankle Ligament Injuries — evidence and limitations concerning external ankle support and high-top footwear.
- Vibram Traction Lug Technology — outsole lug geometry and traction design.

