
Last Updated on July 27, 2026 by Daniel Globe
Training at sea level can make you much better prepared for a high altitude hike, even though it cannot fully acclimatize you to thin air. The best preparation combines cardiovascular conditioning, hill or stair workouts, leg and core strength, progressively longer hikes with your pack, good recovery, and a carefully planned ascent once you reach the mountains. The key is understanding that being fit helps you handle the workload, while gradual exposure to altitude helps your body adjust to lower oxygen pressure.
Quick Answer
To train for high altitude hiking at sea level, spend about 6–8 weeks building aerobic fitness, leg and core strength, hill-climbing ability, and hiking endurance with a loaded pack. Fitness will make hiking easier, but it does not prevent altitude sickness. Your actual acclimatization strategy after arrival is just as important as your training.
Key Takeaways
- Build cardiovascular endurance with walking, running, cycling, swimming, stairs, or similar aerobic exercise.
- Train your legs, hips, core, and back at least twice a week, then practice hiking with the pack you expect to carry.
- Sea-level fitness improves performance but does not make you immune to acute mountain sickness.
- Resistance-style “altitude masks” do not reproduce true high-altitude conditions.
- Once at altitude, ascend gradually, avoid further ascent when altitude-illness symptoms are present, and descend if symptoms worsen.
At a Glance
| Time Required | About 6–8 weeks of progressive training; add acclimatization time at altitude whenever possible |
| Difficulty | Moderate to challenging, depending on your starting fitness and hiking objective |
| Tools Needed | Walking or hiking route, hills or stairs, backpack, hiking footwear, and resistance equipment or bodyweight exercises |
| Cost | $0 for walking, hills, stairs, and bodyweight training if you already own your hiking gear; gym or specialized hypoxic training is optional |
Note: This article provides general fitness and altitude-safety information, not individual medical advice. People with heart or lung disease, preexisting low blood oxygen, obstructive sleep apnea, sickle cell trait, significant previous altitude illness, or other medical concerns should discuss high-altitude travel with a qualified healthcare professional.
Disclosure: As an Amazon Associate I earn from qualifying purchases. Some links on this page are affiliate links, at no extra cost to you.
Why High Altitude Hiking Is Different
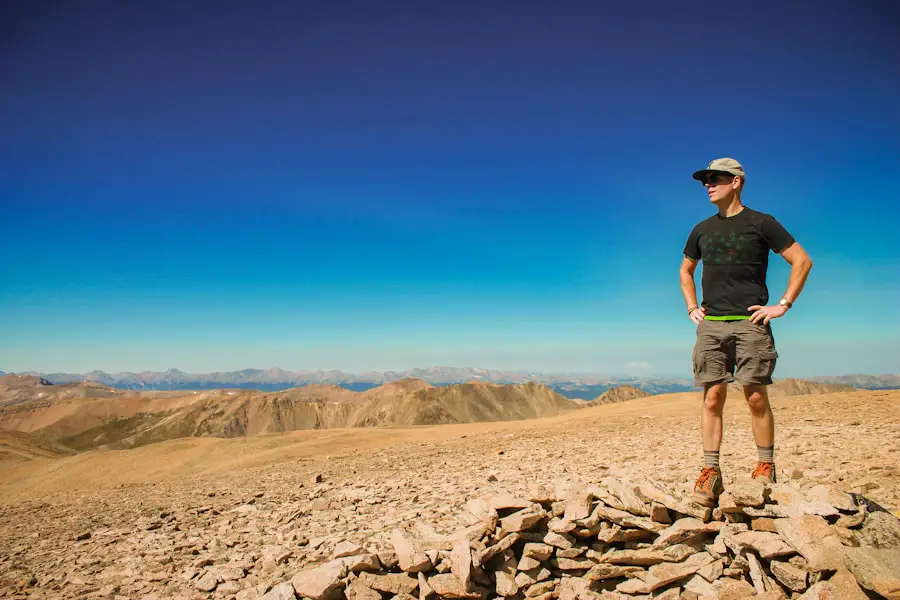
High altitude hiking commonly refers to travel at elevations around 8,000 feet (2,450 meters) or higher. At altitude, the percentage of oxygen in the atmosphere remains roughly the same, but falling air pressure reduces the partial pressure of oxygen available with each breath. That is why an unacclimatized hiker can feel unusually breathless and slow even when the trail itself is not technically difficult.
According to the CDC Yellow Book, inspired oxygen pressure at about 10,000 feet is approximately 69% of its sea-level value. Acute exposure at that altitude can reduce arterial oxygen saturation to roughly 88–91% in otherwise healthy people.
Being very fit can make the climb easier, but it does not make you immune to altitude sickness.
The environment adds other challenges. Mountain weather can change quickly, temperatures can fall sharply, ultraviolet exposure is stronger, and trails may include loose rock, snow, mud, steep grades, or long distances from help. Training therefore needs to prepare more than your heart and lungs.
Importance of Cardiovascular Training
Improved Stamina and Endurance
Aerobic training improves your ability to sustain long periods of walking and climbing. Walking briskly, running, cycling, swimming, rowing, and stair climbing can all build the cardiovascular fitness needed for hiking.
As a general health baseline, the CDC recommends adults accumulate at least 150 minutes of moderate-intensity aerobic activity per week, along with muscle-strengthening exercise on at least two days. A demanding hiking trip may require substantially more sport-specific conditioning than this basic minimum.
Interval Training for Enhanced Performance
One harder aerobic session each week can prepare you for short, steep climbs. For example, after warming up, alternate one minute of hard uphill walking, running, cycling, or stair climbing with two minutes of easy recovery. Repeat the cycle several times according to your current fitness level.
Intervals should complement longer, easier sessions rather than replace them. Most of your training should still be controlled enough that you can recover and train again consistently.
Consistency Yields Significant Benefits
Three moderate aerobic sessions spread through the week are generally more useful than one exhausting workout followed by several inactive days. Increase duration or climbing gradually so your muscles, tendons, and joints have time to adapt.
Warning: Cardiovascular fitness does not prevent acute mountain sickness. CDC guidance specifically notes that training and physical fitness do not determine susceptibility to altitude illness. Do not let excellent fitness tempt you into ascending faster than your body can acclimatize.
Building Strength and Endurance
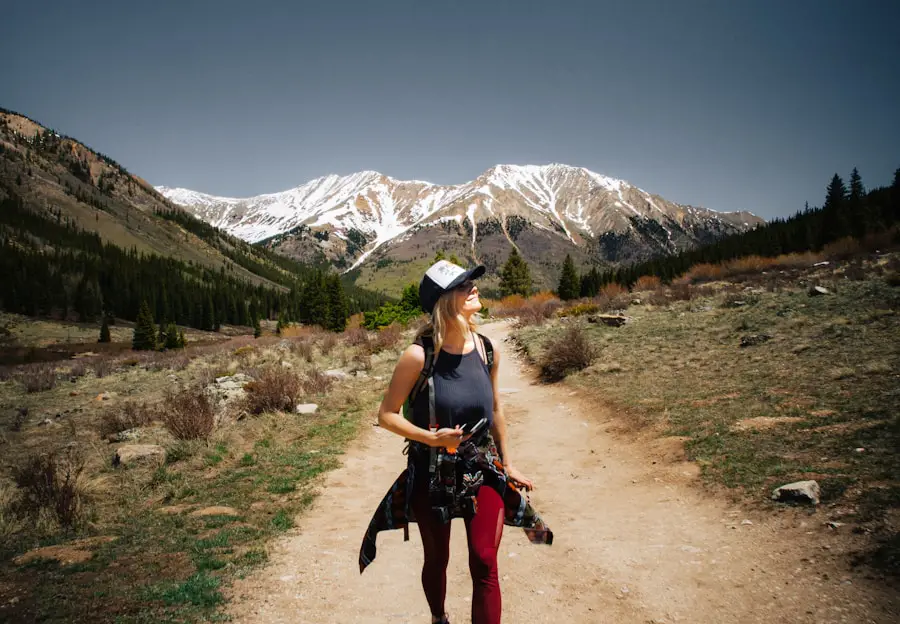
Strength training prepares the muscles that repeatedly lift and control your body on steep terrain. Give particular attention to your quadriceps, hamstrings, glutes, calves, hips, core, and back.
Useful movements include squats, split squats, lunges, step-ups, calf raises, hip hinges or deadlifts, rows, and loaded carries. Bodyweight versions can work well for beginners; resistance can be added gradually as your technique improves.
Downhill strength matters too. Long descents require your quadriceps to control your body repeatedly as the muscles lengthen under load. Step-downs, split squats, and progressively longer hikes with descents can help prepare for this demand.
Upper-body and core training can improve posture and stability while carrying a backpack, especially on uneven terrain. Two well-spaced strength sessions per week are a practical starting point for many hikers.
Pro Tip: Train with the shoes, socks, trekking poles, and backpack you plan to use on the trip. Increase pack weight gradually rather than loading your full expedition weight on the first training hike.
An 8-Week Sea-Level Training Plan
There is no medically required eight-week formula, but 6–8 weeks gives many recreational hikers enough time to build fitness progressively. Adjust the schedule to your current activity level, trip difficulty, age, recovery, and injury history.
| Weeks | Main Goal | Example Training |
|---|---|---|
| 1–2 | Build consistency | 3 aerobic sessions of about 30–45 minutes, 2 strength sessions, and 1 easy hike or long walk |
| 3–4 | Add climbing | Add hills or stairs, 1 controlled interval workout, 2 strength sessions, and a 2–3 hour weekend hike |
| 5–6 | Increase hiking specificity | Use your hiking pack, seek sustained climbs, keep 2 strength days, and build the long hike toward about 3–5 hours if appropriate |
| 7 | Peak training week | Complete your most trip-specific long hike with realistic footwear and pack weight while maintaining shorter aerobic and strength work |
| 8 | Taper and recover | Reduce training volume, keep some easy movement, avoid an exhausting final workout, and arrive rested rather than sore |
Include easy or rest days between hard sessions. Pain that alters your walking or running mechanics is a reason to reduce training and address the problem rather than forcing the planned mileage.
Focus on Breathing Techniques
| Technique | Potential Use | Best Time to Use It |
|---|---|---|
| Deep Controlled Breathing | Helps you slow down and focus on steady ventilation | During easy hiking or rest |
| Diaphragmatic Breathing | Can promote relaxed, controlled breathing | Training, recovery, or rest |
| Rhythmic or Step Breathing | Helps match breathing rhythm to walking pace | Steady climbing |
| 4-7-8 or Equal Breathing | May be useful as a relaxation exercise, but deliberate breath-holding is not an altitude-acclimatization technique | At rest rather than during strenuous climbing |
Controlled breathing can help you maintain a sustainable rhythm when hiking. For example, some hikers naturally settle into a pattern of inhaling over several steps and exhaling over the next several steps. The exact count is less important than maintaining a pace that does not leave you gasping continuously.
Diaphragmatic breathing can also be useful for relaxation and breathing awareness during training. However, breathing exercises do not create the physiological acclimatization that comes from exposure to reduced oxygen pressure. They should therefore be treated as pacing and relaxation tools, not as protection against acute mountain sickness.
Nutrition and Hydration for High Altitude
Your training diet should support the amount of exercise you are doing rather than follow a special “altitude diet.” Eat enough overall energy and include a practical mix of carbohydrate-rich foods, protein sources, fats, fruits, vegetables, and foods you know your stomach tolerates during exercise.
During long hikes, familiar, portable foods such as sandwiches, dried fruit, trail mix, energy bars, crackers, or other easy-to-eat snacks can help you maintain energy. Test your hiking foods during training instead of experimenting with an entirely new diet on summit day.
Hydration also matters, but drinking excessive amounts of water does not prevent altitude illness. The Wilderness Medical Society’s 2024 altitude guidelines state that forced hydration has not been shown to prevent altitude illness and can raise the risk of hyponatremia.
Aim to avoid dehydration while also avoiding deliberate overconsumption. Your needs will vary with temperature, exertion, sweat loss, body size, and trip duration. Electrolyte-containing food or drinks can be useful during prolonged activity, particularly when you are sweating heavily, but they are not a cure for altitude sickness.
Warning: Headache and fatigue can occur with both dehydration and altitude illness. Do not automatically assume that an altitude headache means you only need more water, especially after a recent ascent.
Mental Preparation and Resilience
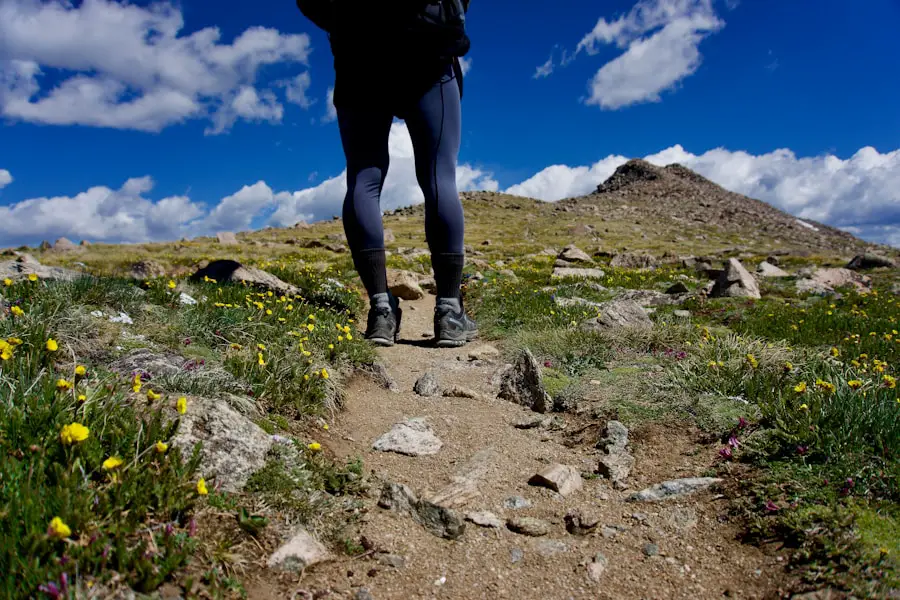
Building Confidence Through Visualization
Visualization can help you rehearse practical decisions before the trip. Picture yourself maintaining a slow pace, stopping to add a layer before becoming cold, eating before your energy drops, turning around when conditions deteriorate, and telling your group when you feel unwell.
That type of mental rehearsal is more useful than imagining that success requires reaching the summit at any cost.
Mindfulness and Relaxation Techniques
Mindfulness, controlled breathing, or a brief pause can reduce the urge to rush when a climb feels difficult. At altitude, moving slower than you normally would at sea level is expected.
A calm mindset also makes it easier to recognize symptoms rather than hiding them from hiking partners.
Gradual Exposure and Embracing Discomfort
Progressively longer training hikes teach you how your feet, shoulders, stomach, and concentration respond after several hours outside. Some discomfort is normal during endurance activity, but serious altitude symptoms should never be treated as a test of toughness.
Gear and Equipment Preparation
Choose footwear based on the terrain, conditions, pack weight, and your own feet. Some hikers prefer supportive boots, while others perform well in lighter hiking shoes or trail footwear. Whichever style you choose, break it in during training and pair it with socks that manage moisture without creating pressure points.
Mountain clothing should work as a system. Carry a moisture-managing base layer, insulation appropriate for the forecast, and protection from wind or precipitation. Add a warm hat, gloves, sunglasses, sunscreen, and other protection required by the route and season.
The National Park Service Ten Essentials include navigation, sun protection, insulation, illumination, first-aid supplies, fire, repair tools, nutrition, hydration, and emergency shelter. Remote objectives may justify additional communication equipment such as a satellite messenger or personal locator beacon.
Do not assume a phone will have service in the mountains. Download maps for offline use, know your route before leaving, and tell someone where you are going and when you expect to return.
Preparing for Acclimatization at High Altitude
Acclimatization is the process by which the body adjusts to reduced oxygen pressure. Unlike ordinary sea-level fitness training, it requires actual or appropriately simulated hypoxic exposure.
The most important acute changes occur during roughly the first 3–5 days at altitude. According to CDC guidance, increased breathing and related physiological adjustments drive this early process. Increased red-blood-cell production becomes more relevant during longer exposure but is not the main reason you feel better after the first few days.
Stage Your Arrival When Possible
CDC guidance notes that spending at least 2–3 nights around 8,000–9,000 feet before proceeding substantially higher can reduce the risk of acute mountain sickness. Another useful strategy is recent altitude exposure: spending at least two nights above roughly 9,000 feet within the two weeks before a trip can provide some preacclimatization benefit.
That means a sea-level hiker may benefit more from arriving several days early than from squeezing in one extra hard workout immediately before the trip.
Watch Sleeping Altitude, Not Just the Highest Point You Reach
Sleeping altitude is especially important. Once above about 9,800 feet (3,000 meters), the CDC recommends increasing sleeping elevation by no more than about 1,600 feet (500 meters) per day and adding an extra acclimatization night for each approximately 3,300 feet (1,000 meters) of sleeping-elevation gain.
Individual responses vary, so even this pace can be too fast for some people.
Take It Easy After Arrival
CDC advice recommends only mild exercise during the first 48 hours at altitude. That does not mean you must remain completely inactive, but your first day at elevation is generally a poor time for an all-out training session.
A gentle walk, adequate food, normal hydration, and sleep are more useful than proving how fit you are immediately after arrival.
Pro Tip: When planning a trek, build acclimatization nights into the itinerary before booking transportation and lodging. The safest training program cannot compensate for an itinerary that gains sleeping altitude too quickly.
Know the Signs of Acute Mountain Sickness
Acute mountain sickness commonly develops within hours after arriving at a new altitude. Headache is a classic symptom and may occur with nausea, reduced appetite, dizziness, unusual fatigue, or vomiting.
A useful safety rule is simple: do not ascend to a higher sleeping altitude when you have symptoms of altitude illness. If symptoms become worse while resting at the same elevation, descent is necessary.
Warning: Confusion, unusual drowsiness, loss of coordination or inability to walk normally can indicate high-altitude cerebral edema (HACE). Breathlessness at rest, severe breathing difficulty, marked loss of exercise ability, or worsening cough can indicate high-altitude pulmonary edema (HAPE). Both are medical emergencies. Stop ascending, seek emergency assistance, and descend as quickly and safely as conditions allow.
Can You Simulate High Altitude at Sea Level?
You cannot reproduce all aspects of mountain altitude with ordinary sea-level exercise. Resistance-style altitude training masks are especially misunderstood. They make breathing harder by restricting airflow, but they do not reliably reduce atmospheric oxygen pressure in the way true altitude does.
A controlled study of an elevation training mask found that it did not behave as an altitude simulator and did not produce the expected hematological adaptations associated with genuine altitude exposure.
True hypoxic tents, rooms, or generators work differently because they reduce the amount or partial pressure of inspired oxygen. Structured preacclimatization using these systems can be useful in some situations, but protocols vary and the equipment can be expensive. For most recreational hikers, an intelligently staged real-altitude itinerary is simpler.
Note: No device should be used as an excuse for an overly rapid ascent. Your symptoms and actual response after reaching altitude still matter.
Plan for Weather and Seasonal Conditions Too
Altitude preparation is only part of trip planning. Weather, snowpack, daylight, heat, storms, and seasonal access can determine how demanding a route becomes. For hikers considering the Pacific Northwest, the Best Time to Travel to Oregon: A Seasonal Guide provides broader information about seasonal travel and outdoor activities. It should be used for timing and destination planning rather than as a substitute for altitude-acclimatization guidance.
Frequently Asked Questions
What is high altitude hiking?
High altitude hiking generally means hiking around 8,000 feet (2,450 meters) or higher, where reduced atmospheric pressure lowers the amount of oxygen available with each breath. Altitude illness can occur around this elevation and occasionally lower in susceptible people.
Why train for high altitude hiking at sea level?
Sea-level training can improve your aerobic endurance, climbing strength, muscular endurance, pack-carrying ability, and resistance to ordinary exercise fatigue. It cannot fully acclimatize you to altitude, so you still need a safe ascent plan after reaching the mountains.
What training is best for high altitude hiking?
Combine moderate aerobic exercise, hills or stair climbing, occasional intervals, two weekly strength sessions, and progressively longer hikes. As the trip approaches, practice with the footwear and backpack you expect to use.
How can I simulate high altitude conditions at sea level?
Ordinary exercise and resistance training masks do not reproduce true altitude. Specialized hypoxic tents, rooms, and generators can lower inspired oxygen and may be used for preacclimatization, but their protocols and benefits depend on the exposure. Real, gradual altitude exposure remains the most straightforward option for most hikers.
Can I acclimatize to high altitude while training at sea level?
Not through ordinary sea-level workouts alone. You can become fitter, but altitude acclimatization requires hypoxic exposure. When practical, spending two or more nights at meaningful altitude shortly before the trip or arriving several days early can help.
How long should I train before a high altitude hiking trip?
Six to eight weeks is a practical training window for many recreational hikers, but it is not a universal medical rule. Beginners may need longer, while already fit hikers may mainly need hiking-specific conditioning and pack practice.
Does being very fit prevent altitude sickness?
No. Fitness improves your ability to hike, but CDC guidance states that physical fitness does not determine susceptibility to acute altitude illness. Very fit hikers still need gradual acclimatization and should respond appropriately to symptoms.
When should I stop ascending or descend?
Do not move to a higher sleeping altitude when altitude-illness symptoms are present. Descend if symptoms worsen despite rest at the same elevation. Confusion, loss of coordination, severe drowsiness, or breathlessness at rest are emergency warning signs that require urgent action.
Sources
- CDC Yellow Book — High-Altitude Travel and Altitude Illness — acclimatization, altitude-illness symptoms, ascent rates, treatment, and risk factors.
- Wilderness Medical Society Clinical Practice Guidelines: 2024 Update — prevention, diagnosis, treatment, hydration, and altitude-illness management.
- UIAA Medical Commission — Altitude Sickness Factsheet — altitude illness, hydration, fitness, and descent guidance.
- CDC Physical Activity Basics — current aerobic and muscle-strengthening recommendations for adults.
- U.S. National Park Service — Ten Essentials — hiking safety and emergency equipment.
- PubMed — Effect of Wearing the Elevation Training Mask — evidence that resistance training masks do not function like genuine altitude simulation.

