
Last Updated on July 27, 2026 by Daniel Globe
Hiking boots should hold your feet securely without squeezing them. A good fit keeps the heel and midfoot snug while leaving enough room for your toes to spread and move, especially when your feet swell during a long hike. Boots that are too tight can create pressure, numbness and hot spots, while boots that are too loose can allow rubbing and unwanted foot movement.
Quick Answer
Hiking boots should feel snug around the heel and midfoot, but never tight enough to pinch, numb or restrict your toes. Your heel should have little lift, and your longest toe should have about a thumb’s width of space ahead. Test the fit with hiking socks, your normal insoles and a downhill walk before buying.
Key Takeaways
- A hiking boot should feel secure at the heel and midfoot but never painfully tight.
- Leave roughly a thumb’s width between your longest toe and the front of the boot as a practical starting point.
- Your toes should not hit the front of the boot when walking downhill.
- Try boots with the same hiking socks, insoles or orthotics you will use on the trail.
- A small amount of heel movement can occur, but repeated lifting, rubbing or blistering means the fit or lacing needs attention.
- Break-in can soften some hiking boots, but it cannot turn the wrong size or shape into a good fit.
At a Glance
| Time Required | About 15–30 minutes for a careful fitting, plus a short shakedown walk before a long hike |
| Difficulty | Easy |
| Tools Needed | Hiking socks, your normal insoles or orthotics, and ideally stairs or a fitting ramp |
| Cost | No special equipment is required beyond the footwear and socks you plan to use |
Disclosure: As an Amazon Associate I earn from qualifying purchases. Some links on this page are affiliate links, at no extra cost to you.
How Hiking Boots Should Fit
The simplest rule is that hiking boots should feel snug everywhere but tight nowhere. Current REI hiking-footwear fitting guidance recommends a secure overall fit with room to wiggle your toes.
- Heel: Your heel should feel held in place without painful squeezing or repeated rubbing.
- Midfoot: The boot should wrap the middle of your foot securely without creating pressure, tingling or numbness.
- Toe box: Your toes should be able to move and spread naturally instead of being compressed together.
- Length: Your longest toe needs enough space so it does not strike the front of the boot on descents.
- Flex: The boot should flex where your foot naturally bends while remaining supportive enough for its intended terrain and load.
Warning: Numbness, tingling, sharp pressure or toes repeatedly hitting the front are not normal signs of a boot that merely needs breaking in. They usually indicate a sizing, width, volume or shape problem that should be corrected before a long hike.
Finding the Right Size
Finding the right hiking-boot size is more complex than relying on the number printed on the box. Shoe sizes can vary between brands, models and footwear shapes. The American Academy of Orthopaedic Surgeons recommends judging shoes by how they actually fit rather than relying only on the marked size.
Length is only one part of the equation. Width and internal volume matter just as much. A boot can be long enough but still squeeze the widest part of the foot or press down over a high instep. In that situation, simply buying a longer boot may create heel movement without solving the real width or volume problem.
Measure both feet because they are often slightly different sizes, and fit the larger foot. It is also sensible to recheck your size periodically. Feet can change over time, and research has documented measurable changes in foot dimensions during pregnancy as well.
Try boots later in the day when possible, after you have spent time on your feet. Wear the same thickness of hiking socks you normally use, and install your usual insoles or orthotics before judging the fit.
Pro Tip: Do not automatically size up just because a boot feels narrow. Try the correct length in a wider size or a different boot shape first. Going longer can create unnecessary heel movement.
Comfort and Support in Hiking Boots
Comfort and support both matter, but neither should be judged by softness alone. A very plush boot can feel comfortable for a few minutes yet allow excessive movement once you are carrying a pack or hiking over uneven ground. A more structured boot may feel firmer but provide useful stability for rough terrain.
At the same time, stiffness should not create painful pressure points. Your footwear needs to match your foot shape, hiking style, trail conditions and load. Lightweight hiking shoes usually flex more easily, while backpacking or mountaineering boots can have stiffer midsoles and uppers.
The goal is not to find the stiffest or softest boot. It is to find footwear that lets your foot move naturally where it should while holding it securely where it needs support.
Room for Toes
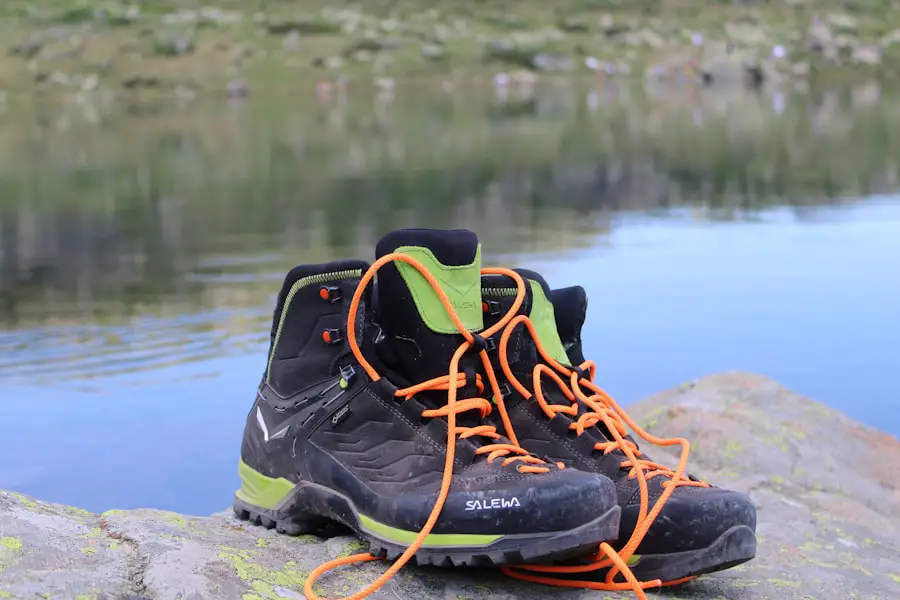
Toe room is one of the most important parts of hiking-boot fit. Your toes should not be compressed together or pushed against the front of the boot. A useful starting guideline is about a thumb’s width between your longest toe and the end of the footwear. REI uses this thumb-width check for hiking footwear, while AAOS footwear guidance recommends roughly 3/8 to 1/2 inch of space in general footwear.
The exact amount can vary with foot shape and boot construction, so the downhill test matters more than chasing a perfect number. Lace the boots normally and walk down a ramp, stairs or an incline. Your toes should not repeatedly strike the front.
Room in front does not mean the entire boot should feel loose. The heel and midfoot still need to hold your foot securely enough to keep it from sliding forward on descents.
A useful hiking-boot fit has space in front of the toes without allowing the whole foot to slide toward that space.
Heel Slippage
Heel movement is another key part of fit. When you walk in a properly fitted hiking boot, the heel should feel secure rather than lifting and rubbing with every step. Repeated heel movement can increase friction and encourage hot spots or blisters.
The older comparison figures sometimes attached to the Nike Air Zoom Pegasus 37, Adidas Ultraboost 20 and New Balance Fresh Foam 1080v11—5%, 3% and 2% heel slippage—should not be treated as standardized measurements. No authoritative standardized source was found for those exact percentages, and those road-running models do not provide a useful benchmark for judging hiking-boot fit.
| Heel Check | Good Fit | Problem Sign |
|---|---|---|
| Walking on level ground | Heel feels securely held | Repeated lifting, rubbing or sliding |
| Walking uphill | Little movement without pressure | Heel repeatedly pulls upward |
| Walking downhill | Foot remains centered | Foot slides forward and toes hit the front |
Before changing sizes, make sure the boot is laced correctly. Excess volume around the upper foot can sometimes be controlled with a heel-locking technique such as a surgeon’s knot. REI’s hiking-boot lacing guide recommends this approach for excessive heel slip.
Lacing can fine-tune a good fit, but it cannot rescue footwear that is fundamentally too large or the wrong shape for your foot.
Flexibility and Movement
Hiking footwear should bend where your foot naturally bends rather than collapsing through the middle of the arch. AAOS recommends looking for footwear that flexes at the toe box while retaining structure through the shank or arch area.
The correct amount of flexibility depends on the activity. Lightweight hiking shoes usually flex more readily and can feel natural on easier trails. Backpacking and mountaineering boots are often stiffer because they are designed for rougher terrain, heavier loads or technical use.
Walk naturally while trying boots on. Bend, climb stairs and rise onto your toes. The footwear should move with you without pinching the forefoot, pressing painfully across the top of the foot or allowing your heel to slide excessively.
Trying Them On
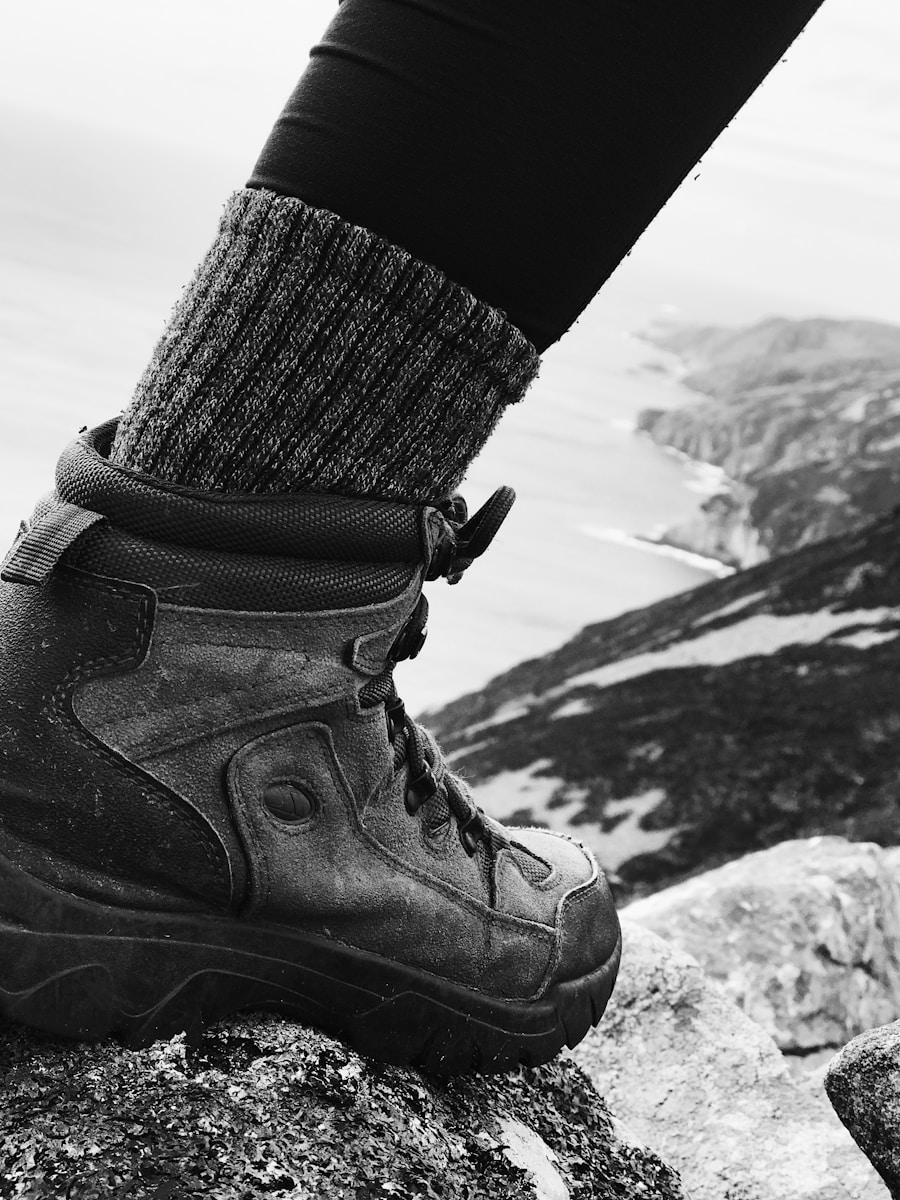
Trying hiking boots carefully before committing to them is one of the best ways to prevent trail problems. Wear your normal hiking socks and any insoles or orthotics you intend to use. Ideally, test boots later in the day, when your feet may be slightly larger than they were first thing in the morning.
7-Step Hiking Boot Fit Test
- Measure both feet. Start with the larger foot when choosing a size.
- Use your trail setup. Wear your normal hiking socks and insert your usual insoles or orthotics.
- Lace the boots properly. Make them secure over the midfoot without cranking the laces down painfully.
- Check toe room. Confirm that your toes can move and that roughly a thumb’s width remains ahead of the longest toe.
- Walk on level ground. Look for pressure, rubbing, heel lift, pinching or numbness.
- Test an incline and decline. Your heel should remain controlled uphill, while your toes should not strike the front downhill.
- Keep walking for several minutes. Check the fit on hard flooring, carpet, stairs or a fitting ramp if available rather than judging the boots while sitting down.
If you plan to backpack, follow the initial indoor fitting with progressively longer shakedown walks. Wearing a loaded daypack during a later test can reveal movement or pressure that was not obvious during a few minutes in the store.
Pro Tip: Pay attention to the first hot spot instead of waiting for a blister. A boot that consistently rubs the same place during short tests is unlikely to become a perfect fit simply because you wear it longer.
Signs Hiking Boots Are Too Tight or Too Loose
| Fit Problem | Common Signs | What to Try |
|---|---|---|
| Too tight | Pinched toes, numbness, tingling, pressure on the sides of the forefoot, painful instep pressure | Try a wider or higher-volume boot, loosen the appropriate lace zone, or change models |
| Too short | Toes touch or strike the front, especially downhill | Try the next appropriate length or a different last |
| Too loose | Heel lift, rubbing, foot sliding forward or side to side | Check lacing first; if movement remains excessive, try a lower-volume or smaller appropriate fit |
Lacing Adjustments That Can Improve Fit
Lacing lets you change tension in different areas of a hiking boot. That can be useful when the overall size is correct but one zone needs fine-tuning.
- Surgeon’s knot: Helps hold the heel more securely when there is excess movement.
- Window lacing: Creates relief around a pressure point on the top of the foot.
- Toe-relief lacing: Can temporarily reduce pressure in the toe box, but recurring toe pain is a sign to reassess the footwear itself.
These techniques can improve a basically good fit. They are not a substitute for the correct length, width and boot shape.
Breaking In Hiking Boots
Different hiking footwear requires different amounts of break-in time. Flexible hiking shoes and some lightweight boots may feel comfortable almost immediately. Stiffer backpacking boots and leather models can take substantially longer to soften and conform to your movement.
REI’s hiking-boot break-in guidance recommends starting gradually: wear the boots at home, progress to short walks, then take them on increasingly demanding outings before a major trip.
The most important limitation is that break-in does not correct poor sizing. A boot that crushes your toes, causes numbness or allows major heel movement should be reassessed rather than endured for weeks in the hope that it will transform.
Warning: Avoid aggressive shortcuts such as soaking boots or immediately taking stiff new footwear on a long hike. Gradual use is safer for both your feet and the footwear.
Preventing Hot Spots and Blisters
Blisters commonly develop where friction repeatedly stresses the skin. Proper fit is the first defense, but socks and early action also matter. The American Academy of Dermatology recommends properly fitting footwear and moisture-wicking socks to reduce chafing that can lead to blisters.
The National Park Service’s Hike Smart guidance also recommends suitable hiking footwear and wool or synthetic moisture-wicking socks for longer hikes.
- Start with dry, properly fitting hiking socks.
- Stop when you first notice a warm or rubbing area.
- Adjust lacing before the area becomes painful.
- Protect persistent friction points with appropriate blister tape, moleskin or padding.
- Do not assume repeated blisters are simply part of breaking in boots.
Note: The right boot should fit comfortably from the beginning. Some materials soften with use, but your foot should not have to suffer while the footwear “learns” its shape.
Seeking Professional Advice
If you repeatedly struggle to find the right fit, a specialty hiking or athletic-footwear shop can be useful. Trained staff can measure the length and width of both feet, compare different boot shapes and help assess whether heel movement is caused by sizing, foot volume or lacing. Some specialty retailers may also offer gait or pressure-analysis tools, although services vary by store.
For persistent foot pain, numbness, recurring blisters, significant deformity or other ongoing concerns, consider speaking with a podiatrist or another qualified foot-and-ankle professional. This is especially important when an existing medical condition makes foot injuries more consequential.
Proper hiking-boot fit comes down to balance: enough room for your toes and normal swelling, combined with enough heel and midfoot security to keep your foot from sliding. Pay attention to what you actually feel while walking rather than the size printed on the box. A boot that fits your individual foot shape will generally serve you better than one chosen because it is soft, expensive or popular.
When considering how tight hiking boots should be, it is also worth thinking about the gear you will carry on outdoor trips. Packing efficiently can affect comfort when hiking with a loaded backpack. For additional organization ideas, see 5 Must-Have Packing Cubes for Your Spring 2025 Getaway.
Love travel? Join Our Facebook Community For More Tips.
Frequently Asked Questions
What is the importance of having properly fitting hiking boots?
Properly fitting hiking boots help keep the foot stable and comfortable while reducing unnecessary movement and friction. Boots that are too tight or too loose can contribute to hot spots, blisters, toe pressure and discomfort on long or uneven trails.
How tight should hiking boots be?
They should feel snug around the heel and midfoot without pinching or causing numbness. Your toes should still move freely, and there should generally be about a thumb’s width of room in front of your longest toe.
What are the signs of a properly fitting hiking boot?
A good boot holds the heel and midfoot securely, lets the toes move, creates no painful pressure points and prevents the toes from hitting the front while walking downhill. You should be able to walk naturally without significant rubbing or sliding.
What are the signs of an improperly fitting hiking boot?
Warning signs include heel slippage, repeated rubbing, pressure points, pinched toes, numbness, tingling, hot spots, blisters, foot pain or toes striking the front of the boot on descents.
Should hiking boots be broken in before a long hike?
Usually, yes, especially for stiff backpacking or leather boots. Lightweight hiking shoes may need very little break-in. Start with short walks and gradually increase distance. Break-in can soften materials but should never be used to compensate for the wrong size or shape.
Should I size up in hiking boots?
Not automatically. Choose the size that gives adequate toe clearance while keeping the heel and midfoot secure. If the correct length feels too narrow, try a wider size or a different boot shape rather than simply buying a longer boot.
How much heel movement is acceptable in hiking boots?
The heel should feel securely held. A tiny amount of movement may occur depending on the boot, but repeated lifting, rubbing or blistering is a problem. Try proper heel-locking lacing first; if excessive movement remains, reconsider the boot’s size or shape.
Sources
- REI Co-op — How to Choose Hiking Boots and Hiking Shoes — hiking-footwear fit, sizing, toe room and break-in guidance.
- REI Co-op — How to Break in Your Hiking Boots — gradual break-in and why break-in cannot correct poor fit.
- American Academy of Orthopaedic Surgeons — Shoes: Finding the Right Fit — toe clearance, heel fit, shoe structure and sizing.
- American Academy of Dermatology — How to Prevent and Treat Blisters — proper footwear, moisture-wicking socks and friction prevention.
- U.S. National Park Service — Hike Smart — suitable hiking footwear and sock recommendations.
- PubMed — Foot Shape Changes During Pregnancy and Postpartum — evidence that foot dimensions can change during pregnancy.

