
Last Updated on July 27, 2026 by Daniel Globe
Scrambling is the point where a hike becomes hands-on. You still travel through mountain terrain on foot, but rocky steps, ridges, gullies, or steep slopes may require you to use your hands for balance and upward movement. Easier scrambles can feel like adventurous hiking, while harder ones approach technical rock climbing and may require climbing equipment and rope skills.
Quick Answer
Scrambling in hiking means moving over steep or rocky terrain where you regularly use both your hands and feet. Difficulty ranges from straightforward hands-on hiking to exposed terrain close to rock climbing. Good route choice, footwear, navigation, weather judgment, and the ability to turn back are more important than simply carrying climbing gear.
Key Takeaways
- Scrambling sits between ordinary hiking and technical climbing and often requires both hands and feet.
- The familiar Grade 1–3 system is mainly a British scrambling system; other regions use different classifications.
- Most Grade 1 scrambles do not normally require ropes, while higher-grade scrambles may require helmets, harnesses, ropes, protection, and the skills to use them correctly.
- Exposure, loose rock, route-finding errors, wet rock, snow, wind, and lightning can make an otherwise manageable route much more serious.
- Choose routes conservatively, check current conditions and restrictions, leave a trip plan, carry emergency essentials, and turn back when conditions exceed your experience.
At a Glance
| Time Required | Route-dependent; anything from a short rocky section to a full mountain day |
| Difficulty | From straightforward hands-on hiking to terrain approaching rock climbing |
| Tools Needed | Navigation, suitable footwear, weather layers, food, water, emergency gear; technical routes may also require a helmet and climbing equipment |
| Cost | Usually low if you already own hiking gear; climbing equipment, permits, transportation, or professional instruction can increase the cost |
Warning: Scrambling can involve unprotected drops where a slip has severe or fatal consequences. A rope does not make a scramble safe unless the people using it understand anchors, belaying, protection, and appropriate rope techniques. When a route exceeds your training or comfort level, turn around or use a qualified guide.
Disclosure: As an Amazon Associate I earn from qualifying purchases. Some links on this page are affiliate links, at no extra cost to you.
Understanding Scrambling Grades
One of the most important things to understand is that scrambling grades are not universal. A route described as a “Grade 1 scramble” in a British guidebook is using a different system from classifications you may encounter in North America, continental Europe, or New Zealand.
The British Mountaineering Council describes the commonly used British Grade 1–3 system this way:
- Grade 1: Generally the easiest scrambling level. It involves hands-on movement and can include significant exposure, but many difficulties are avoidable. Competent hill walkers usually do not require a rope in good conditions.
- Grade 2: More sustained or exposed scrambling where the boundary between scrambling and climbing starts to blur. A rope and climbing protection may be appropriate, particularly for less experienced members of a group.
- Grade 3: Serious scrambling that can include sections comparable with easy rock climbing. Rope use may be expected on parts of the route, and confident climbing, route-finding, and protection skills become increasingly important.
Grades describe more than the hardest individual move. Route-finding difficulty, exposure, loose rock, escape options, length, and the seriousness of a mistake all affect the real experience.
Note: Always read the grading explanation in the guidebook or official route description you are using. Do not assume that a Grade 2, Class 3, or similarly numbered route means the same thing in every country.
Essential Gear for Scrambling Safely
Scrambling does not always require the extensive equipment used for rock climbing, but the correct kit depends on the terrain, grade, conditions, remoteness, and experience of your group.
Footwear
Choose well-fitting footwear with dependable traction on rock and enough support for the terrain. Stiffer hiking shoes or boots can provide a more stable edge on small footholds, while lighter trail footwear may be comfortable on easier approaches. What matters most is that the footwear matches the route and gives you confidence on both ascent and descent.
Basic Mountain Equipment
For a mountain scramble, carry the same emergency systems you would take on a serious hike. The National Park Service Ten Essentials include navigation, sun protection, insulation, illumination, first aid, fire, repair supplies, food, hydration, and emergency shelter.
A small backpack should therefore contain enough water and food, extra clothing, rain protection, a headlamp, first-aid supplies, navigation equipment, and emergency items suitable for the route. A phone is useful, but it should not be your only navigation or emergency plan because battery life and cellular coverage can fail.
Helmet, Rope, and Harness
A climbing helmet becomes increasingly valuable where loose rock, people above you, or roped scrambling create a rockfall or impact hazard. The BMC identifies loose rock as one of the major hazards of scrambling.
On straightforward Grade 1 terrain, most competent walkers do not normally need a rope or harness. On British Grade 2 and Grade 3 terrain, a rope, harness, slings, carabiners, and climbing protection may become appropriate. However, this equipment is only useful when someone in the group has the skills to select anchors, place protection, belay, manage the rope, and retreat safely.
Pro Tip: If you are reaching the point where you regularly wonder whether you need a rope, that is a good time to take a scrambling or climbing course rather than simply adding unfamiliar equipment to your pack.
Understanding the Different Types of Scrambling Routes
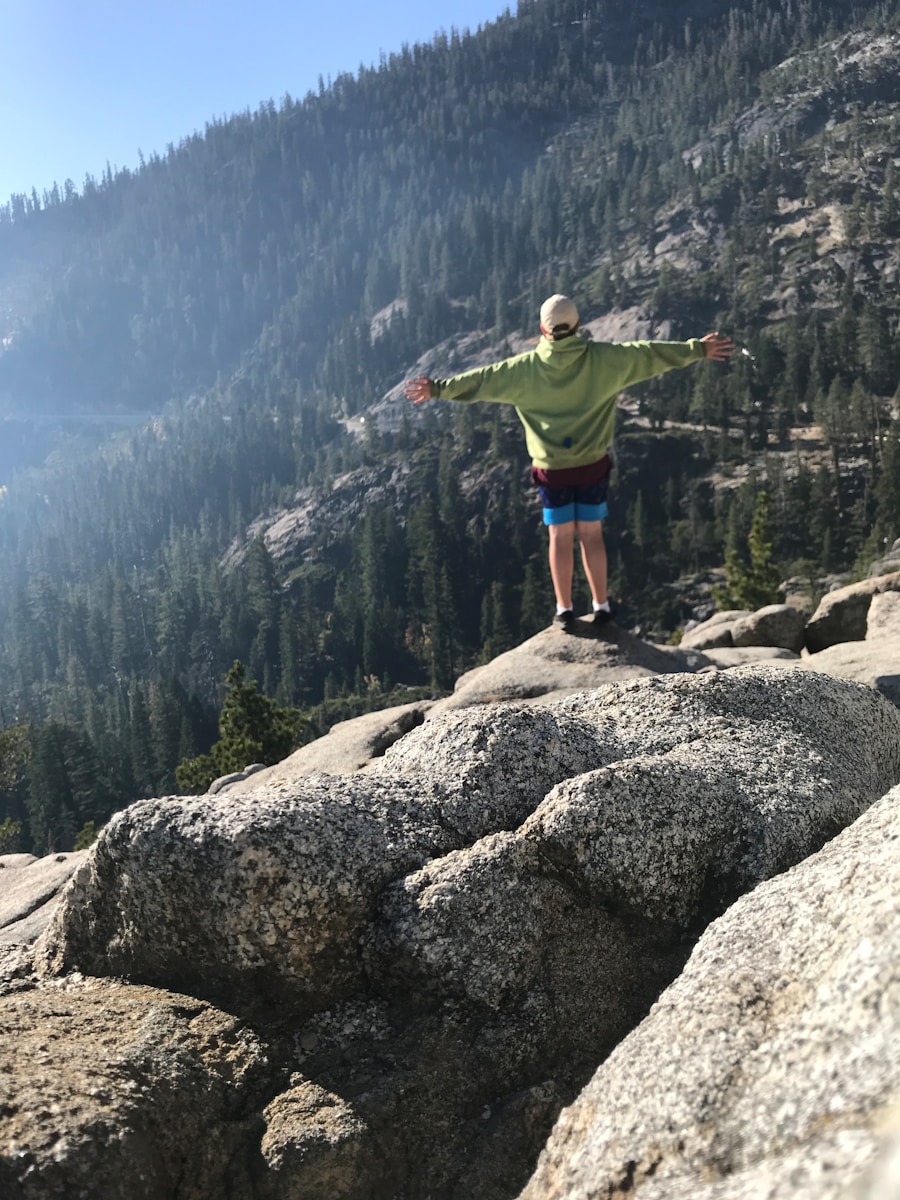
Scrambling routes vary widely. Some follow obvious paths broken by a few rocky steps, while others travel along narrow ridges, steep gullies, rocky buttresses, boulder fields, or complex mountain faces.
Ridge Scrambles
Ridge scrambles often provide dramatic views and strong exposure. The movement may not be technically difficult, yet a narrow crest with large drops on either side can have serious consequences if you fall. Wind can also make an exposed ridge much harder than it appears in a guidebook.
Gullies and Broken Rock
Gullies can offer more sheltered climbing but may collect loose stones and debris. A hiker above you can accidentally dislodge rock, so spacing and awareness are important. Avoid standing directly below another person whenever there is a rockfall hazard.
Rocky Steps and Buttresses
Some routes link short rock steps with ordinary hiking. These can make good introductions to scrambling when each difficult section has an obvious retreat and the consequences of a slip are limited.
Exposed Traverses
A traverse may require relatively simple sideways movement while placing you above a significant drop. This illustrates an important scrambling lesson: technical difficulty and exposure are not the same thing. A technically easy move can still be dangerous if a fall would be serious.
How to Choose a Scrambling Route
Choose a route according to the least experienced person in your group, not the strongest. Before leaving, check the complete route rather than focusing only on the summit or most famous scrambling section.
- Read a current route description from a reliable guide or land-management authority.
- Check the scrambling grade and what that grade means locally.
- Look for information about exposure, rock quality, escape routes, and route-finding difficulty.
- Study the descent as carefully as the ascent.
- Check current weather, trail alerts, seasonal restrictions, permits, snow, and other hazards.
- Estimate how long the whole trip will take and set a turnaround time.
- Have an easier alternative if conditions are worse than expected.
For a first scramble, choose a route with modest exposure, easy retreat options, good route descriptions, and terrain comfortably below your maximum ability.
Tips for Navigating Challenging Terrain
| Tip | Description |
| 1 | Use footwear with dependable traction and place your feet deliberately. |
| 2 | Stay hydrated, eat regularly, and take breaks before fatigue affects your judgment. |
| 3 | Use trekking poles on suitable approaches, but stow them when you need both hands on the rock. |
| 4 | Plan the route, descent, escape options, and turnaround time before committing to exposed ground. |
| 5 | Move steadily, test questionable holds, and never rush because another group is waiting. |
Use Your Feet, Not Just Your Arms
Good scrambling relies heavily on balance and foot placement. Keep your weight over your feet where possible and use your legs to move upward rather than pulling continuously with your arms. This saves energy and improves stability.
Maintain Stable Contact
Keeping three secure points of contact can be useful on steep or awkward terrain: two feet and one hand, or two hands and one foot. It is a guideline rather than a rigid rule. The more important principle is to stay balanced and move one limb at a time when the terrain demands care.
Check Holds Before Trusting Them
Loose blocks are common in mountain terrain. Look at and gently test a handhold or foothold before putting your full weight on it. Do not pull outward on obviously detached blocks, and warn people below if anything moves.
Do Not Force an Uncertain Move
Before committing to a difficult step, ask whether you can reverse it. A move that is easy to climb up can be frightening to downclimb. If the line looks wrong or substantially harder than the guidebook description, stop and reassess. You may have wandered off route.
Backtracking to easier terrain is usually wiser than continuing upward simply because you have already invested time in the route.
Safety Precautions for Scrambling in Hiking
Scrambling adds hazards that ordinary trail hiking may not involve. These include exposed falls, rockfall, route-finding mistakes, loose terrain, rapidly changing weather, and the possibility of becoming unable to reverse a section.
Leave a Detailed Trip Plan
Tell a reliable person your intended route, parking location, group members, expected return time, and what they should do if you fail to check in. Both the National Park Service and Parks Canada scrambling guidance recommend leaving detailed trip information before heading into the mountains.
Check Weather and Route Conditions
Rain can make polished or sloping rock dramatically more slippery. Snow or ice can turn summer scrambling terrain into a mountaineering problem. High wind can make narrow ridges dangerous, and thunderstorms create a serious lightning hazard on exposed high ground.
Check the forecast immediately before leaving and continue watching the sky. The National Weather Service advises people to move to safe shelter when thunder threatens rather than remaining exposed outdoors.
Warning: Do not assume a route’s published grade still reflects the difficulty you will experience in rain, snow, ice, strong wind, darkness, or poor visibility. Conditions can turn an easy scramble into terrain requiring skills and equipment you do not have.
Control Rockfall Risk
Move carefully around loose stones. Avoid dislodging rocks onto people below, and do not bunch the entire group beneath a loose gully or steep step. A helmet may reduce some impact risk, but it does not make unstable terrain safe.
Know When to Turn Around
Turn back when weather is deteriorating, you repeatedly lose the route, someone in the group is exhausted or frightened, the rock is too wet or icy, you reach terrain beyond the expected grade, or you are running out of daylight.
Turning around is not failure. Good mountain judgment often means giving up a summit before a manageable problem becomes an emergency.
Prepare for an Emergency
Carry a first-aid kit, headlamp, extra layers, emergency shelter, food, water, and navigation tools appropriate to the trip. In remote areas, consider a satellite messenger or personal locator device, particularly where cellular coverage is unreliable.
If someone is seriously injured, protect them from further hazards, keep them warm, and contact the local emergency or mountain-rescue service when possible. Do not create a second casualty by rushing across terrain beyond your own ability.
The Mental and Physical Benefits of Scrambling
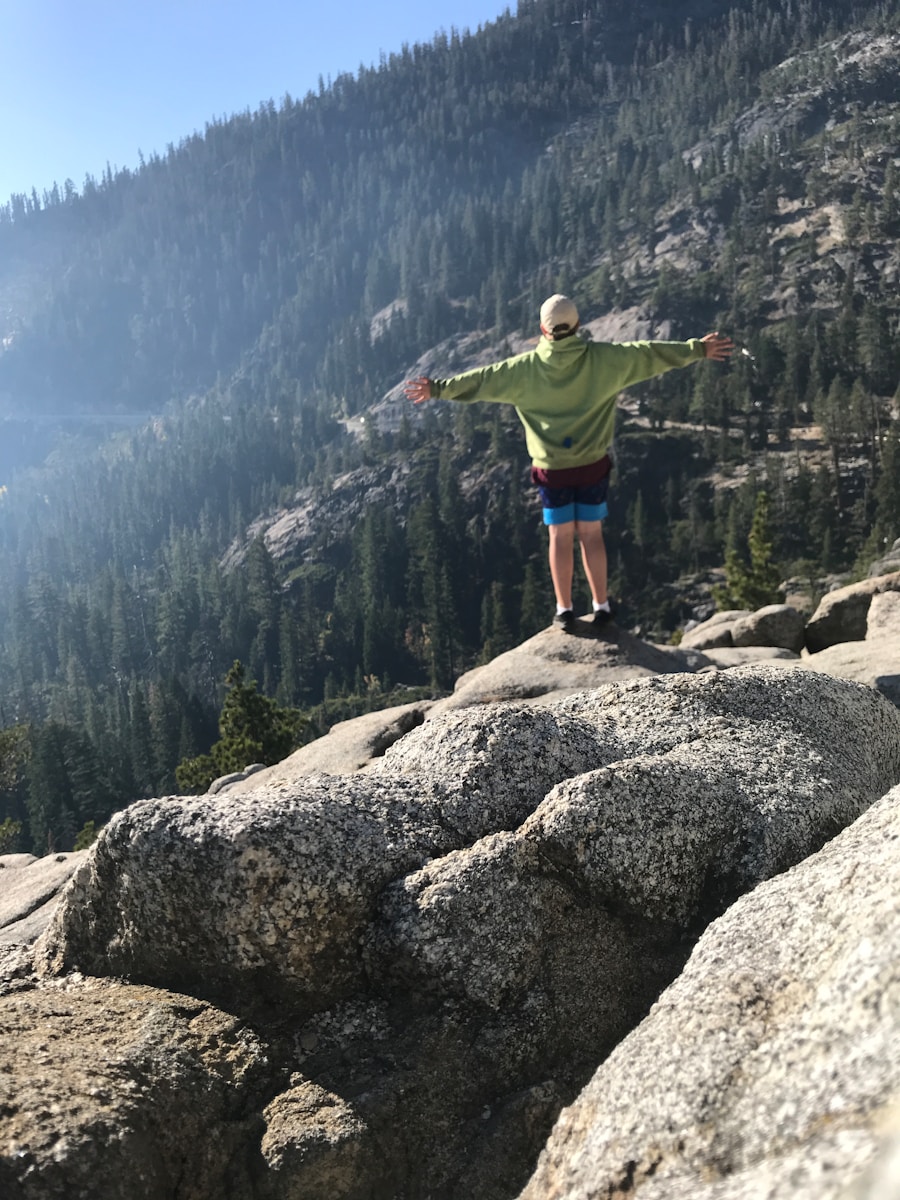
Scrambling can provide a demanding full-body workout. Stepping high, balancing, climbing over rock, and moving across uneven ground challenge the legs, core, grip, coordination, and endurance in ways that a smooth trail may not.
The activity also demands concentration. Route finding, foot placement, balance, and constant assessment of terrain keep your attention on the immediate task. Many people value this focus because it provides a strong break from everyday distractions.
Completing a route that is challenging but appropriate for your ability can also build confidence. That benefit is greatest when progress comes from sound decisions and gradually developed skills rather than taking unnecessary risks.
How to Improve Your Scrambling Skills
The safest way to improve is through gradual progression. Begin with routes comfortably within your hiking ability, then increase technical difficulty and exposure separately rather than increasing everything at once.
Build Movement Skills
Practice on low-consequence rocky terrain where a small mistake will not lead to a serious fall. Work on precise foot placement, balance, using your legs efficiently, and moving smoothly rather than quickly.
Improve Navigation
A technically strong scrambler can still get into trouble by choosing the wrong gully or ridge. Learn to use a topographic map, compass, route description, and GPS responsibly. Compare the terrain in front of you with the expected landmarks before you become committed to a difficult section.
Practice Descending
Do not train only by scrambling upward. Downclimbing requires confidence in footholds you may not be able to see easily. On safe practice terrain, learn how different body positions feel when descending and how to stay balanced without rushing.
Learn Rope Skills Before You Need Them
If you plan to progress onto serious Grade 2 or Grade 3 routes, consider instruction from an experienced climbing or mountaineering professional. Learn belaying, anchors, protection, rope management, and retreat techniques in a controlled setting instead of trying to work them out for the first time on an exposed mountain.
Build Fitness
Hiking hills, stair climbing, leg-strength exercises, core training, and grip work can all support scrambling. Endurance matters because fatigue can reduce balance, concentration, and decision quality late in the day.
When Does Scrambling Become Rock Climbing?
There is no single worldwide line separating scrambling from climbing. The distinction depends partly on local tradition and partly on how the route is normally protected.
As terrain becomes steeper, more technically demanding, more exposed, and harder to reverse, climbing techniques become increasingly appropriate. In the British system, Grade 3 scrambling can overlap with the easiest rock-climbing grades. At that point, the question should not be whether a route still carries the word “scramble,” but whether your skills and protection system are appropriate for the consequences of a fall.
Exploring Popular Scrambling Destinations around the World
Scrambling takes different forms around the world, and local terminology varies. Always use current local guidebooks and official land-management information rather than assuming one country’s grading system applies everywhere.
Lake District and Other British Mountains
The Lake District offers classic British scrambling. The BMC identifies routes such as Striding Edge on Helvellyn as Grade 1 and Pinnacle Ridge on St Sunday Crag as higher-grade scrambling. Other well-known British scrambling areas include Eryri/Snowdonia and the Scottish Highlands.
Even a Grade 1 route can involve severe exposure, so “Grade 1” should never be interpreted as risk-free or suitable for every hiker.
Banff National Park, Canada
Parks Canada publishes specific scrambling information for peaks including Mount Rundle, Cascade Mountain, and Mount Temple. The routes range from relatively straightforward scrambling to terrain with serious exposure and loose rock.
Parks Canada advises scramblers to leave a trip plan, start early, stay on route, study the descent, and prepare for rapidly changing mountain weather.
Exposed Hikes in the United States
Some famous U.S. hikes contain scrambling-like movement but are not necessarily described under the British scrambling-grade system.
Knife Edge on Katahdin, Maine is an extremely exposed mountain route. Baxter State Park warns that the Knife Edge is completely exposed and should not be attempted in bad weather.
Angels Landing in Zion National Park follows a narrow, exposed ridge where chains assist hikers on sections of the route. A permit is required for the section beyond Scout Lookout. Check the current National Park Service Angels Landing information before planning the hike.
Half Dome in Yosemite National Park involves a steep cable-assisted final ascent. Permits are required when the cables are up, and Yosemite emphasizes that wet or icy conditions can make the cables particularly hazardous. Check the current Half Dome permit information before visiting.
New Zealand Alpine Terrain
New Zealand offers extensive mountain terrain, but walkers should distinguish maintained tracks from alpine mountaineering routes. The Routeburn Track is an official Great Walk rather than a standard scrambling route, although winter conditions can require alpine skills and equipment.
Around Aoraki/Mount Cook, some routes are significantly more technical. For example, New Zealand’s Department of Conservation describes Ball Pass Crossing as a demanding alpine route requiring excellent route finding, snow-travel experience, crampon and ice-axe skills, and potentially rope use. These objectives should not be treated as casual extensions of ordinary hiking.
Conclusion
Scrambling is an exciting progression from hiking because it combines mountain travel, hands-on movement, route finding, balance, and problem solving. It can range from an easy rocky ridge to terrain only a small step below technical climbing.
The safest progression is gradual: understand the local grading system, choose routes below your limit, carry suitable mountain equipment, check weather and conditions, study the descent, and develop technical skills before moving onto terrain where ropes and climbing protection may be needed. The goal is not simply to reach the top, but to choose terrain you can travel across and return from safely.
If your scrambling trip involves a long flight, comfort during travel can also make the journey easier. Check out this article to discover the 5 best travel pillows for long flights this spring. Having suitable travel and hiking gear can make the overall adventure more comfortable.
Love travel? Join Our Facebook Community For More Tips.
Frequently Asked Questions
What does “scramble” mean in hiking?
Scrambling means traveling over rocky or steep terrain where you use your hands as well as your feet. It generally sits between ordinary hiking and technical rock climbing, although the exact boundary depends on the route and local grading system.
What skills are needed for scrambling in hiking?
Useful skills include balance, precise foot placement, route finding, judging exposure, recognizing loose rock, managing weather risk, and knowing when to retreat. Higher-grade scrambling can also require climbing, belaying, anchor, protection, and rope-management skills.
What gear is recommended for scrambling in hiking?
For easier scrambling, start with suitable footwear, navigation tools, weather layers, food, water, a headlamp, first aid, and other hiking emergency essentials. A helmet may be appropriate where rockfall is a concern. More serious routes may require a rope, harness, and climbing protection, but only when the group knows how to use that equipment correctly.
Do you need a rope for scrambling?
Not always. Typical British Grade 1 scrambles are commonly completed without ropes in suitable conditions. Grade 2 and especially Grade 3 terrain can justify rope protection. Carrying a rope is not enough by itself; someone must have the skills to use anchors, protection, belays, and the rope safely.
Are scrambling grades the same everywhere?
No. Grade 1–3 is a common British scrambling system, but other countries and guidebooks use different scales and terminology. Always check the grading explanation supplied by the local guide or official route information.
What are some popular scrambling routes and exposed hikes?
British examples include Striding Edge, Crib Goch, Tryfan’s North Ridge, and higher-grade routes such as Pinnacle Ridge. Parks Canada publishes scrambling guides for Mount Rundle, Cascade Mountain, and Mount Temple. In the United States, Knife Edge, Angels Landing, and Half Dome are famous exposed hikes with hands-on or assisted sections, although they do not all use the British scrambling classification.
Sources
- British Mountaineering Council — What Is Scrambling? — British scrambling grades, equipment, route finding, and higher-grade rope considerations.
- Parks Canada — Scrambling in Banff National Park — route planning, equipment, weather, descent, emergency preparation, and Banff scrambling routes.
- National Park Service — Ten Essentials — recommended emergency and hiking-preparedness systems.
- National Park Service — Angels Landing — exposure, chains, route characteristics, and permit requirement.
- Yosemite National Park — Half Dome Permits — current cable-season permit requirements and visitor planning.
- Baxter State Park — Katahdin Trail Information — Knife Edge exposure, difficulty, weather warnings, and route information.

