Last Updated on July 27, 2026 by Daniel Globe
Wearing a hiking pack correctly can make a long trail feel much easier on your shoulders, back, and hips. A good setup starts before you tighten a single strap: the backpack must match your torso length, hold the gear your trip requires, and be packed so the load stays close to your center of gravity. Once those basics are right, a few careful strap adjustments can create a stable, comfortable fit.
Quick Answer
To wear a hiking pack correctly, start with a pack sized to your torso. Center the hip belt over your hip bones and tighten it first, then snug the shoulder straps, load lifters, and sternum strap. Keep heavy gear centered close to your spine, and readjust whenever the pack pulls, bounces, or creates pressure.
Key Takeaways
- Choose a hiking pack that matches your torso length, trip duration, and the amount of gear you actually need to carry.
- Position the hip belt over your hip bones and adjust it before tightening the shoulder straps.
- Use the shoulder straps, load lifters, and sternum strap to stabilize the pack without restricting movement or breathing.
- Place your heaviest gear near your spine and around the middle of the pack rather than far from your back or at the extreme top or bottom.
- Carry the Ten Essentials, including navigation, extra insulation, illumination, first aid, food, water, and emergency shelter.
- Choose footwear, socks, and clothing for the terrain and weather, and keep frequently used gear where you can reach it easily.
- Clean and inspect your backpack according to its manufacturer’s care instructions so straps, buckles, zippers, and fabric stay reliable.
At a Glance
| Time Required | About 10–15 minutes for an initial fit; 1–2 minutes for trail adjustments |
| Difficulty | Easy |
| Tools Needed | Loaded hiking pack; flexible measuring tape and a helper are useful for torso sizing |
| Cost | $0 if you already own a properly sized backpack |
Disclosure: As an Amazon Associate I earn from qualifying purchases. Some links on this page are affiliate links, at no extra cost to you.
Choose the Right Hiking Pack
Selecting the appropriate backpack is the first step toward a comfortable hiking setup. Capacity should reflect the trip rather than a single universal number. According to REI Co-op’s daypack guidance, hiking daypacks commonly range from about 10 to 40 liters, with roughly 21 to 35 liters providing useful space for many full-day hikes. Very short outings may need less, while cold-weather hikes, family trips, or routes that require more water and equipment may require more.
For overnight trips, the pack normally becomes larger. A 30- to 50-liter backpack can work for an efficiently packed one- to three-night trip, while approximately 50 to 80 liters is common for three- to five-night backpacking trips. Longer trips, winter conditions, bulky sleeping systems, or extra group equipment may justify 70 liters or more. The goal is not to buy the largest pack possible; extra space often encourages unnecessary weight.
Fit matters as much as capacity. Backpack size is generally based on torso length rather than overall height. To measure it, find the C7 vertebra—the prominent bone at the base of your neck when you tilt your head forward—and measure down the spine to the level of your iliac crest, the top of your hip bones. Compare that measurement with the sizing chart for the specific backpack. Osprey’s current fitting guide and Gregory’s fit guide both use torso length as a core sizing measurement.
A backpack that matches your height can still fit poorly. Torso length, hip-belt fit, and shoulder-harness shape are the measurements that determine how the load actually rides on your body.
A well-fitted backpack should feel close and stable without creating sharp pressure points. The hip belt must wrap securely around the hips, while the shoulder harness should follow the shape of your shoulders without obvious gaps. Adjustable hip belts, torso systems, sternum straps, and load lifters make it easier to fine-tune the fit.
Packing Essentials for a Hike
Food, water, and a first-aid kit are important, but they are only part of a safe hiking load. The National Park Service Ten Essentials provide a more complete baseline for preparing for sudden weather, delays, minor injuries, or an unexpected night outside.
- Navigation: map, compass, GPS device, or another suitable navigation system—and the knowledge to use it.
- Sun protection: sunglasses, sunscreen, protective clothing, and a hat as conditions require.
- Insulation: extra layers appropriate for the season and expected temperatures.
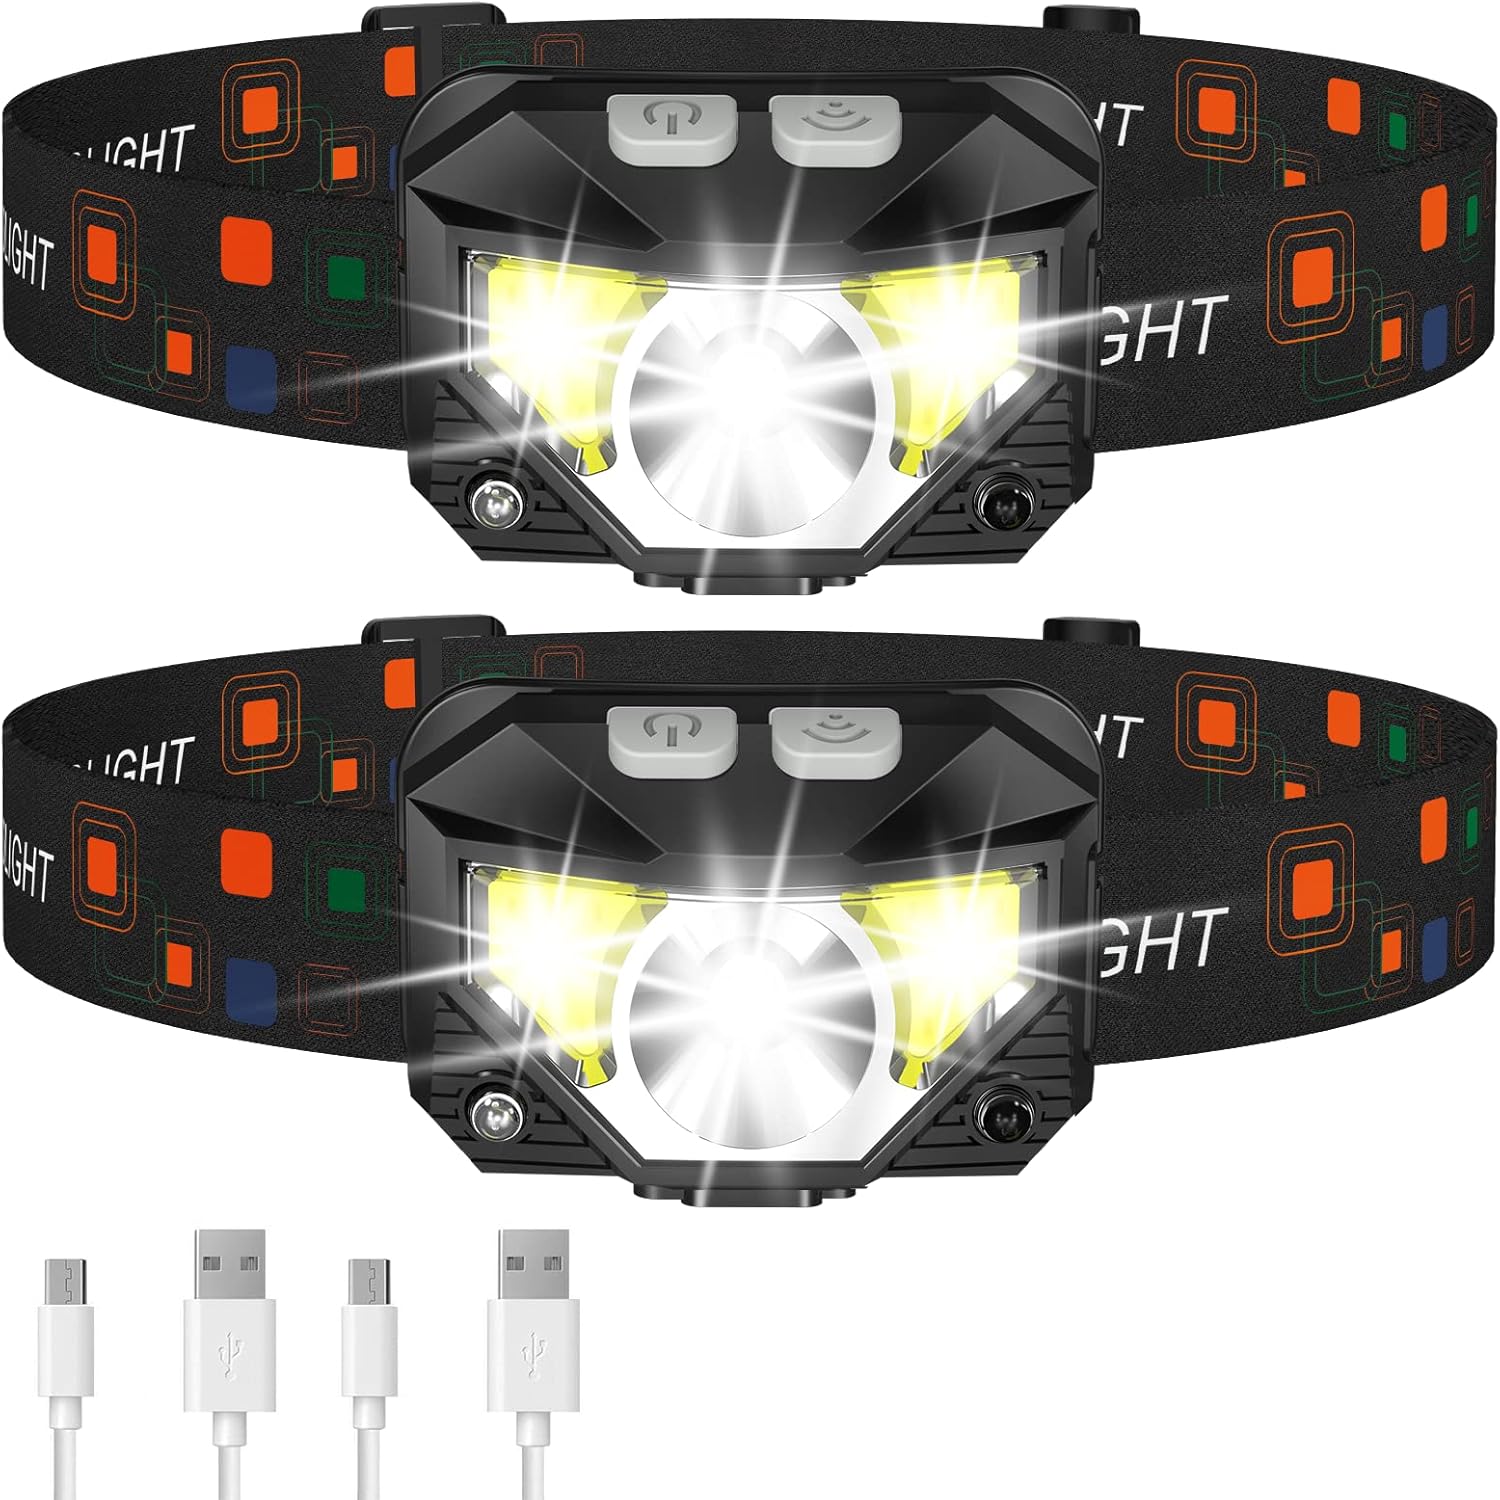
- Illumination: a headlamp or flashlight, preferably with adequate battery power for the trip.
- First aid: supplies for common injuries plus necessary personal medications.
- Fire: appropriate fire-starting equipment where its use is legal and safe.
- Repair kit and tools: items such as a knife, multi-tool, tape, or equipment-specific repair supplies.
- Food: enough for the planned hike plus extra food appropriate to the route and risk.
- Hydration: sufficient water plus treatment equipment when you may need to use backcountry water sources.
- Emergency shelter: a lightweight tarp, bivy, emergency blanket, tent, or another shelter appropriate to the trip.
Snacks such as trail mix, energy bars, dried fruit, or jerky can provide easy-to-carry energy without occupying much space. Keep some food and water accessible so you do not need to empty your pack every time you stop.
A basic first-aid kit may include adhesive bandages, gauze, blister treatment, antiseptic supplies, and any medications you personally require. Longer or more remote hikes may justify a more complete kit. Your navigation equipment should also match the route: a phone or GPS can be useful, but a paper map and compass provide a battery-independent backup when appropriate.
Note: The Ten Essentials are a starting point, not a complete packing list for every environment. Add equipment for the specific trail, season, wildlife, altitude, water availability, regulations, and emergency-communication limitations you may encounter.
How to Adjust the Straps for Comfort
Adjust your pack with realistic weight inside it. A nearly empty backpack can fit differently once food, water, shelter, and other equipment are added. Before putting it on, loosen the hip belt, shoulder straps, load lifters, and sternum strap so the pack can settle naturally into position.
- Position the hip belt. Put on the backpack and center the padded hip belt over the top of your hip bones. The exact belt shape varies by manufacturer, but it should be positioned to transfer load through the pelvis rather than hanging entirely from the shoulders.
- Tighten the hip belt first. Buckle it and tighten both sides evenly. It should be secure enough that it does not slide down, but not so tight that it causes pinching or numbness.
- Snug the shoulder straps. Pull the shoulder straps down and back until the harness follows your shoulders. Do not crank them so tightly that the hip belt is pulled upward or all the pack’s weight shifts onto your shoulders.
- Adjust the load lifters. On backpacks equipped with functional load lifters, tighten them enough to draw the upper pack toward your body. Osprey notes that correctly fitted backpacking packs commonly place these straps at roughly a 30- to 60-degree angle, although exact geometry varies by pack design.
- Position the sternum strap. Buckle it across your chest and tighten only enough to keep the shoulder straps stable. Osprey recommends about 2 inches below the collarbone for its backpacking harnesses. It should never restrict normal breathing.
- Check for harness gaps. The shoulder straps should follow your shoulders smoothly rather than bridging across them with a large empty space.
- Walk and fine-tune. Walk for several minutes, climb stairs if available, and move your arms. Small strap changes often reveal whether the load is truly stable.
Warning: Sharp pain, persistent numbness, tingling, restricted breathing, or severe pressure points are not signs that you simply need to “break in” the backpack. Stop and readjust it. If the problem remains, the pack may be the wrong size, the load may be excessive, or the harness may not suit your body shape.
Pro Tip: Do a loaded test walk at home before a long hike. Use the food, water, clothing, and major gear you actually intend to carry. A pack that feels perfect when empty can behave very differently at trail weight.
Distributing Weight Properly
| Pack Area | Best Use |
| Bottom | Bulky, relatively light gear you usually will not need while walking, such as a sleeping bag or camp clothing. |
| Middle, close to your spine | The heaviest items, such as dense food, a hydration reservoir, cooking equipment, or part of a shelter system. |
| Around heavy items | Soft, lighter gear that fills empty spaces and helps prevent the heavy core from shifting. |
| Top and quick-access pockets | Rain gear, snacks, navigation tools, headlamp, sunscreen, first aid, and other items you may need quickly. |
Weight distribution inside your backpack has a direct effect on balance. According to Gregory’s pack-loading guidance, heavy items should generally be centered in the pack and close to the spine. Placing them too low can make the pack sag, while placing them excessively high can make the load feel unstable or top-heavy.
For example, dense food, water, and cooking equipment often work well in the central portion of a backpack. A sleeping bag and other light camp-only gear can go lower. Rain gear, navigation equipment, snacks, first aid, and a headlamp should remain easy to reach.
Also balance the pack from left to right. If you carry a full water bottle in one side pocket, avoid putting every other dense item on that same side. Use internal compression and exterior compression straps to reduce empty space and prevent gear from swaying as you walk.
Pro Tip: After packing, lift the backpack and gently tilt it from side to side. If a dense object slides or thumps inside, repack or compress the load before heading onto uneven terrain.
Layering for Variable Weather Conditions
Weather can change quickly on a hike, so clothing should be easy to add or remove. A conventional outdoor layering system has three functions: a moisture-managing base layer, an insulating middle layer, and a protective outer shell. REI’s layering guidance describes the same three-part system.
The base layer sits next to your skin and helps move perspiration away. Merino wool and synthetic fabrics such as polyester are common choices. The goal is to avoid staying wet and clammy during exertion.
The insulating layer traps warmth. Fleece, synthetic insulation, and down can all work, but their strengths differ. Down is light and compressible, while synthetic insulation generally handles damp conditions better.
The outer layer protects against wind and precipitation. For wet conditions, choose rainwear appropriate to the expected exposure and activity level. Waterproof-breathable shells can block rain while allowing some moisture vapor to escape, although no shell eliminates perspiration during hard exertion.
Keep a needed layer near the top of the backpack instead of burying it beneath camp equipment. That makes it much easier to react when wind, temperature, or precipitation changes.
Footwear and Sock Selection
Footwear should match the terrain, load, weather, and your own comfort needs. Heavy hiking boots are not automatically better for every trail. Light hiking shoes or trail-running shoes can work well on maintained trails and for hikers carrying lighter loads, while more supportive backpacking boots can make sense for rugged ground and heavier multi-day loads.
Waterproof footwear can be useful in sustained rain, mud, cold conditions, or wet vegetation, but there is a tradeoff. REI’s 2026 hiking footwear guidance notes that waterproof hiking boots tend to be less breathable, while many hiking shoes are lighter and designed to dry more quickly. For repeated stream crossings or very hot conditions, some hikers prefer breathable, quick-draining footwear rather than trapping water inside a waterproof boot.
Whatever style you choose, the shoe or boot should fit securely without crushing your toes. Your heel should remain reasonably stable, and there should be enough room in front of your toes to reduce impact during descents.
Socks are equally important. Wool, polyester, nylon, and other moisture-managing materials are common hiking choices. Avoid relying on 100% cotton for demanding hikes because cotton absorbs moisture and dries slowly. A hiking sock should fit smoothly without wrinkles or loose fabric that can bunch inside the shoe.
Utilizing Pockets and Compartments
Pockets and compartments are useful when they reduce the number of times you need to unpack the main compartment. Side pockets are convenient for water bottles or equipment you need frequently, while hip-belt pockets can hold small items such as snacks, lip balm, or a compact phone.
Keep navigation tools, sunscreen, a headlamp, rain protection, and basic first-aid supplies in places you can reach without removing most of the pack’s contents. Internal compartments can separate bulky sleeping equipment from food or clothing, while hydration sleeves keep a reservoir close to your back.
Organization should never create a badly balanced pack. Avoid placing every heavy object in exterior pockets or loading one side much more heavily than the other. Secure hard or sharp equipment so it cannot press through the pack and create a pressure point against your back.
Compression straps are also useful once everything is packed. Tightening them reduces unused volume and limits load movement, which can make the backpack feel more stable on uneven ground.
Proper Care and Maintenance of Hiking Gear
Regular cleaning and inspection can extend the useful life of a backpack, but care instructions vary by brand and material. Always check the manufacturer’s label or manual before washing a structured hiking pack.
For example, Gregory’s current care instructions recommend wiping a pack with a damp sponge and mild soap, rinsing it with cool clean water, and allowing it to air dry away from direct sunlight and heat. Gregory specifically advises against putting its backpacks in a washing machine or dryer.
After a hike, empty every pocket and remove loose dirt, crumbs, leaves, and grit. Pay attention to zippers and buckles, where fine dirt can accumulate. Allow a damp pack to dry fully with the pockets open before storing it.
Store the backpack in a cool, dry, ventilated location away from prolonged direct sunlight. Before your next trip, inspect shoulder straps, hip-belt stitching, buckles, compression straps, zipper sliders, and high-wear fabric areas. Repairing a small tear or replacing a damaged buckle early is much easier than discovering the problem deep into a hike.
Footwear should likewise be cleaned and fully dried before storage. Follow the footwear manufacturer’s directions for leather treatments, waterproof membranes, insoles, and drying because excessive heat can damage adhesives and synthetic materials.
Troubleshooting an Uncomfortable Hiking Pack
A backpack can be the correct nominal size and still require adjustment. Use the symptom you feel as a clue rather than simply tightening every strap.
- Shoulders carry most of the weight: check whether the hip belt is positioned correctly and tight enough to support the load.
- Pack pulls backward: move dense items closer to your spine and check the load lifters.
- Pack sways from side to side: balance left and right weight, fill empty spaces, and tighten compression straps.
- Large gap behind the shoulders: check torso length and harness adjustment; the pack may be too long or the harness may not match your body.
- Hip belt slides downward: it may be too loose, incorrectly positioned, overloaded, or the wrong size or shape.
- Sternum strap feels restrictive: loosen or reposition it. Its job is stabilization, not squeezing your chest.
- Hot spots develop quickly: stop and adjust before friction turns into significant chafing or soreness.
If you’re looking for tips on how to properly wear a hiking pack, proper packing technique is just as important as strap adjustment. A compact, balanced load makes the suspension system easier to fit and keeps the backpack more predictable as you climb, descend, and cross uneven ground. Recheck both packing and fit whenever the load changes significantly during a trip.
Frequently Asked Questions
What is a hiking pack?
A hiking pack is a backpack designed to carry water, food, clothing, emergency supplies, and other outdoor gear. Daypacks are usually smaller and lighter, while backpacking packs add larger capacities, load-bearing hip belts, frames, and adjustable suspension systems for overnight or multi-day loads.
How do you properly wear a hiking pack?
Use a backpack sized to your torso, place the hip belt over your hip bones, and tighten the hip belt first. Then snug the shoulder straps, adjust the load lifters to stabilize the upper pack, and fasten the sternum strap without restricting your breathing. Walk for several minutes and fine-tune the fit.
What should I pack in a hiking pack?
Start with the Ten Essentials: navigation, sun protection, insulation, illumination, first aid, fire, repair tools, food, hydration, and emergency shelter. Then add route-specific equipment based on the weather, terrain, duration, water availability, wildlife, and regulations.
How do I adjust the fit of a hiking pack?
Loosen the straps before putting on the loaded pack. Position and tighten the hip belt, snug the shoulder straps, adjust the load lifters, and then fasten the sternum strap. Check that the shoulder harness follows your shoulders without a large gap and that the pack does not sway excessively.
What are some tips for wearing a hiking pack comfortably?
Keep heavy gear centered close to your spine, balance the pack from left to right, use the hip belt to carry much of the load, keep the shoulder straps snug rather than painfully tight, and make small adjustments during the hike. Take breaks when needed and address pressure points early.
Where should the hip belt sit on a hiking backpack?
On a conventional load-bearing hiking or backpacking pack, the padded hip belt should wrap around the hip bones rather than hanging well above them at the waist or sliding below them. Exact placement varies slightly by brand and body shape, so follow the backpack manufacturer’s fitting instructions.
Why does my hiking backpack hurt my shoulders?
Shoulder discomfort can occur when the hip belt is not carrying enough of the load, the torso length is wrong, the shoulder straps are overtightened, or heavy items are packed too far from your back. Recheck the pack size, hip-belt position, load placement, shoulder straps, and load lifters before continuing.
Sources
- U.S. National Park Service — Ten Essentials — hiking emergency-preparedness and essential-equipment guidance.
- Osprey — Backpack Size & Fit Guide — torso measurement, hip-belt positioning, shoulder-harness fit, load lifters, and sternum-strap adjustment.
- Gregory — Pack Fit & Sizing Guide — torso sizing and weighted backpack fitting.
- Gregory — Pack Loading Guidance — placement of heavy gear and balancing a backpack load.
- REI Co-op — How to Choose Daypacks — current daypack capacity and use guidance.
- Gregory — Care & Cleaning — backpack cleaning, drying, and storage recommendations.