
Last Updated on September 10, 2026 by Daniel Globe
Training for a mountain hike means preparing for more than a long walk. You need enough aerobic endurance to keep moving uphill, leg and core strength to handle uneven ground and descents, and enough trail-specific practice to carry your planned pack for hours. You also need to prepare for weather, navigation, fueling, hydration, and altitude when your route reaches high elevations.
Quick Answer
For most recreational mountain hikes, start focused training about eight weeks before the trip. Combine two strength sessions each week with aerobic conditioning, hills or stairs, and a progressively longer hike. Practice with your actual footwear and backpack, train for both climbing and descending, schedule recovery days, and taper during the final week.
Key Takeaways
- Build aerobic endurance, leg strength, core stability, balance, and hiking-specific fitness rather than relying on one type of workout.
- Train for the actual demands of your route, including distance, elevation gain and loss, terrain, pack weight, altitude, and consecutive hiking days.
- Include controlled downhill work because descending stresses the legs differently from climbing.
- Increase training gradually and leave time for recovery instead of trying to cram fitness into the final week.
- Fitness does not prevent altitude sickness. High-elevation trips require a separate acclimatization plan.
- Carry appropriate gear, food, water, navigation tools, first-aid supplies, and other essentials for the conditions you expect.
At a Glance
| Time Required | About 8 weeks for a focused recreational mountain-hiking plan; allow longer if you are starting from a low fitness base or preparing for a demanding multi-day objective. |
| Difficulty | Beginner to intermediate; adjust the workload to your current fitness and the demands of your planned hike. |
| Tools Needed | Walking or hiking shoes, backpack, hills or stairs, and a stable step. Optional equipment includes resistance weights, trekking poles, treadmill, stair machine, and exercise bands. |
| Cost | Often $0 if you already own hiking gear and can train outdoors or at home; a gym membership, coaching, or new equipment is optional. |
Note: This guide provides general fitness and hiking-safety information, not individualized medical advice. Talk with a healthcare professional before beginning a demanding program if you have a significant medical condition, are returning after a long period of inactivity, have a history of serious altitude illness, or have concerns about exercising or traveling at high elevation.
Disclosure: As an Amazon Associate I earn from qualifying purchases. Some links on this page are affiliate links, at no extra cost to you.
Why Physical Conditioning Matters for Mountain Hiking
Physical conditioning gives your body more capacity to handle long climbs, uneven terrain, descents, and the extra work of carrying a backpack. Aerobic training improves your ability to sustain movement, while strength training prepares the legs, hips, calves, and core to produce and control force over many thousands of steps.
A useful starting point is the general adult activity guidance from the U.S. Department of Health and Human Services: at least 150 minutes of moderate aerobic activity each week plus muscle-strengthening activity on at least two days. A challenging mountain hike normally requires more specific preparation than this basic health target.
General fitness builds the base. The best mountain-hiking preparation then becomes progressively more specific to the distance, climbing, descending, pack weight, terrain, and altitude you will actually face.
Conditioning can also make difficult trail sections feel more manageable and may help you maintain better movement when tired. It should not, however, be treated as a guarantee against injury. Weather, footing, route choices, fatigue, equipment, previous injuries, and simple bad luck still matter.
Start With the Mountain Hike You Need to Train For
Before choosing workouts, study your route. Two hikes of the same distance can demand very different levels of fitness.
- Distance: Note how many miles or kilometers you expect to cover in a day.
- Elevation gain: A steep route requires much more climbing work than a flat route of the same distance.
- Elevation loss: Long descents can be surprisingly demanding on the quadriceps and knees.
- Pack weight: Train for the load you actually plan to carry rather than adding unnecessary weight for its own sake.
- Terrain: Rock, scree, mud, snow, roots, loose gravel, and off-camber trails require different levels of balance and control.
- Duration: A six-hour hiking day calls for different preparation than a two-hour outing.
- Back-to-back days: Multi-day trekking requires the ability to move again before you are completely recovered from the previous day.
- Altitude: High elevation creates a separate acclimatization problem that fitness alone cannot solve.
Pro Tip: Write down the distance, elevation gain, elevation loss, expected hiking time, and pack weight for your hardest day. Use those numbers as the destination for your training rather than choosing workouts at random.
8-Week Training Plan for Hiking Mountains
Eight weeks is a practical focused-training window for many recreational hikers who already tolerate normal walking and exercise. Beginners starting from very little activity may need a longer runway. Experienced hikers may need less general conditioning but more route-specific work.
Do not turn every session into a hard workout. Recovery is part of the program, and a schedule that leaves you constantly sore is harder to sustain.
| Training Phase | Main Focus |
| Weeks 1–2 | Build consistency. Aim for two basic strength sessions, two comfortable aerobic sessions, and regular walking. Use an easy day hike to check footwear, pack fit, and your starting endurance. |
| Weeks 3–4 | Add hills, stairs, or incline walking. Keep two strength days and begin a longer weekly hike. Introduce a light version of your expected trail pack. |
| Weeks 5–6 | Make training more hike-specific. Build the duration and elevation of your long hike, practice controlled descents, and work toward the pack weight you expect to carry. Multi-day hikers can occasionally add an easy second hiking day. |
| Week 7 | Peak specificity. Complete a demanding but controlled hike that resembles your trip in terrain, climbing, time on your feet, footwear, and pack load. Do not turn it into an all-out exhaustion test. |
| Week 8 | Taper. Reduce total training, keep some easy movement, check gear, sleep well, and arrive at the trail rested. Keep the final one or two days easy rather than trying to gain last-minute fitness. |
A Practical Weekly Pattern
A typical training week can include two nonconsecutive strength sessions, two aerobic or hill sessions, one longer hike, and at least one or two easier recovery days. You do not need to force every category into a separate day; an easy hike can replace an aerobic session, and an experienced hiker may combine hill work with a longer outing.
Most aerobic training should feel controlled enough that you can speak in sentences. Harder hill or stair intervals can be added once you have a base, but they should complement rather than replace longer steady work.
Progress Without Rushing
Increase training gradually. Rather than suddenly adding distance, elevation, pack weight, and speed at the same time, raise one major stressor and see how your body responds. Persistent pain, worsening joint discomfort, or fatigue that does not improve with recovery is a reason to back off rather than push harder.
Proper Gear and Equipment
The right gear can make mountain training safer and more comfortable, but “right” depends on the route. Trail shoes may be appropriate for maintained dry trails, while hiking boots can make more sense for rough ground, wet conditions, heavier loads, snow, or hikers who prefer their fit and support. In either case, prioritize secure fit, dependable traction, and enough toe room for descents.
Train in the footwear you plan to use. A long mountain day is a poor time to discover that a heel slips, a toe hits the front of the shoe, or a seam creates a blister.
Choose clothing that fits the weather and can manage moisture. Layering lets you adapt as temperature, wind, rain, sun exposure, and exertion change. A backpack should fit your torso and allow you to carry water, food, clothing, first aid, navigation tools, and emergency supplies without excessive bouncing or pressure points.
Trekking poles are optional, but many hikers find that they improve balance on uneven ground and give the upper body a way to share some of the work during long climbs and descents. Practice with them before your trip so pole placement feels natural.
The National Park Service Ten Essentials include navigation, sun protection, extra clothing, illumination, first-aid supplies, fire, repair tools, extra food, hydration and water-treatment supplies, and emergency shelter. More specialized outings may require additional safety equipment, such as a helmet for technical climbing or a personal flotation device when a route includes water travel.
Warning: Do not rely on a phone as your only navigation or emergency tool. Batteries fail, screens break, and service can disappear. Download offline mapping when appropriate and carry a backup navigation method you know how to use.
Understanding Altitude and Terrain
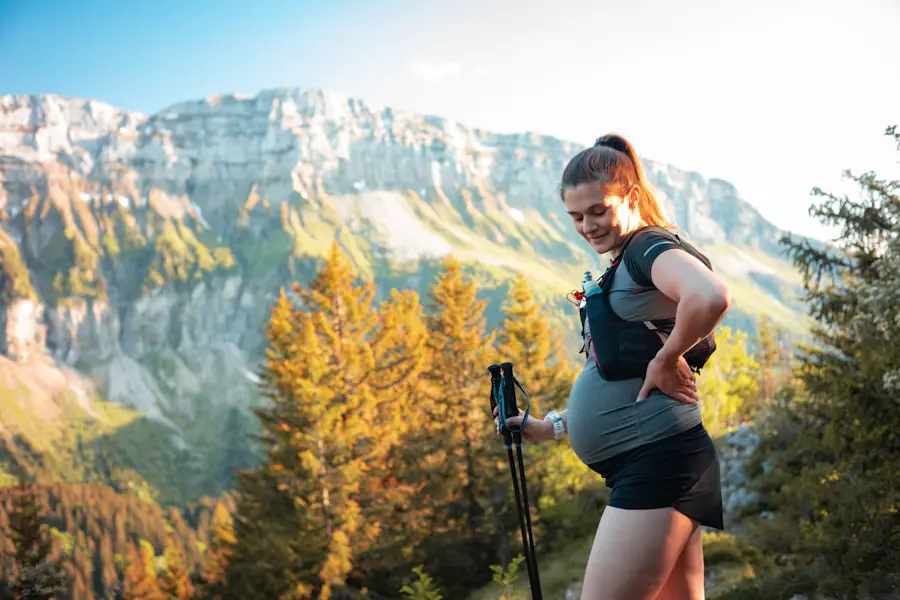
As elevation increases, air pressure falls and less oxygen is available with each breath. The result is lower exercise capacity until the body has had time to adjust. According to the CDC Yellow Book, an unacclimatized traveler sleeping at about 8,000 feet (2,450 meters) or higher can be at risk for altitude illness.
Being very fit does not make you immune. CDC guidance specifically notes that training and physical fitness do not determine a person’s susceptibility to altitude illness. Fitness can make the hiking work easier, but acclimatization still requires time.
Acclimatize Instead of Trying to Out-Train Altitude
When possible, CDC guidance supports spending two or three nights around 8,000–9,000 feet (2,450–2,750 meters) before moving higher. Once sleeping above roughly 9,800 feet (3,000 meters), a commonly used guideline is to increase sleeping altitude by no more than about 1,600 feet (500 meters) per day and include an extra acclimatization night for each additional 3,300 feet (1,000 meters) gained.
These are general guidelines rather than a guarantee. Individual susceptibility varies, and some itineraries require medical advice or a slower schedule.
Know the Warning Signs
Acute mountain sickness often includes headache along with fatigue, dizziness, nausea, vomiting, or loss of appetite after a recent ascent. Do not keep ascending while symptoms are present.
Warning: Confusion, unusual drowsiness, loss of coordination, inability to walk normally, severe breathing difficulty, or breathlessness at rest can signal life-threatening high-altitude cerebral or pulmonary edema. These symptoms require urgent descent and medical help. Minimize exertion during evacuation when possible.
Train for the Terrain Too
Elevation is only one challenge. Rocky trails demand foot placement and balance. Mud and loose gravel require traction and controlled speed. Snow may require route-specific equipment and skills. If your goal hike includes a certain type of terrain, safely practice on similar ground before the trip whenever possible.
Nutrition and Hydration
Food and fluid needs during mountain hiking depend on body size, weather, exertion, altitude, trip duration, and individual tolerance. The original one-size-fits-all daily targets are therefore better treated as general nutrition references rather than trail prescriptions.
| Metric | Updated Guidance |
| Water intake recommendation | There is no universal eight-glass hiking target. National Academies reference values for healthy adults are about 2.7 L/day of total water for women and 3.7 L/day for men, including water from food and beverages. Exercise, heat, altitude, and individual sweat loss can raise needs substantially. |
| Recommended daily calorie intake | There is no single 2,000/2,500-calorie target that fits all hikers. Energy needs vary with body size, age, activity, training volume, hike duration, and environmental conditions. |
| Fruits and vegetables | Regular meals should include a variety of nutrient-dense foods and produce. Current U.S. food-group recommendations are individualized rather than a universal five-servings rule for every adult. |
| Protein | The adult RDA baseline is about 0.8 g/kg/day for healthy adults. Individual training needs can differ, so include protein regularly rather than relying on a single sex-based gram target. |
| Fiber | National Academies reference values vary by age and sex, with adult values ranging roughly from 21 to 38 g/day. Choose familiar foods before and during hiking because large amounts of unfamiliar high-fiber food can be uncomfortable during hard exercise. |
The National Academies Dietary Reference Intake tables provide the underlying reference values for total water, protein, fiber, and other nutrients.
Fuel Training and Long Hikes
Carbohydrate-rich foods such as oats, rice, potatoes, bread, fruit, and other familiar foods help supply energy for active muscles. Protein-containing meals and snacks support normal recovery and tissue maintenance. Fats can add energy-dense calories, which can be useful when food weight matters.
On the trail, choose food that is practical, familiar, and easy for you to eat while moving. Trail mix, sandwiches, dried fruit, bars, tortillas, nuts, nut or seed butter, and similar foods can work well. For remote trips, carry additional food in case weather, navigation problems, injury, or other delays keep you out longer than planned.
Hydrate for the Conditions, Not a Fixed Number
Plan water around your route, weather, duration, intensity, and reliable refill points. Drink regularly and pay attention to thirst and how you feel, but do not force yourself to consume excessive amounts of plain water merely to reach an arbitrary hourly total.
The CDC Yellow Book guidance on heat and fluid replacement notes that prolonged exertion in heat can require replacement of both fluid and salt. Salty foods or an appropriate electrolyte drink can be useful during long, sweaty efforts. Too much plain water relative to sodium loss can contribute to dangerous hyponatremia.
Dark, low-volume urine can be one clue that you need more fluid, particularly when considered with other signs, but urine color alone is not a perfect real-time hydration gauge. Dizziness, weakness, headache, nausea, confusion, and declining performance can have several causes on a mountain, including dehydration, heat illness, altitude illness, exhaustion, or electrolyte problems.
Warning: Do not assume that every headache, nausea episode, or dizzy spell at altitude is “just dehydration” and try to fix it by rapidly drinking large amounts of water. Altitude illness and hyponatremia can produce overlapping symptoms and may require a very different response.
Treat Uncertain Backcountry Water
Clear-looking mountain water is not automatically safe. According to the CDC’s backcountry water-treatment guidance, boiling is the most reliable way to kill germs. When boiling is not practical, filtering followed by appropriate disinfection provides broader protection than relying on many basic filters alone.
CDC guidance calls for a rolling boil for one minute, or three minutes above 6,500 feet. Always follow the instructions for the filter, purifier, disinfectant, or UV treatment system you carry.
Safety Precautions
Training is only one part of mountain preparation. Before leaving, check the route, current weather, park or land-manager alerts, trail closures, water availability, daylight, and any known hazards. Choose a route that matches the least-experienced member of the group rather than planning around the strongest person.
Leave a trip plan with someone who is not on the hike. Include your route, trailhead, group members, vehicle information when useful, expected return time, and instructions for what to do if you are overdue.
Carry the Essentials
The National Park Service recommends the Ten Essentials system: navigation, sun protection, extra clothing, illumination, first aid, fire, repair tools, extra food, water and water treatment, and emergency shelter. Adjust the kit for season, remoteness, terrain, and trip length.
A first-aid kit should match the trip and your training. Carry personal medications and know how to use the equipment you bring. A satellite messenger or personal locator device may add a useful communication option in remote areas, but electronics should complement rather than replace good planning.
Use Turnaround Rules
Mountain hikers sometimes get into trouble because reaching the summit becomes more important than changing conditions. Decide in advance when you will turn around for deteriorating weather, insufficient water, slow progress, injury, navigation uncertainty, altitude symptoms, or an approaching darkness deadline.
Pro Tip: A turnaround is not a failed hike. It is a normal mountain-safety decision. Build enough margin into your plan that changing course feels like an available option rather than a crisis.
Building Endurance and Strength
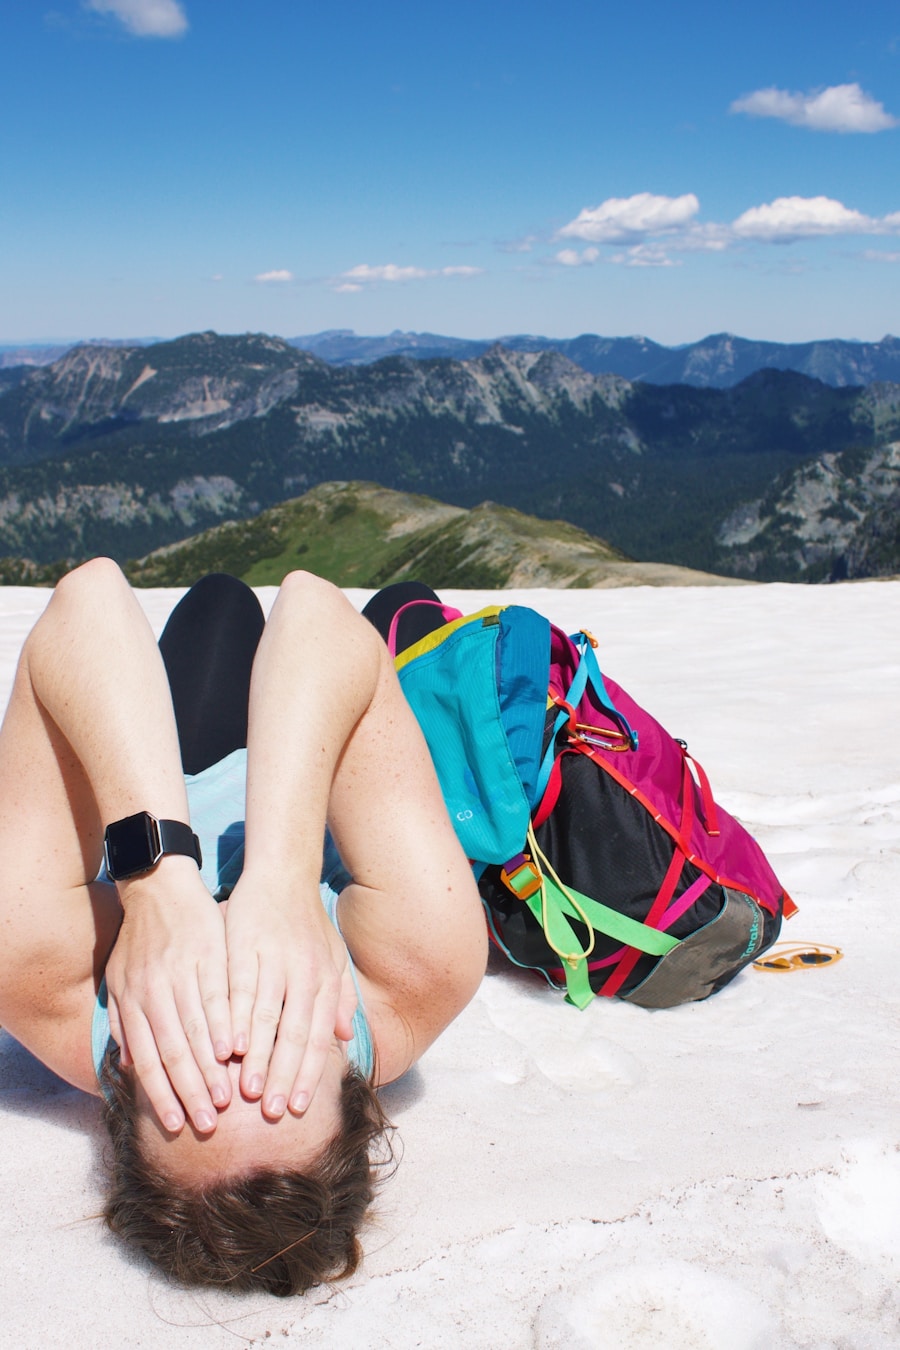
A strong hiking program combines endurance and strength because the trail asks you to produce relatively modest force thousands of times. Running, cycling, swimming, brisk walking, incline walking, stair climbing, and similar aerobic activities can build cardiovascular capacity. Hiking itself becomes increasingly important as the trip gets closer because it combines time on your feet with terrain, footwear, elevation, and pack carrying.
Useful Strength Exercises for Hikers
Choose movements you can perform with good control and without sharp pain. A beginner can start with two sets and gradually add repetitions, resistance, or an additional set as the exercises become comfortable.
- Step-ups: Build climbing strength and closely resemble stepping onto rocks or ledges.
- Squats or sit-to-stands: Train the hips and thighs through a basic lower-body movement.
- Reverse lunges or split squats: Build single-leg strength and control.
- Controlled step-downs: Train the quadriceps to lower the body during descents.
- Calf raises: Build calf and ankle capacity for repeated uphill steps.
- Hip hinges or deadlift variations: Strengthen the posterior chain used during climbing and load carriage.
- Rows: Strengthen the upper back and shoulders for pack carrying and pole use.
- Planks, dead bugs, or loaded carries: Develop trunk control instead of treating “core training” as endless crunches.
- Single-leg balance: Improve control on uneven surfaces; progress by adding gentle movement rather than closing your eyes on unsafe surfaces.
Do Not Forget the Downhill
Descending requires the leg muscles to control your body while they lengthen under load. This eccentric work is one reason a long downhill can leave the quadriceps sore even when the climb felt harder aerobically. Research on downhill walking and muscle soreness supports the value of preparing for this type of loading.
Introduce downhill training gradually. Controlled step-downs, slowly lowering during squats or lunges, and easy hikes with modest descents are useful starting points. Build the amount of descent over time rather than doing a huge downhill session a few days before your goal hike.
Train Uphill Without a Mountain
If you live in a flat area, use stairs, a stair machine, treadmill incline, stadium steps, parking-garage stairs where permitted, or repeated climbs on the best local hill. Step-ups with a stable platform are another practical option.
Do not hold the treadmill rails or stair-machine handles merely to support your body weight during every climbing workout. Use a pace and incline you can control with normal posture.
Practice With Your Backpack
Start with a light load and increase it as your body adapts. Your goal is not to prove that you can carry an unnecessarily heavy training pack; it is to become comfortable with the load you expect on the trip.
Pack practice also reveals equipment problems. Adjust the hip belt, shoulder straps, sternum strap, and load placement during training rather than waiting until the mountain.
Mental Preparation and Mindset
Mountain hiking can become mentally difficult when the trail is steep, the summit still looks far away, weather changes, or fatigue builds. A useful mindset is flexible rather than blindly determined.
Break long days into small objectives: reach the next switchback, eat at the next safe rest spot, refill water at the planned source, or reassess the route at a specific junction. Small checkpoints make it easier to manage effort without constantly thinking about the entire remaining distance.
Visualization can also be practical when it is tied to decisions. Think through what you will do if the weather turns, a trail is closed, your pace is slower than expected, or someone in the group develops symptoms. That kind of mental rehearsal makes a Plan B easier to use.
Simple breathing or mindfulness exercises may help you settle down when stress rises, but mindset should never be used to ignore genuine danger, injury, altitude symptoms, or worsening weather.
Recovery and the Final Week
Your body adapts between training sessions, not only during them. Include easier days and enough sleep to recover from hard hikes and strength work. Normal mild muscle soreness can occur after a new workout, but sharp pain, worsening joint pain, or pain that changes your normal walking pattern is a reason to reduce the load and seek appropriate assessment when needed.
During the final week, cut back on demanding training. Keep some easy walking or mobility work if it helps you feel good, but avoid a last-minute marathon workout, very heavy strength session, or unfamiliar downhill challenge.
Stretching and foam rolling can feel useful for mobility or short-term comfort, but neither should be treated as a guarantee against soreness or injury. Progressive training, good technique, sensible workload, adequate recovery, and appropriate footwear remain more important.
Training Programs and Resources
Some hikers do well with a self-directed plan, while others benefit from a qualified trainer, physical therapist, hiking group, guide, or climbing gym. A coach can be especially useful when you are preparing for a demanding objective, returning from injury, or unsure how to adapt exercises to your current ability.
Climbing gyms and outdoor organizations can also provide instruction in skills that fitness alone cannot teach, such as navigation, belaying, snow travel, scrambling, or technical climbing. Online forums and social media communities can help you connect with experienced hikers and training partners, but verify safety-critical advice against official land-manager guidance, qualified professionals, or reliable medical sources.
Electronics can support navigation and communication, but they require power. If your mountain trip also involves significant travel, the existing guide to the best power bank for international travel can help with charging planning. A power bank is a backup convenience, not a substitute for navigation skills, emergency planning, or appropriate communication equipment.
Love travel? Join Our Facebook Community For More Tips.
Frequently Asked Questions
What are the benefits of training for hiking mountains?
Training can improve aerobic endurance, leg and core strength, balance, and your ability to spend hours moving over uneven terrain with a backpack. It also gives you time to test footwear, pacing, food, water, and gear before the actual hike. Conditioning improves hiking capacity, but it cannot eliminate all injury or altitude risks.
How often should I train for hiking mountains?
Many hikers can prepare effectively with about four to five training days per week during a focused program, including two strength sessions and a mix of aerobic, hill, and hiking workouts. Beginners may need fewer sessions at first, while experienced hikers may tolerate more. Recovery matters more than reaching an arbitrary number of workout days.
How long before a mountain hike should I start training?
About eight weeks is a useful focused-training window for many recreational hikers who already have a basic activity level. Start earlier if you are sedentary, preparing for a very long or multi-day trip, carrying a substantial pack, or facing unusually large elevation gains.
What cardiovascular exercises help with mountain hiking?
Brisk walking, uphill hiking, stair climbing, incline treadmill walking, running, cycling, and swimming can all improve aerobic fitness. As the trip approaches, include more weight-bearing and hiking-specific work so your feet, legs, and body become accustomed to long periods on the trail.
What strength exercises are best for hiking mountains?
Useful choices include step-ups, squats, reverse lunges or split squats, controlled step-downs, calf raises, hip hinges, rows, loaded carries, and simple core-stability exercises. Mountain hikers should train both climbing strength and controlled lowering for descents.
Are there specific hiking workouts I should include?
Yes. Include uphill walking or stairs, controlled downhill practice, long hikes, step-ups, and sessions using the backpack and footwear planned for your trip. Multi-day trekkers can occasionally practice two hiking days in a row once they have enough fitness to recover safely.
Should I train with a weighted backpack?
Yes, if you will carry a pack on the goal hike. Start light and gradually work toward your expected trail load. Avoid adding excessive weight simply to make training harder. Pack practice should improve comfort, posture, load management, and hiking specificity without creating unnecessary strain.
Does being fit prevent altitude sickness?
No. Cardiovascular fitness can make hiking easier, but CDC guidance states that training and physical fitness do not determine susceptibility to altitude illness. High-elevation hikers still need a sensible ascent and acclimatization plan and should never ignore worsening altitude symptoms.
How can I reduce my risk of injury while training?
Increase training gradually, use appropriate footwear, strengthen the legs and trunk, practice the terrain and pack load you expect, and schedule recovery. Stop or modify exercises that cause sharp or worsening pain. Stretching and foam rolling may help comfort or mobility, but they do not replace sensible progression or recovery.
Sources
- U.S. Department of Health and Human Services — Move Your Way Activity Planner — general adult aerobic and muscle-strengthening activity guidance.
- CDC Yellow Book — High-Altitude Travel and Altitude Illness — altitude risk, acclimatization, AMS, HACE, HAPE, and descent guidance.
- National Park Service — Ten Essentials — hiking equipment, navigation, emergency supplies, food, water, and trip preparation.
- CDC — Water Treatment While Hiking, Camping, or Traveling — boiling, filtering, disinfection, and backcountry drinking-water safety.
- CDC Yellow Book — Heat and Cold Illness in Travelers — fluid replacement, heat illness, electrolytes, and hyponatremia risk.
- National Academies — Dietary Reference Intake Summary Tables — reference values for total water, protein, fiber, and other nutrients.
