
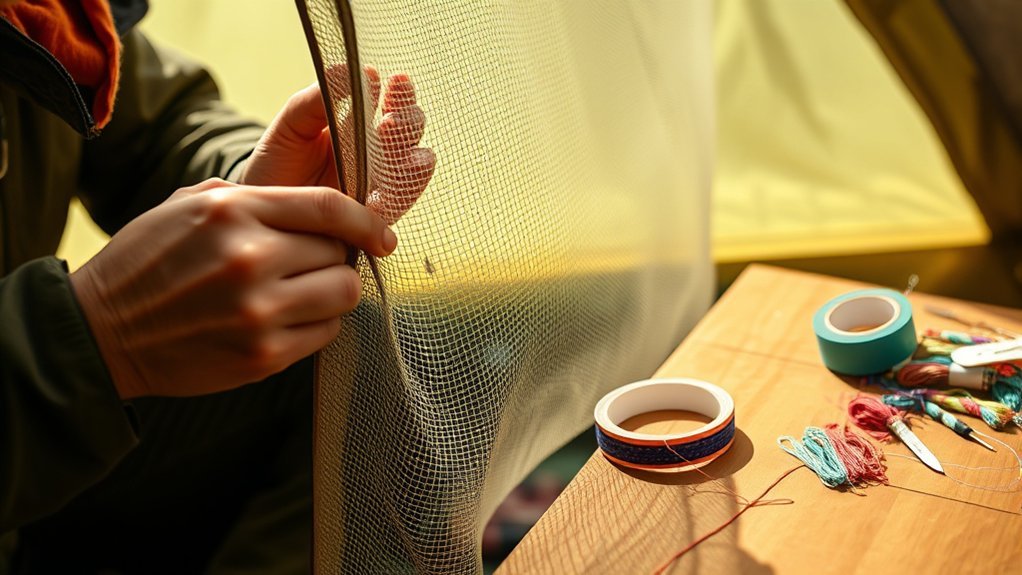
Last Updated on July 28, 2026 by Mason Reed
Quick Answer
To repair tent mesh, clean the area with rubbing alcohol, then cover holes under 3 inches with a pre-cut peel-and-stick mesh patch (like Gear Aid Tenacious Tape). For larger tears, apply fabric patches at least 0.5 inches larger than the hole to both sides, or reinforce high-stress seams with UV-resistant thread and a backing strip.
At a Glance
| Time Required | 5–15 minutes to apply; 24 hours for adhesive to fully cure |
| Difficulty | Easy (tape/patches) to Moderate (sewing stress points) |
| Tools Needed | Rubbing alcohol, mesh/fabric patches, scissors, needle & UV-resistant thread |
| Cost | $5–$15 for a repair kit |
Key Takeaways
- Holes under 3 inches: Use a pre-cut adhesive mesh patch for a quick, no-sew fix.
- Larger tears: Sandwich the hole between two fabric patches sized at least 0.5 inches past the damage.
- Surface prep is key: Clean thoroughly with isopropyl alcohol to strip oils so the adhesive bonds permanently.
- Round the corners: Cutting patch edges into smooth curves prevents peeling over time.
- Reinforce stress points: Sew high-tension areas near zippers or corners using UV-resistant thread backed by fabric.
Disclosure: As an Amazon Associate I earn from qualifying purchases. Some links on this page are affiliate links, at no extra cost to you.
Understanding Tent Mesh Damage
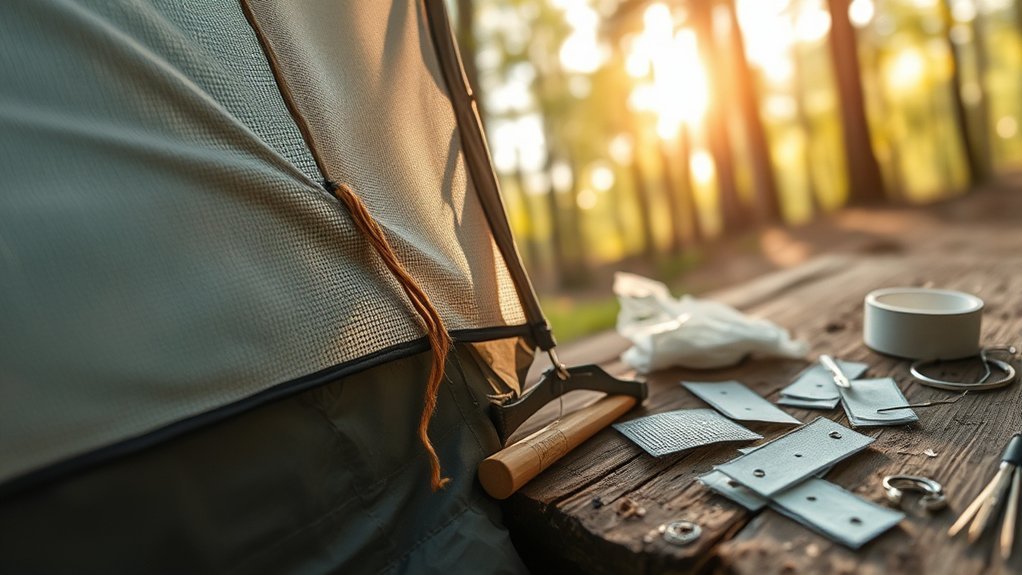
Damaged mesh is one of the most common tent problems, and it is rarely a reason to replace the whole shelter. Most modern tents use fine no-see-um polyester or nylon mesh designed to keep out microscopic insects while maximizing airflow. Inspecting your mesh before and after every trip helps catch frayed threads or tiny punctures before tension turns a pinhole into a ruined panel.
Holes are generally categorized by size and structural stress:
- Small Punctures (under 3 inches): Ideal for simple peel-and-stick adhesive mesh patches.
- Large Tears (over 3 inches): Require double-sided fabric patching to handle fabric tension.
- Seam and Zipper Splits: High-stress repairs requiring structural stitching combined with backing material.
Distinguishing Between Holes and Bunched Fibers
Before reaching for scissors or a patch, inspect the mesh closely to confirm whether a thread is actually broken. Backpacking mesh is woven, meaning strands can get pushed aside by twigs or zipper teeth without snapping.
“Bunched fibers look like a hole at first glance, but no threads are severed. Gently rubbing the distorted area between your thumb and forefinger realigns the weave instantly.”
If the strands slide back into place and close the gap, no patch is required. If threads are severed or frayed, proceed with a permanent repair.
Preparing for Repairs

Proper surface preparation determines whether your patch lasts for seasons or fails on your next trip. Outdoor gear collects dust, pitch, and skin oils that prevent pressure-sensitive adhesives from gripping the fibers.
- Set up a flat workspace: Lay the damaged mesh flat over a hard surface (like a book or cutting board) placed inside the tent under the hole.
- Clean with rubbing alcohol: Wipe both sides of the mesh surrounding the tear with rubbing alcohol. Let it dry completely for 2–3 minutes.
- Trim loose threads: Carefully snip off dangling or badly frayed strands using sharp scissors so they don’t catch under the adhesive.
Repairing Small Holes With Mesh Patches
For holes under 3 inches in low-tension areas, pre-cut mesh repair patches offer a fast, professional finish that preserves tent ventilation.
Pro Tip: If using clear repair tape instead of a mesh patch, cut the tape into a circle or oval. Sharp 90-degree corners create catch points that peel up when the tent is packed into its stuff sack.
- Lay the cleaned mesh flat against a smooth, solid backing surface.
- Peel the paper backing off the pre-cut mesh patch.
- Center the patch over the hole, ensuring at least 0.5 inches of adhesive border overlaps intact mesh on all sides.
- Press firmly from the center outward to push out air bubbles and lock the bond.
Addressing Larger Holes With Fabric Patches
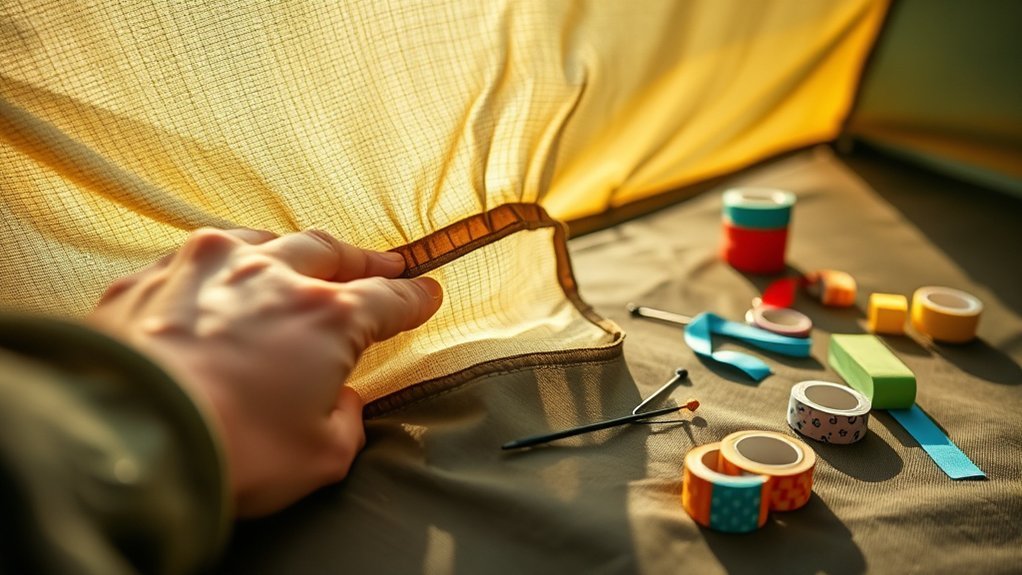
Holes larger than 3 inches suffer higher tension when the tent is staked out. To prevent the patch from pulling away, sandwich the damaged area between two patches—one on the inside and one on the outside.
Selecting a Suitable Fabric Patch
Choose a repair tape or fabric patch rated for outdoor equipment. Self-adhesive nylon or polyester patches (such as Tenacious Tape) bond directly to micro-mesh.
| Patch Type | Recommended Size | Adhesive Strength | Best For |
|---|---|---|---|
| Tenacious Tape Mesh Patches | 3″ Round | High | Small holes, maintaining ventilation |
| Clear Adhesive Tape | 3″ x 5″ Sheet | High | Mid-sized tears, waterproof coverage |
| Heavy-Duty Nylon Patch | 4″ x 4″ Cut Sheet | Very High | Large structural tears & stress points |
Preparing the Fabric Surface
Clean the perimeter of the tear with isopropyl alcohol on both interior and exterior surfaces. Measure the tear and cut two matching patches that extend at least 0.5 to 1 inch past the damage in every direction. Round every corner with scissors.
Applying the Patch Securely
- Apply the first patch to the inside of the tent mesh while supporting the exterior with a flat backing object.
- Flip to the outside and carefully align the second patch directly opposite the first, pressing adhesive-to-adhesive through the mesh openings.
- Smooth firmly with your thumb or a roller. Allow 24 hours for the pressure-sensitive adhesive to reach full cure strength before packing the tent.
Field Emergency Repairs vs. Permanent Home Fixes
When a tear happens miles into the backcountry, you need an immediate fix to keep mosquitoes and midges out overnight.
- Field Fix (Trailside): Use duct tape, painter’s tape, or kinesiology tape from your first-aid kit as a temporary barrier. Stick matching strips on both sides of the mesh. Avoid aggressive adhesives like Gorilla Tape directly on delicate mesh if possible, as residue can complicate permanent home repairs later.
- Permanent Fix (At Home): Once back from your trip, peel off temporary tape carefully, clean sticky residue completely with isopropyl alcohol or adhesive remover, and apply proper outdoor repair patches or stitching.
Repairing Complex Tears Along Seams and Zippers
Tears running along a zipper track or tent pole sleeve bear immense physical stress. Adhesive tape alone will peel under tension in these zones.
- Backing Material: Place a strip of heavy-duty repair tape or ripstop fabric underneath the mesh along the seam line.
- Pin into Place: Hold the mesh and backing fabric together cleanly without stretching the surrounding panel out of shape.
- Stitch Through All Layers: Sew through the mesh and backing strip simultaneously to anchor the repair directly into the reinforced tent seam.
Enhancing Durability With Sewing
For long rips or high-tension spots, sewing provides structural integrity that tape alone cannot match.
Choosing the Right Thread
Standard cotton embroidery thread breaks down quickly when exposed to moisture and solar UV rays. Always select 100% bonded polyester or nylon thread designed for outdoor equipment. Waxed thread is also beneficial as it glides easily through tight mesh without snagging.
Basic Sewing Techniques
Use a simple zigzag stitch or whipstitch along the edge of the tear. A zigzag pattern allows the mesh to stretch naturally when under tension without snapping individual stitches.
Warning: Sewing directly into bare mesh without an adhesive backer or fabric border will pull needle holes into larger tears under tension. Always anchor your stitches through a repair patch or fabric strip.
When to Repair vs. Replace a Mesh Panel
While most mesh damage is fixable, certain conditions indicate a panel has reached the end of its useful life:
- UV Degradation (Sun Rot): If the mesh feels brittle, crumbles, or rips like tissue paper when pulled lightly, sunlight has destroyed the synthetic fibers. Patches will simply pull away from surrounding mesh.
- Massive Shredding: Rips covering more than 30% of an entire wall panel are rarely cost-effective or practical to patch manually; panel replacement or tent replacement is recommended.
Regular Maintenance and Inspection Tips
Preventative care keeps bug netting intact and extends shelter life:
- Inspect after every outing: Set up your tent at home to dry fully, checking all mesh panels for snagged strands or tiny holes.
- Clear zipper tracks: Lubricate tent zippers regularly to prevent sliders from catching adjacent mesh.
- Store uncompressed: Store your tent loosely in a breathable cotton sack or dry storage bin rather than tightly stuffed, reducing sharp creases on fine netting.
Frequently Asked Questions
Can I use regular household tape for tent mesh repairs?
No. Standard household tapes (like Scotch or masking tape) lack weather-resistant adhesives and disintegrate rapidly when exposed to humidity or sunlight. Duct tape works strictly as a short-term field emergency fix, but leaves sticky residue that must be cleaned off prior to permanent repairs.
How long do patch repairs typically last?
A properly cleaned and cured pressure-sensitive adhesive patch (like Tenacious Tape) can last for years of active use. Reinforcing high-stress patches with perimeter stitching makes the fix virtually permanent.
What types of fabric are best for patches?
Polyester and nylon repair patches with weather-resistant acrylic adhesives are best. For maintaining insect airflow on small holes, pre-cut bug mesh patches are ideal.
Is it safe to wash a patched tent?
Yes. Once the patch adhesive has fully cured for 24 hours, you can hand-wash the tent using mild gear cleaner (like Nikwax Tech Wash) and cold water. Never machine wash or tumble dry a tent.
Can I repair mesh in wet conditions?
Adhesive patches will not bond to wet mesh. In rain, dry the repair area completely using a microfiber towel or camp stove heat (at a safe distance) before applying tape, or use a mechanical pin/stitch temporary hold until the gear dries.
Conclusion
A tear in your tent mesh does not mean you need a new shelter. By properly cleaning the area, choosing the right size patch, rounding corners to prevent peeling, and reinforcing high-stress seams with UV-resistant thread, you can easily restore your tent screen to keep bugs out for seasons to come.
Sources
- Gear Aid Official Guides — Care, adhesive cure times, and technical repair standards for outdoor fabrics.
- REI Co-op Expert Advice — Care, maintenance, and field repair instructions for tent bodies and netting.
- MSR Gear Blog — Fabric maintenance and UV degradation identification for modern shelters.
