
Last Updated on July 27, 2026 by Daniel Globe
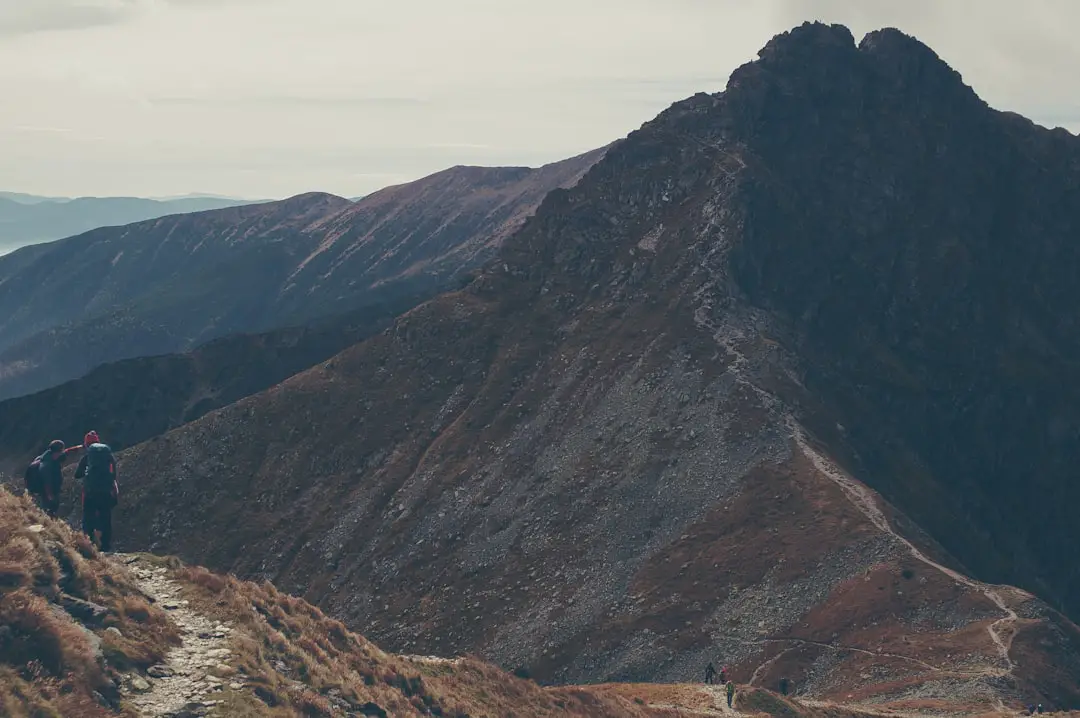
Class 3 hiking sits directly at the intersection where steep trail walking transforms into hands-on scrambling. On this terrain, you will need your hands as much as your feet for balance and upward progress, and a misplaced step carries genuine consequences. Understanding what Class 3 demands—from footwear and route-finding to 3-point contact mechanics and risk assessment—is essential before stepping off maintained trails into high-exposure alpine environments.
Quick Answer
Class 3 hiking involves unroped scrambling over steep, rocky terrain where handholds are required for balance and upward movement. It bridges moderate Class 2 trail walking and technical Class 4–5 climbing. While ropes are not standard, Class 3 terrain carries real objective hazards, steep exposure, and risk of fall injuries, requiring helmet protection, route-finding skills, and solid footing.
Key Takeaways
- Hands-On Scrambling: Class 3 requires using your hands for balance and progress over steep rock, though technical climbing ropes are generally not required.
- 3-Point Contact Rule: Always keep three limbs anchored to stable rock before shifting weight or searching for the next hold.
- Essential Safety Gear: A climbing helmet is critical for rockfall protection, along with sticky-rubber approach shoes or supportive boots, and a satellite communicator.
- Exposure & Risk: Fall consequences range from severe cuts and fractures to fatal drops on high-exposure routes like Capitol Peak’s Knife Edge.
- Downclimbing Caution: Descending Class 3 rock is technically harder than climbing up—face toward the slope on steep sections and test every hold before weighting it.
Disclosure: As an Amazon Associate I earn from qualifying purchases. Some links on this page are affiliate links, at no extra cost to you.
What Does “Class 3” Actually Mean?
Hiking difficulty in the U.S. is usually measured against the Yosemite Decimal System (YDS), originally developed for rock climbers but widely adopted by mountain hikers to grade terrain difficulty. Class 1 describes a well-maintained, continuous trail. Class 2 involves off-trail travel, talus-hopping, or light boulder scrambling where hands are only occasionally used for balance. Class 3 is where hands come into play for real—you are climbing short rock steps, navigating steep gullies, and pulling yourself up ledges.
While technical ropes and harnesses are not standard practice on Class 3 terrain, a fall can cause severe injury or worse depending on the exposure. Class 4 raises the stakes further with near-vertical rock and severe exposure where ropes are frequently used for safety. Class 5 represents technical rock climbing requiring ropes, harnesses, belay systems, and removable protection. Knowing where a route falls on this scale—and recognizing that individual mountain routes can shift between classes at different sections—is essential for matching a trail to your ability level.
The Yosemite Decimal System (YDS) Explained
| YDS Rating | Terrain Characteristics | Gear & Fall Consequence |
| Class 1 | Established, well-marked walking trails. Low incline. | Standard footwear. Minimal fall risk. |
| Class 2 | Off-trail hiking, uneven talus fields, light boulder hopping. Hands used occasionally for balance. | Sturdy boots. Low to moderate risk of slips or twisted ankles. |
| Class 3 | Sustained scrambling over steep rock steps, gullies, and ledges. Hands required for upward movement. | Helmet recommended. Approach shoes/boots. Unroped fall can cause serious injury or death. |
| Class 4 | Simple climbing on steep to near-vertical rock with high exposure. Natural holds are obvious. | Helmet & belay rope frequently used. Unprotected fall is often fatal. |
| Class 5 | Technical rock climbing on steep or overhanging rock faces (rated 5.0 to 5.15+). | Climbing shoes, harness, rope, hardware protection required. High consequence. |
Crucial Technique: The 3-Point Contact Rule and Movement
Moving efficiently over Class 3 terrain requires shifting from a walking mindset to a climbing mindset. The foundational rule of unroped scrambling is maintaining three points of contact at all times: two feet and one hand, or two hands and one foot firmly anchored to solid rock before moving the fourth limb. This maintains static stability and prevents balance shifts that cause slips on steep steps.
Weight placement is equally critical. Beginners tend to hug the rock face, pulling their center of gravity inward. This pushes weight off their feet and reduces rubber friction on the rock. Instead, stand upright over your feet, keep your weight centered over your soles, and use your hands primarily for balance and light pulling rather than full body-weight lifting. Rely on your leg muscles—not your arms—to push your body upward.
The Gear You’ll Need for Class 3 Hiking
Footwear choice is paramount on scrambling routes. Sturdy hiking boots with deep lugs and firm ankle support provide stability on loose talus approaches. However, many experienced scramblers prefer approach shoes—a specialized hybrid combining sticky climbing-shoe rubber outsoles with a supportive hiking shoe upper. Approach shoes feature a flat “climbing zone” at the toe that maximizes friction on smooth granite slabs and narrow ledges.
Beyond footwear, a certified mountaineering or climbing helmet is non-negotiable on popular Class 3 routes where overhead parties can accidentally dislodge loose rock. Carry a compact daypack (20–25 liters) that fits snugly against your torso without shifting when you reach overhead. Pack plenty of water, high-calorie snacks, a basic first-aid kit, and a compact satellite communicator (such as a Garmin InReach or ZOLEO) since cell coverage drops quickly above timberline. Stash trekking poles on your pack once actual scrambling begins so both hands remain completely free.
Safety Precautions and Objective Hazards in Class 3 Terrain
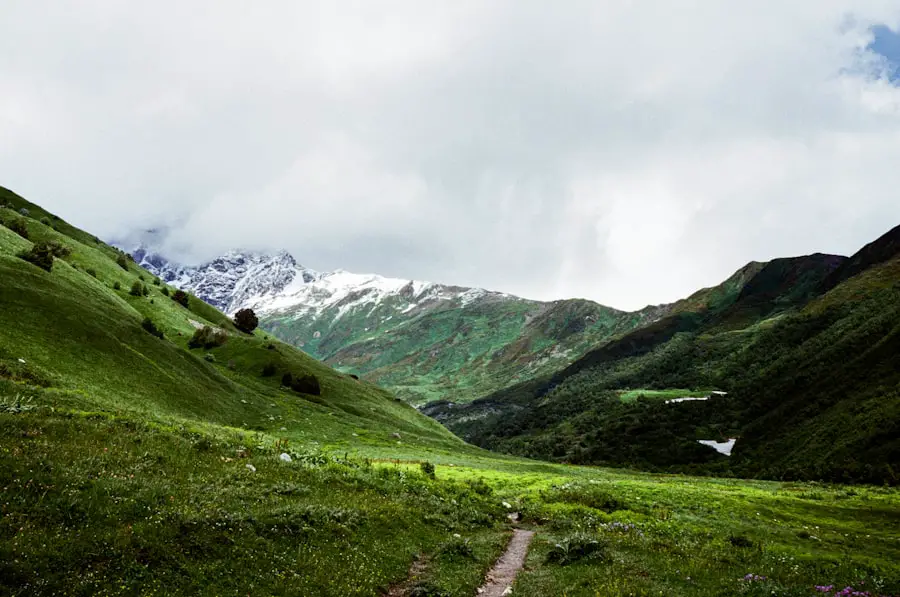
Be honest about your fitness and comfort with height before setting out. If you are new to scrambling, gain experience on shorter Class 3 routes before tackling high-exposure peaks like Capitol Peak’s Knife Edge. Hiking with an experienced partner adds an vital safety net—someone who can spot your foot placements, assist with navigation, or signal for rescue if an emergency occurs.
Objective hazards in the alpine zone include loose rock, rapid weather changes, and lightning. Alpine rock is subject to freeze-thaw cycles that loosen blocks over time; always test handholds and footholds with a firm tug or tap before putting your full weight on them. Check detailed high-altitude weather forecasts, aim to be off exposed ridgelines by noon to avoid afternoon thunderstorms, and never hesitate to turn around if weather deteriorates or fatigue sets in.
Warning: Some routes labeled “Class 3” carry Class 4 exposure in specific sections. Capitol Peak’s Knife Edge, for example, is frequently described as Class 3–4 due to its severe shear drops on both sides—research any named route thoroughly before attempting it, and do not assume the overall rating applies evenly across every single foot of terrain.
Choosing the Right Trail for Class 3 Hiking
Selecting a Class 3 route requires assessing distance, total elevation gain, technical difficulty, and exposure level. While some Class 3 routes feature short scrambling sections on otherwise straightforward trails, others require sustained focus across miles of loose, highly exposed ridges.
At a Glance: Popular Class 3 Routes
| Mount Sneffels (South Slopes) | ~6.5 miles, ~2,900 ft gain — Classic Class 3 scramble through a steep rocky couloir in Colorado’s San Juan Mountains. |
| Longs Peak (Keyhole Route) | ~14.5 miles, ~5,100 ft gain — High-exposure Class 3 scramble featuring the Ledges, Trough, Narrows, and Homestretch. |
| Capitol Peak (Northeast Ridge) | ~17 miles, ~5,300 ft gain — Sustained Class 3–4 terrain with severe, vertical exposure along the famous Knife Edge ridge. |
| Mount Yale (East Ridge / Bastard Ridge) | ~9.5 miles, ~4,300 ft gain — Scrambling off-trail ridge option (Note: Yale’s standard Denny Creek route is Class 2). |
Always review recent trip reports before heading out. Conditions like residual snowpack, loose rockslides, or washed-out gullies change seasonally and will not appear in older guidebooks. Verify trailhead parking limits, land management rules, and permit requirements in advance—popular Class 3 destinations like Rocky Mountain National Park or Mount Whitney require competitive permits during peak summer months.
Tips for Navigating Class 3 Terrain and Downclimbing
Maintain a low center of gravity when crossing exposed slabs or uneven boulder fields. Keep your feet spread roughly shoulder-width apart to maximize balance. Going up, look ahead to spot the path of least resistance and plan 2 to 3 moves in advance rather than staring strictly at your toes.
Downclimbing is almost universally harder than climbing up. On steep downclimb sections, turn your body to face inward toward the rock—just like descending a ladder—rather than facing outward toward the drop-off. Facing inward keeps your body weight closer to the mountain, improves friction on footholds, and provides reliable handholds above your shoulders. If you dislodge a rock, immediately shout “ROCK!” at the top of your lungs to alert anyone climbing below you.
Pro Tip: Test every handhold with a firm downward pull before trusting your weight to it. Avoid pulling outward on thin granite slabs or loose rock plates (“flakes”), which can shear off without warning.
The Physical Demands of Class 3 Hiking
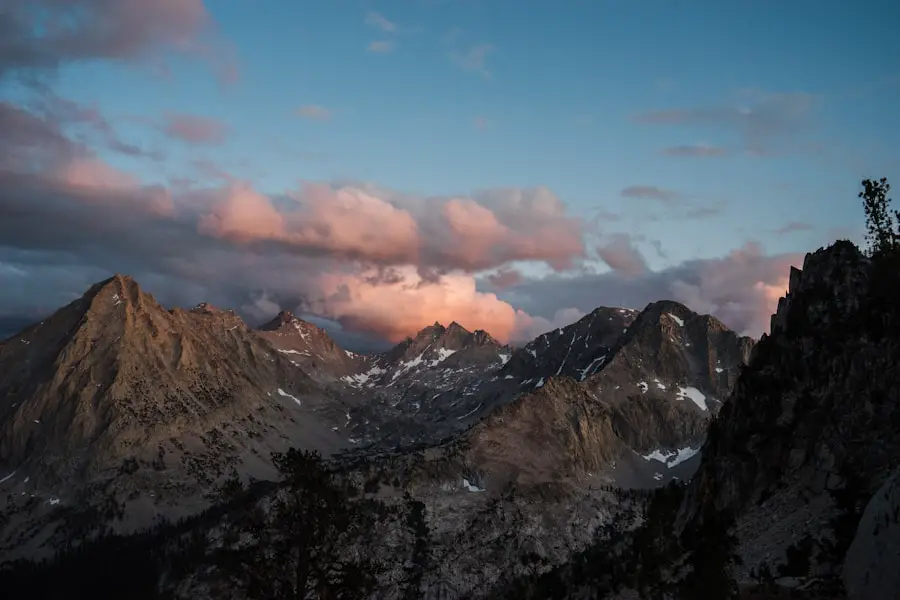
Class 3 scrambling engages your entire body in a way standard trail walking does not. Reaching for high holds, stepping onto elevated ledges, and stabilizing your torso on uneven terrain places high demands on your calves, quads, glutes, shoulders, and core muscles. Combined with high altitude and thin air, scrambling burns energy rapidly and accelerates fatigue.
To train effectively for Class 3 objectives, combine cardiovascular conditioning with functional strength training. Incline treadmill walking, stair climbing with a weighted daypack, bodyweight step-ups, lunges, and plank stability holds build the endurance needed for sustained scrambling. Bouldering at a local climbing gym is also excellent for building grip strength and foot placement confidence.
Wildlife Encounters on Class 3 Hikes
Alpine and subalpine environments are home to mountain goats, bighorn sheep, marmots, pikas, and in some regions, black bears or grizzly bears. Keep a safe distance from all wildlife. Mountain goats, in particular, can become habituated to humans on high summits and may seek out salty gear or sweat; never feed them or allow them to approach.
When hiking in bear country, carry an accessible canister of bear spray on your hip or chest harness—not tucked away inside your backpack—and know how to deploy it quickly. Pack out all food scraps and trash to keep alpine ecosystems wild and pristine.
The Mental Challenge of Class 3 Hiking
The psychological aspect of Class 3 hiking is often more challenging than the physical effort. Continuous exposure to height requires sustained mental focus. A moment of distraction on an exposed ledge can lead to a slip, making mental fatigue a real hazard on long ascents.
Manage exposure anxiety by breaking the climb down into small, manageable focus points. Rather than looking down at steep drop-offs or far up toward a distant peak, concentrate exclusively on your immediate sphere of movement: the next handhold, the next foothold, and steady, controlled breathing. If panic sets in, pause in a secure position, take three deep belly breaths, and reassess your next move calmly.
How to Prepare for Class 3 Hiking
Thorough preparation is the key to a safe Class 3 mountain outing. Begin by downloading offline topographic maps on your phone or GPS device, and carry a printed paper map and compass as a reliable backup. Study the route description, identifying key landmarks, crucial trail junctions, and known “crux” sections before setting out.
If you are transitioning from standard trail hiking to scrambling, practice movement on low-stakes terrain first. Local boulder fields, non-exposed rocky trails, or introductory mountain scrambling courses hosted by organizations like the American Alpine Club provide controlled settings to refine technique before stepping onto high-exposure mountain peaks.
Exploring Class 3 Hiking Destinations
The United States features exceptional Class 3 scrambling destinations across its major mountain ranges. In California’s Sierra Nevada, Mount Whitney offers challenging Class 3 mountaineering routes (such as the Mountaineer’s Route) for those seeking an alternative to the standard trail. Wyoming’s Grand Teton National Park boasts world-class Class 3 ridgelines with dramatic alpine verticality.
In Colorado, Longs Peak via the Keyhole Route stands as one of the country’s most iconic Class 3 Fourteeners, drawing scramblers into high-alpine terrain inside Rocky Mountain National Park. Internationally, the Dolomites in Italy offer world-renowned rock scrambling and protected via ferrata networks connecting mountain huts across vast alpine panoramas.
Frequently Asked Questions
What is Class 3 hiking?
Class 3 hiking involves scrambling over steep, rocky terrain where you must use your hands for balance and upward progress. It bridges moderate Class 2 trail walking and technical Class 4–5 rock climbing, but does not usually require ropes or harnesses.
What are the main characteristics of Class 3 terrain?
Class 3 terrain features steep rock steps, gullies, ledges, and loose talus. Handholds and footholds are readily available, but routes often feature significant exposure to height where a fall could cause serious injury.
What experience and skills are needed for Class 3 hiking?
You need strong cardiovascular fitness, surefootedness on loose rock, comfort with heights, and solid route-finding ability. Understanding the 3-point contact rule and knowing how to downclimb safely are essential skills.
What gear is recommended for Class 3 hiking?
Recommended gear includes grippy approach shoes or supportive boots, a climbing helmet for rockfall protection, a snug daypack, plenty of water, offline GPS maps, and a satellite communicator (e.g., Garmin InReach).
Are there specific safety considerations for Class 3 hiking?
Yes. Always test handholds before weighting them, watch for rockfall from climbers above, face inward when downclimbing steep sections, monitor alpine weather closely, and turn around if fatigue or bad weather sets in.
Sources
- American Alpine Club — Yosemite Decimal System definitions, technical grading standards, and mountain safety guidelines.
- National Park Service — Longs Peak — Keyhole Route details, safety alerts, and alpine exposure considerations in Rocky Mountain National Park.
- National Park Service — Mount Whitney — High-altitude wilderness permits and scramble route guidance.
- U.S. Forest Service — National Forest wilderness travel guidelines, trail management, and alpine safety protocols.
- Dolomiti.it Official Alpine Portal — European alpine scrambling, route information, and safety standards in the Dolomites.

