
Last Updated on July 27, 2026 by Daniel Globe
Knowing what to put in a hiking backpack is about more than carrying water and snacks. Even a short day hike can involve a wrong turn, sudden rain, an injury, fading daylight, or an unexpected delay. A smart pack gives you the basics to stay hydrated, navigate, handle minor problems, and remain safer if your hike lasts longer than planned.
Quick Answer
A hiking backpack should contain the Ten Essentials: navigation, sun protection, extra clothing, a headlamp, first-aid supplies, fire-starting equipment, repair tools, extra food, water and water-treatment supplies, and emergency shelter. Also carry a whistle, personal medications, and any gear required for the weather, terrain, wildlife, and length of your hike.
Key Takeaways
- Carry enough water for the route and conditions, plus a reliable treatment method when you plan to refill from natural sources.
- Pack extra food, a first-aid kit, navigation tools, a headlamp, and emergency signaling equipment.
- Bring extra clothing, a waterproof shell, fire-starting supplies where permitted, and emergency shelter in case your day lasts longer than expected.
- Do not rely only on a phone, cellular hotspot, or live internet connection for navigation or emergencies.
- Check the forecast, trail conditions, local rules, and water availability before leaving, and tell someone your route and expected return time.
Disclosure: As an Amazon Associate I earn from qualifying purchases. Some links on this page are affiliate links, at no extra cost to you.
What to Put in a Hiking Backpack: The Ten Essentials
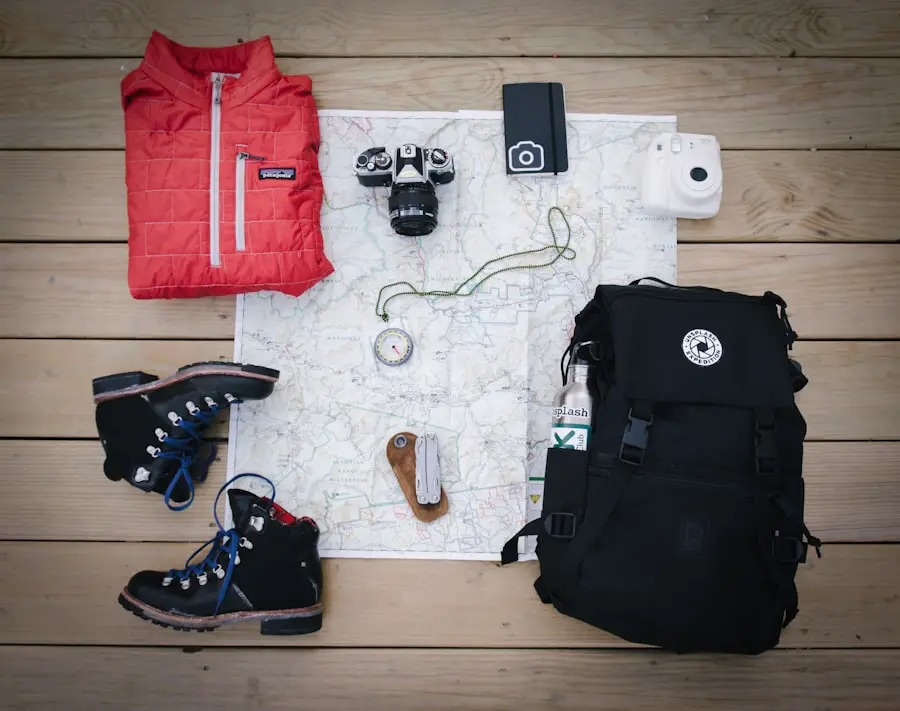
The National Park Service Ten Essentials provide a useful starting point for day hikes and longer trips. The exact items and quantities should still match your route, weather, distance from help, personal needs, and local regulations.
| Navigation | Map, compass, offline map or GPS, plus backup power when appropriate |
| Sun Protection | Sunscreen, sunglasses, hat, and protective clothing |
| Extra Clothing | Rain shell and insulating layers suitable for the worst reasonable conditions |
| Illumination | Headlamp or flashlight with adequate battery power |
| First Aid | Trip-specific first-aid kit and personal medications |
| Fire | Lighter, waterproof matches, or another fire starter where use is legal and safe |
| Repair Kit and Tools | Multi-tool or knife, tape, and trip-specific repair supplies |
| Nutrition | Food for the hike plus extra no-cook food for delays |
| Hydration | Drinking water plus treatment supplies when natural-water refills are part of the plan |
| Emergency Shelter | Emergency bivy, space blanket, tarp, or other compact weather protection |
Water: Staying Hydrated on the Trail
Water is one of the most important things in a hiking backpack. The adult human body can be up to about 60% water, and sweating during strenuous activity causes fluid loss. Dehydration can contribute to thirst, fatigue, dizziness, poor performance, and more serious problems when fluid loss becomes severe.
There is no single amount of water that is correct for every hiker or every trail. Temperature, humidity, elevation, pace, body size, exertion, and access to reliable water all matter. As a practical planning baseline, the National Park Service guidance for Great Smoky Mountains National Park recommends at least 1 liter of water for every two hours of hiking, while recognizing that more may be needed for a particular trip.
A hydration bladder can make drinking convenient without stopping, while bottles make it easier to see exactly how much water remains. Either system can work well. For longer routes, plan refill locations before leaving instead of assuming every stream or lake will be usable.
Warning: Clear-looking stream, lake, or spring water can still contain germs. Do not assume natural water is safe to drink untreated.
The CDC’s backcountry water-treatment guidance says boiling is the most reliable way to kill germs. When boiling is not practical, filtering and then disinfecting the filtered water is a strong general approach. Portable filters differ in what they remove, and chemical treatments also have limitations, so always follow the product’s instructions and choose a system appropriate for the water risks at your destination.
Pro Tip: Before leaving, identify confirmed water sources and check whether they are seasonal. A blue line on a map does not guarantee that water will be flowing when you arrive.
Snacks: Fueling Your Adventure
Food helps maintain energy during a hike, especially as distance and elevation gain increase. Lightweight foods that require no cooking are usually the easiest to carry and eat on the move.
Trail mix is popular because nuts, seeds, dried fruit, granola, and similar ingredients provide a compact mix of carbohydrates, fat, and protein. Nuts and nut or seed butters are calorie-dense choices, while dried fruit and other carbohydrate-rich foods can provide quick energy.
Energy bars can also work well, but their ingredients vary widely. Check the label and choose foods you already know your stomach handles well during exercise. Fresh fruit such as apples or bananas can provide carbohydrates and fluid, although it is heavier and more perishable than dried options.
Pack enough food for your planned hike and some additional no-cook food in case you are delayed. Keep food protected from heat, moisture, and wildlife, and follow any food-storage rules that apply to the area you are visiting.
First Aid: Safety Essentials for the Trail
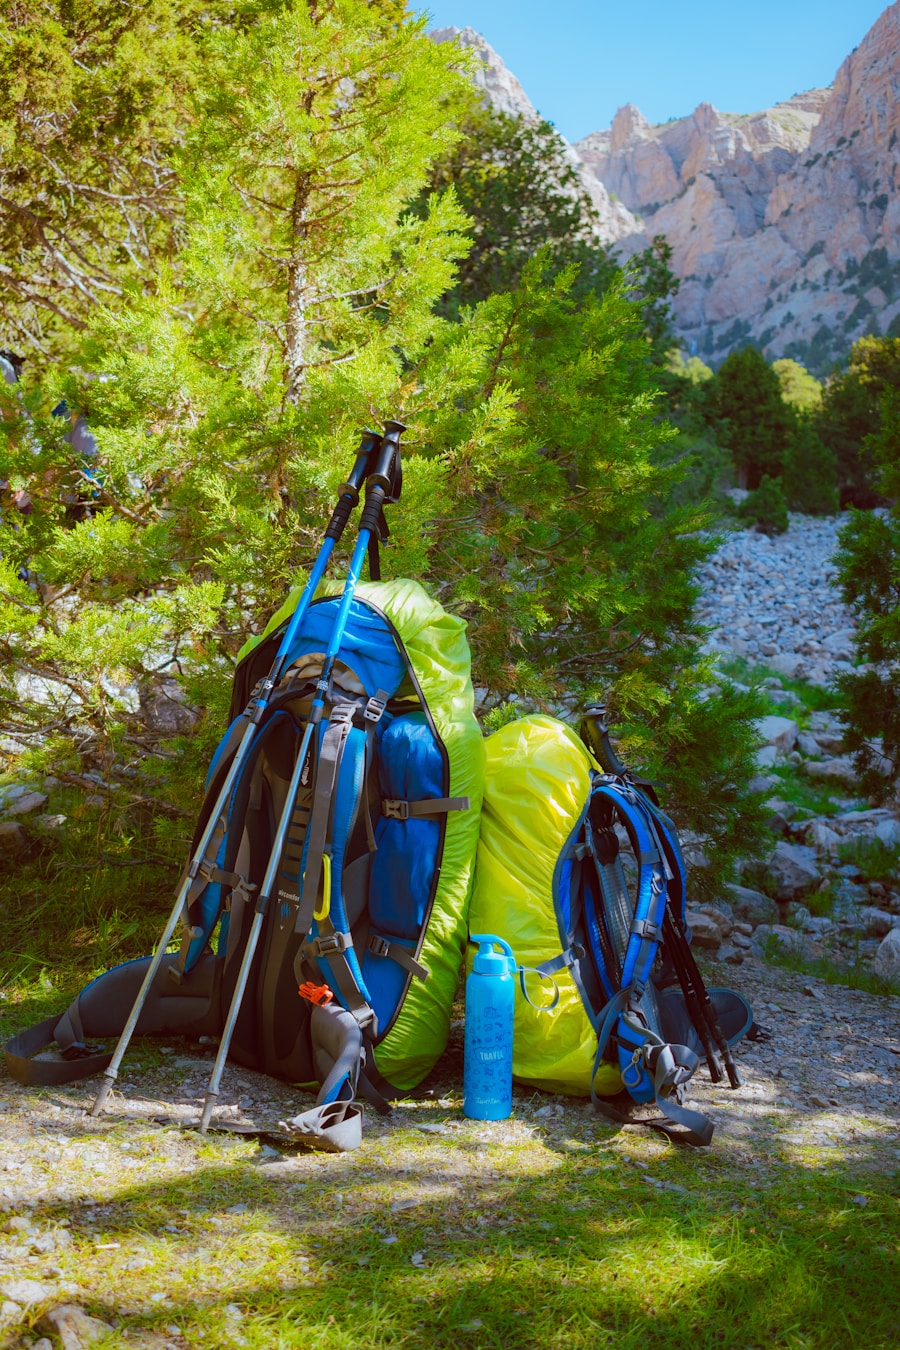
A well-stocked first aid kit belongs in every hiking backpack. The kit should match the number of people in your group, trip duration, terrain, climate, distance from medical care, and personal medical needs.
Useful basics include:
- Adhesive bandages in several sizes
- Sterile gauze pads and rolled gauze
- Medical or adhesive tape
- Antiseptic wipes
- Blister treatment
- Nonlatex gloves
- Elastic wrap
- Tweezers
- Small scissors or trauma shears
- Any personal medications you may need
- Appropriate over-the-counter medication you can use safely
- Emergency first-aid instructions
If ticks are common where you hike, carry fine-tipped tweezers or an appropriate tick-removal tool and use an insect repellent suitable for the conditions. Check your first-aid kit regularly so used or expired supplies are replaced.
Equipment cannot replace knowledge. Learning basic first aid and, for remote trips, wilderness first aid can help you respond more effectively to cuts, blisters, sprains, heat illness, and other common problems.
Note: A first-aid kit is intended for initial care and minor problems. For a life-threatening emergency, contact the appropriate emergency service as soon as possible.
Map and Compass: Navigational Tools for Hikers
| Navigation Tool | Features | Advantages |
| Map | Shows trails, terrain, landmarks, and elevation | Works without a battery or cell signal |
| Compass | Shows direction and helps take bearings | Simple, lightweight, and battery-free |
| GPS or Offline Map | Shows location and can record a route | Fast, precise navigation when the device has power and map data |
GPS devices and smartphone navigation apps are convenient, but a physical map and compass remain valuable backups in remote areas. Cell service can disappear, batteries can run down, and devices can be damaged by cold, water, or a fall.
A topographic map helps you understand trails, elevation changes, junctions, drainages, roads, and landmarks. A compass can help orient that map and confirm direction. Both tools are most useful when you practice with them before the trip rather than trying to learn during an emergency.
Download any digital maps needed for offline use before leaving home. Keep your phone charged, consider carrying a power bank for longer or remote trips, and do not treat live cellular coverage as part of your navigation plan.
Sunscreen: Protecting Your Skin from the Sun
Sun protection matters even when temperatures are cool or the sky is partly cloudy. UV exposure can cause sunburn and contributes to long-term skin damage.
Choose a broad-spectrum sunscreen and apply it generously to exposed skin before sun exposure. SPF 30 or higher is a practical choice for hiking. The U.S. Food and Drug Administration advises applying sunscreen about 15 minutes before sun exposure and reapplying at least every two hours, with more frequent application when swimming or sweating according to the product directions.
Sunscreen works best as one part of a broader sun-protection plan. Sunglasses, a brimmed hat, and lightweight long sleeves or pants can reduce direct UV exposure while also protecting against wind, brush, and insects.
Rain Jacket: Staying Dry in Unpredictable Weather
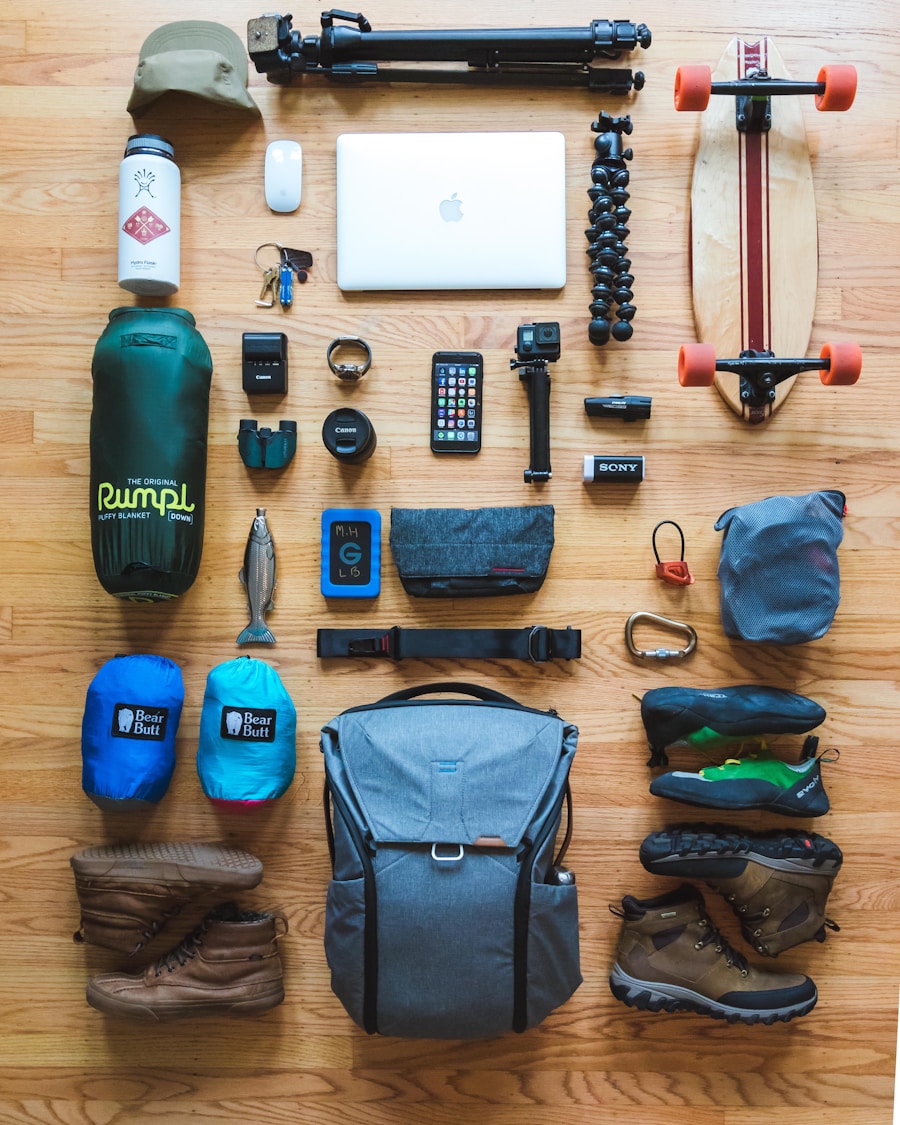
Weather can change quickly in the mountains and other exposed hiking environments. A lightweight waterproof shell helps reduce heat loss and discomfort when rain and wind arrive unexpectedly.
Look for a jacket that is waterproof, reasonably breathable, and large enough to fit over your hiking layers without restricting movement. Useful features can include an adjustable hood, cuffs, hem, and ventilation zippers.
Test the jacket with your other layers before the hike. A shell that feels fine over a T-shirt may become too tight once you add an insulating layer underneath.
Extra Clothing and Insulation
A rain jacket is only one part of your clothing system. Pack an extra layer suited to the coldest reasonable conditions you may encounter, especially on higher-elevation or remote routes. Depending on the season, that may mean an insulating jacket, fleece, warm hat, gloves, or extra socks.
A useful rule is to prepare for conditions to become colder, wetter, or windier than they were at the trailhead. Do not assume that a warm afternoon means you will remain warm after sunset, during a storm, or while sitting still because of an injury.
Headlamp: Essential Gear Even for Day Hikes
A headlamp is useful even when you expect to finish before sunset. Wrong turns, injuries, slower-than-expected pace, or a late start can leave you on the trail after dark.
Headlamps keep both hands free, which is helpful when navigating uneven ground, using trekking poles, checking a map, or treating an injury. Choose a light with sufficient battery life for the trip and carry spare batteries or another reliable power source when appropriate.
Multiple brightness settings help conserve power. A red-light mode can also help preserve night vision better than a bright white beam when only low-level illumination is needed.
A headlamp is not just night-hiking gear. It is emergency gear for any hike that could last longer than planned.
Multi-Tool and Repair Kit
A compact multi-tool can handle several trail tasks, including cutting tape or cord, making minor equipment repairs, and preparing food. Depending on the model, it may include a knife, scissors, screwdriver, pliers, or other tools.
Do not rely on the multi-tool alone. A small repair kit can also include strong tape, cord, safety pins, zip ties, or any specialized parts needed for your footwear, tent, stove, trekking poles, or other equipment.
Choose a tool that is durable without being unnecessarily heavy. When traveling, check applicable rules before carrying knives or other restricted tools.
Fire-Starting Supplies
The Ten Essentials include a way to start a fire because fire can provide heat, light, and an emergency signal in some situations. Depending on the trip, this may be a lighter, waterproof matches, or another compact fire starter.
Warning: Carrying a fire starter does not mean you should build a fire. Check current park, forest, campground, and wildfire restrictions before your trip. During a fire ban or dangerous conditions, do not start one.
Emergency Shelter
Emergency shelter is worth carrying even on many day hikes because an injury, navigation problem, or severe weather can force you to remain outside much longer than expected. A compact emergency bivy, space blanket, tarp, or similar shelter can help protect you from wind, rain, and cold while you wait for help or conditions to improve.
Your shelter should match the environment. A tiny reflective blanket may be sufficient as a backup on a mild local hike, while a remote alpine route may justify more substantial protection.
Whistle and Emergency Communication
A whistle is lightweight, inexpensive, and useful for attracting attention while conserving the energy you would spend shouting. The National Park Service recommends whistle signaling as part of an outdoor emergency plan; repeated groups of three blasts are commonly used as a distress signal.
Carry a charged phone, but remember that cellular coverage is not guaranteed. For remote travel, a satellite messaging or personal locator device may provide another communication option, but no electronic device should replace trip planning, navigation skills, emergency shelter, or other essentials.
Check the Route and Weather Before Packing
Your backpack should change with the hike. Before leaving, review the route, distance, elevation gain, expected hiking time, water availability, trail conditions, sunset time, weather forecast, and any park alerts or closures.
Tell a trusted person where you are going, the route you expect to follow, where your vehicle will be, and when you expect to return. Give that person instructions about what to do if you are overdue.
Warning: If you hear thunder, seek a substantial building or enclosed metal-topped vehicle when one is accessible. The National Weather Service states that no place outside is safe during a thunderstorm and recommends waiting at least 30 minutes after the last thunder before resuming outdoor activity.
Pack for the Conditions
The Ten Essentials are a baseline, not the complete packing list for every location. Add gear for the conditions you expect and the hazards identified by the land manager.
- Hot or exposed trails: Additional water, electrolytes as appropriate, sun-protective clothing, and extra sun protection.
- Cold or high-elevation trails: More insulation, gloves, warm headwear, and appropriate traction when snow or ice is possible.
- Wet environments: Waterproof storage for critical gear, extra socks, and stronger rain protection.
- Bug-heavy areas: Insect repellent, tick-removal supplies, or a head net when appropriate.
- Wildlife areas: Follow the specific park or land manager’s guidance for food storage and any recommended wildlife-safety equipment.
- Remote routes: More emergency shelter, food, water-treatment capability, backup power, and communication planning.
How to Organize a Hiking Backpack
Good packing is not only about what you carry. It also determines how quickly you can reach important gear.
- Keep water and snacks easy to reach so you actually use them.
- Store your rain shell near the top or in an outer pocket.
- Keep the first-aid kit and headlamp accessible instead of burying them under clothing.
- Protect electronics, matches, spare clothing, and other moisture-sensitive items in waterproof bags or liners.
- Place heavier items close to your back rather than letting them pull away from your body.
- Keep emergency items in consistent locations so you can find them quickly in the dark or under stress.
Pro Tip: After packing, do a quick check using the Ten Essentials categories rather than memorizing individual products. The system makes it easier to adapt your gear from a short local hike to a longer or more remote route.
What About a Portable Wi-Fi Hotspot?
When preparing for a hiking trip, water, food, navigation, first aid, weather protection, illumination, emergency shelter, and the other essentials come first. A portable Wi-Fi hotspot can still be helpful during international travel when compatible cellular data service is available, especially before or after a hike.
However, a hotspot is not a backcountry safety device. It normally depends on cellular network coverage, roaming arrangements, power, and compatible service, so it may provide no connection at all on a remote trail. Download critical maps and information before leaving coverage and never make emergency planning depend on Wi-Fi access. For more travel-specific information, see this guide to portable WiFi hotspots for international travel.
Frequently Asked Questions
What should I put in a hiking backpack?
Start with the Ten Essentials: navigation, sun protection, extra clothing, a headlamp, first-aid supplies, fire-starting equipment, repair tools, extra food, water and water-treatment supplies, and emergency shelter. A whistle, personal medications, and condition-specific equipment are also smart additions.
How much water should I carry in my hiking backpack?
Base the amount on hiking time, heat, elevation, exertion, reliable refill points, and your individual needs. Current Great Smoky Mountains National Park guidance uses at least 1 liter for every two hours of hiking as a planning baseline, with more needed when conditions or personal needs require it.
What type of food is best for a hiking backpack?
Choose lightweight, calorie-dense foods that are easy to eat and that you know you tolerate well. Trail mix, nuts, dried fruit, energy bars, jerky, sandwiches, and similar foods can work well. Pack extra no-cook food in case the hike takes longer than planned.
What should I consider when packing clothing in my hiking backpack?
Pack for the coldest, wettest, and windiest reasonable conditions you could face rather than only the weather at the trailhead. A waterproof shell and an insulating layer are common basics, with gloves, a warm hat, or extra socks added when conditions call for them.
Why are a map and compass important in a hiking backpack?
A physical map and compass work without cellular service or batteries. They provide an important backup when a phone or GPS device fails, but you should practice using them before you need them in an emergency.
What should I include in a first aid kit for hiking?
Useful basics include adhesive bandages, gauze, medical tape, antiseptic wipes, blister treatment, gloves, elastic wrap, tweezers, scissors, personal medications, and emergency instructions. Adjust the kit for your group size, medical needs, trip length, terrain, and distance from professional care.
Is it important to pack a multi-tool or knife?
A compact multi-tool or knife can help with gear repair, cutting tape or cord, and food preparation. Pair it with a small repair kit and follow applicable rules for carrying blades or other tools.
Why should I pack a whistle in my hiking backpack?
A whistle lets you make a loud emergency signal while using far less energy than repeated shouting. Repeated groups of three blasts are commonly used as a distress signal.
Do I need emergency shelter for a day hike?
Emergency shelter is part of the Ten Essentials because a day hike can unexpectedly become an overnight emergency. A compact bivy, space blanket, tarp, or similar shelter can provide valuable protection from wind, rain, and cold.
Can I rely on my phone for hiking navigation?
A phone is useful, especially with maps downloaded for offline use, but it should not be your only plan on a remote trail. Batteries can die, phones can break, and cellular coverage can disappear. Carry appropriate backup navigation and power for the trip.
Sources
- U.S. National Park Service — Ten Essentials — navigation, clothing, illumination, fire, repair gear, food, hydration, and emergency shelter.
- Great Smoky Mountains National Park — Hiking — current Ten Essentials checklist and water-planning guidance.
- Centers for Disease Control and Prevention — Water Treatment When Hiking, Camping, or Traveling — backcountry boiling, filtering, and disinfection guidance.
- American Red Cross — Make a First Aid Kit — recommended first-aid supplies and kit maintenance.
- U.S. Food and Drug Administration — Sunscreen: How to Help Protect Your Skin from the Sun — sunscreen application and reapplication guidance.
- National Weather Service — Lightning Safety — thunderstorm and lightning safety guidance.
