
Last Updated on July 27, 2026 by Daniel Globe
Estimating hiking time is more than dividing trail distance by walking speed. A reliable plan combines distance, total elevation gain, terrain, trail conditions, weather, breaks, group pace, and your own hiking history. Start with a simple baseline formula, then adjust it so the estimate reflects the route you will actually hike.
Quick Answer
A practical way to estimate hiking time is to start with Naismith’s Rule: allow about 1 hour for every 3 miles of distance, then add 1 hour for every 2,000 feet of ascent. After that, add time for rough terrain, steep descents, breaks, weather, altitude, navigation, and the slowest person in your group.
Key Takeaways
- Use distance and total elevation gain to create a baseline hiking-time estimate.
- Treat the baseline as a starting point, not a promise; terrain, weather, altitude, pack weight, and route-finding can slow you down.
- Add planned rest, snack, photo, and navigation stops to moving time.
- For a group, plan around the slowest hiker and keep everyone together.
- Set a turnaround time and compare your estimate with daylight, weather, trail closures, and current conditions before leaving.
At a Glance
| Time Required | About 5–10 minutes to make a pre-hike estimate |
| Difficulty | Easy calculation; accuracy improves with experience |
| Tools Needed | Route distance, elevation profile, current trail information, weather forecast, and a calculator or hiking app |
| Cost | Usually $0 with manual math and free official forecasts; optional hiking-app features may require a paid plan |
Disclosure: As an Amazon Associate I earn from qualifying purchases. Some links on this page are affiliate links, at no extra cost to you.
How to Estimate Hiking Time Step by Step
The easiest way to get a useful estimate is to calculate a baseline first, then adjust it for the real conditions of your hike.
1. Find the Total Distance and Elevation Gain
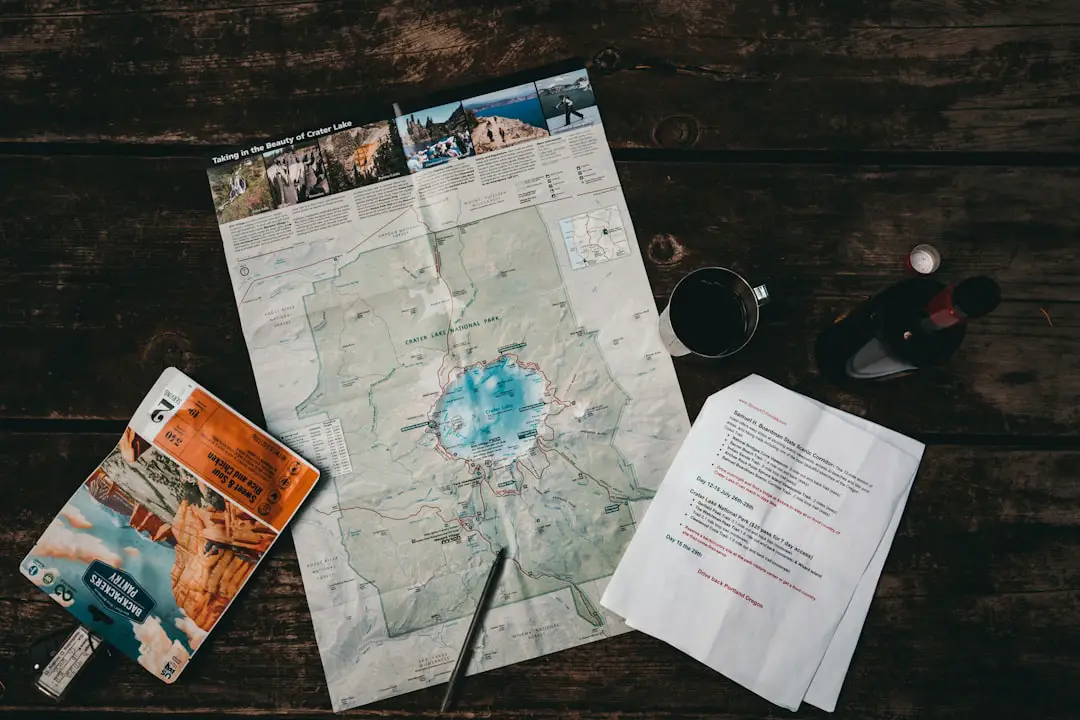
Use the full route distance, not just the one-way distance unless the hike is truly point-to-point. For an out-and-back hike, include both the outbound and return legs. Also use total elevation gain, which is the sum of all uphill climbing along the route, not simply the difference between the trailhead and the highest point.
2. Calculate a Baseline With Naismith’s Rule
Naismith’s Rule is a long-used route-planning rule of thumb. It allows 1 hour for every 3 miles walked, plus 1 hour for every 2,000 feet of ascent. In metric units, that is 1 hour per 5 kilometers plus 1 hour per 600 meters of ascent.
Baseline hiking time = distance time + ascent time. Treat that result as a planning starting point, then adjust it for your pace and conditions.
3. Adjust for Terrain, Descent, Weather, Altitude, and Pack Weight
Classic Naismith timing does not fully describe what happens on rough ground. Rocks, roots, mud, snow, scrambling, route-finding, stream crossings, a heavy pack, strong wind, heat, cold, and unfamiliar altitude can all change your pace. Steep or loose descents can also be slow because careful foot placement matters more than gravity.
Instead of using one universal correction percentage, compare the planned route with hikes you have already completed. If the terrain is more technical or the conditions are worse than your usual hike, build in more time. If you are going to a higher elevation than you are used to, the National Park Service recommends allowing time to acclimate and avoiding overexertion.
4. Add Breaks to Get Total Elapsed Time
Your baseline formula is most useful as a moving-time estimate. Add time for rest stops, snacks, water, photos, bathroom breaks, navigation checks, and longer summit or viewpoint stops. The longer or harder the hike, the more important these stops become.
5. Set a Turnaround Time
Compare your total estimate with sunset, expected weather, route exposure, and any time-sensitive hazards. The National Park Service advises hikers to keep track of time and distance and set a turnaround time if the trip is taking longer than planned. A turnaround time matters even when the summit or viewpoint feels close.
Warning: A hiking-time estimate is not a safety guarantee. If conditions deteriorate, your group is moving much slower than planned, daylight is running out, or a trail is closed or hazardous, turn around rather than trying to “beat” the estimate.
Worked Example
Suppose your route is 6 miles long with 2,000 feet of total elevation gain. Naismith’s baseline gives 2 hours for the 6 miles and 1 additional hour for the climb, for a baseline of about 3 hours. If you expect 30 minutes of breaks, the planned elapsed time becomes about 3.5 hours before any extra allowance for rough terrain, weather, altitude, or a slower group pace.
Pro Tip: After each hike, compare your actual elapsed time with the estimate. Your own track record on similar terrain is often more useful than a generic pace once you have enough experience to spot a pattern.
Understanding Terrain and Difficulty Levels
Terrain and difficulty labels help you judge whether an estimated time is realistic. Trails can range from flat, well-maintained paths to steep routes with rocks, roots, exposure, scrambling, or poor footing. A route labeled “easy” may have gentle grades and a smoother surface, while a route labeled “difficult” or “strenuous” may involve sustained climbing, uneven ground, or more technical movement.
Do not rely on the label alone. Difficulty systems can vary by park, guidebook, and app. Read the actual distance, elevation profile, surface description, exposure, route-finding demands, and current conditions. Local park staff or land managers can also provide details that a one-word rating cannot capture.
Factoring in Elevation Gain and Loss
Elevation gain is the total vertical distance climbed during a hike. Elevation loss is the total vertical distance descended. Both affect effort and pace, but ascent is especially important in common hiking-time formulas.
How that climbing is distributed also matters. A concentrated 1,000-foot climb can feel very different from the same total gain spread over rolling terrain. A steady incline may be easier to pace than repeated steep climbs and descents, while a long, steep descent may require slow, careful steps.
Use the elevation profile rather than only the trailhead and summit elevations. A rolling loop can accumulate much more climbing than its net change in altitude suggests.
Considering Your Fitness Level

An honest assessment of fitness and hiking experience makes any time estimate more useful. Two people can complete the same trail at very different speeds, especially when the route includes sustained climbing, rough footing, heat, altitude, or a loaded backpack.
Think about the kind of hiking you actually do, not just general exercise. Someone who runs or cycles regularly may have strong cardiovascular fitness but still move cautiously on rocky descents. Someone with frequent hiking experience may be slower on flat ground yet more efficient over roots, talus, or steep switchbacks.
The National Park Service recommends choosing a trail that matches the abilities of everyone in the group and considering whether you have practiced hiking on similar terrain. Practice hikes on comparable hills are one of the best ways to learn your sustainable pace before a more demanding route.
Accounting for Rest and Snack Breaks
| Stop Type | What to Include | How to Estimate It |
|---|---|---|
| Short rest | Water, breathing, clothing adjustment | Add the stops you realistically expect |
| Food break | Snack or meal, water refill or treatment | Add planned sit-down time separately |
| Navigation or viewpoint stop | Map check, photos, route decision | Use your past hiking habits as a guide |
Rest and snack breaks are part of the trip, not an error in the estimate. Their frequency and duration depend on route length, terrain, temperature, group needs, and personal pace. A long hike with major elevation gain will usually involve more stopping than a short walk on easy terrain.
Food and water also affect pacing. The National Park Service advises hikers to bring adequate food and water, take breaks as needed, and pay attention to how they feel. Pack food that is practical for the route and carry enough water for the conditions, with a treatment plan if you expect to use backcountry water sources.
Researching Trail Conditions and Weather
Before setting out, check current trail conditions, closures, hazards, and weather. Rain can turn a normally dry trail muddy or slick. Snow, ice, wildfire impacts, downed trees, high water, construction, or seasonal closures can change both difficulty and travel time.
Weather matters just as much. Check the forecast for temperature, precipitation, wind, and severe-weather risk, and recheck it close to departure. The National Weather Service advises backcountry hikers to use turnaround times that get them off exposed terrain before thunderstorms develop or arrive.
Note: Start with the land manager’s official trail page or alerts for closures and hazards. Community reports and hiking apps can add useful recent observations, but they should not replace official restrictions or weather information.
Using Hiking Apps and Tools for Estimation
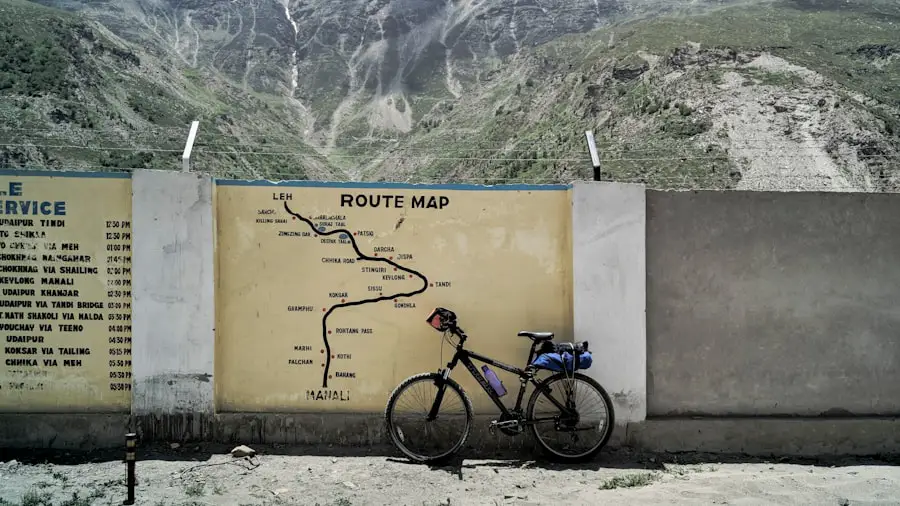
Hiking apps can make the calculation faster by showing route distance, elevation profiles, recorded tracks, maps, and estimated completion times. AllTrails says its estimated completion time uses a modified version of Naismith’s Rule based on distance and elevation gain, and it specifically advises users to adjust the estimate for personal fitness and experience.
Gaia GPS currently provides route distance plus cumulative ascent and descent in its route-planning elevation profile. Its mobile tools can also show location on a map and record tracks. Feature availability can vary by device and subscription, so check the current app documentation before relying on a particular offline or premium feature.
Apps are useful tools, but they are still estimates. A digital ETA cannot know exactly how your knees handle a rocky descent, how long your group will stop for photos, whether a stream crossing is high, or whether you will need extra time for route-finding.
Learning from Experience and Adjusting Estimates
Your own hiking history is one of the best ways to refine future estimates. Keep a simple record of route distance, elevation gain, terrain, weather, pack weight, moving time, and total elapsed time. After several comparable hikes, patterns become easier to see.
One useful approach is to create a personal adjustment factor. For example, if Naismith’s baseline for a previous route was 3 hours but your actual moving time was 4 hours, your personal factor for similar terrain was about 1.33. Applying that factor to a future 3-hour baseline would produce a more conservative estimate of about 4 hours before adding planned breaks.
Do not treat that multiplier as permanent. Your pace changes with fitness, fatigue, season, pack weight, weather, altitude, trail surface, and who you are hiking with. Update your estimate as your experience grows.
Tips for Planning and Communicating with Hiking Partners
Before a group hike, discuss each person’s experience, fitness, concerns, and comfort with the planned terrain. Make sure everyone understands the route, estimated time, turnaround point, expected weather, and what happens if the group falls behind schedule.
For timing, let the slowest hiker set the pace. The National Park Service recommends keeping the group together and putting the slowest hiker near the front. This produces a safer and more realistic group estimate than planning around the fastest person.
Assigning simple responsibilities can also help. One person might handle navigation while another keeps track of group water, snacks, or the turnaround time. Before leaving, share your route and expected return time with a trusted person who is not on the hike.
If you are planning a hiking trip and want to know how long it will take, start with distance and elevation gain, calculate a baseline, then add the factors that make your real hike slower or longer. The most dependable estimate is one that combines a proven rule of thumb with current conditions and your own experience.
Frequently Asked Questions
What factors should be considered when estimating hiking time?
Consider total route distance, total elevation gain, terrain, steep or technical descents, current trail conditions, weather, altitude, pack weight, navigation difficulty, breaks, fitness, hiking experience, and the pace of the slowest person in the group.
How can distance affect hiking time?
Distance is the base of most estimates: a longer route usually takes longer. However, two hikes of the same distance can have very different completion times if one has more climbing, rougher terrain, worse conditions, or more difficult navigation.
How does elevation gain impact hiking time?
Climbing generally slows hiking pace and increases effort. Naismith’s Rule adds about 1 hour for every 2,000 feet, or 600 meters, of total ascent to the distance-based time.
What role does terrain play in estimating hiking time?
Smooth, well-maintained trails usually allow steadier movement than routes with rocks, roots, mud, snow, scrambling, brush, stream crossings, or exposure. Technical terrain can add substantial time even when the mileage is short.
How does a hiker’s fitness level affect hiking time?
Fitness affects sustainable speed, especially on long climbs, but trail-specific experience matters too. A fit person who rarely hikes may still move slowly on loose rock or steep descents. Practice on similar terrain gives you a better personal estimate.
Are there tools or resources that can help estimate hiking time?
Yes. Hiking apps and mapping tools can show distance, elevation profiles, route type, and estimated completion time. Use them alongside official park or land-manager information, current weather, and your own pace history rather than treating an app ETA as exact.
Does Naismith’s Rule include hiking downhill?
Classic Naismith’s Rule is based on horizontal distance plus ascent. Do not assume every descent saves time. Steep, wet, loose, icy, or technical downhill sections may require slower and more careful movement.
Should hiking time include breaks?
For trip planning, yes. Keep moving time and total elapsed time separate, then add realistic rest, food, water, photo, and navigation stops. This makes your expected finish time much more useful for daylight and safety planning.
Sources
- National Park Service — Hike Smart — trail choice, group pace, turnaround time, weather, food, water, altitude, and trip planning.
- Ordnance Survey — Why We’re Adjusting Naismith’s Rule — classic distance-and-ascent timing formula and its limitations.
- National Weather Service — Lightning Safety — thunderstorm risk and turnaround planning for exposed terrain.
- AllTrails Public Lands Portal — Estimated Time to Complete — how AllTrails uses distance and elevation gain for hiking-time estimates.
- Gaia GPS — Create and Measure Routes — current route distance and elevation-profile features.

