
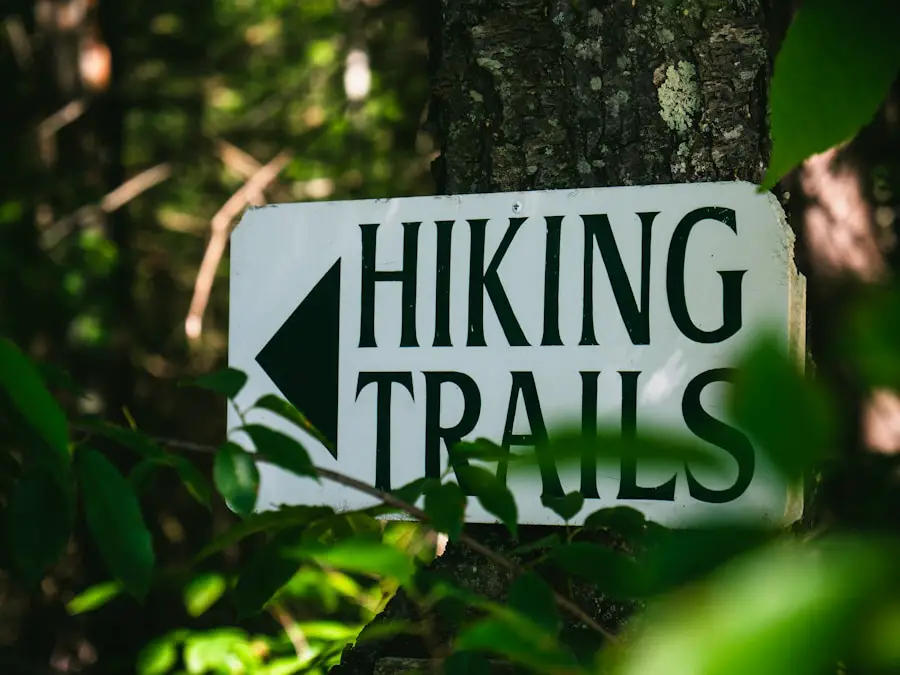
Last Updated on September 10, 2026 by Daniel Globe
Getting into hiking does not require expert outdoor skills or expensive gear. A successful first hike starts with choosing a route that matches your fitness level, checking current conditions, wearing comfortable footwear, and carrying basic safety supplies. Start small, learn what works for you, and increase your distance and difficulty as your confidence grows.
Quick Answer
To get into hiking, start with a short, well-marked trail that matches your current fitness level. Check the weather and trail status, wear supportive footwear and weather-appropriate layers, carry the Ten Essentials, leave your route with someone you trust, and gradually work up to longer or more difficult hikes.
Key Takeaways
- Choose a trail based on distance, elevation gain, terrain, weather, and the abilities of the least-experienced person in your group.
- Wear comfortable, broken-in footwear and use layers that let you adjust to changing temperatures and precipitation.
- Carry the Ten Essentials, including navigation, water, food, first aid, light, sun protection, extra insulation, emergency shelter, fire-starting supplies, and repair tools.
- Check official weather alerts, trail closures, permits, parking rules, and pet restrictions before leaving home.
- Do not depend entirely on cell service. Carry an offline or paper navigation backup and leave a trip plan with someone you trust.
- Follow posted signs, Leave No Trace practices, and local trail etiquette while being willing to turn around when conditions become unsafe.
At a Glance
| Planning Time | About 20–60 minutes for a simple local hike, plus your actual hiking time |
| Difficulty | Beginner-friendly when you choose a short route with manageable elevation gain and terrain |
| Tools Needed | Trail map or offline map, navigation backup, weather information, appropriate clothing, water, food, first aid, and the rest of the Ten Essentials |
| Cost | Varies. Many local trails are free, while some parks require admission, parking fees, permits, or reservations. Existing athletic clothing and footwear may be enough for an easy first hike. |
Disclosure: As an Amazon Associate I earn from qualifying purchases. Some links on this page are affiliate links, at no extra cost to you.
How to Choose the Right Hiking Trail
Selecting the right hiking trail is one of the most important steps in planning an enjoyable day outside. Your first consideration should be the fitness, experience, and comfort level of everyone in your group. Beginners usually do best on shorter, well-marked trails with modest elevation gain and straightforward terrain.
Do not judge difficulty from mileage alone. A three-mile trail with a steep climb, loose rock, high altitude, exposed ledges, or difficult stream crossings can be more demanding than a longer trail on gentle terrain.
Check These Factors Before Your First Hike
- Total distance: Check whether the listed mileage is one way, round trip, or a loop.
- Elevation gain: More climbing usually means more effort and a slower pace.
- Terrain: Look for descriptions of rocks, roots, mud, sand, snow, scrambling, water crossings, or exposure.
- Starting elevation: Hiking at a much higher altitude than you are used to can make a route feel significantly harder.
- Route type: Loops, out-and-back trails, and point-to-point hikes require different transportation and navigation planning.
- Current conditions: Recent storms, wildfire, snow, flooding, fallen trees, heat, and trail maintenance can change the difficulty of the same route.
- Facilities: Check parking, restrooms, drinking water, trailhead access, reservations, entrance fees, and permits.
The Appalachian Trail is a good example of why you should research a specific section instead of judging an entire long-distance trail by one description. The Appalachian Trail Conservancy notes that northern Virginia, including Shenandoah National Park, through Maryland is generally considered one of the easier portions of the A.T. Even there, individual hikes vary in distance, elevation, weather, and trail conditions.
Rocky Mountain National Park also illustrates how much difficulty can vary within one destination. The park has everything from short nature walks to demanding mountain routes. Always evaluate the individual trail rather than assuming an entire park is easy or difficult.
Weather and trail conditions deserve the same attention as mileage. Spring can mean snow or mud in some regions, while summer can bring extreme heat, thunderstorms, wildfire smoke, or dry trail surfaces elsewhere. Check the land manager’s current conditions page and an official weather forecast shortly before departure.
An “easy” trail is only useful as a starting label. Distance, climbing, terrain, altitude, weather, and your own fitness determine how difficult it will feel.
A Simple Plan for Your First Hike
- Choose a manageable route. Start shorter than you think you need to. Finishing with energy left is better than discovering your limit several miles from the trailhead.
- Read the official trail description. Check distance, elevation gain, terrain, closures, permits, parking, and regulations.
- Check the forecast and alerts. Look again the morning of your hike because mountain and backcountry conditions can change quickly.
- Pack your essentials. Bring water, food, navigation, first aid, light, weather protection, and emergency supplies.
- Leave a trip plan. Tell someone where you are going, the route you intend to follow, who is with you, and when they should expect you back.
- Set a turnaround time. Decide beforehand when you will turn around even if you have not reached the destination.
- Start at a comfortable pace. Let the slowest member of the group set the pace and keep the group together.
- Review the hike afterward. Note what you used, what you wished you had, and whether your next hike should be similar, shorter, or slightly harder.
Pro Tip: For your first few outings, increase only one challenge at a time. Add a little distance, climbing, rougher terrain, or altitude instead of increasing everything on the same hike.
Essential Hiking Gear and Clothing
Footwear: The Foundation of a Comfortable Hike
Footwear is one of the most important comfort decisions you will make. You do not automatically need heavy hiking boots for an easy maintained trail. Hiking shoes, trail-running shoes, or boots can all work when they fit properly and provide enough traction and support for the terrain.
Whatever you choose, wear the shoes before a long hike. Make sure your heel does not slide excessively and your toes have room, particularly on descents. Moisture-wicking hiking socks can also reduce friction and help prevent blisters.
Dressing for Changing Conditions
Clothing should reflect the environment you will be hiking in. Layering lets you add or remove insulation as your activity level and weather change.
- Base layer: Moves sweat away from your skin.
- Insulating layer: Adds warmth when conditions require it.
- Outer layer: Protects against wind and precipitation.
Polyester and merino-wool garments are common hiking choices because they manage moisture better than heavy cotton clothing when wet. Your exact layers should reflect the forecast, altitude, season, and expected exposure.
Useful Accessories
A sun hat, warm hat, gloves, sunglasses, sunscreen, trekking poles, gaiters, or insect repellent may be useful depending on the environment. Do not pack accessories simply because they appear on somebody else’s gear list; match them to the conditions you are actually expecting.
The Ten Essentials
The National Park Service Ten Essentials provide a practical baseline for day hikes and backcountry trips:
- Navigation: Map, compass, GPS, or another appropriate navigation system.
- Sun protection: Sunglasses, sunscreen, hat, or protective clothing.
- Insulation: Extra clothing appropriate for the most serious weather you could reasonably encounter.
- Illumination: Headlamp or flashlight, ideally with backup power.
- First aid: Supplies appropriate for your group and trip.
- Fire: An appropriate emergency fire-starting method where fires are legal and safe.
- Repair kit and tools: Basic items suited to your equipment.
- Nutrition: Enough food for the hike plus a reasonable emergency reserve.
- Emergency shelter: An emergency blanket, bivy, tarp, or other suitable protection.
- Hydration: Water plus treatment supplies when you may need to rely on natural water sources.
Note: The Ten Essentials are a starting system, not a universal packing limit. Winter travel, desert heat, remote backcountry, high altitude, wildlife areas, and overnight trips can require specialized equipment.
Safety Tips for Hiking
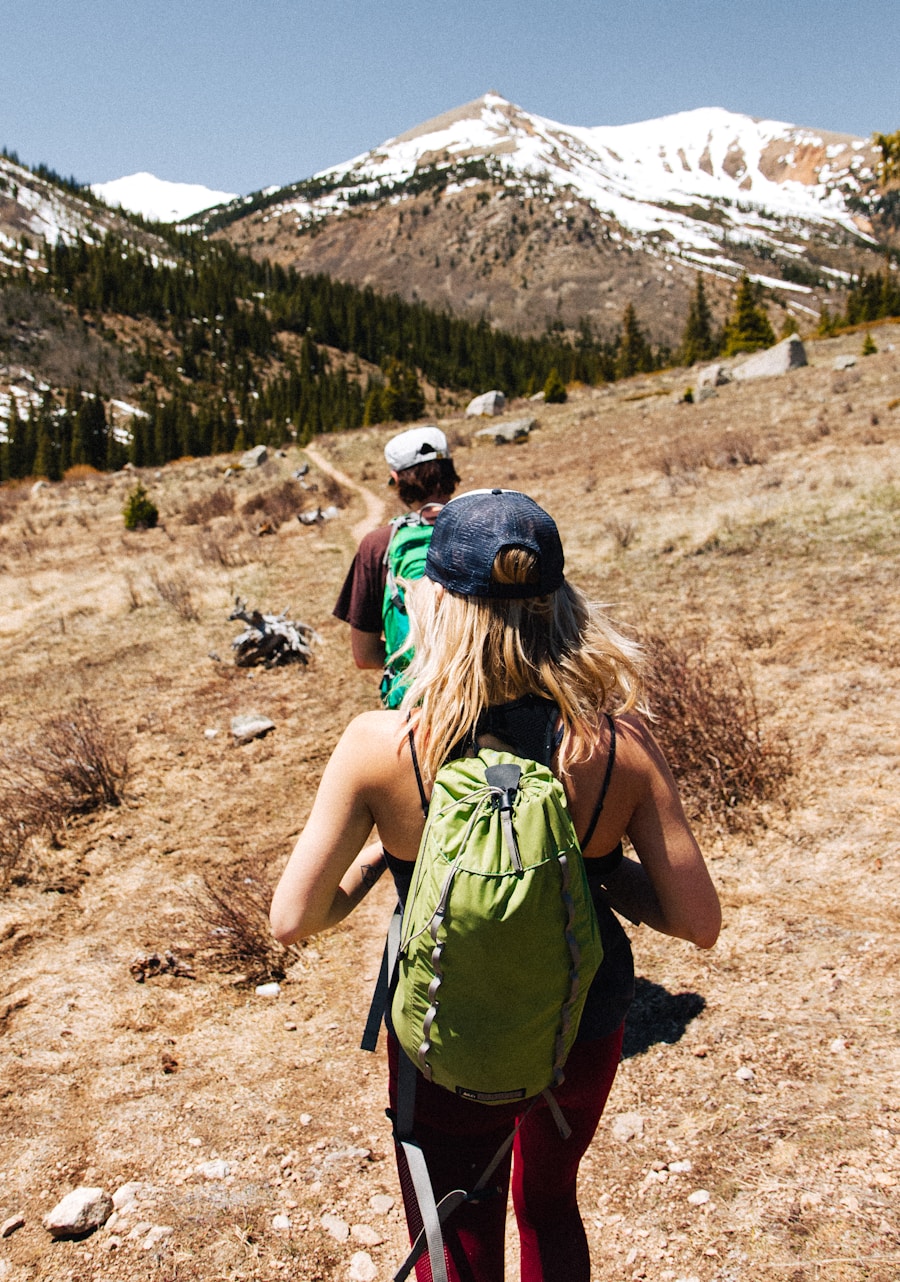
Safety starts before you reach the trailhead. The National Park Service Hike Smart guidance recommends matching the trail to your group’s abilities, checking weather and park alerts, carrying appropriate essentials, and leaving a trip plan.
Leave a Trip Plan
Tell a trusted person your trailhead, planned route, destination, who is going with you, when you expect to return, and when they should seek help if you fail to check in. Remember to contact that person after you return.
A fully charged phone is useful, but do not treat it as your only safety system. Cell service can be weak or nonexistent in mountains and remote areas. Download maps for offline use before leaving coverage and carry another navigation option appropriate for the route. For more remote trips, a two-way satellite communicator or personal locator device may provide another layer of emergency communication.
Watch the Weather
Check the forecast before leaving and keep watching the sky as you hike. Conditions can change much faster at elevation or around exposed ridges than they do in town.
Warning: Do not continue across exposed terrain when thunderstorms threaten. The National Weather Service warns that no place outside is safe during a thunderstorm. Move toward a substantial building or a hard-topped vehicle when safe shelter is available.
Hot weather deserves similar respect. Slow your pace, take breaks, drink regularly, and turn around if a group member becomes weak, confused, faint, or unable to continue safely. At high elevations, give yourself time to adjust and avoid pushing through worsening symptoms simply to reach a summit.
Know Local Wildlife and Plant Hazards
Research the animals, insects, plants, and environmental hazards found where you are hiking. Bear precautions, snake awareness, ticks, poison ivy, desert heat, avalanche conditions, and water hazards are regional issues; advice that is correct for one trail may be irrelevant on another.
Observe wildlife from a safe distance, never feed animals, and follow park-specific food-storage requirements.
Carry First-Aid Supplies and Know Your Limits
A basic first-aid kit can help with common trail problems such as cuts, scrapes, blisters, or minor sprains. Customize it for your group’s needs and any necessary personal medications.
Most importantly, be willing to stop. A summit, waterfall, or viewpoint is optional. Getting your group back safely is not.
What to Do If You Lose the Trail
- Stop instead of wandering farther.
- Check your map, compass, GPS, and last known location.
- Look for the last confirmed blaze, sign, junction, or landmark.
- Retrace your route only when you can do so safely and confidently.
- Stay put and seek help when continued movement would make your location harder to determine or put you in greater danger.
Understanding Trail Markers and Signs
| Marker Type | What It May Tell You | Important Caution |
| Painted blaze | Marks a trail route or reassures you that you are still on the intended path. | Colors are local conventions. Do not assume a blaze color has the same meaning everywhere. |
| Directional sign or arrow | Shows a turn, junction, destination, route name, or direction of travel. | Design and color vary by agency and trail system. |
| Trail sign | May provide distances, destinations, regulations, difficulty information, warnings, or closures. | Posted closures and safety instructions take priority over an app or an older map. |
| Cairn | A deliberately built pile of stones may mark a route where conventional signs or blazes are difficult to use. | Do not build new cairns or assume every pile of rocks is an official marker. |
Trail markers and signs help hikers stay on course, but there is no single color system that applies to every hiking trail. Always check the legend on the official map or trailhead information for the area you are visiting.
For example, the Appalachian Trail Conservancy explains that the A.T. main route uses white blazes while side trails commonly use blue blazes. Those colors describe that trail system; they should not be treated as a rule for every park or forest.
Signs may also give distances, destinations, hazards, closures, or regulations. Take a photo of the trailhead map when useful, carry a physical map when the route warrants it, and download your digital map before you lose service.
Note: When a phone app, an older guidebook, and an official closure sign disagree, follow the current instructions from the agency responsible for the trail.
Proper Hiking Etiquette
Good hiking etiquette protects both other visitors and the landscape. On many hiking trails, hikers traveling uphill generally have the right of way because they may be working hard to maintain their pace. The National Park Service hiking etiquette guidance recommends checking local signage because right-of-way rules can vary, especially on multi-use trails.
Communicate when passing instead of silently squeezing by. Move aside only where doing so is safe and does not damage fragile vegetation. Stock animals such as horses or mules often have priority over hikers, so follow the rider’s directions and local rules.
Leave No Trace
Stay on durable or designated surfaces where required, pack out your trash, leave natural and cultural objects where you found them, and avoid disturbing wildlife. Loud music can affect both wildlife and other visitors, so headphones or quiet listening are usually the more considerate choice.
If you hike with a pet, pick up its waste and follow all local restrictions. Never assume dogs are allowed simply because a trail is outdoors.
Packing the Perfect Hiking Backpack
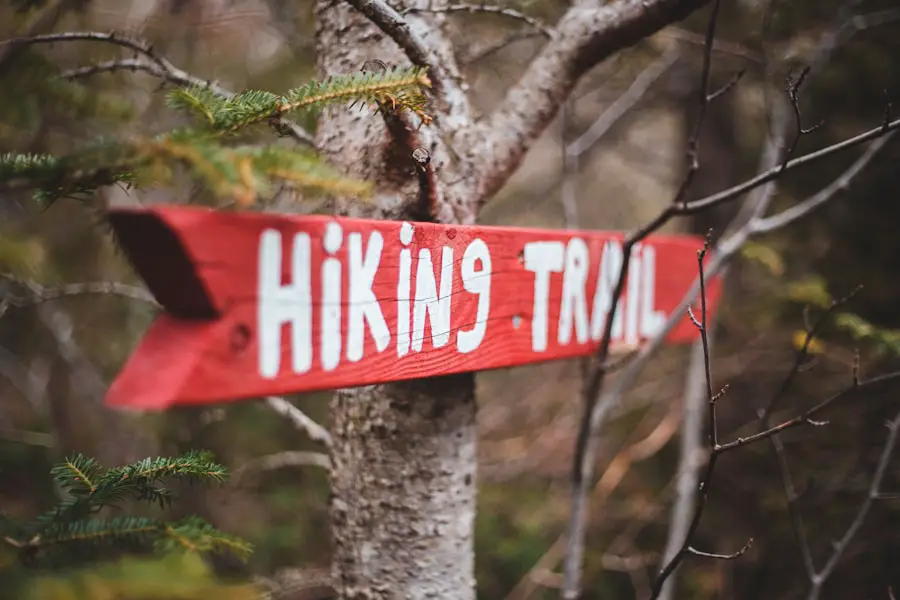
Packing your backpack well can make a noticeable difference in comfort and balance. Choose the pack according to what you actually need to carry rather than choosing a size from trip length alone.
For many ordinary day hikes, a daypack has enough room for water, food, extra layers, navigation tools, and emergency supplies. Overnight and multi-day trips require more capacity because you may also need shelter, sleep equipment, cooking equipment, and additional food.
Where to Put Your Gear
- Bottom: Put lighter, bulky items that you are unlikely to need while walking here.
- Core: Place dense, heavier gear near the middle of the pack and reasonably close to your back for better stability.
- Top: Keep layers, rain gear, or other bulky items you may need during the day within easier reach.
- Outer pockets: Use them for snacks, sunscreen, navigation tools, water, and other frequently used essentials.
Keep the load balanced from left to right and tighten compression straps so items do not shift as you walk. Avoid hanging unnecessary objects from the outside, where they can swing, catch vegetation, or alter the pack’s balance.
Pro Tip: Pack your water reservoir before filling every other space in the pack. Sliding a full reservoir into an already tightly packed compartment can be difficult.
Food and Water for a Day Hike
Your water needs depend on temperature, humidity, altitude, exertion, body size, route length, and access to safe water. Avoid relying on one universal amount for every hike. Carry enough for the conditions you expect and identify dependable refill points before leaving if your route requires them.
Never assume clear-looking stream water is safe to drink. When you must use natural water, carry an appropriate treatment method and know how to use it.
Choose food that is easy to carry and eat. Sandwiches, fruit, trail mix, nuts, bars, or other familiar foods can work well. Carry some extra food in case your hike takes longer than planned.
Tips for Hiking With Kids or Pets
Hiking With Kids
Hiking with children can build confidence and curiosity, but the outing should be planned around the child’s pace rather than the adult’s preferred mileage. Shorter routes with streams, wildlife viewing, bridges, rock formations, or other interesting features can help keep young hikers engaged.
Let children participate in simple planning decisions, such as choosing between two age-appropriate trails. Bring extra snacks, water, clothing, sun protection, and patience. Keep young children within sight and make regular stops before they become exhausted.
Hiking With Pets
Before bringing a dog, confirm that pets are actually permitted. The National Park Service notes that some parks prohibit pets on hiking trails or boardwalks even though pets may be permitted elsewhere in the park.
Where dogs are permitted, follow the posted leash rule, keep them away from wildlife, carry enough water and food for them, and pack out their waste. Evaluate the animal’s fitness honestly. Hot surfaces, sharp rocks, long distances, steep terrain, and heat can make a route much harder for a pet than expected.
Frequent rest and water stops help reduce fatigue and overheating. Excessive panting, heavy drooling, weakness, or vomiting are reasons to stop and move the animal to a cooler setting while seeking veterinary help when needed.
How to Build Your Hiking Skills
You do not have to begin with a mountain summit. The safest way to improve is through gradual progression.
- First hikes: Choose short, familiar, well-marked routes near developed areas.
- Next step: Add modest distance or elevation gain while keeping navigation simple.
- Then: Practice using a map and compass, managing changing weather, and carrying a slightly heavier pack.
- Later: Consider longer routes, rougher terrain, higher elevations, or overnight backpacking after you have the skills and equipment those environments require.
Walking, stairs, cycling, and basic strength training can make hills easier, but actual hiking is also valuable practice. A short local trail gives you a chance to learn pacing, footwear, hydration, layering, and pack comfort without committing to a difficult route.
Finding the Best Hiking Trails in Your Area
Discovering local hiking trails can open up a surprising amount of adventure close to home. Trail apps such as AllTrails can be helpful for discovering routes, viewing recent user comments, and comparing distance or elevation. Treat community reports as supplemental information rather than a replacement for the official land manager.
Check the website for the national park, state park, forest, preserve, municipality, or other organization responsible for the trail. Official pages are more likely to contain current information about closures, permits, parking, fires, floods, construction, wildlife restrictions, and seasonal access.
Local parks and nature reserves are particularly useful for beginners because many offer shorter marked routes and visitor centers where staff can answer questions. Hiking clubs can also provide group outings and practical guidance from people familiar with local conditions.
Before Driving to the Trailhead
- Confirm that the trail and access road are open.
- Check whether reservations, entrance fees, or permits are required.
- Verify parking availability and trailhead location.
- Read the current weather forecast and local alerts.
- Download the map for offline use.
- Check sunrise or sunset time if there is any chance you will finish late.
- Review pet, camping, fire, food-storage, and wildlife rules that apply to the area.
If you’re getting into hiking while traveling internationally, you may also be interested in a portable WiFi hotspot. A hotspot can make it easier to research routes, check local services, and stay connected where compatible cellular coverage exists. It should not replace offline maps or emergency planning because remote hiking areas may have no usable cellular signal. You can read the guide to the best portable WiFi hotspots for international travel here.
Love travel? Join Our Facebook Community For More Tips.
Frequently Asked Questions
What is hiking?
Hiking is recreational walking on trails, paths, or natural terrain. It can range from a short walk in a local park to a demanding full-day or multi-day backcountry trip.
Why should I get into hiking?
Hiking combines physical activity with time outdoors and gives you a flexible way to explore parks, forests, mountains, coastlines, and local nature areas. You can begin with easy routes and gradually increase the challenge as your fitness and outdoor skills improve.
How do I start hiking?
Choose a short, well-marked local trail, check its distance and elevation gain, review the weather and current conditions, wear comfortable footwear, pack the Ten Essentials, leave your plans with someone you trust, and start at an easy pace.
What gear do I need for hiking?
At minimum, plan around navigation, sun protection, insulation, illumination, first aid, fire, repair tools, food, emergency shelter, and hydration. Your footwear, clothing, and additional equipment should match the specific terrain and weather.
How can I stay safe while hiking?
Choose a route within your abilities, check current conditions, carry appropriate safety equipment, stay aware of changing weather, use reliable navigation, leave a trip plan, keep your group together, and turn around when conditions become unsafe.
What are some beginner-friendly hiking trails?
Look for shorter, well-marked routes with modest elevation gain, straightforward terrain, easy trailhead access, and reliable current information. Local parks and nature reserves are often good places to begin. Judge the individual trail rather than relying only on an “easy” label.
How can I improve my hiking skills?
Hike regularly and increase difficulty gradually. Practice pacing, map and compass use, weather awareness, first aid, layering, pack organization, and Leave No Trace skills before relying on them during a difficult backcountry trip.
How long should my first hike be?
There is no perfect mileage for every beginner. Choose a route comfortably below your normal walking limit and account for elevation, terrain, heat, altitude, and the return trip. Starting conservatively gives you room to learn without becoming exhausted far from the trailhead.
Can I hike alone as a beginner?
A companion or organized hiking group adds a useful safety margin while you are learning. If you hike alone, choose a route within your abilities, leave a detailed trip plan, carry navigation and emergency equipment, and avoid assuming your phone will always have service.
Sources
- National Park Service — Hike Smart — trail selection, trip planning, weather checks, pacing, and hiking safety.
- National Park Service — Ten Essentials — recommended hiking emergency and preparedness systems.
- National Park Service — Hiking Etiquette — right of way, trail behavior, wildlife, and resource protection.
- National Park Service — Hiking With Pets — trail restrictions, leashes, pet fitness, wildlife, water, and waste.
- Appalachian Trail Conservancy — A.T. Basics — Appalachian Trail blaze conventions and navigation.
- National Weather Service — Lightning Safety — thunderstorm and lightning precautions.
