
Last Updated on July 27, 2026 by Daniel Globe
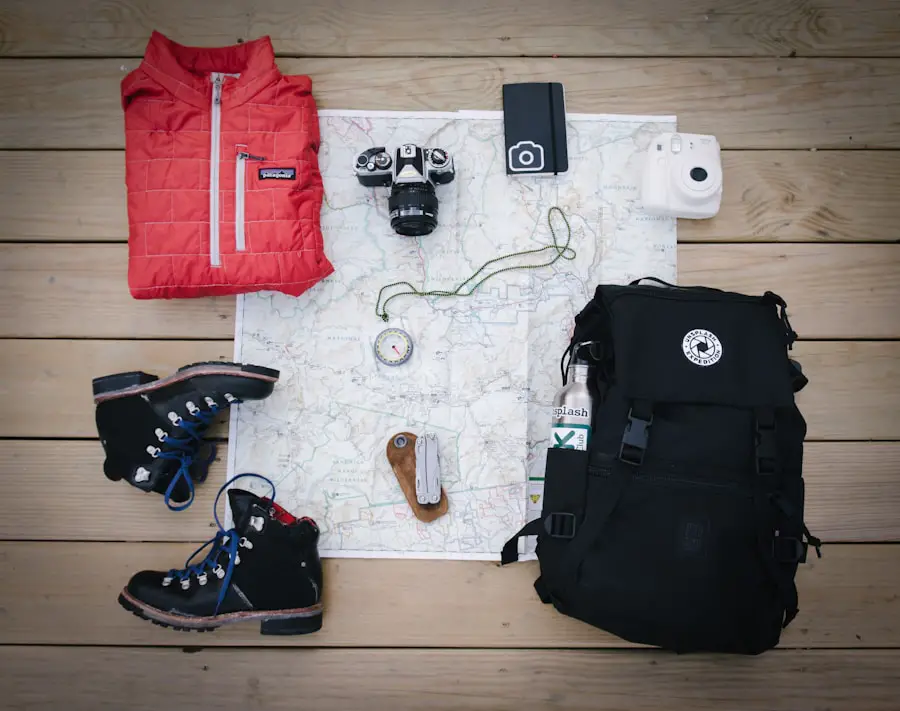
A well-packed hiking day pack gives you enough food, water, clothing, navigation gear, and emergency equipment to handle both the hike you planned and a reasonable delay or change in conditions. The best pack is not simply the smallest or lightest option. It should fit comfortably, hold the gear your route requires, and keep important items easy to reach.
Quick Answer
Pack the Ten Essentials: navigation, sun protection, extra layers, light, first aid, fire, repair tools, extra food, water and treatment supplies, and emergency shelter. Add personal medications, ID, a whistle, and a charged phone. Choose a pack that fits comfortably and has enough room for your route, weather, and expected time outdoors.
Key Takeaways
- Choose your day pack by the gear you actually need to carry, not by capacity alone.
- Use the National Park Service Ten Essentials as the foundation of your packing list.
- Water needs change with distance, heat, altitude, pace, and available refill points, so there is no universal two-liter rule.
- Carry navigation and emergency backups even when you expect to have cell service.
- Check the forecast, trail conditions, water availability, and local hazards before leaving home.
At a Glance
| Time Required | About 10–20 minutes to check conditions, fill water, and pack for a typical day hike |
| Difficulty | Easy, but the required gear increases with remoteness, weather, terrain, and trip length |
| Tools Needed | Day pack, Ten Essentials, route information, weather forecast, food, water, and personal items |
| Cost | No additional cost if you already own the gear; otherwise cost depends on the pack and safety equipment you need |
Disclosure: As an Amazon Associate I earn from qualifying purchases. Some links on this page are affiliate links, at no extra cost to you.
Choosing the Right Hiking Day Pack
Day packs come in many sizes. A small pack can work for a short outing with minimal gear, while a larger day pack gives you room for extra water, food, rain protection, warm layers, and emergency equipment. Packs around 10–20 liters are common for lighter outings, while roughly 20–35 liters gives many hikers more flexibility for longer day hikes. Winter travel, climbing, carrying gear for children, or remote routes may require more space.
Avoid choosing a pack solely because it has the most capacity. An oversized pack can encourage you to carry unnecessary weight, while an undersized pack may force essential clothing or emergency supplies to stay behind. Lay out your gear before choosing a capacity so you know what the pack must actually hold.
Fit and Comfort
A day pack should sit close to your body without restricting movement or breathing. Adjustable shoulder straps, a sternum strap, and a hip or waist belt can improve stability. Packs made in multiple torso sizes should be matched to your torso rather than chosen only from your overall height.
Try the pack with weight inside it. The shoulder harness should lie comfortably against your shoulders, and the pack should not sway excessively when you walk. Padded or ventilated back panels can improve comfort during extended wear, although no back panel will completely prevent sweating during strenuous activity.
Useful Day-Pack Features
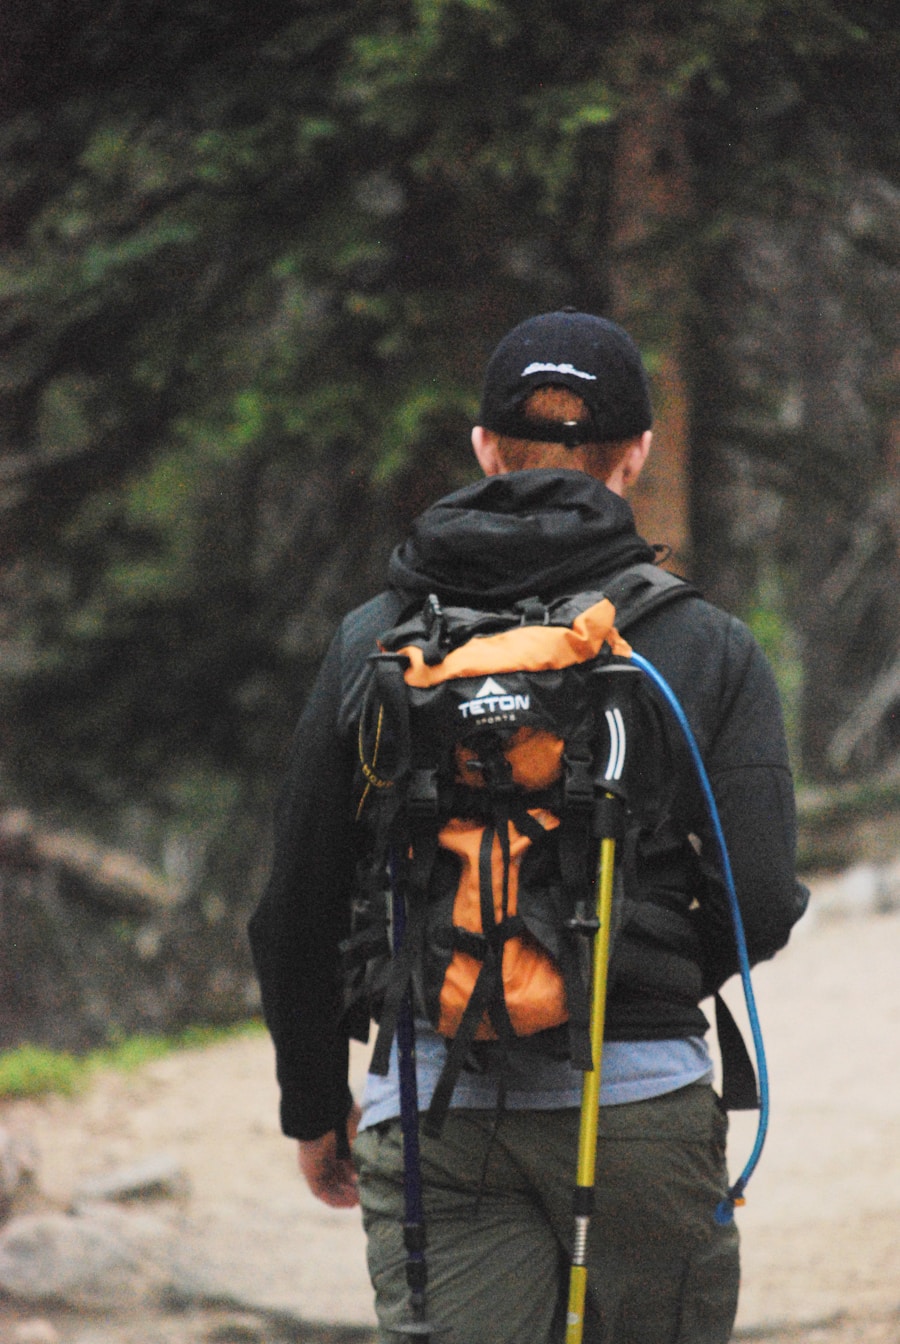
External bottle pockets make water easy to reach, while hip-belt or shoulder-strap pockets can hold snacks, sunscreen, or other frequently used items. Internal compartments can separate first-aid supplies, electronics, clothing, and food. A hydration-reservoir sleeve is useful if you prefer drinking through a hose while walking.
Pro Tip: Pack your rain shell, water, navigation tools, snacks, sunscreen, and first-aid kit where you can reach them without unloading the entire backpack.
The Ten Essentials for a Hiking Day Pack
The National Park Service Ten Essentials provide a useful foundation for a day-hike packing list. Your exact equipment should still match the trail, season, weather, distance from help, and personal needs.
| Essential | Examples |
| Navigation | Map, compass, GPS or phone with offline mapping |
| Sun protection | Sunscreen, sunglasses, hat, protective clothing |
| Insulation | Extra warm layer and weather protection |
| Illumination | Headlamp or flashlight plus spare power |
| First aid | Trip-appropriate first-aid kit and personal medication |
| Fire | Lighter, waterproof matches, or fire starter where legal and appropriate |
| Repair kit and tools | Multi-tool or knife, duct tape, and small gear-specific repairs |
| Nutrition | Trail food plus extra no-cook food for unexpected delays |
| Hydration | Water plus treatment supplies when relying on natural sources |
| Emergency shelter | Emergency bivy, tarp, or suitable compact shelter |
Navigation Tools
Understanding Topographic Maps
A topographic map shows terrain, elevation changes, trails, drainage features, and landmarks. Learning how contour lines work helps you understand whether a route crosses flat terrain, steep slopes, ridges, or valleys before you reach them.
Carry a map that covers more than the narrow trail corridor so you still have useful information if you miss a junction or must change your route.
The Importance of a Compass
A compass can help orient a paper map and identify direction even when batteries die or electronics fail. Carrying one is most useful when you also know how to use it. Practice taking bearings and orienting your map before relying on those skills in an emergency.
GPS, Smartphones, and Backup Plans
GPS devices and smartphone apps such as AllTrails or Gaia GPS can display your location, route, distance, and saved waypoints. Download maps before leaving home because cell service may disappear well before the trail does.
Note: Crowd-sourced trail information can contain incorrect routes, difficulty ratings, or unofficial paths. Compare app information with official land-manager maps, posted trail signs, and current closure notices.
First Aid Kit
A first-aid kit should match the number of people in your group, the length and remoteness of the hike, known medical needs, and likely trail hazards. The American Red Cross hiking first-aid checklist recommends customizing a kit rather than assuming one prepacked kit suits every trip.
Useful supplies can include:
- Adhesive bandages in several sizes
- Sterile gauze pads and medical tape
- Antiseptic or wound-cleaning supplies
- Blister treatment
- Elastic wrap
- Nitrile or other non-latex gloves
- Tweezers and safety pins
- Antihistamine and anti-itch treatment when appropriate
- Pain medication appropriate for the person taking it
- Personal prescription medications
- A compact first-aid reference
For remote or more demanding routes, additional supplies such as a compact splint may be useful if someone in the group knows how to use them correctly. Check expiration dates and replace damaged or depleted items before each trip.
Warning: Serious bleeding, difficulty breathing, a severe allergic reaction, loss of consciousness, confusion, or a suspected major injury requires emergency assistance rather than simply continuing the hike.
Water and Hydration
Hydration needs change with temperature, humidity, altitude, pace, body size, sweat rate, and trip length. Plan your supply before starting instead of assuming the same amount works for every hike.
| Hydration Reference | What It Means |
| 3.7 L men / 2.7 L women per day | General adult Adequate Intake for total water from beverages and food; it is not a day-hike carry requirement. |
| About 60% body water | A broad adult average that varies with age and body composition; it should not be used to calculate trail water. |
| Common dehydration signs | Thirst, dry mouth, fatigue, dizziness, reduced urination, and dark-colored urine |
| Trail planning | Base your supply on hike duration, weather, exertion, reliable refill points, and local ranger or land-manager advice. |
About half a liter per hour can be a reasonable starting point for some moderate hikes in moderate conditions, but it is not a universal prescription. Hot, dry, exposed, strenuous, or high-altitude routes may require substantially more. Start the hike hydrated and drink regularly rather than waiting until you feel severely thirsty.
For prolonged heavy sweating, water is only part of the equation. Food and beverages containing electrolytes can help replace sodium and other minerals lost through sweat. Salty snacks may be useful on long, hot outings, but they should be accompanied by adequate fluid.
Warning: Confusion, altered mental status, fainting, seizures, or very high body temperature can signal heat stroke. The CDC identifies heat stroke as a medical emergency; call emergency services and begin rapid cooling while help is on the way.
Carrying and Treating Water
A hydration reservoir lets you drink through a tube while walking, while bottles make it easy to see exactly how much water remains. Either method works. Choose durable containers and ensure they cannot leak inside your pack.
If you plan to refill from streams, lakes, or springs, confirm that the source is reliable and carry an appropriate treatment method. According to the CDC’s backcountry water-treatment guidance, boiling is the most reliable way to kill germs. When boiling is not practical, filtering followed by disinfection can provide broader protection than many filters or chemical treatments used by themselves.
Follow the instructions for your specific filter, purifier, tablets, or UV device. A clear-looking mountain stream is not proof that the water is safe to drink.
Nutrition and Snacks
Pack food that provides energy without taking up excessive space. Trail mix combines nuts, seeds, dried fruit, granola, and sometimes chocolate, providing a mixture of carbohydrates, fats, and protein. Energy bars, protein bars, dried fruit, nuts, and jerky are also easy to carry and eat while moving.
Fresh fruit such as apples or bananas can work well on shorter hikes. For a hike that crosses a normal meal time, a sandwich or wrap made with whole-grain bread or tortillas and a protein-rich filling such as turkey or hummus can be more satisfying than snacks alone.
Account for allergies, dietary restrictions, and foods that tolerate the expected temperature. For longer or more remote day hikes, carry some extra no-cook food in case an injury, navigation problem, weather delay, or slow group member keeps you out longer than expected.
Extra Clothing and Protection From the Elements
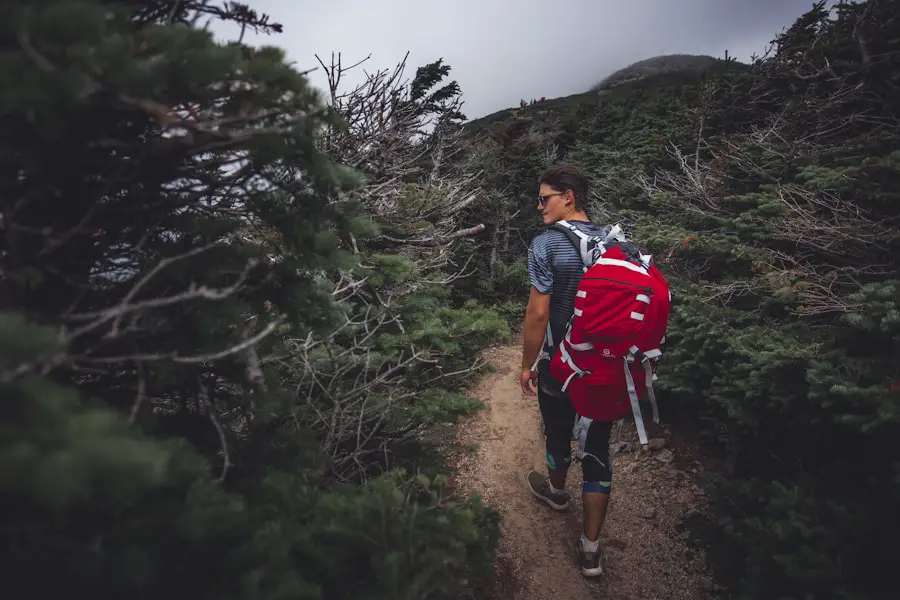
Outdoor conditions can change quickly, especially in mountains and exposed terrain. Check the forecast before leaving and pack for conditions that are reasonably possible, not only for the weather at the trailhead.
Layering makes temperature control easier. A moisture-wicking base layer helps move sweat away from your skin. In cool conditions, an insulating layer such as fleece or an appropriate insulated jacket helps retain heat. A rain shell or other weather-resistant outer layer adds protection from wind and precipitation.
An extra pair of socks can improve comfort if your feet become wet. Depending on the season, a warm hat and gloves can be important even when the day begins comfortably.
Sun and Insect Protection
Sun protection matters even when the sky is cloudy. Wear a hat and sunglasses and protect exposed skin. The FDA recommends broad-spectrum sunscreen with SPF 15 or higher and reapplication at least every two hours, or more often with heavy sweating or swimming.
Where mosquitoes or ticks are a concern, choose an EPA-registered insect repellent appropriate for your needs and follow the product label.
Thunderstorms and Lightning
Check the forecast before entering exposed terrain. The National Weather Service warns that there is no completely safe place outdoors during a thunderstorm. If thunder is audible and safe shelter is accessible, move to a substantial building or enclosed metal-topped vehicle. In mountain terrain, avoid remaining on exposed ridges or peaks as storms approach.
Emergency Shelter
An emergency shelter belongs in a day pack because an injury, navigation mistake, or weather change can turn a short outing into an unexpected wait for help. A compact emergency bivy, tarp, or emergency blanket can help reduce wind exposure, precipitation exposure, and heat loss.
An emergency blanket should not be treated as a replacement for adequate clothing or a real insulated sleep system. Its value is that it is compact enough to remain in your pack for an unexpected situation.
On routes where an unplanned overnight stay would carry greater consequences, consider a more substantial lightweight bivy or tarp. Practice opening or setting up unfamiliar shelter equipment before you need it in poor weather or darkness.
Lighting, Fire, Repair Gear, and Signaling
A headlamp is generally more useful than relying on a phone flashlight because it keeps both hands free and preserves phone battery for navigation or communication. Carry spare batteries or another appropriate backup power source.
A lighter, waterproof matches, or compact fire starter can provide an emergency heat or signaling option in some environments. However, fire rules differ by location and season. Check current restrictions before your hike and never assume that an emergency kit gives you permission to build a fire where fires are prohibited.
A small multi-tool or knife can assist with food preparation, minor gear repair, or first-aid tasks. Add a small amount of duct tape, cord, zip ties, or other repair items that match the equipment you carry.
A whistle is a lightweight signaling tool that can be heard farther than a normal speaking voice and does not consume phone battery.
Trip Plan and Emergency Communication
Before leaving, tell a reliable person where you are going, your planned route, where you parked, who is with you, and when you expect to return. Give that person clear instructions about what to do if you do not check in.
Carry a charged phone, but do not assume that cell service will be available. Put the device in airplane mode when appropriate to conserve power while using downloaded maps. A small power bank can be useful on longer outings.
For remote areas with poor cellular coverage, a satellite messenger or personal locator beacon may provide an additional emergency communication option. Learn how the device works before leaving home.
Note: Bring identification, relevant medical information, and personal medication. Your day-pack checklist should also account for local hazards such as winter traction, wildlife precautions, water crossings, or extreme heat.
How to Organize a Hiking Day Pack
Pack dense or heavy items, such as a full water reservoir, close to your back so the load feels stable. Keep items you are unlikely to need while walking toward the bottom or deeper inside the pack.
Frequently used items should stay easy to reach. Good candidates for top pockets, hip-belt pockets, or exterior compartments include:
- Water
- Trail snacks
- Map and compass
- Phone or GPS
- Rain shell
- Sunscreen
- Insect repellent
- First-aid kit
- Headlamp
Place electronics, spare clothing, and other water-sensitive gear in waterproof bags or liners if rain, river crossings, or wet conditions are possible. Avoid hanging heavy objects loosely from the outside of the pack where they can swing or catch on vegetation.
Personal Items and Miscellaneous Essentials
Beyond the main safety systems, a few personal items can make a hike easier. Hand sanitizer is useful before eating or after bathroom breaks when handwashing is unavailable. Toilet paper or appropriate backcountry hygiene supplies may also be necessary depending on the route.
Biodegradable soap should still be kept out of streams and lakes. When soap is genuinely needed in the backcountry, use only a small amount and follow Leave No Trace wastewater guidance, which calls for washing about 200 feet from natural water sources.
A notebook or small journal can be a pleasant addition if you enjoy recording trail conditions, wildlife observations, or memories from the hike. It is optional, unlike the emergency and safety equipment above.
For additional lightweight pack ideas, see this guide to minimalist travel backpacks for outdoor adventures. A minimalist approach works best when it removes unnecessary items without sacrificing the safety equipment your route requires.
Sources
- U.S. National Park Service — Ten Essentials — core day-hike safety and emergency gear categories.
- CDC — Water Treatment While Hiking, Camping, and Traveling — backcountry boiling, filtering, and disinfection guidance.
- American Red Cross — Hiking and Backpacking First Aid Kit Checklist — first-aid kit contents and customization.
- CDC/NIOSH — Heat-Related Illnesses — heat-exhaustion and heat-stroke symptoms and emergency response.
- U.S. Food and Drug Administration — Sunscreen and Sun Protection — sunscreen selection and reapplication guidance.
- National Weather Service — Lightning Safety — thunderstorm and lightning precautions for outdoor activities.
Frequently Asked Questions
What is a hiking day pack?
A hiking day pack is a backpack intended for an outing that starts and finishes the same day. It is usually smaller and lighter than a multiday backpack but should still have enough space for the Ten Essentials, food, water, extra layers, and personal gear.
What should I pack in a hiking day pack?
Start with navigation, sun protection, insulation, a headlamp, first-aid supplies, fire-starting equipment where appropriate, repair tools, extra food, water and treatment supplies, and emergency shelter. Add personal medication, ID, a whistle, phone, and gear required by local conditions.
How much water should I pack in a hiking day pack?
There is no universal two-liter rule. Roughly half a liter per hour can be a starting point for some moderate hikes in moderate weather, but heat, sun exposure, altitude, pace, trip length, and individual sweat rate can increase needs substantially. Check route-specific guidance and reliable refill opportunities before leaving.
What snacks are good for a hiking day pack?
Trail mix, nuts, dried fruit, jerky, energy bars, protein bars, and fresh fruit are practical choices. Longer hikes may call for a sandwich or wrap plus extra no-cook food in case the outing takes longer than planned.
What should I consider when choosing a hiking day pack?
Consider the gear you need to carry, pack capacity, torso fit, shoulder and hip-belt comfort, ventilation, hydration compatibility, weather protection, and easy-access pockets. Test the pack with weight inside it before using it on a long hike.
What size day pack is best for hiking?
Small 10–20 liter packs can work for lighter or shorter outings, while roughly 20–35 liters gives many hikers room for the Ten Essentials, food, water, and extra clothing on longer day hikes. Cold weather, technical activities, or carrying gear for others may require more capacity.
Do I need a map and compass if I have a phone?
A phone is useful, especially with offline maps, but batteries can die and apps may contain inaccurate trail information. For routes where becoming lost has serious consequences, carry an appropriate physical map and compass and know how to use them.
Should I carry emergency shelter on a day hike?
Yes, especially on remote trails or routes exposed to sudden weather. A compact emergency bivy, tarp, or emergency blanket takes little space and can reduce exposure if an injury, navigation problem, or unexpected delay prevents you from returning on schedule.

