
Last Updated on September 10, 2026 by Daniel Globe
Knowing what to take hiking is about more than packing enough food and choosing comfortable shoes. The right setup should help you stay warm, hydrated, oriented, and prepared if the weather changes or your hike takes longer than expected. Your exact gear will depend on the trail, season, distance, terrain, and whether you are going out for a few hours or staying overnight.
Quick Answer
For most hikes, take navigation, sun protection, extra clothing, a headlamp, first-aid supplies, fire-starting gear where appropriate, repair tools, extra food, enough water plus a treatment method, and emergency shelter. Also wear terrain-appropriate footwear, check the forecast and trail conditions, and tell a trusted person where you are going.
Key Takeaways
- Carry the Ten Essentials even on a day hike; unexpected weather, injury, navigation mistakes, or delays can turn a short outing into a much longer one.
- Choose footwear for the terrain and make sure it fits your foot shape with enough toe room and secure heel hold.
- Fit your backpack to your torso and hips, then test it with realistic weight before the trip.
- Use clothing layers so you can manage sweat, wind, rain, and temperature changes.
- Carry a map or other dependable navigation method and do not depend on a single battery-powered device.
- Plan water around hiking time, temperature, exertion, altitude, and reliable refill points rather than following one fixed amount for every hike.
- Check weather, closures, regulations, and permits before leaving, and give your route and expected return time to a trusted contact.
What to Take Hiking: The Ten Essentials
The National Park Service Ten Essentials provide a useful minimum system for hiking preparation. You may need more equipment depending on the route, season, remoteness, group, and local hazards.
- Navigation: Map, compass, GPS device, or an offline navigation app appropriate for the route.
- Sun protection: Sunglasses, sunscreen, a hat, and sun-protective clothing when needed.
- Insulation: Extra layers suitable for temperatures that may be colder or wetter than expected.
- Illumination: A headlamp or flashlight, preferably with spare batteries or adequate reserve power.
- First aid: Supplies appropriate for the trip, group size, and personal medical needs.
- Fire: Matches, lighter, or another emergency fire starter where fires are legal and conditions allow safe use.
- Repair kit and tools: Items such as a knife or multi-tool, tape, cord, and gear-specific repair supplies.
- Food: Enough for the planned hike plus a reserve for unexpected delays.
- Hydration: Drinking water and, when natural sources may be used, an appropriate water-treatment method.
- Emergency shelter: A lightweight emergency blanket, bivy, tarp, or other shelter suitable for the environment.
Pro Tip: Pack for the possibility that your hike lasts several hours longer than planned. A small headlamp, extra layer, food, and emergency shelter add relatively little bulk but can become critical after an injury, wrong turn, or unexpected weather change.
Products Worth Considering

Removes Bacteria & Parasites: The Microfiltration Membrane Removes 99.999999% of Waterborne Bacteria (Including E. Coli and Salmonella), and 99.999% of Waterborne Parasites (Including Giardia and Cryptosporidium) - Essential for Your Survival Kit
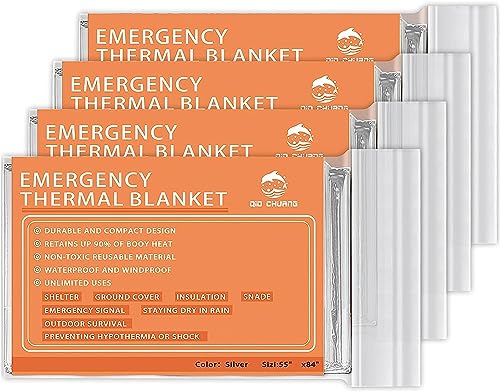
Emergency Mylar Thermal Blankets - Emergency Blanket,Space Blanket,Thermal Blanket,Mylar Blanket,Survival Blanket.Our durable advanced aluminized Mylar blankets are perfect for civilian bug out bags, go-bags, and home/auto emergency kits.

Long Press Function and Motion Sensor: Unlike the old version, LHKNL headlamp has added a long press function. Just hold the key mode button for 3 seconds to turn off from any lighting mode—no need to cycle through all modes. It also added motion sensor mode, you can easily turn the lights ON or OFF by waving your hand, which is more convenient and avoids soiling the headlamp when your hands are dirty
Plan the Hike Before You Pack
Gear choices make more sense once you know what the trip involves. Before leaving, check the trail distance, elevation gain, expected hiking time, terrain, current closures, water availability, weather, sunset time, permit requirements, and any location-specific hazards.
The National Park Service Trip Planning Guide also recommends leaving a trip plan with a trusted contact. Include your route, trailhead or parking location, who is in your group, your expected return time, and what that person should do if you fail to check in.
Choose a trail that matches the ability of the least-experienced person in the group. Build in a turnaround time so that reaching a summit, lake, or viewpoint never becomes more important than getting back safely.
Note: Cell service can be limited or nonexistent on hiking trails. Download maps before leaving, conserve your phone battery, and consider a satellite communicator or personal locator beacon for remote trips where emergency communication would otherwise be difficult.
Hiking Footwear: Match Your Shoes or Boots to the Trail
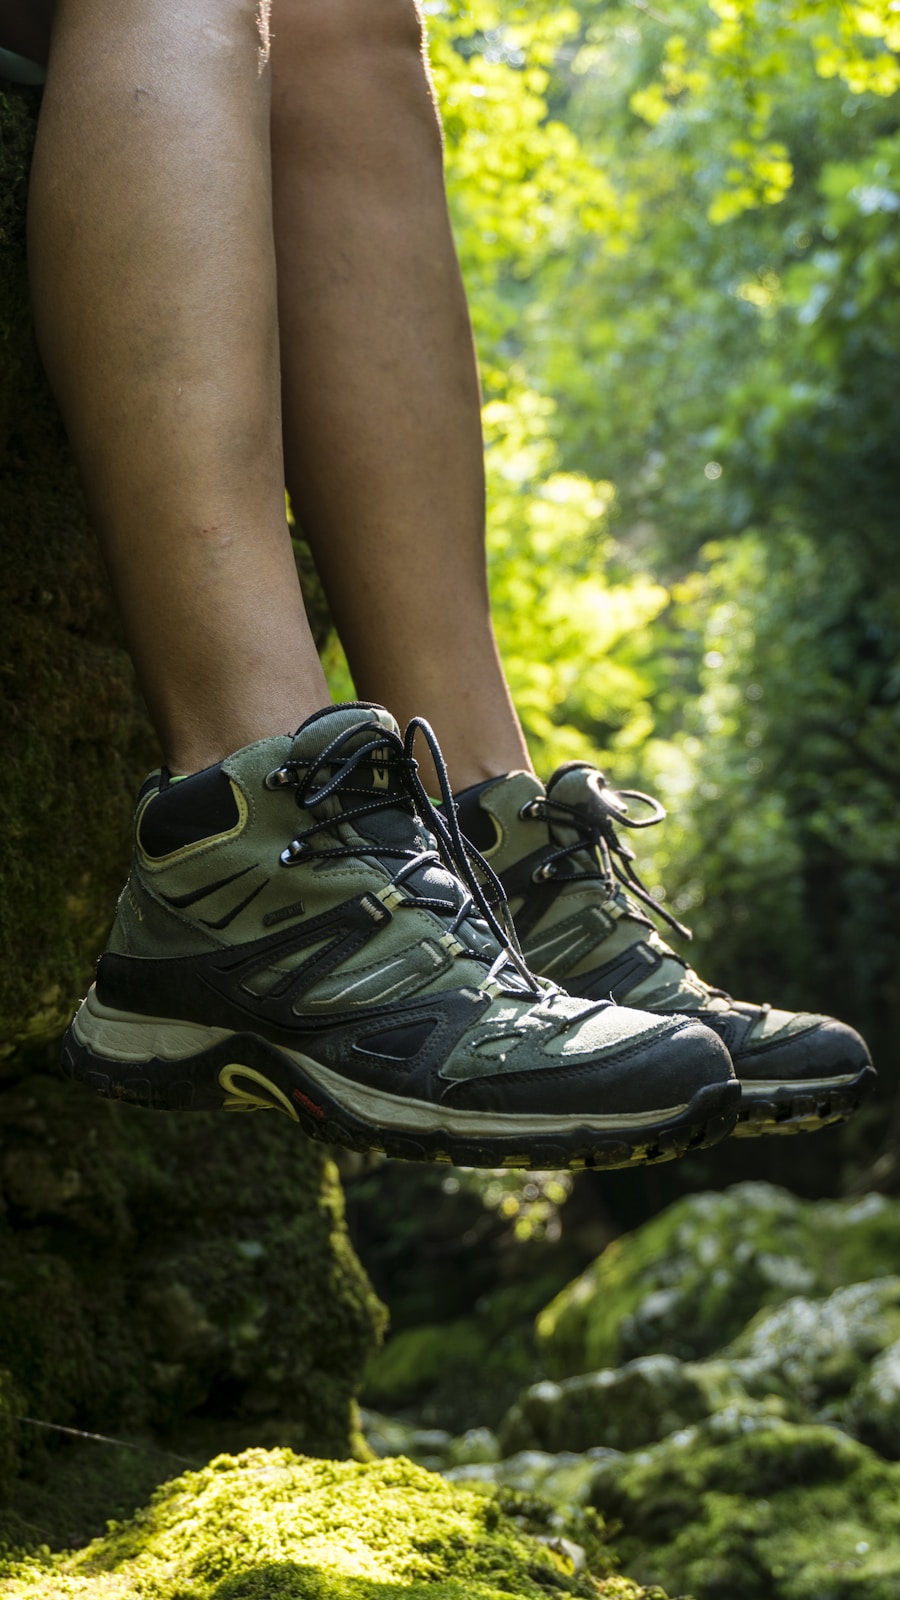
Selecting the right hiking footwear can make a major difference in comfort, traction, and confidence on the trail. Rocky, muddy, snowy, or uneven terrain generally calls for footwear with dependable tread, adequate protection, and enough support for the load you are carrying.
On smoother, well-maintained trails, lighter hiking shoes or trail-running shoes may provide all the traction and protection you need while reducing weight and improving breathability. A taller boot can provide more coverage and a more supportive feel, but no footwear can guarantee that you will avoid an ankle injury.
Fit matters more than the label on the shoe. Your toes should not strike the front of the footwear on descents, your heel should feel secure, and the toe box should give you room to move your toes without allowing your foot to slide around excessively.
Try hiking footwear with the socks you expect to wear. Walk on an incline or stairs if possible so you can check heel movement and toe clearance before buying.
Test new footwear before a long hike. Flexible trail shoes may need little formal break-in time, while stiffer hiking or backpacking boots often become more comfortable after several shorter walks. Testing them early also gives you time to identify pressure points, adjust lacing, and choose different socks if necessary.
Products Worth Considering

Stronger and safer spikes: Featured 19 high quality stainless steel spikes per foot and firm chain system, providing excellent traction on a variety of terrain or other worst conditions, keep you safe and injury-free

Trim to Fit: Superfeet insoles are made to be trimmed to fit your shoes and boots; follow cutting instructions before use, and if you're between sizes, size up and trim down to fit
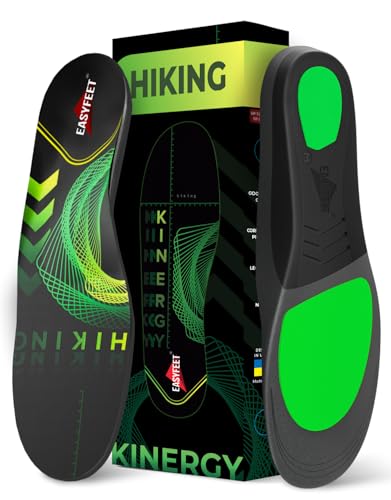
Hiking Insoles for Men and Women: The arch is medium and cushioned, not stiff. They are soft enough for comfort over ten miles, but firm enough to keep your foot steady on rocks and roots. You will really notice the difference on long downhills
Backpack: Finding the Perfect Fit for Your Hike
A well-fitted backpack makes it easier to carry water, food, clothing, emergency gear, and other hiking essentials without unnecessary bouncing or pressure points.
For day hikes, packs commonly range from about 10 to 40 liters depending on the weather, trip length, and amount of equipment you need. A short warm-weather outing may require very little volume, while winter or technical day hikes can require a much larger pack. Overnight and multiday backpacking commonly require packs around 45 liters or more, with 50- to 80-liter packs common for multiday trips.
Do not choose capacity only by trip length. Lay out what you actually need to carry first. An oversized backpack can tempt you to pack unnecessary equipment, while an undersized one may force critical gear outside the pack or leave important supplies behind.
Backpack fit is based heavily on torso length rather than overall height. With a framed hiking pack, the hip belt should sit securely around the hip bones so that much of the load can be supported through the pelvis instead of hanging entirely from the shoulders.
Adjust the shoulder straps, sternum strap, and load lifters so the pack stays close to your body without restricting breathing or movement. When trying on a pack, load it with weight similar to what you expect to carry and walk around for several minutes. Watch for pinching, numbness, excessive movement, or uncomfortable pressure.
Useful hiking-pack features can include side water-bottle pockets, a hydration-reservoir sleeve, accessible pockets for snacks and navigation tools, compression straps, trekking-pole attachments, and a ventilated back panel.
Products Worth Considering

STAY HYDRATED ON THE GO: Lightweight hydration backpack with 2L water bladder keeps you refreshed while hiking, running, cycling, or biking. Insulated bladder pocket helps keep water cold for hours. 18L/22L of organized storage.

【Lightweight & Foldable for Travel and Outdoor Adventures】Available in 15L and 20L sizes, this foldable backpack packs down compactly for easy storage and portability. Designed for both men and women, it works perfectly as a hiking backpack, daypack, travel backpack, camping backpack, or backup backpack for weekend trips and everyday use.

Ultra-Portable Foldable Design: This small backpack unfolds to 16.14" × 9.65" × 5.5" for daily essentials. When not in use, it folds compactly into its self-packing pouch (6.9" × 6.3" × 1.95", similar to a sandwich size) for easy storage. Perfect for tucking into suitcases, handbags, drawers, car glove boxes, or as a lightweight backup pack inside your main hiking or camping bag
Clothing: Layering for Comfort and Protection
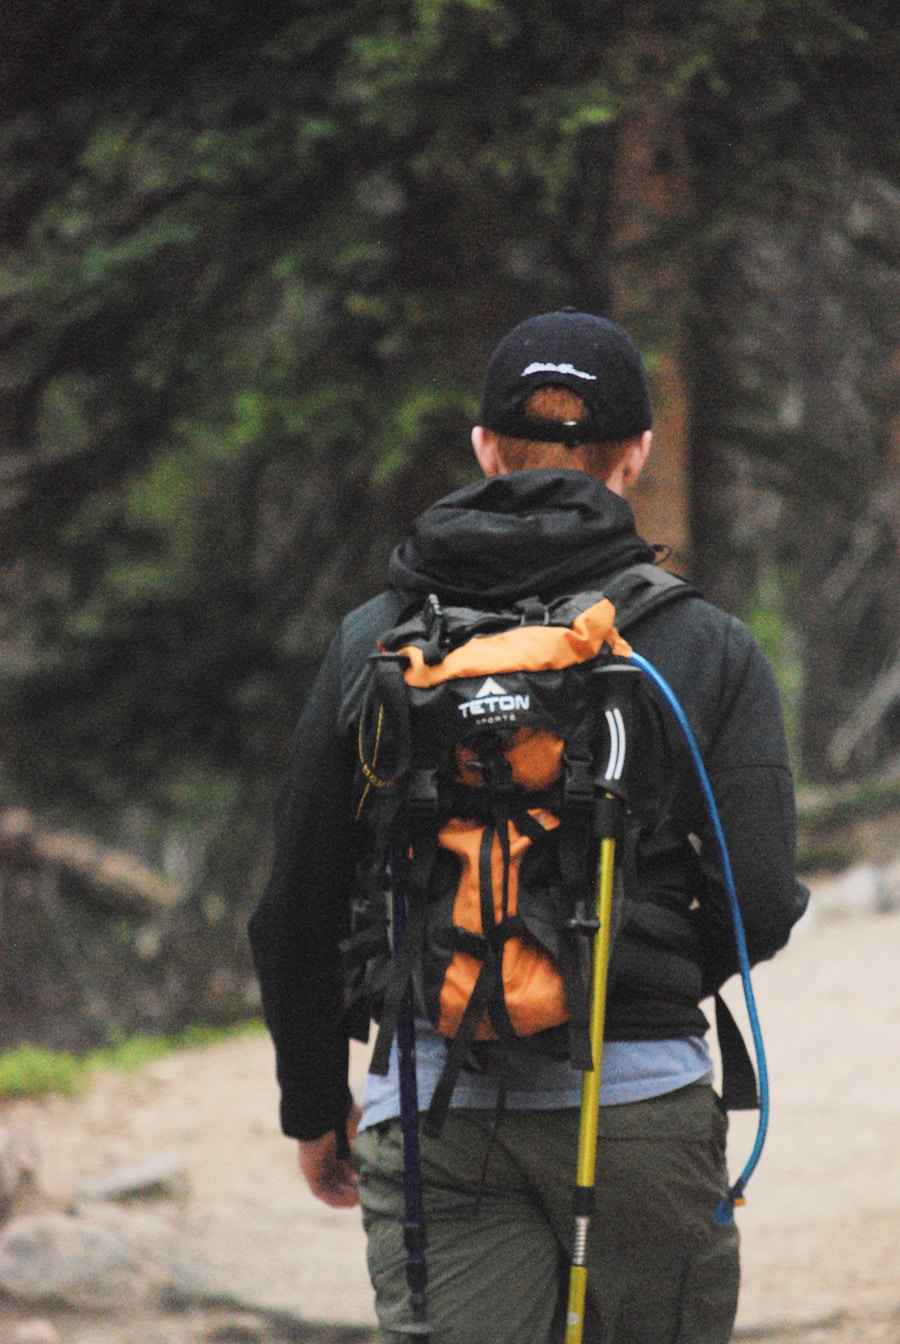
Layering gives you more control over comfort when your effort level or the weather changes. A practical system includes a base layer, an insulating layer when conditions require one, and a weather-resistant outer layer.
Base Layer
The layer against your skin should manage moisture. Merino wool and synthetic fabrics are common choices because they dry more effectively than everyday cotton when you are sweating or hiking in damp conditions.
Insulating Layer
Fleece, synthetic insulation, or down can add warmth. The right amount depends on temperature, wind, precipitation, elevation, and how long you may be inactive during breaks or an emergency.
Outer Layer
A rain shell or other wind- and water-resistant outer layer protects you from changing weather. Waterproof-breathable jackets can reduce rain penetration while allowing some moisture vapor to escape, although no shell eliminates sweating during hard exertion.
Quick-drying hiking pants or shorts can also improve comfort. In cold, windy, buggy, brushy, or sunny environments, long pants may provide valuable extra protection.
Carry at least one extra layer beyond what feels comfortable at the trailhead when conditions could become colder. Weather at higher elevations can differ sharply from conditions where you parked.
Navigation: Tools for Finding Your Way on the Trail
| Navigation Tool | Best Use | Main Strength |
|---|---|---|
| Topographic Map and Compass | Route planning, orientation, and electronic-device backup | No battery required |
| Dedicated GPS Device | Position, tracks, waypoints, and remote navigation | Designed specifically for outdoor navigation |
| Smartphone With Offline Maps | Convenient navigation on familiar and unfamiliar trails | Combines maps, GPS positioning, notes, and other functions |
| Official Trail Markers | Confirming your route where markers are maintained | Fast visual confirmation at junctions and along marked routes |
Traditional maps and compasses remain valuable because they do not depend on batteries. A topographic map can show elevation, ridges, drainages, trail junctions, and other terrain features that help you understand the route rather than simply following a line on a screen.
A GPS device or smartphone can provide precise positioning and route tracking. Apps such as AllTrails or Gaia GPS can be convenient, but download the maps you need before leaving cellular coverage.
Do not rely on one electronic device as your only navigation plan. Phones and GPS units can run out of power, become damaged, get wet, or be difficult to use in extreme conditions. Carry an appropriate backup and know how to use it.
Pro Tip: Before leaving the trailhead, confirm your starting location on the map and identify the major trail junctions, landmarks, turnaround point, and direction back to your vehicle. Navigation is easier before you become uncertain about your position.
Hydration: Staying Safe and Healthy on the Trail
Physical activity increases fluid needs, and hot, dry, windy, high-altitude, or strenuous conditions can increase them further. Instead of using one fixed amount for every hike, plan water around expected hiking time, individual needs, weather, and reliable refill opportunities.
As a practical planning baseline, Great Smoky Mountains National Park advises carrying at least 1 liter of water for every 2 hours of hiking, while recognizing that longer, hotter, or more strenuous trips may require more.
Hydration reservoirs provide hands-free access while walking, while bottles make it easy to see exactly how much water remains. Either system can work well. On longer or remote hikes, consider carrying some redundancy so that a leaking reservoir or damaged bottle does not eliminate your entire water supply.
Do not assume that clear-looking water from a stream, spring, or lake is safe to drink. If you may need natural water, research available sources before leaving and carry a treatment method appropriate for the area.
The CDC’s backcountry water-treatment guidance states that boiling is the best way to kill germs when water safety is uncertain. When boiling is impractical, filtering and then disinfecting the filtered water provides broader germ protection than relying on many filters alone.
Warning: Water treatment does not make every contaminated source safe. Many backpacking treatments are designed for microorganisms, not fuel, pesticides, heavy metals, harmful algal toxins, or other chemical contamination. When local authorities say a source is unsafe, use another water source.
Weather, Sun, and Lightning Safety
Check the forecast shortly before leaving, but also prepare for conditions that may change faster than the forecast suggests. Pack rain protection, insulation, and sun protection appropriate for your environment.
Sun protection can include sunscreen, sunglasses, a brimmed hat, and clothing that covers exposed skin. At higher elevation, in snow, or on exposed terrain, sun exposure can be significant even when temperatures feel cool.
Thunderstorms deserve special attention. The National Weather Service advises that there is no completely safe place outdoors when thunderstorms are nearby.
Warning: If you hear thunder, move toward safe shelter as soon as possible. A substantial enclosed building or an enclosed hard-topped vehicle provides the preferred protection. Do not shelter beneath an isolated tree, and get off exposed summits, ridges, and other high terrain.
Shelter: Options for Overnight Hiking
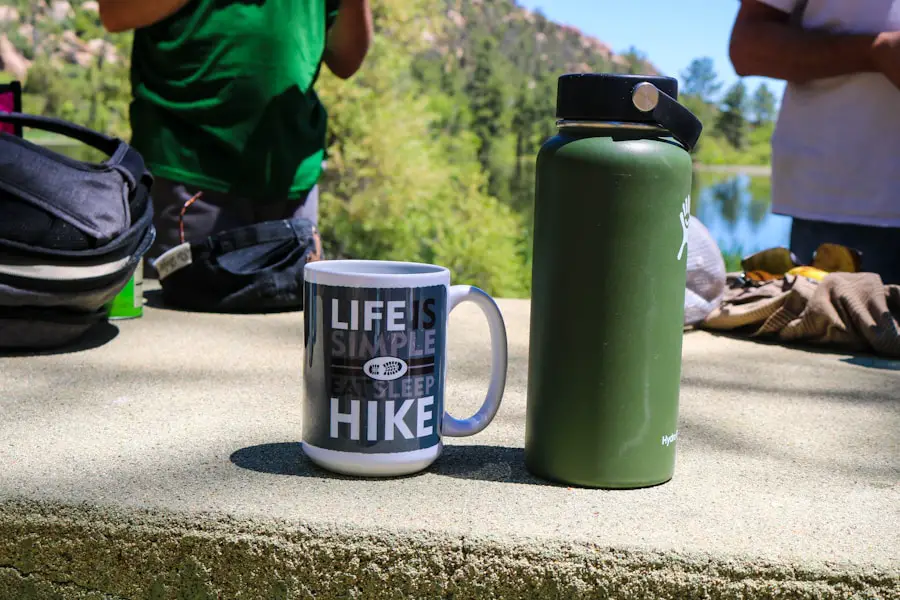
If your trip includes an overnight stay, your shelter must match the expected weather, insects, terrain, campsite rules, and temperatures. Even on a day hike, however, a lightweight emergency shelter remains one of the Ten Essentials.
Tents: The Most Popular Choice
Tents are a versatile option because they provide an enclosed sleeping space and protection from precipitation, wind, and insects when properly selected and pitched. Compare weight, packed size, weather resistance, interior space, and setup complexity.
Hammocks: A Lightweight Alternative
Hammocks can provide a comfortable sleeping option in places where hanging them is permitted and suitable trees or approved anchors are available. In cool weather, insulation below your body is important because compressed sleeping-bag insulation provides limited protection beneath you. An underquilt or insulated sleeping pad can help reduce heat loss.
Use tree-friendly straps and follow local land-manager rules, since hammocks are restricted or impractical in some environments.
Bivy Sacks: A Compact Solution
A bivy sack offers a compact shelter option for hikers who prioritize low weight and quick setup. Models vary greatly in weather protection and ventilation, so choose one for the actual conditions rather than assuming every bivy performs like a tent.
Do Not Forget the Sleep System
Shelter alone does not keep you warm through the night. Overnight hikers also need a sleeping bag or quilt appropriate for expected temperatures and an insulated sleeping pad appropriate for the ground conditions. Cold ground can pull heat from the body even inside a good tent.
First Aid Kit: Essential Supplies for Safety
A first-aid kit should match the length and remoteness of your hike, number of people in the group, environmental hazards, and personal medical needs.
The American Red Cross hiking first-aid checklist includes supplies such as adhesive bandages, antiseptic products, gauze, medical tape, blister care, nonlatex gloves, tweezers, pain-relief medication, and personal treatments.
A practical hiking kit may include:
- Adhesive bandages in several sizes.
- Sterile gauze and medical tape.
- Antiseptic wipes or other wound-cleaning supplies.
- Blister dressings or moleskin-style blister protection.
- Elastic wrap for sprains or strains.
- Nonlatex medical gloves.
- Tweezers.
- Any personal prescription medications.
- Any emergency medication specifically prescribed for known allergies or medical conditions.
- A compact first-aid reference.
Over-the-counter medications such as pain relievers or antihistamines may be useful when they are appropriate for the person taking them. Follow medication labels and your healthcare professional’s instructions.
Note: Carrying medical supplies is not a substitute for knowing how to use them. A wilderness or standard first-aid course can be especially valuable when hiking where professional medical help may be far away.
Food and Snacks: Fueling Your Adventure
Pack enough food for the planned hike plus a reserve in case you are delayed. Convenient hiking foods are compact, durable, easy to eat, and provide enough energy for the amount of work you expect to do.
Trail mix made from nuts, seeds, dried fruit, and similar ingredients is popular because it is calorie-dense and easy to eat without preparation. Energy bars, nut-butter packets, jerky, crackers, dried fruit, tortillas, and other shelf-stable foods can also work well.
For overnight hikes, dehydrated meals can reduce food weight and preparation time if you are already carrying a stove and sufficient fuel. Remember that dehydrated meals also require additional water.
Fresh foods such as apples or bananas can be enjoyable on shorter trips, although they are heavier and may bruise or deteriorate more quickly than dried foods. Pack out all peels, cores, wrappers, and other food waste.
During long, hot, strenuous outings, food containing both carbohydrates and salt can be useful alongside adequate water. Individual nutrition needs vary, so bring foods that you know your stomach tolerates during exercise.
Emergency Gear Hikers Commonly Forget
Some of the smallest items in your pack become most valuable when plans go wrong. In addition to your primary hiking gear, consider:
- A headlamp or flashlight.
- Spare batteries or adequate backup power.
- A whistle for signaling.
- An emergency blanket, bivy, or tarp.
- A lighter or waterproof fire-starting method where legal and appropriate.
- A knife or multi-tool.
- Duct tape, repair tape, or other gear-specific repair materials.
- Extra food.
- An extra insulating layer.
- A small power bank for electronics on longer trips.
- A satellite communicator or personal locator beacon when the remoteness and risk justify one.
If you become lost, stop and assess the situation instead of wandering blindly. Check your navigation tools, conserve supplies, and make yourself easier for rescuers to locate if you cannot safely determine your route. In a life-threatening emergency in the United States, call or text 911 when service is available or use your emergency communication device.
Leave No Trace and Protect the Trail
Good hiking preparation also includes minimizing your impact on the place you are visiting. The Leave No Trace principles emphasize planning ahead, traveling and camping on durable surfaces, disposing of waste properly, leaving natural and cultural objects where you find them, minimizing campfire impacts, respecting wildlife, and being considerate of other visitors.
Follow the rules of the specific land manager because waste disposal, campfires, food storage, pets, camping locations, permits, and wildlife precautions differ from one destination to another.
Optional Hiking Extras and Related Travel Gear
The Ten Essentials and safety equipment should come first, but optional gear can make a particular trip more enjoyable. If fishing is part of your itinerary, a compact setup can give you something to do during longer breaks or at camp; see this guide to choosing a travel fishing pole. Comfortable socks are another worthwhile upgrade, especially on longer hikes; this guide explains the benefits of merino wool travel socks. For someone who spends a lot of time outdoors, you can also browse these travel gifts for her.
Love travel? Join Our Facebook Community For More Tips.
Sources
- U.S. National Park Service — Ten Essentials — essential hiking and emergency equipment.
- U.S. National Park Service — Trip Planning Guide — pre-trip preparation, conditions, emergency planning, and trip plans.
- Centers for Disease Control and Prevention — Water Treatment While Hiking and Camping — safe treatment of uncertain backcountry water.
- American Red Cross — Hiking and Backpacking First Aid Kit — first-aid supplies and trip-specific kit planning.
- National Weather Service — Lightning Safety — thunderstorm and lightning precautions.
- Leave No Trace — The 7 Principles — responsible hiking, camping, waste, wildlife, and trail practices.
Frequently Asked Questions
What should I take hiking?
Take the Ten Essentials: navigation, sun protection, insulation, illumination, first aid, fire-starting equipment where appropriate, repair tools, extra food, water plus treatment supplies, and emergency shelter. Add terrain-appropriate footwear, a comfortable backpack, and any route-specific equipment.
How much water should I bring when hiking?
There is no single amount that works for every day hike. As one practical baseline, Great Smoky Mountains National Park recommends at least 1 liter for every 2 hours of hiking. Increase your supply when heat, altitude, strenuous terrain, long distances, or unreliable water sources raise your needs.
What kind of food is best for hiking?
Choose compact foods that provide useful energy and are easy to eat on the move, such as trail mix, nuts, dried fruit, bars, crackers, nut-butter packets, jerky, and similar shelf-stable foods. Pack enough for the planned hike plus some extra for delays.
What navigation tools should I bring when hiking?
Bring navigation appropriate for the route, such as a topographic map and compass, dedicated GPS, or smartphone with offline maps. For remote or unfamiliar terrain, avoid depending on a single electronic device and know how to use your backup before the hike.
What should I include in a first aid kit for hiking?
Useful supplies include adhesive bandages, gauze, medical tape, antiseptic or wound-cleaning supplies, blister treatment, an elastic wrap, nonlatex gloves, tweezers, personal medications, and any emergency medication prescribed for members of your group.
What clothing should I wear when hiking?
Wear moisture-managing clothing appropriate for the conditions and carry layers you can add or remove. A base layer, insulating layer when needed, and rain or wind shell provide flexibility. Avoid depending on one heavy garment that cannot be adjusted as your activity level changes.
What emergency supplies should I bring when hiking?
Carry a headlamp, first-aid supplies, emergency shelter, extra food, repair tools, appropriate fire-starting equipment, a whistle, extra clothing, and navigation. Remote trips may also justify a satellite communicator or personal locator beacon.
Can I rely only on my phone while hiking?
A phone can be an excellent navigation and communication tool, especially with maps downloaded for offline use, but it should not always be your only plan. Batteries drain, devices break or get wet, and cellular service may disappear. Carry an appropriate navigation and emergency backup for the route.
Is a water filter enough for hiking?
Not always. Treatment capability varies by product and by the contaminants present. CDC guidance recommends boiling uncertain water when feasible; otherwise, filtering followed by appropriate disinfection provides broader protection from disease-causing microorganisms than many filters alone.
What extra gear do I need for an overnight hike?
In addition to the Ten Essentials, overnight hikers usually need a suitable shelter, sleeping bag or quilt, insulated sleeping pad, additional food, cooking equipment if required, more water capacity or treatment capability, sanitation supplies, and any campsite-specific food-storage equipment required by the land manager.
