
Last Updated on July 27, 2026 by Daniel Globe
What you bring hiking should match the trail, weather, trip length, water availability, and how far you will be from help. A comfortable pack and suitable footwear matter, but the safest packing list also covers navigation, extra clothing, light, first aid, fire, food, water, emergency shelter, sun protection, repair tools, and a way to signal for help.
Quick Answer
For most hikes, carry the Ten Essentials: navigation, sun protection, extra clothing, illumination, first aid, fire, repair tools, extra food, water plus treatment, and emergency shelter. Add a properly fitted backpack, trail-appropriate footwear, weather-specific gear, personal medications, and emergency communication for remote routes.
Key Takeaways
- Choose a backpack by trip length and gear volume, then fit it to your torso and hips rather than choosing by height alone.
- Wear sturdy footwear with traction that matches the terrain; boots offer more coverage and structure, while trail shoes are often lighter and more flexible.
- Use layers so you can add or remove insulation as temperature, wind, rain, and effort change.
- Carry a paper map and compass as backups even when you use a phone or GPS device.
- Bring enough water for the route and a treatment method when you may need to use untreated backcountry water.
- Tell someone your route and expected return time, and check current weather, trail conditions, closures, and local rules before leaving.
A hiking packing list should prepare you not only for the planned trip, but also for an unexpected delay, sudden weather change, navigation error, or minor injury.
Before You Pack: Check the Route, Weather, and Rules
Gear choices start before you fill your backpack. Review the route distance, elevation gain, terrain, expected temperatures, precipitation, water sources, daylight, and current trail conditions. Check the land manager’s website for closures, permits, fire restrictions, wildlife notices, and food-storage rules. The National Park Service also recommends telling someone where you are going and when to expect you back as part of basic trip planning.
For remote or exposed routes, check the forecast immediately before departure and be willing to change plans. Thunderstorms, heat, snow, flooding, or wildfire conditions can make a familiar trail much more serious.
Warning: Do not let a packing list override local conditions. Turn around when weather, water, trail conditions, daylight, or your physical condition make continuing unsafe.
Backpack: Choose the Right Size and Fit
Selecting the appropriate backpack is a critical first step for any outdoor adventure, whether it is a day hike or an extended backpacking trip. The right backpack carries your gear while keeping frequently used items easy to reach.
Backpack volume is measured in liters. As a practical starting point, many day hikers use roughly 15- to 30-liter packs, while overnight and multi-day trips often require 40 liters or more. A 50-liter pack can work for some weekend trips, while longer trips, colder weather, bulky sleeping systems, or required food-storage equipment may call for more space. Treat these ranges as starting points rather than rules.
Fit is just as important as volume. A poor fit can create pressure points and make a load feel less stable. Pack sizing is commonly based on torso length, and the hip belt should sit securely around the hips. Try the pack with realistic weight, then adjust the hip belt, shoulder straps, sternum strap, and load lifters as the model allows.
Look for features that match the activity, such as a supportive hip belt, padded shoulder straps, water access, compression straps, rain protection, and useful pockets. For climbing or scrambling, a streamlined pack with fewer loose external items can reduce snagging.
Pro Tip: Fit a backpack while it contains realistic weight. An empty pack can feel comfortable even when the same harness becomes uncomfortable once loaded.
Products Worth Considering

【Lightweight & Foldable for Travel and Outdoor Adventures】Available in 15L and 20L sizes, this foldable backpack packs down compactly for easy storage and portability. Designed for both men and women, it works perfectly as a hiking backpack, daypack, travel backpack, camping backpack, or backup backpack for weekend trips and everyday use.

Unique Strap Design: Our small backpack features an innovative strap design with a zippered phone pocket on the left and a drawstring pocket on the right. The breathable mesh shoulder straps ensure comfort during your outdoor adventures, while reinforced stress points prevent strap breakage.

【Instant Access Phone & Essentials Pocket】Stay connected and organized on the go with our intelligently designed shoulder strap pocket. Perfectly sized to securely hold most popular smartphones, along with small valuables like keys or credit cards, it offers effortless, quick access, allowing you to focus on your adventure without interruption
Footwear: Hiking Boots vs. Trail Shoes
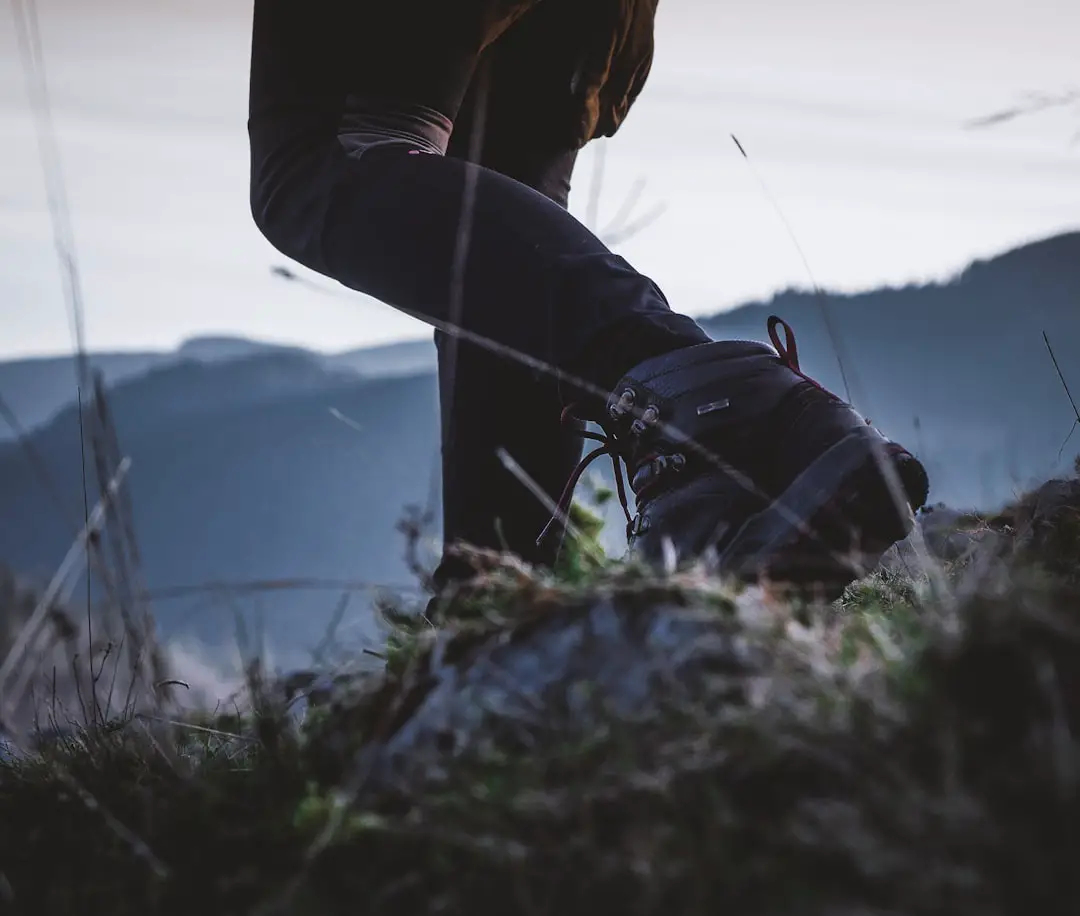
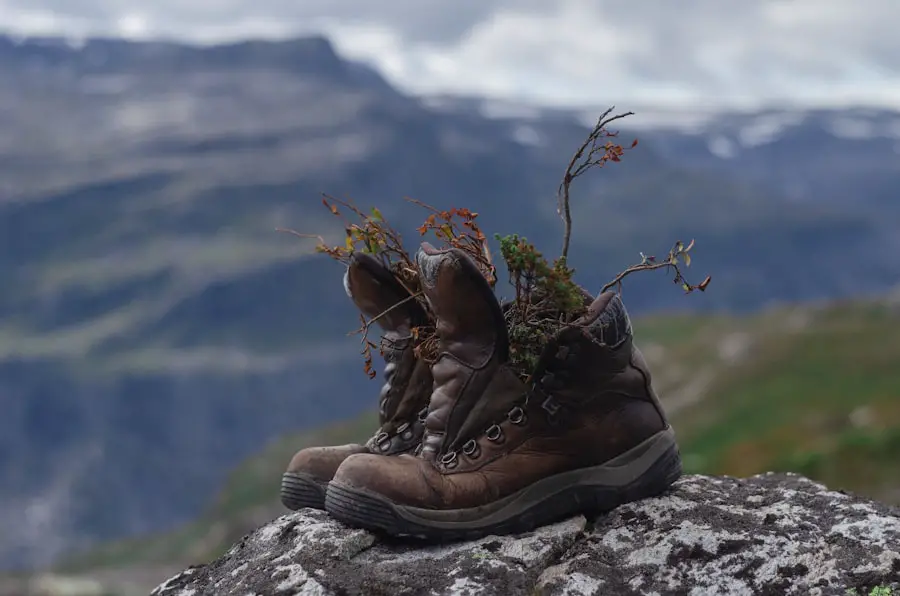
Outdoor footwear should match the surface, weather, load, and your own comfort. Hiking boots usually provide more coverage and a stiffer, more structured platform, which many hikers prefer on rough, wet, snowy, or off-trail terrain. Trail shoes are usually lighter and more flexible, which can feel comfortable on maintained trails and during faster-paced hiking.
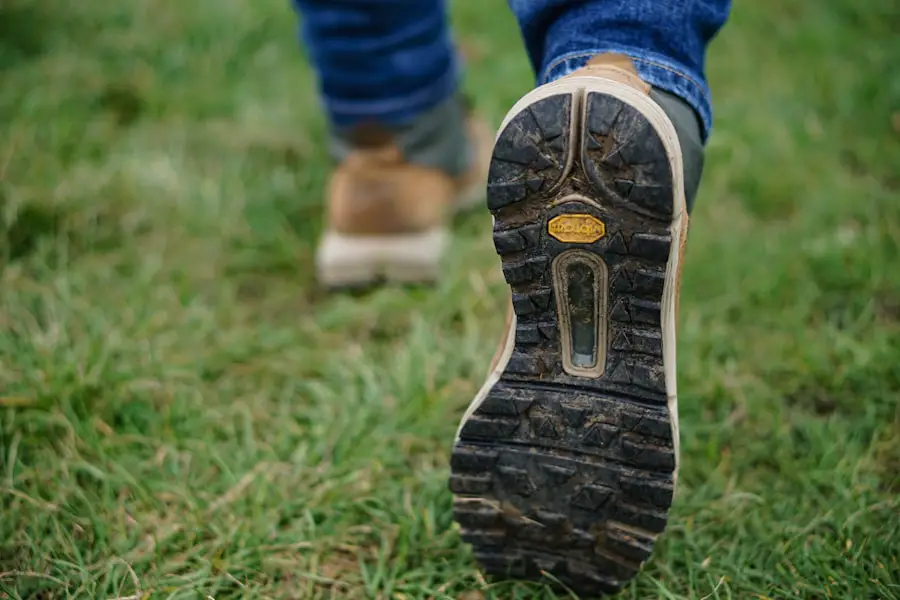
Do not assume that a boot automatically prevents ankle injuries or that every trail shoe has aggressive tread. Traction, sole stiffness, fit, waterproofing, and support vary by model. The most important points are a secure fit, enough toe room, a sole with suitable grip, and footwear you have already tested before a long hike.
For wet or cold conditions, waterproof footwear may help keep outside moisture out, although waterproof membranes can also reduce breathability and do not prevent water from entering over the cuff. Pair your shoes or boots with wool or synthetic socks, and consider carrying a dry spare pair on longer or wetter outings.
For more options designed around wet travel conditions, see this guide to waterproof sneakers for travel.
Products Worth Considering

Comfy to Wear: These women's hiking shoes feature EVA insoles, ensuring every step is cushioned and responsive. The mesh covering enhances ventilation, keeping you comfortable even during extended walks.

LIGHTWEIGHT AND RUGGED WATERPROOF DESIGN - The Topo Athletic Trailventure 2 WP hiking boots are the perfect companion for any trail adventure. These rugged hiking boots feature our signature roomy toe box and a full eVent waterproof inner-bootie construction to lock water out

Synthetic and mesh upper for breathability and durability
Clothing: Layering for Comfort and Protection
The clothing you choose helps manage sweat, temperature changes, wind, rain, and sun. A flexible system uses layers that can be added or removed as conditions change.
Base Layer
The base layer sits next to your skin. Wool or quick-drying synthetic fabrics are useful because they move moisture away from the skin and continue to perform better than slow-drying cotton when damp. Choose the weight of the layer for the temperature and your activity level.
Insulating Mid-Layer
The middle layer provides insulation. Fleece, synthetic insulation, or down can work depending on the weather. Down is warm for its weight but needs protection from moisture; synthetic insulation generally handles damp conditions better.
Outer Layer
The outer layer protects against wind and precipitation. A rain shell should match the expected conditions and allow enough ventilation for your activity. Waterproof-breathable fabrics can reduce rain penetration while allowing some moisture vapor to escape, but no shell prevents sweating during hard exertion.
Bring a hat, weather-appropriate gloves, and extra socks when conditions warrant them. For cold, wet, or highly variable routes, pack an extra dry layer in a waterproof bag.
Navigation Tools: Maps, Compass, and GPS
Navigating unfamiliar terrain requires tools you know how to use. A topographic map shows terrain shape and elevation with contour lines; closely spaced contours generally indicate steeper ground. The U.S. Geological Survey explains how topographic maps use contour lines to show the shape of the land.
GPS devices and offline smartphone maps can provide real-time position and route information, but electronics can fail, break, lose power, or become difficult to use in poor weather. The National Park Service Ten Essentials guidance recommends navigation tools and a physical map backup.
Before leaving, download any offline maps you need, confirm your route and turnaround points, and carry a compass when appropriate. A map and compass are only useful if you know how to use them, so practice before relying on them in the backcountry.
Note: Airplane mode can reduce phone battery use in areas with weak service. Keep enough battery reserve for navigation and emergency communication, and avoid using your phone as your only light source.
Products Worth Considering

Explore confidently with the reliable handheld GPS

Bright, high-resolution 5” glass capacitive touchscreen display lets you easily view your route

Compact and lightweight GPS handheld navigator with bright 2.4" high-resolution color screen so you can easily follow your track
Hydration: Water Bottles, Reservoirs, and Treatment
| Option | Typical Capacity | Common Material | Best Feature |
|---|---|---|---|
| Lightweight water bottle | 24 oz | BPA-free plastic | Simple to fill, monitor, and clean |
| Insulated water bottle | 32 oz | Stainless steel | Helps keep drinks hot or cold |
| Compact hydration reservoir | 2 L | Flexible polymer | Hands-free drinking through a hose |
| Large hydration reservoir | 3 L | Flexible polymer | Higher carrying capacity for longer dry stretches |
Staying hydrated is essential during outdoor activity. The amount of water you need varies with heat, humidity, elevation, effort, trip duration, body size, and water availability. Start with enough water for the planned route, and identify reliable refill points before leaving rather than assuming a stream or lake will be usable.
Water bottles are simple, easy to inspect, and easy to share or refill. Wide-mouth bottles can be convenient when collecting water for treatment. Hydration reservoirs keep water accessible through a hose while you move, but they can make it harder to see exactly how much water remains.
Untreated surface water can contain disease-causing germs even when it looks clear. The CDC recommends treating water of uncertain safety. Boiling is the most reliable way to kill germs; when boiling is not possible, CDC advises choosing a treatment method appropriate to the organisms of concern and following product directions carefully.
Warning: Clear mountain water is not automatically safe to drink. Filters also differ in what they remove, so know the limits of your filter, purifier, chemical treatment, or UV device before the trip.
Nutrition: Trail Snacks and Meals
Popular Trail Snacks
High-energy, shelf-stable foods such as nuts, dried fruit, nut or seed butter packets, jerky, crackers, and energy bars are popular because they are compact and easy to eat while moving. Pack foods you already tolerate well, and bring a little extra in case the hike takes longer than planned.
Meal Planning for Longer Trips
For longer trips, meal planning becomes more important. Dehydrated or other shelf-stable meals can reduce weight and may need only hot water for preparation. Include a mix of carbohydrate-rich foods for readily available energy plus protein and fat for overall nutrition and satiety.
If you carry perishable foods, keep them at safe temperatures. The U.S. Department of Agriculture advises planning ahead, keeping cold foods cold, separating raw foods, and choosing shelf-stable foods when refrigeration is not practical.
Electrolytes and Meal Preparation
During long, hot, or very sweaty hikes, food and electrolyte-containing drinks can help replace sodium and other electrolytes lost in sweat. Most hikers do not need to chase a precise electrolyte formula; thirst, trip duration, heat, personal medical needs, and food intake all matter.
Pre-portioning dry foods or meals into sealed bags can simplify preparation and reduce packaging. Check local fire restrictions before depending on a stove or campfire for cooking.
Shelter and Fire: Tents, Tarps, Emergency Blankets, and Fire Starter
Choosing the right shelter is vital for comfort and safety during overnight trips and can also matter on long day hikes if an injury or route problem delays your return. Tents provide enclosed protection from precipitation, wind, and insects. When selecting one, consider packed weight, interior space, setup, ventilation, and expected weather.
Tarps are lighter and can be pitched in different configurations, but they require more skill and may provide less protection from insects, wind-driven rain, or exposed conditions. An emergency bivy or space blanket is a compact backup that can reduce heat loss and provide limited protection while you wait out an unexpected delay.
Fire is also one of the NPS Ten Essentials. Carry a reliable ignition source such as waterproof matches or a lighter plus suitable fire starter for emergency use where legal and appropriate. In many places, open fires are restricted or prohibited, so never depend on building a fire for survival or cooking.
Note: Emergency shelter should be accessible even on a day hike. A compact bivy, tarp, or emergency blanket can matter if an injury, storm, or navigation problem forces you to stop for hours.
First Aid Kit: Essentials for Treating Injuries
A well-stocked first aid kit belongs in any hiking setup. Its contents should match the number of people, trip length, terrain, remoteness, weather, known allergies, and personal medical needs. A basic kit commonly includes adhesive bandages, blister care, antiseptic supplies, gauze, medical tape, gloves, tweezers, pain-relief medication, and personal medications.
The American Red Cross hiking first aid checklist also recommends items such as antihistamine, closure strips, elastic wrap, a CPR mask, and a first aid reference. Check expiration dates and replace used or damaged supplies before each trip.
Carrying supplies is only part of preparedness. Learn basic first aid before heading into remote terrain, and understand that a kit cannot replace professional medical care for a serious injury or illness.
Warning: A first aid kit is for immediate care, not a substitute for emergency services. For severe bleeding, breathing problems, loss of consciousness, suspected spine injury, severe allergic reaction, or other life-threatening emergencies, seek emergency help as soon as possible.
Safety Gear: Whistles, Signal Mirrors, and Emergency Beacons
Safety gear can help rescuers locate you when normal communication fails. A whistle is light, inexpensive, and can carry farther than your voice with less effort. A signal mirror can provide a visible daytime signal when sunlight and line of sight allow it.
For remote routes without reliable cell coverage, consider a satellite communicator or a registered 406 MHz personal locator beacon (PLB). A PLB sends a distress signal through the Cospas-Sarsat system to search-and-rescue authorities; models with integrated GNSS can also include location data in the distress message. NOAA emphasizes that 406 MHz beacons should be registered and reserved for genuine distress.
Learn how your device works before leaving. Keep it accessible rather than buried at the bottom of your pack, and understand whether it supports two-way messaging, tracking, or only one-way emergency alerting.
Pro Tip: For a PLB, confirm the registration is current before a remote trip. NOAA notes that registration information helps rescue agencies identify the user and respond more effectively.
Lighting: Headlamps and Flashlights
Proper lighting is essential when a hike runs later than expected or when you need to set up camp after dark. Headlamps are especially useful because they keep both hands free for navigation, cooking, repairs, or first aid. The NPS Ten Essentials guidance specifically recommends carrying illumination and extra batteries.
Flashlights remain a reliable option and may provide a strong, focused beam, but they occupy one hand during use. When choosing a light, compare battery life, brightness, beam pattern, weight, weather resistance, and how easy the controls are to use with cold or gloved hands.
A red-light mode can be useful around camp when you want lower glare, but it is not a substitute for a brighter white beam when you need to identify terrain or hazards.
Miscellaneous Essentials: Sunscreen, Insect Repellent, and Multi-Tool
Sun protection matters even when the air feels cool. Use shade, protective clothing, a brimmed hat, UV-blocking sunglasses, and broad-spectrum sunscreen. The CDC recommends sun protection when the UV Index is 3 or higher and advises broad-spectrum sunscreen with SPF 15 or higher as part of a layered approach.
In areas with mosquitoes or ticks, use an insect repellent appropriate to the pests and exposure time. The U.S. Environmental Protection Agency provides guidance on EPA-registered repellents and safe use. Follow the product label.
A multi-tool or small repair kit can help with minor gear problems, cutting tape, opening food packaging, or making simple adjustments. Duct tape, cord, a needle and thread, zip ties, or a model-specific repair item may be more useful than a large tool depending on your equipment.
Optional Gear for Terrain, Weather, and Local Rules
Not every hike needs the same extras. Add gear only when the route or conditions justify it:
- Trekking poles: useful for balance, steep descents, loose terrain, stream crossings, or carrying a heavier pack.
- Traction devices: useful on packed snow or ice when recommended for local trail conditions.
- Gaiters: helpful in snow, mud, loose scree, brush, or wet vegetation.
- Pack liner or dry bags: useful for protecting insulation, electronics, and dry clothing from rain or water crossings.
- Wildlife-specific equipment: carry bear-resistant food storage, bear spray, or other items only where appropriate and according to local regulations and land-manager guidance.
- Hygiene and waste supplies: bring what local rules require for toilets, human waste, menstrual hygiene, hand cleaning, and packing out trash.
Day Hike vs. Overnight Trip: What Changes?
A day hike still calls for emergency basics, because a short outing can become longer after a wrong turn, injury, weather change, or trail closure. The main difference is that overnight trips add a full sleep system, more food, more fuel or cooking equipment when needed, additional clothing, and often a larger backpack.
- Short day hike: Ten Essentials, appropriate clothing and footwear, water, snacks, route information, personal medication, and weather-specific gear.
- Long or remote day hike: add more food and water capacity, stronger navigation redundancy, emergency shelter, and remote communication when cell coverage is unreliable.
- Overnight or multi-day trip: add a tent or other primary shelter, sleeping bag and pad, stove and fuel if required, extra food, additional clothing, hygiene supplies, and any required food-storage system.
Frequently Asked Questions
What are the essential items to bring while hiking?
Carry navigation, sun protection, extra clothing, illumination, first aid, fire, repair tools, extra food, water and a treatment method, and emergency shelter. Add trail-appropriate footwear, a properly fitted backpack, personal medications, and any weather-, wildlife-, or route-specific gear.
What type of clothing should I bring while hiking?
Use quick-drying wool or synthetic layers that can be added or removed. Bring an insulating layer and a weather-resistant outer shell when conditions require them, plus a hat, gloves, sun protection, and spare socks as appropriate.
What type of footwear is recommended for hiking?
Choose sturdy, comfortable footwear with traction suited to the trail. Boots can provide more coverage and structure for rough, wet, snowy, or off-trail terrain, while trail shoes may be lighter and more flexible on maintained trails. Fit and traction matter more than the label alone.
What type of backpack should I bring while hiking?
Use a pack large enough for the trip without encouraging unnecessary weight. Day hikes often fit in a smaller daypack, while overnight trips need room for shelter, sleep gear, food, and extra clothing. Fit the pack to your torso and hips and test it under load.
What navigation tools should I bring while hiking?
Carry a physical map and a compass when appropriate, even if you use an offline phone map or GPS device. Download maps before leaving, preserve battery power, and know how to use your backup tools before you need them.
What should a hiking first aid kit include?
A basic kit may include adhesive bandages, blister treatment, antiseptic supplies, gauze, medical tape, gloves, tweezers, pain-relief medication, and personal medications. Customize it for the group size, trip length, terrain, allergies, remoteness, and your training.
What food and water should I bring while hiking?
Bring enough water for the planned route plus a safe refill or treatment strategy where needed. Pack compact foods you tolerate well, such as nuts, dried fruit, bars, jerky, crackers, or shelf-stable meals, and carry a little extra food for delays.
Sources
- National Park Service — Ten Essentials — core hiking emergency systems, navigation backup, extra clothing, illumination, fire, hydration, and shelter.
- CDC — Water Treatment Options When Hiking, Camping, or Traveling — treatment of water from sources of uncertain safety.
- American Red Cross — Hiking & Backpacking First Aid Kit Checklist — first aid kit contents and customization.
- NOAA SARSAT — 406 MHz Emergency Distress Beacons — PLB operation, registration, and search-and-rescue signaling.
- U.S. EPA — Insect Repellents — choosing and using registered repellents for mosquitoes and ticks.
- USDA FSIS — Food Safety While Hiking, Camping & Boating — outdoor food planning, storage, and temperature safety.
