
Last Updated on July 30, 2026 by Caleb Warren
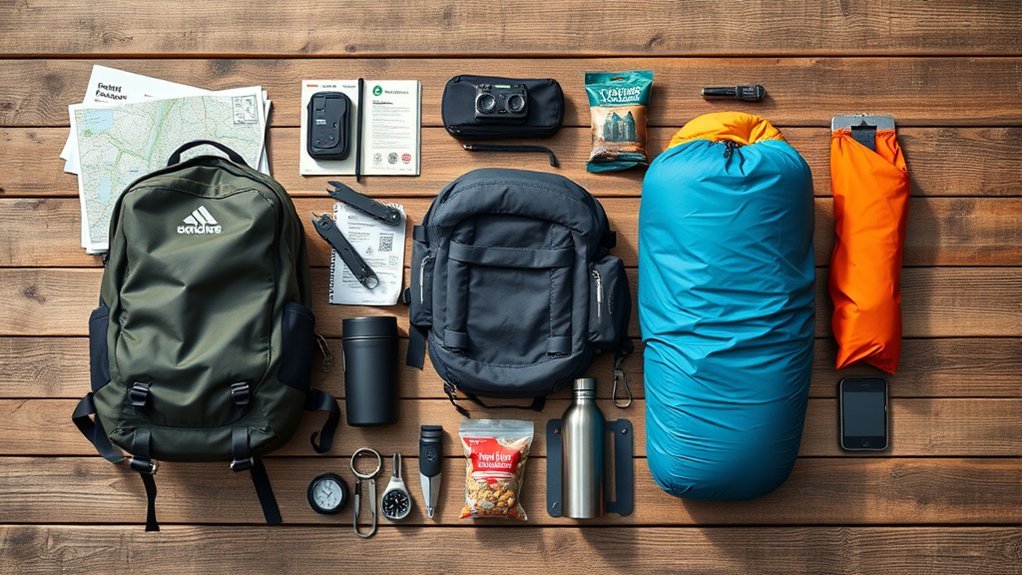
A well-planned backpacking checklist helps you carry what keeps you safe, warm, hydrated, and comfortable without loading your pack with items you will not use. Your exact gear depends on the route, weather, trip length, water access, wildlife rules, and your experience. Use this guide as a starting point, then check the rules for your destination before leaving home.
Quick Answer
For a backpacking trip, pack a properly fitted backpack, shelter, sleeping bag or quilt, sleeping pad, treated water and storage, food and a stove if allowed, weather-ready layers, navigation, a headlamp, first aid, repair tools, sun protection, hygiene supplies, and an emergency plan. Adjust every item to the route and forecast.
Key Takeaways
- Start with the trip plan, forecast, permit rules, water sources, and required food-storage method.
- Your core kit should cover shelter, sleep, water, food, clothing, navigation, light, first aid, repair, and emergency communication.
- A water filter does not protect against every germ; follow the treatment instructions and use a second treatment when the risk calls for it.
- Pack weight should match your body, fitness, terrain, and gear—not a single percentage rule.
- Test the complete load on a local walk before committing to a remote or multi-day route.
At a Glance
| Time Required | About 45–90 minutes to plan and pack, plus a loaded shakedown walk |
| Difficulty | Moderate; route planning and conditions matter more than the checklist alone |
| Tools Needed | Checklist, route map, forecast, luggage scale, permit information, and destination regulations |
| Cost | Varies widely; renting, borrowing, and using existing gear can reduce the cost of a first trip |
Disclosure: As an Amazon Associate I earn from qualifying purchases. Some links on this page are affiliate links, at no extra cost to you.
Essential Backpacking Gear
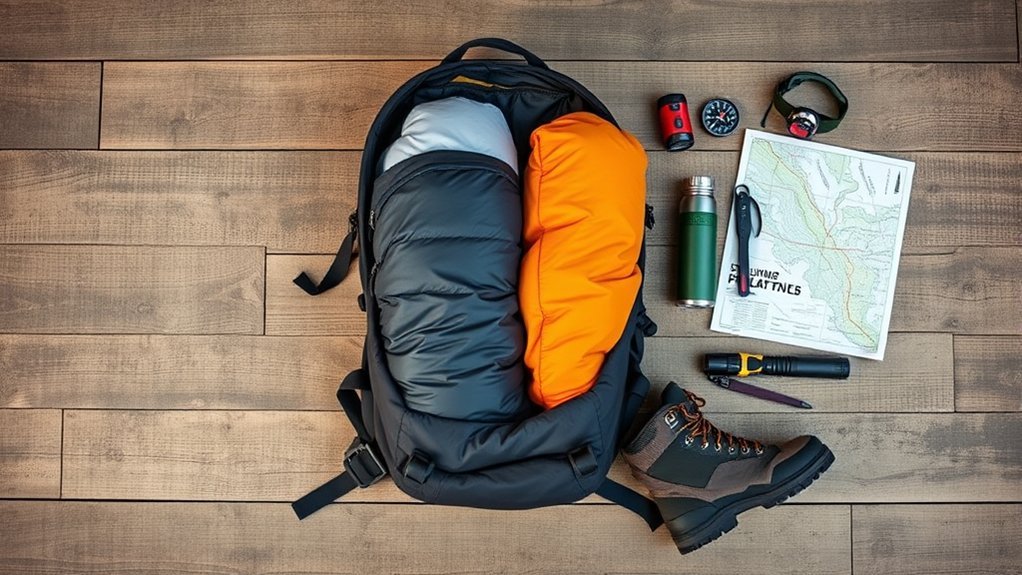
Your backpack, shelter, and sleep system form the base of the kit. Choose these items for the trip you are actually taking rather than buying only by brand name or advertised weight. A short summer trip near reliable water may need less capacity than a cold-weather route that requires bulky insulation, extra food, and a bear canister.
Backpack Fit and Capacity
A 50–60-liter backpack can work well for many multi-day trips, but it is not a universal requirement. Pack volume should follow the bulk of your shelter, sleep system, food, water, and required safety gear. The Deuter Aircontact Core 50+10 and other Aircontact models are examples of load-hauling packs, but the best pack is the one that fits your torso and transfers weight comfortably to your hips.
- Fit the hip belt first: It should wrap the top of your hip bones without painful pressure points.
- Set the torso length: Shoulder straps should follow your shoulders without large gaps.
- Adjust load lifters and the sternum strap: Keep the load close while preserving free breathing and arm movement.
- Test it loaded: A pack that feels fine empty may rub, sway, or pinch once it carries food and water.
Shelter and Sleep System
Do not stop at a sleeping bag or quilt. A complete sleep system includes a shelter, ground protection when needed, an insulated sleeping pad, and sleep clothing suited to the expected low temperature. The Enlightened Equipment Revelation is a lightweight quilt option with an adjustable footbox, but quilts require a well-fitted pad attachment and enough pad insulation to control drafts.
- Shelter: Tent, tarp, hammock system, or permitted backcountry shelter setup, including stakes, guylines, and a repair item.
- Sleeping bag or quilt: Choose a temperature rating with a safety margin for the forecast and your personal sleep needs.
- Sleeping pad: Select enough insulation for the ground temperature, not just enough cushioning.
- Dry sleep layer: Keep one base layer and socks protected from rain and sweat for camp and sleep.
Pro Tip: Set up your shelter and sleep system at home before the trip. Confirm that every pole, stake, valve, strap, and patch is present and that you know how to use it in wind or darkness.
Water Storage and Treatment
Carry enough bottle or reservoir capacity for the longest dry stretch on your route, plus a backup treatment method. The HydroBlu Versa Flow is a lightweight hollow-fiber filter designed for bacteria and protozoan cysts, but no single filter should be described as making every water source safe in every situation.
The Centers for Disease Control and Prevention says boiling is the best way to kill germs in uncertain water. When boiling is not practical, filtering and then disinfecting provides broader protection. Follow the product label, protect hollow-fiber filters from freezing, and never let the dirty-water side contaminate the clean side.
Warning: Most backpacking microfilters do not remove viruses. In areas with human or animal contamination risk, use the treatment method recommended by the land manager and public-health guidance.
Cooking and Food Gear
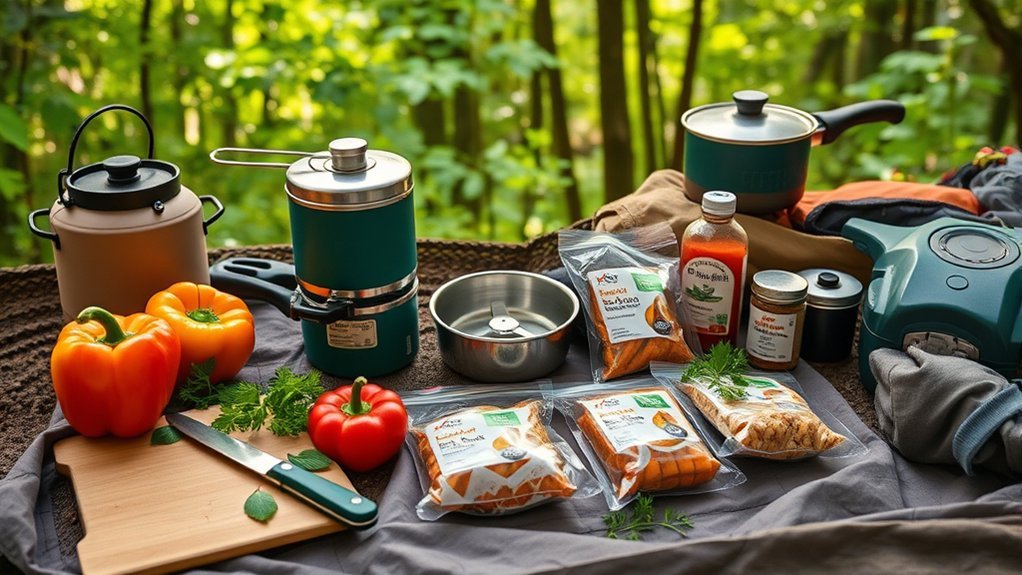
Cooking gear should match your menu, group size, fuel availability, and local fire rules. Some hikers need only a fast-boil stove for dehydrated meals, while others prefer a stove with better simmer control. Always carry at least one ready-to-eat meal or snack in case the stove fails or fires are restricted.
Essential Cooking Equipment
The current Jetboil Flash 1.0L system lists an average boil time of about 120 seconds for 0.5 liter of water, making it useful for hot drinks and dehydrated meals. A canister stove such as an MSR PocketRocket paired with a TOAKS titanium pot gives more flexibility for simple cooking. The TOAKS Titanium Long Handle Spoon weighs 0.65 ounce and reaches into deep meal pouches.
- Stove that is allowed at the destination
- Compatible fuel canister with enough fuel for the planned meals
- Pot with lid, cup if needed, and one utensil
- Lighter plus a protected backup ignition method
- Water filter, clean-water container, and backup treatment
- Small cleaning cloth or scraper; avoid leaving food scraps in camp
Food Storage Tips
Store food by odor and wildlife risk, not only by meal type. Regulations differ by park and forest. Some areas require an approved hard-sided bear canister, while others allow a specific hanging method or provide lockers. The National Park Service food-storage guidance recommends checking the exact rules for the destination.
| Item | Storage Method | Key Note |
|---|---|---|
| Daily snacks | Resealable meal bag | Keep one day’s food easy to reach, then secure it at camp |
| Dehydrated meals | Original pouch or labeled resealable bag | Remove excess packaging at home without losing cooking directions |
| Food and scented items | Required canister, locker, or approved hang | Include trash, toothpaste, sunscreen, lip balm, and other scented products |
| Waste | Durable, sealable trash bag | Pack out all food scraps and packaging |
Meal Planning Strategies
Plan by day and by meal. Choose foods you have already eaten, especially before a demanding trip. Dehydrated meals, tortillas, nut or seed butter, nuts, dried fruit, cheese suited to the conditions, and energy bars can provide useful calories without bulky cookware. Portion each day’s food at home, label meals, and add a small emergency reserve that does not require cooking.
- Count breakfasts, lunches, dinners, snacks, hot drinks, and drink mixes.
- Check every meal’s water and fuel needs before deciding how much fuel to carry.
- Balance calorie density with foods you can digest during exercise.
- Keep the first day’s food near the top of the pack and later meals deeper inside.
- Pack out every wrapper, tea bag, food scrap, and hygiene item.
Stove and Fire Safety
Check current restrictions before packing a stove. A fuel-canister stove may be allowed when wood or charcoal fires are banned, but the rule depends on the agency and current conditions. Cook on a stable, nonflammable surface away from dry vegetation. Never use a fuel-burning stove inside a closed tent because of fire and carbon-monoxide danger.
Safety and Emergency Equipment
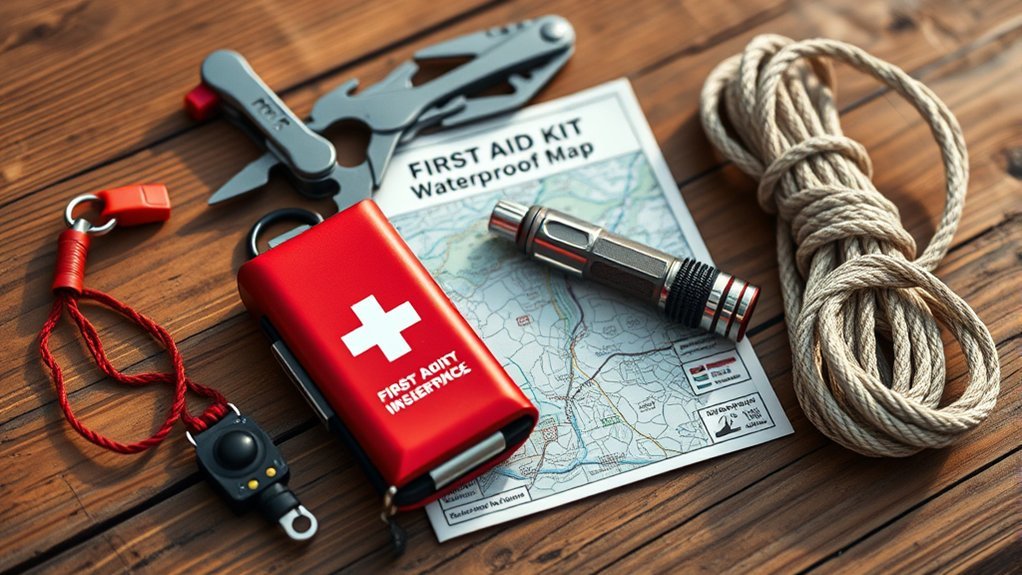
Safety gear works only when it matches the route and you know how to use it. The National Park Service’s Ten Essentials are a useful base for minor injuries, sudden weather changes, and unexpected delays. Add destination-specific items for wildlife, snow, river crossings, heat, insects, or technical terrain.
Essential Safety Gear
- Navigation: Printed topographic map, compass, and an offline digital map or GPS.
- Sun protection: Sunglasses, sunscreen, protective clothing, and a brimmed hat.
- Insulation: Extra layers for the coldest likely conditions.
- Illumination: Headlamp plus spare batteries or a reliable charging plan.
- First aid: Personal medications, blister care, wound supplies, and items matched to your training.
- Fire: Ignition and fire starter only where use is legal and safe.
- Repair kit and tools: Knife or multitool, tape, cord, pad patches, and gear-specific parts.
- Nutrition: Extra food that can be eaten without cooking.
- Hydration: Extra water capacity and treatment.
- Emergency shelter: The carried shelter plus a backup such as an emergency bivy when conditions justify it.
First Aid and Repair Kit
A first-aid kit should fit the group, distance from help, medical needs, and skill level. Include blister treatment, adhesive bandages, gauze, medical tape, antiseptic wipes, elastic wrap, tweezers, gloves, and required medications. Water-purification tablets belong with the water backup, not as a substitute for medical supplies.
A compact repair kit can save a trip after a small failure. Carry sleeping-pad patches, strong tape wrapped around a bottle or pole, a few zip ties, needle and thread, spare cord, and the tool needed for your stove or trekking poles. Inspect expiration dates and replace used items after every trip.
Navigation Tools Required
Carry a waterproof or protected map and compass even when using a phone or handheld GPS. Electronics can lose power, break, or become hard to read in cold, rain, or bright sun. Download offline maps before leaving coverage, mark water sources and bailout routes, and practice taking a bearing before the trip.
Leave a trip plan with a trusted person. Include the route, trailheads, vehicle description, permit area, planned camps, group members, communication method, and the time they should contact authorities if you have not checked in.
Emergency Communication Device
A satellite communicator can add two-way messaging, location sharing, and SOS service where cellular coverage is unavailable. The Garmin inReach Mini 2 weighs 3.5 ounces and remains a capable example, although Garmin introduced the newer inReach Mini 3 series in December 2025. Messaging and interactive SOS features require an active satellite subscription and a usable view of the sky.
Carry the device where you can reach it after a fall, not buried deep in the pack. Test activation, contacts, presets, and battery life before departure. A communicator supports an emergency plan; it does not replace navigation skill, conservative decisions, or self-rescue preparation.
Note: Tell your emergency contact what normal tracking gaps look like. A missed point can result from terrain or satellite visibility and does not always mean there is an emergency.
Toiletries and Personal Hygiene
Pack a small toothbrush, a modest amount of toothpaste, hand sanitizer, sunscreen, lip balm with SPF, any menstrual supplies, and personal medications. Body wipes, a portable bidet, and a small hairbrush are optional comfort items. Keep scented toiletries in the same wildlife-resistant storage system as food when rules require it.
Biodegradable soap still affects water and soil. Use only a small amount at least 200 feet from lakes and streams, and scatter strained wash water broadly. Follow local human-waste rules. Where catholes are allowed, Leave No Trace guidance calls for a hole 6–8 inches deep and at least 200 feet from water, camp, and trails. Some fragile, alpine, desert, river-corridor, and high-use areas require packing out solid waste.
Warning: Never assume a cathole is legal. Check the destination’s rules, and carry an approved waste bag when pack-out is required. Pack out hygiene products and follow local instructions for toilet paper.
Clothing and Layering Tips
A simple layering system helps you adapt to effort, wind, rain, and falling temperatures. Choose synthetic or wool fabrics that move moisture and dry faster than cotton. Your exact layers should follow the forecast and the consequences of an unexpected night outside.
- Base layer: Wicks sweat and can double as a dry sleep layer if kept protected.
- Active layer: Hiking shirt and pants or shorts suited to sun, brush, insects, and temperature.
- Insulating layer: Fleece or insulated jacket for stops and camp.
- Weather shell: Waterproof rain jacket; add rain pants when exposure or cold makes them useful.
- Feet: Broken-in trail shoes or boots, moisture-wicking socks, and at least one dry spare pair.
- Accessories: Sun hat, beanie, gloves, neck gaiter or buff, and insect protection as conditions require.
Do not pack a fresh outfit for every day. Rotate trail clothing, protect sleep clothing from moisture, and add insulation before you become chilled.
Comfort and Luxury Items
After the safety system is complete, one or two comfort items can improve sleep and recovery. Compare the benefit with the actual packed weight, including cases, cables, batteries, and accessories.
| Item | Benefit | Verified or Typical Weight |
|---|---|---|
| Helinox Chair Zero | Portable camp seating | 1 lb 1 oz packed |
| Therm-a-Rest Compressible Pillow Cinch | Adjustable sleep support | 8 oz small; 11.5 oz regular; 16 oz large |
| Quick-dry towel | Drying, cleaning, or condensation control | Varies by size and fabric |
| Nitecore NB10000 Gen 2 | Backup power for phone, headlamp, or communicator | 5.29 oz |
| Kindle | Many books without paper bulk | About 5.56–7.5 oz for common current models |
For a first trip, a small sit pad, inflatable pillow, or lightweight camp shoes may provide more comfort per ounce than a chair or extra electronics. Choose one item you will use every day.
Packing Tips for Lightweight Travel
There is no safe universal rule that every backpacker should carry no more than 20% of body weight. A manageable load depends on fitness, body size, injury history, terrain, altitude, weather, water carries, and pack fit. Weigh the complete pack, test it, and reduce unnecessary items without removing essential safety gear.
- Use a gear list with weights: This shows where large savings are possible.
- Avoid duplicates: One pot, one utensil, and one repair kit may serve the group.
- Repackage consumables: Carry the amount of soap, sunscreen, fuel, and food needed for the trip.
- Choose quick-dry clothing: Pack fewer pieces and rotate them.
- Share carefully: Split tents or cooking gear, but do not leave one person without critical survival items if the group separates.
How to Pack a Backpack
- Line the pack with a waterproof compactor bag or use dry bags for insulation and sleep clothing.
- Place bulky, light items such as the sleeping bag low in the pack.
- Keep dense items such as food close to the spine and around the middle of the back.
- Fill gaps with soft items so the load does not shift.
- Keep rain gear, water treatment, snacks, map, first aid, and a warm layer easy to reach.
- Carry fuel outside the food pot when leakage or residue could contaminate cookware.
- Use outside pockets for wet gear and items that can drain safely.
Shakedown and Final Check
Walk several miles with the exact load, including the expected water weight. Climb stairs or hills, adjust the harness, and note hot spots. Then unpack every item and ask whether it supports safety, shelter, water, food, warmth, navigation, hygiene, repair, or a comfort priority. Replace missing essentials before trimming optional items.
The lightest useful pack is not the one with the fewest items—it is the one that carries the right items for the route, conditions, and people using them.
Trip Planning, Permits, Weather, and Trail Conditions
Gear cannot fix a poor trip plan. Before packing, confirm whether the route needs a wilderness permit, campsite reservation, parking permit, fire permit, or special food-storage container. Read current trail notices for closures, snow, water availability, river crossings, road access, and wildfire restrictions.
- Check the official land manager’s website, not only a crowd-sourced trail report.
- Review the full forecast and expected overnight low for the route’s elevation.
- Plan daily distance around daylight, elevation gain, terrain, and the slowest group member.
- Identify water sources, dry stretches, campsites, bailout routes, and turnaround times.
- Tell a trusted contact when and how you will check in.
- Turn around when weather, injury, pace, water, or navigation no longer matches the plan.
Community Engagement and Resources
Local backpacking groups, ranger stations, outdoor clubs, and experienced hikers can help you understand route-specific conditions and common gear mistakes. Use community advice as a supplement to official rules and current alerts, not a replacement for them.
Share a detailed checklist with your group so responsibilities are clear. Confirm who carries the shelter, stove, fuel, water treatment, first-aid supplies, repair kit, navigation backups, and communication device. Each person should still carry personal insulation, water, food, light, and any critical medication.
Frequently Asked Questions
How do I choose the right hiking boots or trail shoes?
Choose footwear that fits your feet, load, terrain, and ankle needs. Try it with your hiking socks, allow room for toe swelling on descents, and test it on local walks. Comfort and traction matter more than whether the footwear is labeled a boot or a trail runner.
What are the best practices for wildlife encounters?
Learn the rules for the species at your destination before the trip. Keep your distance, never feed wildlife, control food and scented items, and avoid blocking an animal’s escape route. Response differs for black bears, grizzly bears, mountain lions, snakes, and other animals, so follow the land manager’s specific guidance.
How can I treat minor injuries while backpacking?
Stop, assess the injury, clean your hands, control bleeding, clean and cover minor wounds, and protect hot spots before they become blisters. Know the limits of your training. Severe bleeding, head injury, breathing trouble, major fracture, allergic reaction, heat illness, or worsening symptoms may require evacuation and emergency help.
What permits might I need for a backpacking trip?
Requirements can include a wilderness permit, timed-entry or trailhead reservation, campsite reservation, parking permit, fire permit, fishing license, or required food-storage container. Check the official park, forest, state, tribal, or local land-management page for the exact route and dates.
How do I stay connected without cell service?
Use a satellite communicator or personal locator beacon that is registered, activated, charged, and tested. A communicator can support two-way messaging; a beacon is mainly for distress alerts. Leave a trip plan with a trusted person even when carrying a device.
How much water should I carry?
Carry enough for the longest distance between reliable sources, the weather, your pace, and cooking needs. Water availability can change by season, so confirm current reports and carry extra capacity for uncertain or dry sections rather than relying on a fixed amount for every trip.
What is a good first backpacking trip?
Choose a one-night route with moderate mileage, a reliable campsite, simple navigation, known water, and an easy exit. Avoid combining your first overnight with extreme heat, cold, altitude, technical terrain, or a long dry carry.
Conclusion
A useful backpacking checklist is more than a pile of gear. It connects your route, forecast, water plan, food-storage rules, skills, and emergency plan to the items in your pack. Cover the essentials first, add comfort only when it earns its weight, and test the full setup before leaving. Good preparation gives you more freedom to enjoy the trail and better options when conditions change.
Sources
- National Park Service: Ten Essentials — core emergency and preparedness categories
- CDC: Water Treatment When Hiking, Camping, or Traveling — boiling, filtration, and disinfection guidance
- National Park Service: Bear Safety and Food Storage — destination-specific food-storage requirements
- Leave No Trace: Dispose of Waste Properly — catholes, wastewater, and pack-it-out practices
- Garmin Support: inReach Mini 2 Comparison and Specifications — device weight, battery, and subscription activation
- Jetboil: Flash Cooking System — current boil-time specification

