Last Updated on July 30, 2026 by Caleb Warren
A backpacking backpack is built for carrying shelter, sleeping gear, food, water, clothing, and safety equipment on overnight or multi-day hikes. Its fitted suspension, supportive hipbelt, and structured body make heavier loads easier to balance than they would be in a basic daypack. Choosing the right model depends on capacity, torso fit, expected load, weather, and the type of trail you plan to hike.
Quick Answer
A backpacking backpack is a supportive pack designed for overnight and multi-day hiking. Unlike a simple daypack, it normally has a load-bearing hipbelt, fitted shoulder harness, and internal or external structure that helps move much of the load from your shoulders to your hips while keeping the pack stable.
Key Takeaways
- Choose capacity from your actual gear volume, trip length, season, water needs, and resupply plan—not trip length alone.
- Backpack size is based mainly on torso length and hip circumference, not your overall height.
- Test a pack with a realistic load because an empty pack cannot reveal pressure points or poor load control.
- Most backpacking packs are water-resistant rather than fully waterproof, so critical gear still needs a liner or dry bags.
- A lighter pack is not automatically more comfortable; its suspension must support the weight you intend to carry.
Disclosure: As an Amazon Associate I earn from qualifying purchases. Some links on this page are affiliate links, at no extra cost to you.
Understanding Backpacking Backpacks
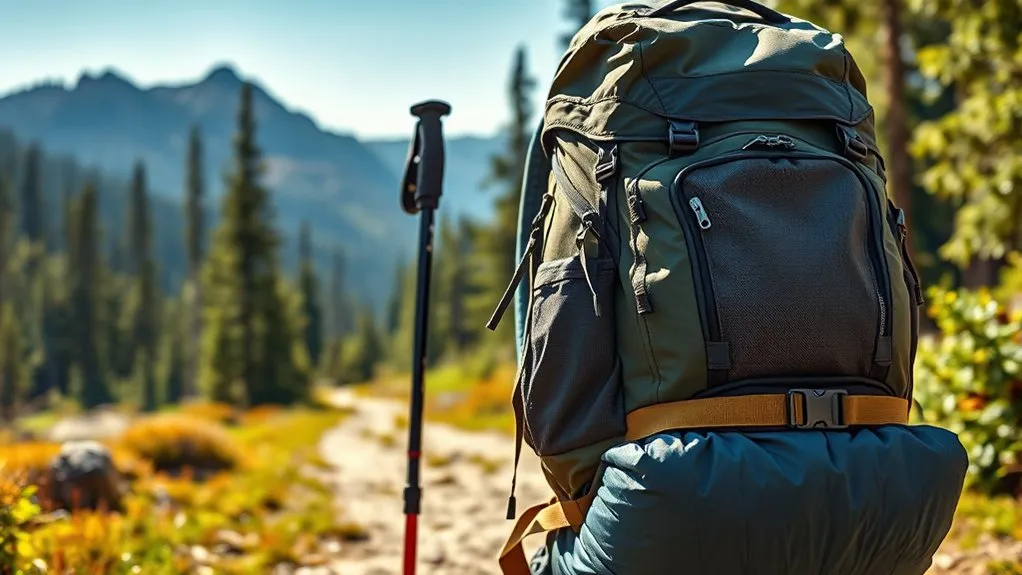
A backpacking backpack is made for hiking with camping equipment rather than carrying only the supplies needed for a few hours. It typically has a supportive suspension, padded hipbelt, adjustable harness, compression straps, and enough capacity for bulky items such as a sleeping bag, shelter, food, and extra clothing.
The hipbelt is a key difference. When the pack fits correctly, the belt rests over the upper portion of the pelvis and carries a substantial part of the load. The shoulder straps then stabilize the pack instead of supporting all its weight. Correct fit still depends on torso length, hipbelt coverage, harness shape, adjustment, and the load inside the pack.
Backpacking Backpack vs. Daypack or Travel Backpack
| Pack Type | Best Use | Typical Design |
|---|---|---|
| Backpacking backpack | Overnight and multi-day hiking | Load-bearing hipbelt, fitted suspension, larger capacity, compression straps, and gear attachments |
| Daypack | Short hikes and daily outings | Smaller and lighter, often with a simple foam back panel and minimal hipbelt |
| Travel backpack | Airports, hotels, and urban travel | Suitcase-style opening, luggage organization, stowable straps, and fewer trail-specific attachments |
Types of Backpacking Backpack Frames
- Internal frame: The frame is hidden inside the back panel. This is the most common modern design and keeps the load close to the body for stability on uneven terrain.
- External frame: The frame is visible outside the packbag. It can work well for bulky or irregular loads and may provide generous ventilation, but it is usually wider and less body-hugging.
- Frameless or removable-frame pack: This saves empty weight and suits experienced hikers carrying compact, lightweight gear. It can become uncomfortable when loaded beyond its intended range.
REI’s backpack guide explains that internal-frame packs are the most common, while external-frame and frameless designs still serve specific load-carrying needs.
Note: Pack capacity and pack size are different. Capacity is the number of liters the bag holds. Pack size refers to the torso and hip dimensions the suspension is designed to fit.
Key Features of Backpacking Backpacks
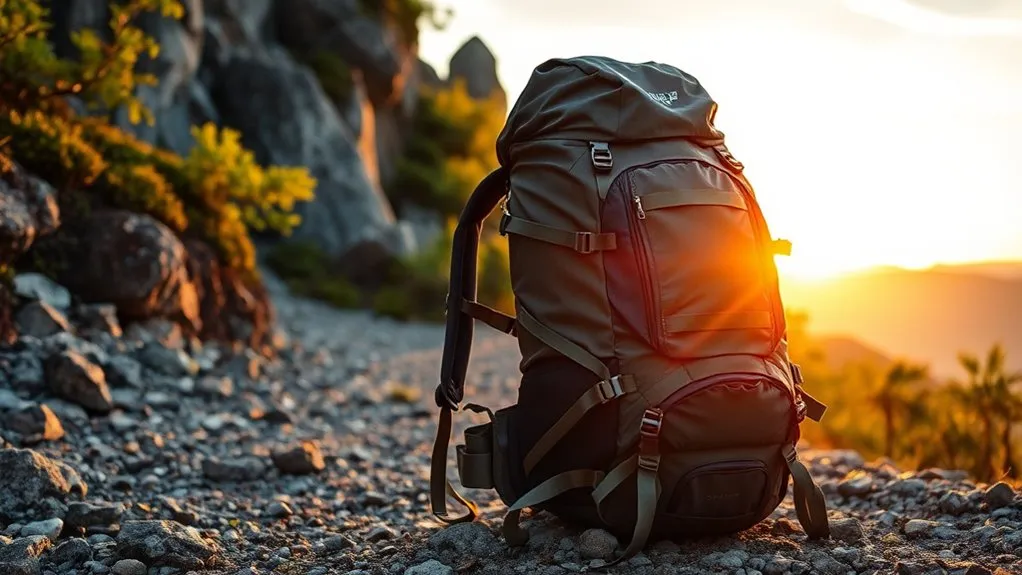
The best feature set depends on your load and hiking style. Extra pockets and zippers can improve access, but they also add weight, cost, and more potential failure points. Focus first on suspension and fit, then decide which convenience features are worth carrying.
- Frame and suspension: The frame, back panel, harness, and hipbelt work together to stabilize the load and transfer pressure to the pelvis.
- Supportive hipbelt: Padding should wrap around the hips without running out of adjustment or concentrating pressure in one spot.
- Shoulder harness: The straps should follow the shoulders without leaving large gaps or cutting into the neck.
- Load lifters: These small upper straps draw the pack closer to the body and help control backward pull.
- Sternum strap: This keeps the shoulder straps positioned comfortably. It should stabilize the harness without restricting breathing.
- Ventilation: Suspended mesh panels and ventilation channels can reduce heat buildup. A standard internal frame alone does not guarantee airflow.
- Pack access: Top-loading designs are simple and light. Panel, side, or bottom access makes buried gear easier to reach but can add zippers and weight.
- Pockets: Hipbelt pockets suit snacks and sunscreen, side pockets hold water bottles or poles, and a front stretch pocket can hold a wet rain jacket.
- Hydration compatibility: A reservoir sleeve, hose port, and reachable bottle pockets make drinking easier while walking.
- Compression straps: These reduce shifting and stabilize a partly filled pack.
- Attachment points: Trekking-pole loops, ice-tool attachments, and sleeping-pad straps are useful only when they match your equipment.
- Rain protection: Some packs include a removable cover, but an internal liner or dry bags provide more dependable protection for critical gear.
Pro Tip: Bring the gear you normally carry—or an equivalent amount of weight—when trying on a pack. Walk, climb stairs, bend, and reach for the side pockets. A pack that feels excellent while empty may create pressure points once loaded.
Benefits of Using a Backpacking Backpack
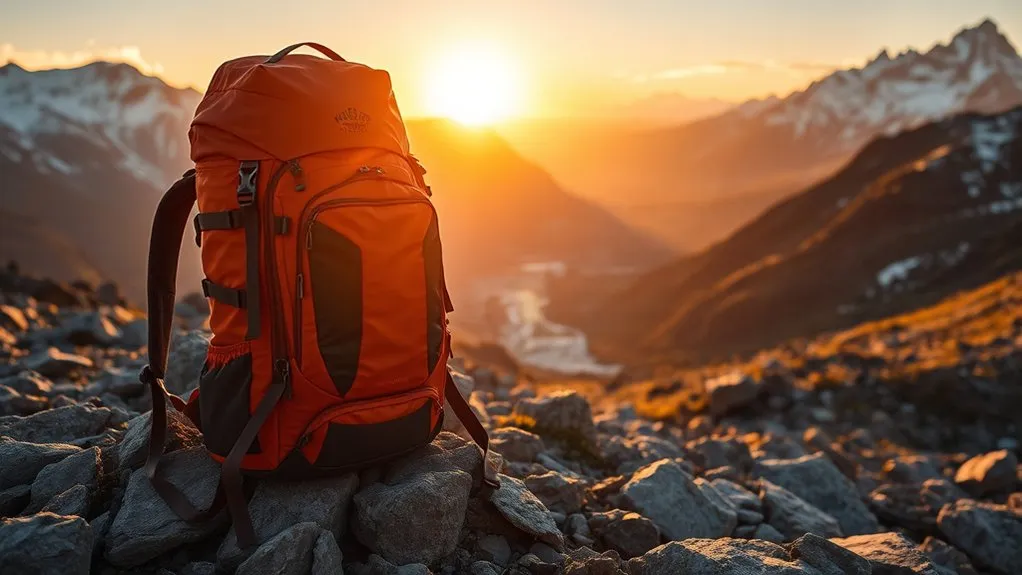
A properly fitted backpacking pack can make a multi-day load more stable and manageable. Its frame and hipbelt help direct weight downward through the pelvis, while compression straps reduce swaying on uneven ground.
Other practical benefits include:
- Better load control: A structured suspension keeps dense gear closer to your center of gravity.
- Improved organization: Separate pockets and access points help keep water, snacks, rain gear, and emergency items within reach.
- Capacity for overnight equipment: The main compartment can hold a shelter, sleep system, cooking equipment, food, and clothing.
- Trail-specific durability: Reinforced fabric, buckles, webbing, and tool attachments are designed for outdoor use.
- Adjustability: Many packs allow changes to torso length, hipbelt position, compression, and load-lifter tension.
Capacity tells you how much a backpack holds. Torso length, hipbelt fit, suspension design, and load rating determine whether it can carry that volume comfortably.
Choosing the Right Size and Fit
Choose Capacity by Trip Length and Gear Volume
REI’s current capacity guidance uses the following ranges as general starting points:
| Trip Type | General Capacity | Important Considerations |
|---|---|---|
| Overnight or weekend, 1–3 nights | 30–50 liters | Compact gear and mild weather may allow a smaller pack. |
| Multi-day, 3–5 nights | 50–80 liters | Food volume, water availability, and a bear canister can change the required size. |
| Extended trip, 5 or more nights | 70 liters or more | Frequent resupply can reduce the required volume. |
| Winter or gear-heavy trip | Often 65–85+ liters | Insulated clothing, a warmer sleeping bag, snow equipment, or group gear adds bulk. |
These ranges are not fixed rules. An experienced ultralight hiker may use less space, while a parent carrying a child’s equipment or a hiker traveling through a dry area may need more. Assemble your full kit before purchasing the pack whenever possible.
Measure Torso Length and Hip Circumference
Backpack sizing is based mainly on your torso and hips rather than your height. To measure torso length:
- Tilt your head forward and find the prominent bone at the base of your neck. This is the C7 vertebra.
- Place your hands on top of your hip bones with your thumbs pointing toward your spine.
- Imagine a horizontal line joining your thumbs across your lower back.
- Ask another person to measure from the C7 vertebra down the spine to that line.
Measure hip circumference around the upper part of the pelvis where the padded hipbelt will sit. Do not rely only on your pants-waist measurement. Compare both measurements with the specific manufacturer’s size chart because ranges vary by brand and model.
How to Fit and Adjust a Backpacking Backpack
- Add a realistic load. Use the weight and bulk you expect to carry on the trail.
- Loosen the straps. Loosen the hipbelt, shoulder straps, load lifters, and sternum strap before putting the pack on.
- Position and tighten the hipbelt. Center the padding over the upper hip bones and tighten it evenly. It should grip without pinching or sliding down.
- Tighten the shoulder straps. Pull them down and back until the harness follows the shoulders without carrying excessive pressure.
- Adjust the load lifters. Tighten them enough to bring the upper pack closer to the body. Osprey’s fitting guidance places them at roughly a 30- to 60-degree angle when the torso length is correct.
- Fasten the sternum strap. Position it below the collarbones and tighten it only enough to keep the shoulder straps stable.
- Walk with the pack. Climb stairs, lean forward, and move your arms. Check for rubbing, slipping, pressure points, or unstable movement.
See the Osprey backpack fitting guide for illustrated hipbelt, harness, load-lifter, and torso checks.
Signs of a Good Fit
- The hipbelt stays over the upper hip bones without sliding.
- The padded portion of the hipbelt wraps far enough around the hips to spread pressure.
- The shoulder straps follow the shoulders without large gaps.
- The pack sits close enough to remain stable but does not force the head forward.
- You can breathe normally after fastening the sternum strap.
- The load does not pull strongly backward or sway from side to side.
- No single area develops sharp pressure, numbness, or rubbing.
Warning: Numbness, tingling, sharp pain, restricted breathing, or persistent hip and shoulder pressure are not signs that you simply need to “break in” the pack. Stop, adjust the load and straps, or try a different size or suspension design.
How Much Weight Can a Backpacking Backpack Carry?
There is no single comfortable weight for every hiker. Pack design, manufacturer load rating, torso fit, fitness, past injuries, terrain, elevation, distance, and experience all matter.
REI recommends keeping a backpacking load close to 20% of body weight when possible. The National Park Service’s Isle Royale packing guide gives 30% of body weight as a maximum rule of thumb. Treat 30% as an upper guideline rather than a target, and never exceed the backpack manufacturer’s stated load range.
Beginners often benefit from starting lighter. Food and water can account for a large share of total weight, so calculate them separately from the weight of the pack and equipment. Weigh the complete pack immediately before leaving rather than estimating from product labels.
Note: A pack with enough volume may still have an inadequate suspension for the load. Check both its liter capacity and the manufacturer’s recommended carrying range.
How to Pack a Backpacking Backpack
A balanced load feels more stable and places less backward force on the shoulders. The exact arrangement varies, but the following zones are a reliable starting point:
- Bottom zone: Pack soft, bulky items that will not be needed until camp, such as the sleeping bag, sleep clothing, or compressible insulation.
- Core zone: Keep dense items such as food, a cook kit, water, or a bear canister centered near the spine. Avoid placing the heaviest items at the very bottom or far away from your back.
- Top zone: Store rain gear, warm layers, a first-aid kit, water treatment, and other items that may be needed during the day.
- Accessory pockets: Keep snacks, navigation tools, sunscreen, insect repellent, lip balm, and water within easy reach.
- External attachments: Limit exposed equipment because it can sway, catch branches, scrape rocks, or become lost.
If you use a hydration reservoir, fill it and place it in its sleeve before packing the main compartment. Separate liquid fuel from food, keep the bottle upright, and check its cap before every trip.
The REI pack-loading guide provides additional instructions for balancing gear and safely hoisting a loaded pack.
Pro Tip: After each trip, note which items you never used, excluding emergency and safety gear. This makes it easier to reduce unnecessary weight without removing equipment that protects you from weather, injury, navigation mistakes, or an unexpected night outside.
Materials, Water Resistance, and Durability
Common Backpack Materials
Most backpacking packs use nylon, polyester, or a blend of technical fabrics. Nylon is widely used because it offers high strength for its weight. Polyester generally resists ultraviolet exposure well and absorbs little water.
Ripstop is not a separate fiber. It is a reinforcing weave that places stronger threads in a visible grid to help limit the spread of small tears. Ripstop fabric can be made from nylon, polyester, or other materials.
Manufacturers often list fabric weight in denier. A higher denier can indicate thicker yarn, but it does not automatically prove that one pack is stronger than another. Weave, fiber quality, coatings, seam construction, and reinforcement also affect durability.
Are Backpacking Backpacks Waterproof?
Most backpacking packs are water-resistant, not fully waterproof. Coated fabric and a durable water-repellent finish may handle brief rain, but water can enter through seams, zippers, closures, hydration ports, and areas where the coating has worn.
- Use a rain cover to reduce direct exposure during steady rain.
- Line the main compartment with a durable waterproof pack liner.
- Store a sleeping bag, dry clothing, electronics, and medication in sealed dry bags or waterproof sacks.
- Do not assume that a product is submersible unless the manufacturer specifically provides a waterproof construction or ingress rating.
A rain cover protects the outside of the pack but may not seal the back panel, and strong wind can shift or remove it. An internal liner protects the contents even when the outer fabric becomes wet.
When to Use a Backpacking Backpack
A backpacking pack is the right choice when you must carry overnight equipment over a meaningful distance. Common uses include:
- Overnight and multi-day wilderness trips
- Long approaches to remote campsites
- Winter trips with bulky insulated equipment
- Hut trips that still require food, emergency gear, and extra clothing
- Family trips where one adult carries shared or children’s equipment
- Trips requiring a bear canister, climbing equipment, or large water capacity
A smaller daypack is normally better for short hikes with no overnight gear. A travel backpack may be more convenient for airports and hotels because it opens like a suitcase and may have stowable straps. For daily commuting, a backpacking model can work, but its frame, hipbelt, height, and trail attachments may feel bulky.
Common Buying Mistakes
- Buying only by trip length: Two hikers on the same trip may need very different capacities because their equipment differs in size.
- Choosing by height: People of the same height can have different torso lengths and hip measurements.
- Testing the pack while empty: Pressure points and instability often appear only after weight is added.
- Buying extra capacity “just in case”: Oversized packs add weight and make overpacking easier.
- Ignoring the carrying range: Volume does not show how much weight the suspension can support comfortably.
- Assuming ultralight means comfortable: Minimal frames and hipbelts work best with genuinely light, compact loads.
- Confusing water resistance with waterproofing: Critical gear still needs internal protection.
- Ignoring required food storage: Confirm that a required bear canister fits before buying the pack.
- Choosing pockets over fit: Convenient storage cannot correct a hipbelt or harness that does not match your body.
- Failing to check access while wearing it: Make sure you can reach water, snacks, and other trail essentials without removing the pack.
Cleaning and Maintaining a Backpacking Backpack
Always read the manufacturer’s care label first because coatings, frames, removable components, and waterproof constructions require different treatment. For a typical backpacking pack:
- Empty every pocket and remove loose dirt with a soft brush or vacuum.
- Remove the frame sheet, hipbelt, or harness only when the manufacturer says those parts are removable.
- Wash dirty areas by hand with lukewarm water, mild soap, and a soft sponge or brush.
- Rinse thoroughly so no soap remains in the fabric, foam, webbing, or buckles.
- Hang the pack in a well-ventilated place away from direct sunlight until every layer is dry.
- Inspect seams, buckles, webbing, zipper sliders, coatings, and attachment points before storing it.
- Store the pack loose and dry rather than compressed in a damp vehicle, basement, or sealed container.
Osprey’s backpack-cleaning instructions recommend mild soapy water, thorough rinsing, air drying away from direct sunlight, and avoiding machine washing. Follow your own pack manufacturer’s instructions when they differ.
Frequently Asked Questions
Can I use a backpacking backpack for daily commuting?
Yes, but it may be taller and bulkier than necessary. A rigid frame, large hipbelt, and external straps can be inconvenient on public transportation or under a desk. A commuter pack is usually better when you mainly carry a laptop, lunch, and daily essentials.
How do I clean and maintain my backpacking backpack?
Check the care label, empty the pack, brush away loose dirt, and hand-clean it with mild soap and lukewarm water. Rinse it thoroughly and air-dry it away from direct sunlight. Avoid machine washing, tumble drying, bleach, and fabric softener unless the manufacturer specifically permits them.
What materials are backpacking backpacks made from?
Common materials include nylon and polyester in different weights and weaves. Ripstop refers to a reinforced grid construction rather than a separate fiber. Fabric strength also depends on the yarn, weave, coatings, seams, reinforcements, and quality of construction.
Are backpacking backpacks waterproof?
Most are water-resistant rather than fully waterproof. A rain cover reduces exposure, but water may still reach the back panel, seams, or openings. Use an internal pack liner and sealed dry bags for sleeping gear, clothing, electronics, medication, and other items that must remain dry.
How much weight can a backpacking backpack carry comfortably?
There is no universal limit. Around 20% of body weight is a useful comfort-oriented target for many hikers, while 30% is better treated as an upper rule of thumb. Use the lower amount that works for your fitness, terrain, experience, and pack, and stay within the manufacturer’s carrying range.
What is the difference between a hiking backpack and a backpacking backpack?
“Hiking backpack” can describe any trail pack, including a small daypack. A backpacking backpack is specifically intended to carry overnight equipment and normally has more capacity, a stronger suspension, and a load-bearing hipbelt.
Do I need a women-specific or gender-specific backpack?
Not necessarily. Gender-specific models may use different shoulder-strap shapes, torso ranges, and hipbelt contours, but the label matters less than the actual fit. Try any model that matches your torso length, hip circumference, shoulder shape, and expected load.
Conclusion
A backpacking backpack is more than a large storage bag. Its suspension, frame, hipbelt, and harness are designed to control an overnight load while you move over varied terrain. Start with your complete gear list, choose an appropriate capacity, measure your torso and hips, and test the pack with realistic weight. The best choice is the smallest pack that holds your required equipment, supports the load safely, and remains comfortable after sustained walking.
Sources
- REI Co-op: How to Choose a Backpack — frame types, ventilation, access, pockets, capacity, and fit considerations.
- REI Co-op: Backpacking Pack Capacity and Fit Guidance — general capacity ranges and torso and hip measurement instructions.
- Osprey: Backpack Size and Fit Guide — hipbelt placement, shoulder-harness checks, load-lifter angles, and torso adjustment.
- REI Co-op: How to Pack and Hoist a Backpack — pack-loading zones, balance, external storage, and safe lifting.
- National Park Service: Isle Royale Packing Guide — pack-weight guidance and backcountry preparation.
- Osprey: How to Clean Your Backpack — hand cleaning, rinsing, drying, and machine-washing precautions.