
Last Updated on July 27, 2026 by Daniel Globe
Packing a hiking backpack well is about more than fitting everything inside. The right pack size, a stable load, quick access to important gear, and a few safety checks can make the difference between a comfortable hike and a long day of sore shoulders, wet gear, or missing essentials. The best system also changes with your route, weather, trip length, and local regulations.
Quick Answer
To pack a backpack for hiking, put bulky lightweight camp gear at the bottom, dense items near the center of your back, and frequently needed gear near the top or in accessible pockets. Balance both sides, protect critical gear from water, carry the Ten Essentials, and adjust the hip belt and shoulder straps after loading the pack.
Key Takeaways
- Choose backpack capacity based on trip length, gear volume, weather, and your personal packing style.
- Keep dense, heavy items close to your spine in the middle of the pack instead of dropping them to the bottom.
- Pack bulky, lightweight items such as a sleeping bag toward the bottom and trail-access items near the top.
- Keep water, snacks, navigation, rain protection, sunscreen, and other frequently used items easy to reach.
- Carry the Ten Essentials and adapt them to the specific route, weather, season, and local hazards.
- Treat questionable backcountry water properly and check wildlife food-storage rules before your trip.
- Test the fully loaded backpack at home and adjust the hip belt, shoulder straps, load lifters, and sternum strap before heading out.
At a Glance
| Time Required | About 20–45 minutes once your gear is laid out |
| Difficulty | Easy to moderate |
| Tools Needed | Fitted backpack, gear checklist, and optional pack liner, dry bags, stuff sacks, or scale |
| Cost | $0 extra if you already own your pack and gear; optional organizers or waterproof liners add cost |
Disclosure: As an Amazon Associate I earn from qualifying purchases. Some links on this page are affiliate links, at no extra cost to you.
Choose the Right Backpack Size and Fit
Selecting the right backpack is the first step. Capacity matters, but bigger is not automatically better. A pack with a lot of unused space adds bulk and can tempt you to carry gear you do not need.
Current guidance from backpack manufacturer Gregory uses these ranges as practical starting points:
| Trip Type | Typical Starting Range | What It May Carry |
|---|---|---|
| Short hike or day trip | About 18–30 L | Water, food, layers, first aid, navigation, emergency gear |
| Overnight or weekend | About 35–50 L | Sleep system, shelter, food, stove, clothing, safety gear |
| Multi-day backpacking | Often about 50–65 L for many 2–4 day trips | More food, fuel, clothing, and backcountry equipment |
| Extended or winter trip | Often 70 L or more | Bulkier insulation, extra food, winter equipment, or specialized gear |
Note: Capacity ranges are starting points, not strict rules. Ultralight equipment may fit into a smaller pack, while cold weather, family gear, bear-resistant containers, or specialized equipment can require more room.
Fit matters just as much as capacity. Backpack sizing is based primarily on torso length and hip-belt fit rather than your overall height. A properly fitted pack should sit close to your body without restricting normal movement or breathing.
When trying on a backpack, load it with realistic weight. Manufacturer fitting guidance recommends positioning the hip belt around the hip bones so the suspension can transfer much of the load away from the shoulders. Check that the shoulder straps follow your shoulders smoothly and that the pack does not pull noticeably backward.
Basic Backpack Fit Sequence
- Loosen the main straps before putting the loaded pack on.
- Position and tighten the hip belt around your hip bones.
- Snug the shoulder straps without cranking them down excessively.
- Adjust the load lifters, if your backpack has them, so the pack stays close to your upper back.
- Fasten the sternum strap and tighten it only enough to stabilize the shoulder straps without restricting breathing.
- Walk, bend, and climb a few steps to check for pressure points, bouncing, or rubbing.
Trying several packs with weight inside remains one of the best ways to learn what fits your body and hiking style.
Organizing Your Gear and Supplies
Once you have the right backpack, lay out everything before loading it. Grouping similar items makes it easier to see duplicates, identify missing essentials, and decide what needs quick access.
Useful categories include:
- Navigation and electronics
- Food and cooking equipment
- Water and water-treatment equipment
- First-aid and emergency supplies
- Extra clothing and rain gear
- Sleep system and shelter for overnight trips
- Personal items and toiletries
Packing cubes, stuff sacks, and dry bags can help organize gear, but avoid carrying a separate container for every small item. Extra bags add weight and can make the pack harder to use.
Protect items that must stay dry, especially your sleeping bag, insulating clothing, electronics, and emergency supplies. Unless the backpack manufacturer specifically describes your pack as waterproof, a waterproof pack liner or properly closed dry bags provide useful backup protection.
Pro Tip: Lay out your gear in packing zones before putting anything in the backpack. You will spot unnecessary duplicates faster and avoid repeatedly unpacking the bag to move one buried item.
Packing Lightweight and Compact
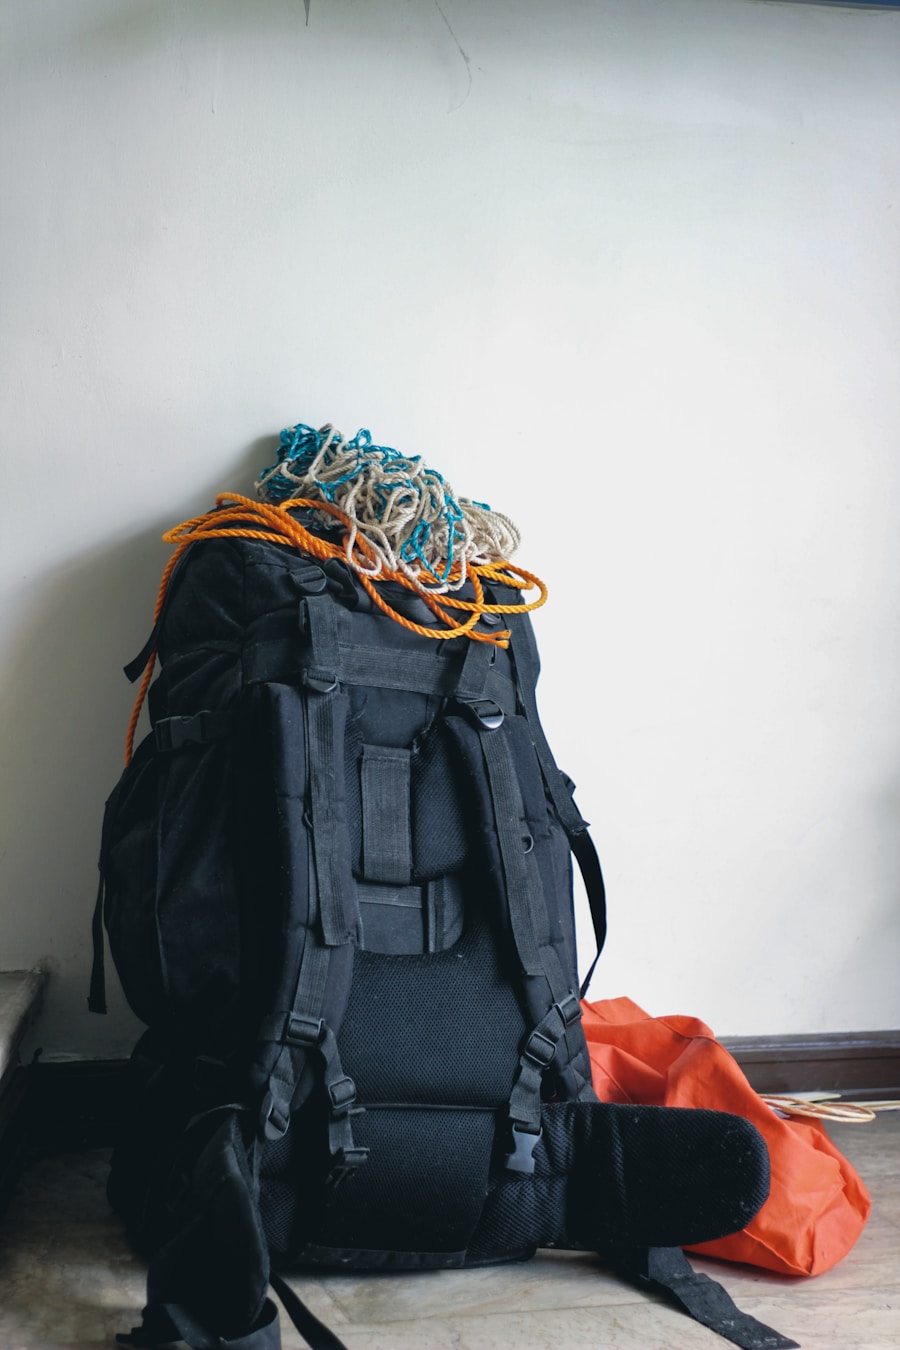
Every unnecessary item becomes weight you carry up climbs and over long distances. Before packing, ask whether each item is required for safety, comfort, local regulations, or the conditions you expect.
Lightweight hiking clothing made from quick-drying materials can reduce bulk and handle moisture better than heavy everyday garments. Choose enough layers for the conditions rather than packing several versions of the same item.
Multi-purpose gear can also reduce clutter. A bandana, for example, can serve as sun protection, a cleaning cloth, or a small gear wrap. A cooking pot may double as your bowl. Your phone may handle navigation, photography, and communication, but important functions should still have sensible backups where failure could create a safety problem.
Shelter is one area where reducing weight requires judgment. A lightweight tarp may be appropriate for experienced hikers in suitable terrain and weather, but it should not automatically replace a tent or more protective shelter. Consider wind, rain, insects, temperature, campsite exposure, local regulations, and your ability to pitch the shelter correctly.
After the trip, make a note of what you used and what stayed untouched. Over several hikes, that record is one of the easiest ways to reduce unnecessary weight without guessing.
Distributing Weight for Comfort
A stable backpack should move with you instead of pulling backward or swinging from side to side. The most useful way to load it is to think in zones.
| Pack Zone | Best For | Examples |
|---|---|---|
| Bottom | Bulky, lightweight gear not needed while hiking | Sleeping bag, sleep clothing, compact sleeping pad |
| Core / middle | Dense, heavier items kept close to the spine | Food bag, bear canister, cook kit, stove, water reservoir |
| Top | Gear you may need during the day | Rain shell, warm layer, first aid, water treatment |
| Exterior and hip-belt pockets | Frequently used small items | Snacks, map, sunscreen, sunglasses, water bottle |
Keep the densest items centered rather than putting all the weight on one side. Fill empty spaces around hard equipment with soft clothing or shelter material so gear cannot shift as easily.
If you use a hydration reservoir in an internal sleeve, installing and filling it before the pack is fully loaded is usually easier than trying to force it into place afterward.
Use compression straps after packing to draw the load together. Minimize loose equipment hanging from the outside because it can swing, snag vegetation, strike rocks, or throw the pack off balance.
Note: If the pack constantly pulls you backward, first check whether dense equipment is positioned too far from your back or too high. If it sways sideways, check left-to-right balance and tighten the compression straps.
Essential Items to Pack
The exact gear list changes from one hike to another, but the National Park Service Ten Essentials provide a strong safety baseline.
- Navigation: map, compass, GPS device, or downloaded offline map. Know how to use your navigation system before leaving.
- Sun protection: sunglasses, sunscreen, hat, and suitable protective clothing.
- Extra clothing: insulation and weather protection appropriate to the worst reasonable conditions for the route.
- Illumination: a headlamp or flashlight plus suitable backup power.
- First-aid supplies: a kit matched to your group and trip, including personal medication.
- Fire: fire-starting equipment where legal and appropriate. Always follow local fire restrictions.
- Repair kit and tools: useful items may include a knife or multi-tool, tape, and trip-specific repair supplies.
- Nutrition: enough food for the planned hike plus a reasonable emergency reserve.
- Hydration: drinking water plus a treatment method when the route may require collecting water.
- Emergency shelter: a tent, bivy, tarp, or emergency blanket appropriate to the outing.
Your hike may require additional equipment such as insect repellent, traction devices, bear spray where appropriate and legal, a satellite communicator, flotation equipment, or winter safety gear. Check the managing agency’s current guidance before leaving.
Warning: Do not remove emergency equipment simply to make a pack lighter. Pack for the route and realistic hazards, not only for the conditions at the trailhead when you leave.
Packing for Different Types of Hikes
Day Hikes
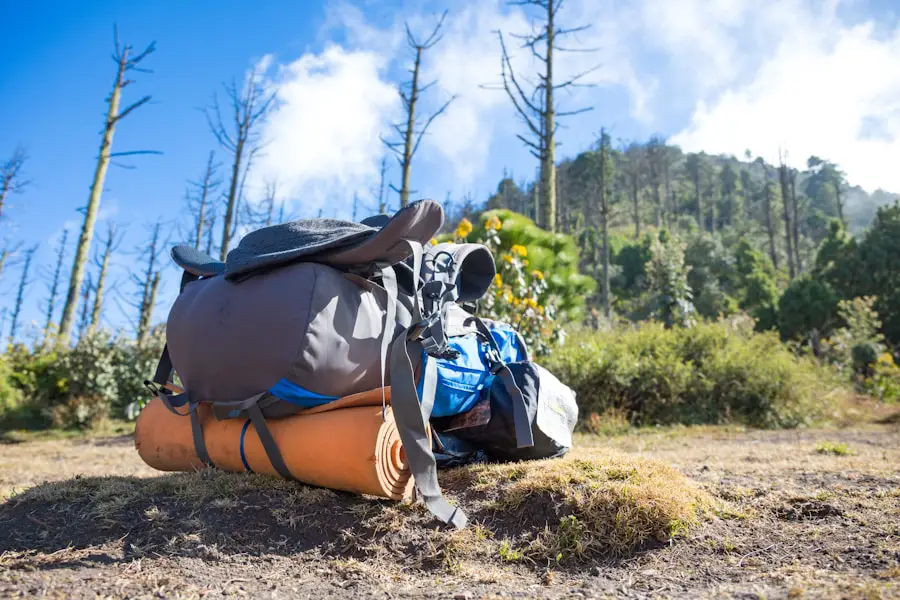
A day hike normally requires less volume, but it still calls for emergency preparation. Pack water, food, navigation, sun protection, first aid, illumination, extra clothing, and emergency items suitable for the route. A short hike can turn into an unexpectedly long outing because of weather, injury, route-finding problems, or a delayed return.
Overnight Hikes
An overnight trip adds a sleep system, shelter, more food, cooking equipment if needed, additional insulation, and often more water-treatment supplies. Pack your sleeping bag low, keep food and other dense equipment in the core, and keep rain protection accessible.
Multi-Day Hikes
Longer trips add food, fuel, spare clothing, power management, waste-disposal supplies, and possibly a larger wildlife-resistant food container. Repack food to reduce unnecessary bulk where regulations allow, but preserve any preparation or safety information you will need.
Winter, Desert, and Technical Hikes
Special environments can change the packing list dramatically. Winter routes may require traction, extra insulation, snow safety equipment, and a larger pack. Hot or dry routes can require substantially more water capacity. Technical terrain may require climbing or protective gear. Do not use a generic checklist in place of route-specific planning.
Tips for Packing Food and Water
Plan Water Before Leaving
Know how much water you can carry, where reliable refill points exist, and whether those sources are currently flowing. Do not assume a marked stream or spring will contain usable water when you arrive.
A hydration reservoir can make frequent drinking convenient, while bottles make it easy to see how much water remains. Either system works when it matches your route and pack.
Warning: Do not assume clear-looking backcountry water is safe to drink. The CDC states that boiling is the best way to kill germs in questionable water. When boiling is not possible, filtering followed by disinfection is the next-best general approach. Portable filters vary in what bacteria, parasites, and viruses they remove, so follow the treatment manufacturer’s directions.
If a route depends on natural water sources, carry an appropriate treatment method and a backup plan for a failed filter, dry source, frozen source, or contaminated water.
Pack Food for Access and Efficiency
High-energy foods that are compact and easy to eat work well while hiking. Trail mix, nuts, dried fruit, jerky, tortillas, nut-butter packets, and energy bars are examples. Longer trips may include dehydrated meals or other compact foods that match your cooking setup.
Keep a small amount of food for the day’s hiking in an accessible pocket. Store the rest in the pack’s core so the weight remains stable.
Follow Wildlife Food-Storage Rules
In bear country and other areas with wildlife regulations, food storage is a safety issue rather than an organization preference. The National Park Service notes that food, trash, toiletries, sunscreen, insect repellent, and other scented products may all need secure storage. Requirements vary by location, and some parks require approved bear-resistant containers.
Check the specific land-management agency’s rules before the trip. A bear canister, food locker, or other required system may change both the backpack size you need and where the heaviest item sits inside the pack.
Pro Tip: If you must carry a bear canister, test-pack it before leaving. Its fixed shape can determine nearly every other packing decision, so place it in the core near your back and arrange softer gear around it for stability.
Weather, Navigation, and Emergency Planning
Check the forecast, current trail conditions, closures, permits, fire restrictions, and local hazards before packing. Weather can change the amount of insulation, rain protection, water, traction, and emergency gear you need.
Thunderstorms deserve particular attention on exposed trails and ridges. The National Weather Service warns that there is no safe place outdoors during a thunderstorm. If you hear thunder, move toward safe shelter when possible rather than continuing toward an exposed summit.
Carry navigation appropriate to the route and know how to use it. A phone can be useful, but download maps before losing service and consider backup power. A physical map and compass provide redundancy on routes where navigation failure could become serious.
Before leaving, give a trusted person your destination, route, trailhead, vehicle information when useful, expected return time, and instructions for what to do if you do not check in. The National Park Service Trip Plan provides a useful model.
Final Checklist and Preparing for the Trail
Once the backpack is loaded, perform one final check instead of assuming everything is ready.
- Capacity: The pack closes normally without forcing zippers or leaving large amounts of gear dangling outside.
- Balance: Dense items are centered near your back and the left and right sides feel even.
- Access: Water, snacks, navigation, rain gear, sunscreen, and emergency items are easy to reach.
- Weather protection: Sleeping gear, insulation, electronics, and other critical equipment are protected from water.
- Ten Essentials: All ten systems are covered and adapted to the route.
- Food storage: You have the wildlife-resistant storage required for your destination.
- Water: You have adequate capacity plus the correct treatment equipment when relying on natural sources.
- Fit: Hip belt, shoulder straps, load lifters, and sternum strap are adjusted comfortably.
- Footwear: Wear footwear and socks you have tested before the trip, and address rubbing or hot spots early.
- Navigation: Maps are downloaded or packed, batteries are charged, and you understand the route.
- Trip plan: A trusted person knows where you are going and when you expect to return.
Put the full backpack on and walk around for several minutes. Climb stairs if available, bend down, and make a few normal hiking movements. If something digs into your back, the pack sways, the shoulders carry excessive pressure, or an important item is impossible to reach, fix it before the trailhead.
During a multi-day trip, reassess the load as food and water are consumed. A pack that started balanced can become uneven after several meals or refills.
For a separate wildlife-behavior topic, see our guide on whether deer travel with or against the wind.
Frequently Asked Questions
What are the essential items to pack in a backpack for hiking?
Use the Ten Essentials as your baseline: navigation, sun protection, extra clothing, illumination, first aid, fire, repair tools, extra food, water and treatment supplies, and emergency shelter. Add route-specific equipment for weather, wildlife, insects, snow, technical terrain, or communication needs.
How should I organize my backpack for hiking?
Place bulky lightweight gear at the bottom, dense heavy items in the core close to your spine, and equipment you may need during the hike near the top. Keep frequently used small items in accessible pockets and balance weight evenly from left to right.
What are some tips for packing a backpack for a multi-day hiking trip?
Plan food, fuel, water treatment, shelter, sleep gear, clothing, and required wildlife storage before choosing the pack. Remove unnecessary packaging, protect sleeping gear from water, keep dense items near your back, and make sure the day’s food, rain gear, navigation, and first aid remain accessible.
How should I adjust my backpack for a comfortable fit?
Start with the hip belt positioned around your hip bones, then snug the shoulder straps. Adjust the load lifters to bring the pack closer to your upper back and fasten the sternum strap without restricting breathing. Test the fit with realistic weight inside the pack.
What are some common mistakes to avoid when packing a backpack for hiking?
Common mistakes include overpacking, putting dense gear too far from your back, leaving one side heavier than the other, burying rain gear or water, relying on untreated natural water, ignoring wildlife food-storage rules, and leaving without a route and emergency plan.
Where should the heaviest items go in a hiking backpack?
Keep dense, heavy items in the middle or core of the pack and close to your spine. Avoid placing all heavy equipment at the very bottom, where it can make the pack sag, or far from your back, where it can pull you backward.
How do I keep gear dry inside a hiking backpack?
Use a waterproof pack liner or properly closed dry bags for equipment that cannot safely get wet, especially a sleeping bag, insulating clothing, electronics, and emergency supplies. Do not assume a standard hiking backpack is fully waterproof unless its manufacturer specifically says it is.
Sources
- National Park Service — Ten Essentials — navigation, emergency equipment, clothing, food, hydration, and shelter guidance.
- Gregory — How to Choose the Right Pack — backpack capacity and trip-length guidance.
- Centers for Disease Control and Prevention — Water Treatment While Hiking, Camping, or Traveling — backcountry drinking-water treatment.
- National Park Service — Bear Safety: Storing Food — food, trash, toiletries, scented-item, and bear-resistant storage guidance.
- National Park Service — Trip Plan — leaving route and expected-return information with a trusted contact.
- National Weather Service — Lightning Safety — thunderstorm and outdoor lightning precautions.

