
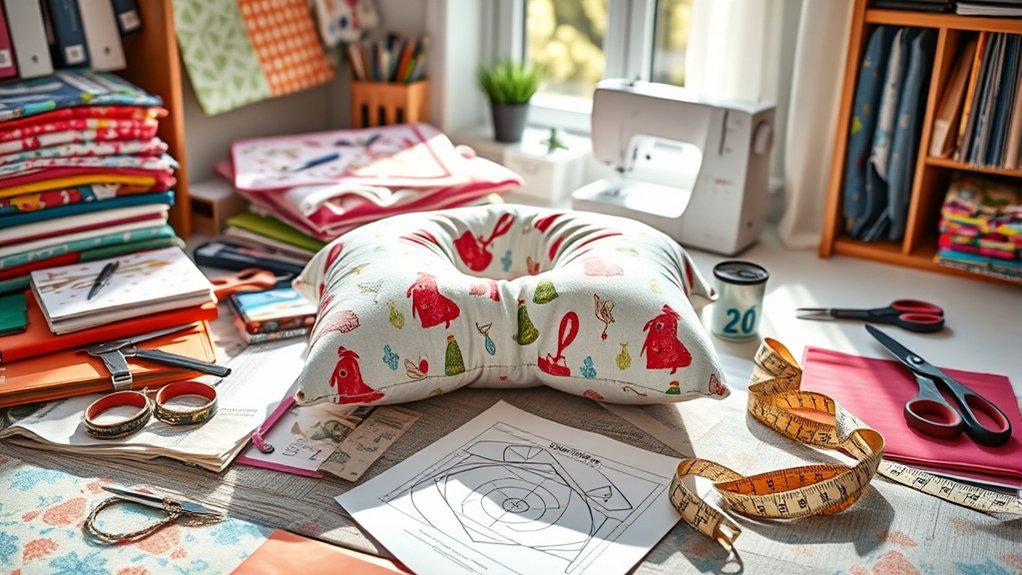
Last Updated on September 10, 2026 by Daniel Globe
A homemade U-shaped travel pillow is a manageable sewing project for a beginner, but the result depends on using the right pattern, checking its scale, and matching the fabric and needle correctly. This guide walks you through choosing a travel pillow sewing pattern, cutting two matching pieces, sewing smooth curves, adding filling, closing the opening, and caring for the finished pillow.
Quick Answer
Print or trace a U-shaped neck-pillow pattern, check its scale, and cut two matching fabric pieces. Sew them right sides together with the pattern’s seam allowance, leaving a 4- to 5-inch opening. Clip the curves, turn the pillow, add filling gradually, test the fit, and close the opening with a ladder stitch.
Key Takeaways
- Follow the scale, fold line, grainline, and seam allowance printed on your chosen pattern.
- A 4- to 5-inch opening is easier to turn and stuff than a very narrow opening.
- Prewash washable woven cotton before cutting, then press it flat.
- Add filling in small tufts and test the pillow around your neck before closing it.
- Wash the finished pillow only when the fabric, filling, thread, and decorations are all washable.
At a Glance
| Time Required | About 60 to 90 minutes, excluding fabric washing and drying |
| Difficulty | Beginner |
| Tools Needed | Sewing machine, fabric scissors or rotary cutter, pins or clips, hand needle, ruler, and iron |
| Cost | Low if you already own basic sewing tools; you mainly need fabric, thread, and filling |
Disclosure: As an Amazon Associate I earn from qualifying purchases. Some links on this page are affiliate links, at no extra cost to you.
How to Make a Comfortable Travel Pillow
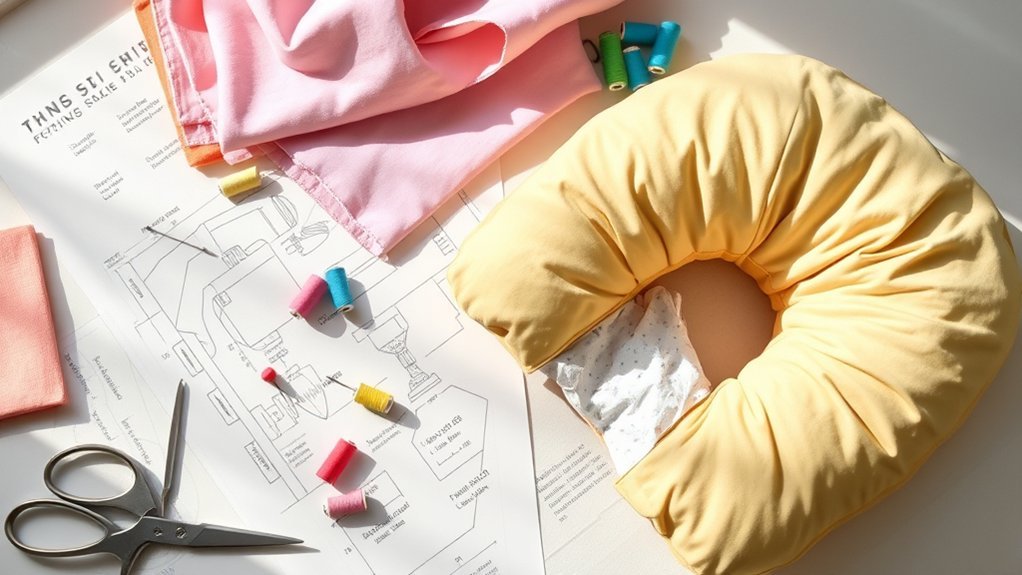
Start with a U-shaped pattern that fits the person who will use the pillow. You can print a pattern, trace an existing travel pillow, or draw your own shape on paper. A printed pattern is usually easiest for a first project because it provides a fold line, grainline, turning opening, and seam allowance.
Choose and Print Your Travel Pillow Pattern
The University of Utah Health Travel Companion neck-pillow pattern is one real printable option. It includes adult and child templates and instructions for using approximately ½ yard of fabric.
Before printing, turn off settings such as “fit to page,” “shrink oversized pages,” or automatic scaling. Print at 100% or actual size. Measure the pattern’s scale box or another labeled measurement with a ruler before joining or cutting the pages.
Note: Some patterns show the full U shape and require two separate fabric pieces. Others show half the shape and must be placed on a fabric fold. Use the fold line printed on your pattern rather than assuming every neck-pillow pattern is cut the same way.
Test the Pattern Size Before Cutting
Cut out the paper template and hold it loosely around the back and sides of your neck. The inner curve should fit without pressing against your throat. The ends should support the sides of your head without forcing your chin upward.
For a smaller or larger fit, adjust the paper pattern before cutting fabric. Widening only the outside edge increases the pillow’s bulk without making the neck opening smaller. Adjusting the inner curve changes how closely the pillow fits around the neck.
A paper fit test takes only a minute and can prevent a finished pillow that feels too tight, too wide, or too bulky.
Materials You’ll Need for Your Travel Pillow
Gather all materials before cutting. The exact amount of fabric and filling depends on the pattern, fabric width, and desired firmness.
Essential Materials Overview
- Fabric: Approximately ½ yard for many adult or child patterns. Quilting cotton, cotton flannel, fleece, and minky-style fabric are common options.
- Filling: Washable polyester fiberfill is easy to distribute and adjust.
- Thread: Good-quality all-purpose polyester thread works with most cotton and synthetic pillow fabrics.
- Printed pattern: Use a full-size template with a clearly marked fold line, grainline, and seam allowance.
- Hand-sewing needle: Needed to close the turning opening with a ladder stitch.
If you use washable woven cotton, wash and dry it before cutting to reduce later shrinkage and remove excess dye. Utah State University Extension includes this preparation step in its pillow-sewing guidance. Press the dry fabric so the grain and edges lie flat.
Fleece often needs less preparation, but you should still check the fabric manufacturer’s care directions and test for color transfer. If the fabric has a visible nap, brush all pieces in the same direction before cutting.
Recommended Tools and Supplies
- Sewing machine
- Fabric scissors or a rotary cutter
- Self-healing cutting mat if using a rotary cutter
- Pattern weights, pins, or sewing clips
- Clear ruler or seam gauge
- Fabric marker or tailor’s chalk
- Iron and ironing surface
- Point turner or blunt stuffing tool
For medium woven cotton, an 80/12 universal needle is a practical starting point. Fleece may sew well with a universal or stretch needle, depending on its construction. The SCHMETZ needle-by-fabric guide lists universal needles for woven cotton and universal or stretch needles for fleece.
Set the machine to a straight stitch. A stitch length near 2.5 mm works well for many medium-weight woven fabrics, but always test the stitch on a folded scrap from the project.
Warning: Keep fingers away from the sewing-machine needle and rotary-cutter blade. Close or retract the rotary blade immediately after each cut, and never cut toward your free hand. This travel pillow is not an infant sleep pillow. Do not place pillows or other soft objects in an infant’s crib, bassinet, or play yard.
Easy Fabric Cutting Steps
Accurate cutting helps the two pillow sides match and makes the inner curve easier to sew. Work on a large, flat surface where the fabric will not hang over an edge and pull out of position.
Essential Cutting Tools Needed
Use sharp fabric scissors or a rotary cutter with a self-healing mat. Paper scissors can crush or drag the fabric edge, so keep a separate pair for printed patterns. Pattern weights are useful on fleece and other fabrics that may distort when pinned.
If you use pins, place them inside the seam allowance or at right angles to the edge. Remove each pin before it reaches the presser foot.
Accurate Pattern Placement Tips
- Place the fabric right side up and identify the grain, stretch direction, and nap.
- Fold the fabric only if the pattern includes a marked fold line.
- Align the pattern grainline with the fabric grain or follow the printed nap arrow.
- Secure the paper with weights, pins, or clips.
- Check the pattern scale one final time.
- Cut smoothly without lifting or twisting the fabric.
- Transfer the turning-opening marks to both fabric layers.
Do not force every pattern into an 18-by-14-inch size. Adult, child, compact, and high-support patterns use different dimensions. The selected template should control the finished size.
Layering Fabric for Precision
When using a full U-shaped pattern, cut two matching pieces. You may cut both at once by placing the fabric right sides together, provided the layers are smooth and the fabric does not shift.
When using a half-pattern, fold the fabric as directed and place the marked pattern edge directly on the fold. Cutting away from that fold line will add an unwanted center seam or produce an incomplete shape.
After cutting, place the two pillow pieces right sides together. Match the inner curve, outside curve, and both ends. Clip or pin around the entire shape, leaving the marked turning opening clear.
Simple Sewing Instructions for Beginners
- Prepare the machine. Install the correct needle, thread the machine, and test the stitch on a fabric scrap.
- Mark the seam allowance. Follow the amount included with your pattern. Many pillow patterns use between ¼ and ½ inch, but you should not switch measurements halfway through the seam.
- Mark the opening. Leave about 4 to 5 inches at the back of the neck unless the pattern gives another measurement.
- Begin at one opening mark. Backstitch for several stitches to secure the seam.
- Sew the outer curve. Guide the fabric slowly without pulling it behind the presser foot.
- Sew the inner curve. Stop with the needle down when you need to lift the presser foot and reposition the fabric.
- Stop at the second opening mark. Backstitch again, then cut the thread.
- Clip the curves. Make small clips into the concave inner curve and trim or notch bulky areas of the convex outer curve. Do not cut through the stitching.
- Turn the pillow. Pull the fabric gently through the opening and smooth the curves with your fingers or a blunt turning tool.
- Press carefully. Press woven cotton at a suitable temperature. For fleece or minky, use low heat or skip pressing if the material may flatten or melt.
The seam markings on many sewing machines can help you keep an even allowance. Brother explains how to align the fabric edge with the presser foot for a consistent fixed-width seam allowance.
Pro Tip: Sew slowly around the tight inner curve. Short pauses with the needle lowered give you more control than pulling or twisting the fabric while the needle is moving.
Stuff Your Pillow for Maximum Comfort
Pull small tufts of polyester fiberfill apart before placing them inside. Begin with the two ends of the U, then fill the outside curve and finally the center back section. Push the filling into the curves with your fingers or a blunt stuffing tool.
Do not measure fullness by an estimated percentage. Instead, add a little filling at a time and massage it into an even layer. Place the pillow around your neck several times during stuffing. It should support the sides of your head while remaining soft enough to compress.
- Add more filling if the pillow collapses and provides little side support.
- Remove filling if the pillow pushes your chin forward or feels rigid.
- Break apart dense clumps before adding more material.
- Check both ends to make sure one side is not heavier or firmer than the other.
Fabric scraps or soft clothing can be used as an alternative filler, but they may create a heavier and less even pillow. Cut scraps into small pieces and distribute them carefully. For easier cleaning, place scrap or shredded-foam filling inside a securely closed inner liner.
When the pillow feels comfortable, fold the raw edges of the opening inward to match the seam allowance. Close it with a ladder stitch by taking alternating small stitches through the folded edges. Pull the thread gently so the opening closes without puckering, then knot the thread securely.
Personalizing Your Travel Pillow Design Tips
Personal details can make the pillow easier to identify and more useful during a trip. Add flat decorations before sewing the two main pieces together so the knots and thread ends remain inside.
| Design Element | Practical Option |
|---|---|
| Fabric choices | Quilting cotton, flannel, fleece, or soft minky-style fabric |
| Embroidery | Initials, a simple symbol, or a short travel phrase |
| Functional features | A flat pocket for earplugs or a folded sleep mask |
| Closure option | A hidden zipper or separate removable cover for easier washing |
| Alternative filling | Shredded foam or fabric scraps contained in a secure inner liner |
| Scented insert | A removable sachet only when the user has no fragrance sensitivity |
Avoid thick buttons, beads, hard decorations, or raised embroidery where the pillow touches the face and neck. These details can become uncomfortable during long trips.
Avoiding Common Sewing Mistakes
- Printing at the wrong scale: Measure the test box or a labeled pattern dimension before cutting.
- Ignoring the fold line: Determine whether the template is a half-pattern or a full pattern.
- Skipping fabric preparation: Prewash washable woven cotton before cutting.
- Using an unsuitable needle: Match the needle to woven, stretch, or bulky fabric.
- Changing the seam allowance: Follow one consistent guide around the whole pillow.
- Leaving a tiny opening: A 4- to 5-inch opening is easier to turn and stuff.
- Cutting through the seam: Clip close to the stitching without touching it.
- Overstuffing: Stop when the pillow supports the neck without feeling hard.
- Closing before testing: Try the pillow around your neck before completing the ladder stitch.
Travel Pillow Sewing Troubleshooting
| Problem | Likely Cause | Fix |
|---|---|---|
| Puckered seam | Tension is too high, stitch is too short, or the fabric was pulled | Test the tension and stitch length on a scrap, then guide the fabric without pulling |
| Skipped stitches | Dull, bent, or unsuitable needle | Install a new needle suited to the fabric and rethread the machine |
| Inner curve looks angular | Not enough clips in the concave seam allowance | Turn the pillow back inside out and add careful clips without cutting the seam |
| Filling feels lumpy | Large clumps were inserted or the pillow was filled too quickly | Remove part of the filling, separate it into small tufts, and add it again evenly |
| Pillow feels too tight | Inner curve is too small or the pillow is overfilled | Remove some filling; enlarge the inner curve on the pattern before making another version |
| Opening will not close neatly | Seam edges were stretched or not folded evenly | Remove a little filling, fold both edges to the seam line, clip them together, and sew a ladder stitch |
What to Do With Leftover Fabric After Sewing
Save medium and large scraps for projects that use the same fabric, such as a small storage pouch, eye-mask cover, luggage tag, key fob, or matching drawstring bag. Small cotton scraps can also become patchwork panels, fabric bookmarks, coasters, or practice pieces for testing stitches and tension.
Keep scraps organized by fiber type when possible. This makes it easier to choose pieces with compatible washing and pressing requirements. Fabric that is too small for another project can be cut into tiny pieces and placed inside a separate scrap-filled draft stopper or craft insert.
Schools, community sewing groups, and craft programs may accept clean, usable pieces. Contact the organization before donating because minimum sizes and accepted fabric types vary.
Share Your Finished Travel Pillow Project
Photograph the finished pillow from the front, back, and side. Include the fabric type, pattern used, needle size, seam allowance, and any changes you made. These details are more helpful to another beginner than a finished photo alone.
- Share the project in a beginner sewing group and explain what worked.
- Post a photo with the pattern source and fabric type.
- Document any size adjustment for an adult or child fit.
- Record the amount and type of filling for a future matching pillow.
- Save a paper copy of your adjusted pattern with written notes.
Frequently Asked Questions
What types of fabric are best for travel pillows?
Quilting cotton is easy for beginners because it lies flat and feeds evenly. Cotton flannel feels warmer, while fleece and minky-style fabric feel softer but may stretch or shift. Choose a fabric that feels comfortable against your skin and has care instructions compatible with the filling.
How do I choose the right pillow size for my needs?
Cut out the paper template and test it around your neck before cutting fabric. The inner opening should not press against your throat, and the ends should support the sides of your head. Adjust the paper pattern first if you need more neck room, shorter ends, or less overall bulk.
Can I machine wash my travel pillow after sewing?
Only machine wash it when the fabric, filling, thread, and decorations are all washable. Spot cleaning reduces the chance of fiberfill shifting. If the materials permit machine washing, use a gentle cycle, dry the pillow fully, and massage the filling back into place. A removable cover is easier to clean.
What are some tips for sewing with organic fabrics?
Treat organic fabric according to its fiber and weave rather than the word “organic” alone. Prewash washable cotton, test for color transfer, use a needle suited to the fabric weight, and press at the temperature recommended for that material. Test the stitch on a scrap before sewing the pillow.
How do I make my travel pillow durable for multiple trips?
Use tightly woven fabric, good-quality thread, and a fresh needle. Backstitch at both sides of the turning opening, keep the seam allowance consistent, and close the opening with small secure ladder stitches. A removable cover also protects the filled pillow and reduces repeated washing of the insert.
Can I sew a travel pillow without a sewing machine?
Yes. Use a small backstitch around the pillow because it is stronger than a basic running stitch. Keep the stitches close and even, leave a 4- to 5-inch opening, turn and stuff the pillow, then close the opening with a ladder stitch.
How much stuffing should I put in a travel neck pillow?
There is no universal percentage or weight. Add small tufts, distribute them evenly, and test the pillow around your neck. Stop when it supports your head without pushing your chin forward or feeling hard. Leave the opening temporarily clipped while testing so you can add or remove filling.
Conclusion
A successful travel pillow starts with an accurately printed or traced pattern. Check the fit on paper, prepare the fabric, use a suitable needle, and maintain the pattern’s seam allowance around both curves. Leave enough space for turning, add filling gradually, and test the support before closing the opening.
The same basic method works with cotton, flannel, fleece, and other soft fabrics, but cutting, needle selection, pressing, and washing may change with the material. Keep notes on any pattern adjustments so you can make a matching pillow or improve the fit on your next version.
Sources
- University of Utah Health Travel Companion Neck Pillow Pattern — printable adult and child templates, fabric quantity, seam allowance, opening, and basic assembly
- Utah State University Extension: Four Square Pillow — fabric preparation, seam allowance, and beginner pillow-sewing guidance
- Brother: Creating a Consistent Seam Allowance — presser-foot and fabric-edge alignment
- SCHMETZ Needles by Fabric Type — needle selection for woven cotton and fleece
- Fairfield Poly-Fil Premium Fiber Fill — polyester filling and laundering guidance
- U.S. Consumer Product Safety Commission Safe Sleep Guidance — infant pillow and soft-object safety
