
Last Updated on July 27, 2026 by Daniel Globe
Balat gives photographers an unusually rich mix of colorful houses, steep cobbled lanes, bay windows, doors, cafés, and everyday street life. The strongest photos come from more than simply finding a bright facade: choose the right street, work with the direction of the light, keep architectural lines under control, and remember that the famous houses are still people’s homes.
Quick Answer
For the best photos of Balat’s colorful houses, start around Merdivenli Yokuş and the surrounding residential lanes early on a weekday. Use soft morning or golden-hour light, keep your camera level to control leaning buildings, and expose for the bright facades. A phone or camera works well; good composition matters more than expensive gear.
Key Takeaways
- Start with Merdivenli Yokuş, one of the best-known streets for Balat’s colorful cumba houses, then explore nearby lanes instead of photographing only one famous row.
- Early weekday mornings usually make composition easier because the streets are less busy; golden-hour and overcast light both work well.
- For architecture, keep the camera as level as practical, watch vertical lines, and use a moderate wide-angle or normal lens before reaching for an extreme ultrawide.
- A useful daylight starting point is ISO 100–400 and about f/5.6–f/8 for facades, with a shutter speed fast enough for sharp handheld images.
- Treat Balat as a living neighborhood: do not block doors or sidewalks, photograph through residential windows, or assume residents want to appear in close portraits.
- Do not treat drone photography as a casual option. Check Türkiye’s current SHGM UAS requirements and flight-permission map before attempting any flight.
At a Glance
| Time Required | About 1.5–2.5 hours for an unhurried photo walk |
| Difficulty | Beginner-friendly photography; moderate walking on steep and sometimes uneven streets |
| Tools Needed | Camera or smartphone; optional spare battery/power bank, lens cloth, and compact tripod for low light |
| Cost | Photographing public streets is generally free; transportation, cafés, tours, and workshops are separate |
Disclosure: As an Amazon Associate I earn from qualifying purchases. Some links on this page are affiliate links, at no extra cost to you.
Where to Photograph Balat’s Colorful Houses
Do not arrive in Balat and simply search for one vaguely defined “colorful street.” The area rewards walking, but a few names give you a useful starting point.
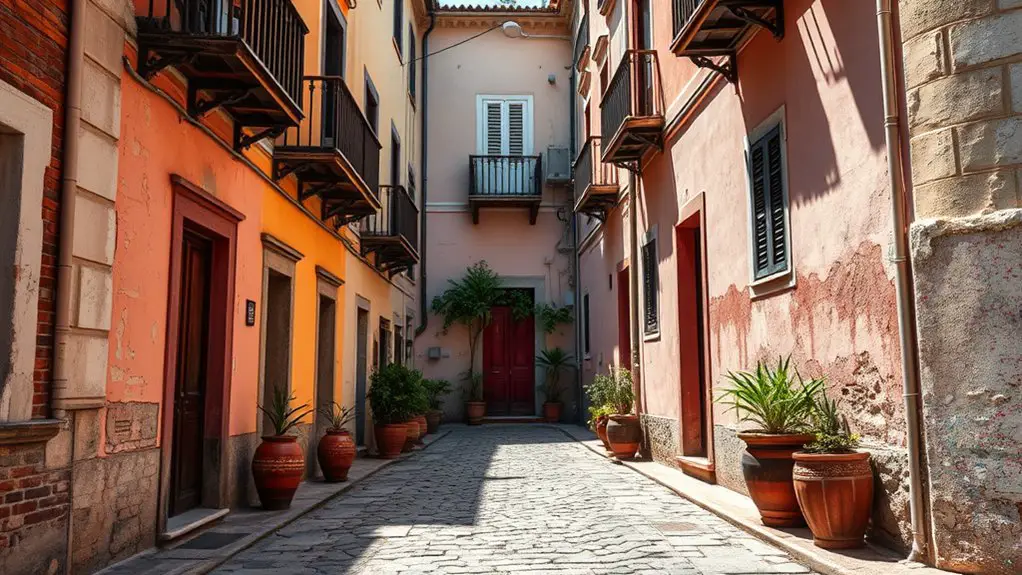
Türkiye’s official tourism portal highlights Merdivenli Yokuş, whose name refers to its stepped slope, as a well-known place to see and photograph colorful cumba houses. These traditional houses have projecting enclosed balconies that create repeating shapes, shadows, and strong leading lines.
The same official guide also points visitors toward Camcı Çeşmesi slope for colorful doors. From there, continue through the smaller surrounding lanes and look for combinations of painted facades, old masonry, balconies, stairs, laundry, signs, plants, and cobblestones rather than concentrating only on the most famous row.
Balat is also commonly explored with neighboring Fener. The two names are often combined in travel guides, but they are neighboring areas, so some well-known Orthodox landmarks and streets that appear in “Balat” photo collections are technically in nearby Fener.
Pro Tip: Take the obvious wide shot first, then turn around and explore the side streets. Doorways, balconies, reflections, cats, signs, textures, and layers of buildings often produce more original photographs than repeating the same social-media composition everyone else uses.
Best Times to Capture Balat’s Colors
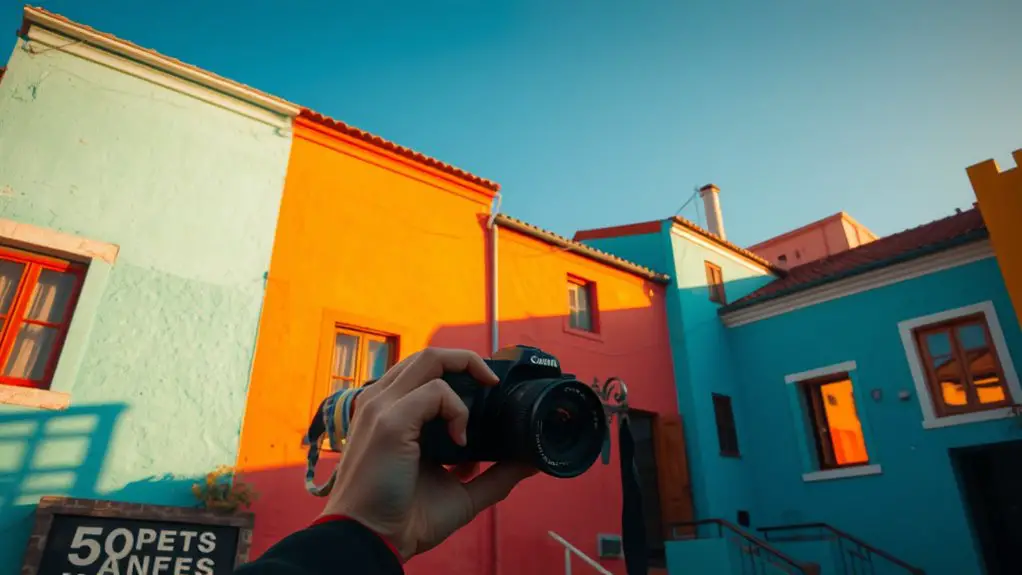
Timing changes both the quality of the light and how easy it is to compose a clean frame. For most visitors, an early weekday morning is the easiest starting point because there is generally less visitor traffic than later in the day.
Golden hour—the period around sunrise or sunset when the sun sits low in the sky—can produce warm, directional light and longer shadows. However, Balat’s streets are narrow and hilly, so neighboring buildings can block low sunlight. A street that glows at one time may already be shaded a few blocks away.
Do not dismiss cloudy weather. Bright overcast conditions create broad, soft illumination that can be excellent for colorful facades because you avoid extreme differences between sunlit walls and deep shadows.
Midday is more challenging when the sun is strong. Instead of fighting harsh contrast, photograph shaded lanes, door details, café scenes, graphic shadows, or facades that are evenly lit. Check your highlights carefully because pale walls and bright paint can clip before darker parts of the scene look properly exposed.
Rain can also work in your favor. Wet cobblestones may add reflections and deeper tones, while blue hour can create a cool background that contrasts with warm windows and streetlights.
Seasonal details can change the character of your compositions as well. Spring may bring flowers and greenery, summer offers long daylight, autumn can introduce warmer foliage, and winter or cloudy days can produce subdued, even light. Treat these as creative possibilities rather than guaranteed weather conditions.
Understanding Lighting Conditions
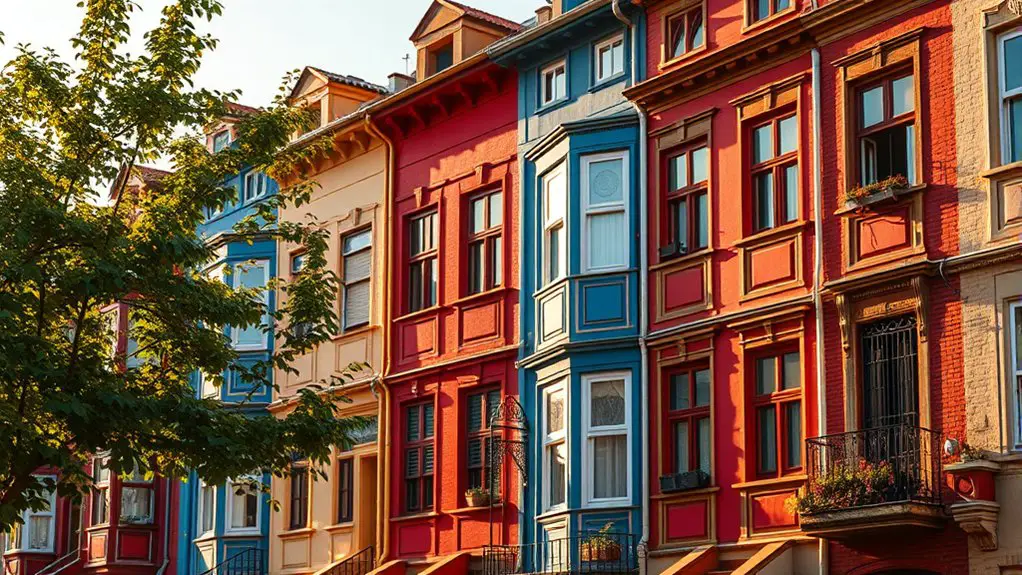
Light determines how strongly Balat’s colors, textures, and building shapes appear. Before taking a photo, look at the facade rather than the clock: is the light direct, shaded, backlit, or evenly diffused?
Natural Light Advantages
Soft natural light is especially useful for painted facades because it reduces extreme highlight-to-shadow contrast. Bright overcast conditions and open shade can reveal weathered paint, woodwork, masonry, balconies, and door details without forcing you to choose between blown highlights and blocked shadows.
If one side of a street is much brighter than the other, expose for the important highlights and let the shadow areas remain slightly darker. Modern RAW files and many smartphone computational modes can recover some shadow detail more gracefully than completely clipped highlights.
Golden Hour Magic
According to Adobe’s photography guidance, golden-hour light is valued because it is soft, warm, and directional. The low sun can create long shadows, side lighting, rim light, or backlighting rather than the flatter illumination produced when the sun is high overhead.
Use that direction deliberately. Side light can reveal the depth of bay windows and decorative trim, while backlight can separate hanging plants, people, or street details from the background.
Do not assume golden hour automatically makes every color more saturated. Its biggest effect is on the warmth and direction of light. Accurate exposure and careful editing matter more than pushing every color to maximum intensity.
Midday, Overcast, and Blue-Hour Light
If you arrive at noon, look for graphic contrast instead of trying to imitate golden hour. Strong shadows from balconies, wires, railings, and staircases can become part of the composition.
On an overcast day, frame more tightly and emphasize color relationships and architectural texture. At blue hour, use a stable shooting position or tripod when necessary, lower your shutter speed, and photograph the contrast between cool ambient light and warmer artificial lights.
Camera Settings for Balat Photography
There is no single correct exposure for Balat because the light changes from street to street. The following settings are useful starting points, not fixed rules.
Colorful Facades and Architecture
- Mode: Aperture Priority or Manual
- Aperture: Start around f/5.6–f/8 when you want most of a facade sharp.
- ISO: Start around ISO 100–400 in daylight and raise it when necessary to maintain a safe shutter speed.
- Shutter speed: For handheld static scenes, roughly 1/125 second or faster is a useful starting point, depending on focal length, stabilization, and your technique.
- File type: Shoot RAW or RAW+JPEG when available if you expect to correct highlights, white balance, or perspective later.
- Focus: Single-point or small-area autofocus works well when you want precise control over the important facade.
A wide aperture such as f/1.8 or f/2.8 can be useful for a door detail, café scene, or portrait where you intentionally want a blurred background. It is not automatically the best choice for a full building.
People and Street Scenes
When people are moving through the frame, prioritize shutter speed. Around 1/250 second or faster is a practical starting point for ordinary walking movement. Raise ISO if necessary rather than accepting unwanted motion blur.
For environmental portraits, an aperture around f/2.8–f/4 can separate a person from the background while still showing enough of Balat to explain where the image was made.
Smartphone Photography Tips
A smartphone is more than enough for strong Balat photographs. Turn on the composition grid, clean the lens before you start, and use the main 1× camera when possible because it usually gives a more natural architectural perspective than an extreme ultrawide lens.
Tap the bright facade to set focus and exposure, then reduce exposure slightly if painted walls or the sky are losing detail. Use the ultrawide lens when the street is genuinely too narrow to step back, but watch the edges of the frame for stretched doors, windows, and people.
Composition Techniques for Stunning Shots
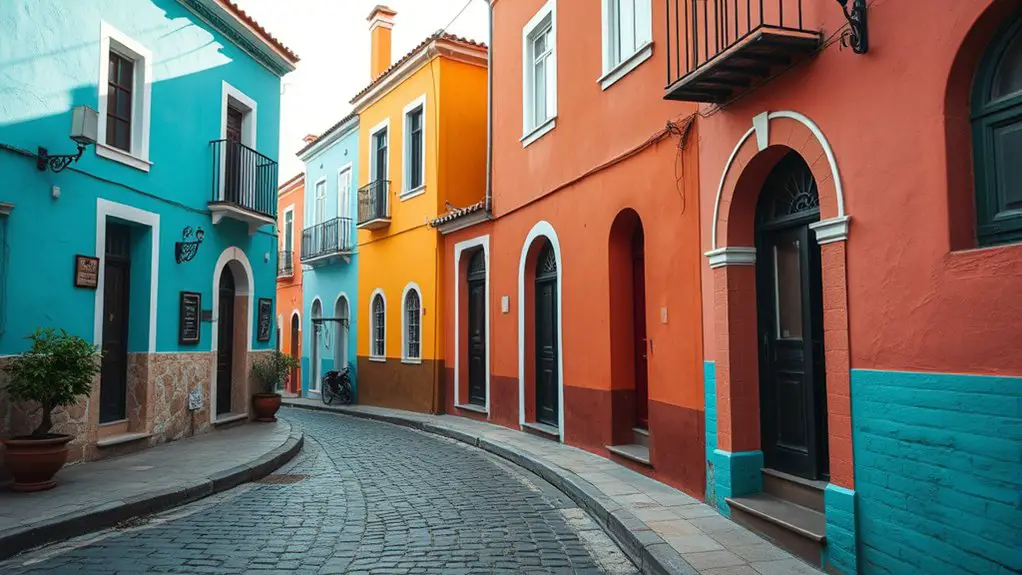
Balat provides plenty of natural geometry, so build your composition around lines, repetition, depth, and color instead of treating each house as an isolated subject.
The rule of thirds can work when a building is part of a broader street scene, but do not force every image into that pattern. A centered, symmetrical composition may be stronger when photographing a distinctive door or straight-on facade.
Use leading lines from staircases, cobblestones, railings, curbs, rows of windows, or receding buildings to draw the eye through the photograph.
Look for color relationships as well. A vivid facade may stand out against a neutral stone wall, while neighboring complementary colors can create a more graphic composition.
Frames within frames are common in Balat. Gates, windows, archways, tree branches, café awnings, and even gaps between buildings can create a natural border around your subject.
Finally, leave intentional negative space when the scene allows it. A simple wall, patch of sky, or shadow can make the colorful architecture feel stronger rather than emptier.
Utilizing Perspectives and Angles
Changing your height and distance can completely alter the relationship between Balat’s steep streets and its buildings. Take a few steps before changing lenses; physical position often improves the composition more than zooming.
Low Angle Shots
A low viewpoint can emphasize Balat’s slopes, bay windows, balconies, and tall facades. Include cobblestones, steps, flowers, or another foreground element to create depth.
Be aware that tilting a wide-angle lens sharply upward will make vertical building lines appear to converge. That may be a deliberate dramatic effect, but it should look intentional.
High Perspective Views
You do not need a drone to create a higher perspective. Use public stairways, uphill streets, terraces you are legitimately visiting, or other accessible viewpoints to layer rooftops, streets, and facades.
Higher viewpoints are particularly effective when you want the repeated colors and roofs to read as a pattern rather than as individual buildings.
Warning: Do not assume you can legally launch a drone in Balat or elsewhere in Istanbul. Türkiye’s Directorate General of Civil Aviation states that UAS weighing 500 g or more are subject to registration requirements, and flights outside designated green/free areas require flight permission. Check the current SHGM UAS system and applicable flight map before bringing or launching a drone.
Symmetrical Framing Techniques
Symmetry works especially well with colorful doors, stairways, windows, and straight-on facades. Three approaches are particularly useful:
- Center the subject: Stand as square to the facade as you safely can and place its main architectural feature on the centerline.
- Use repeating lines: Windows, railings, steps, balconies, and pavement edges can reinforce the symmetry.
- Check the edges: A symmetrical photograph quickly feels unbalanced if one side contains a distracting sign, parked vehicle, cut-off person, or tilted building edge.
Choosing the Best Lens for Balat
A moderate wide-angle or normal focal length is the most versatile choice for Balat because it captures context without exaggerating every edge of the frame.
On a full-frame camera, approximately 24–35 mm is useful for narrow streets and complete facades, while roughly 35–50 mm often gives a more natural street perspective. Longer focal lengths can isolate balconies, doors, signs, architectural details, or people farther down a street.
An ultrawide lens can be helpful when you physically cannot step backward, but use it carefully. Keep important people and architectural details away from distorted frame edges, and avoid automatically pointing the camera sharply upward.
Note: Architectural perspective and lens distortion are different problems. Lens profiles can correct optical distortion, while perspective tools straighten converging horizontal or vertical lines caused by camera position and tilt.
How to Keep Balat’s Buildings From Leaning
When photographing a tall house from close range, pointing the camera upward makes its vertical edges converge toward the top of the frame. Sometimes that is an attractive creative effect. When you want a more architectural look, try to keep the camera sensor as vertical as possible and step farther back when space allows.
Leave a little extra room around the building if you expect to correct perspective later because straightening often requires cropping.
Adobe Lightroom’s current Geometry/Upright tools can correct vertical and horizontal perspective, while lens-profile corrections can address supported lens distortion. Apply these adjustments gently; making every old building perfectly geometric can remove some of the character of a steep historic street.
Incorporating Local Life Into Your Photos
Balat is more compelling when your photographs show it as a neighborhood rather than a collection of painted walls. People walking uphill, shopkeepers opening their businesses, friends having tea, passing cats, bicycles, deliveries, and café activity can give the architecture scale and context.
For wider street scenes, wait for a person to enter a useful part of the frame instead of chasing someone with your camera. A figure in the distance can add life without turning the photograph into an intrusive close portrait.
When an identifiable person is clearly the subject—especially at close range—ask permission when practical. A short conversation often produces a more relaxed photograph and a better experience for everyone involved.
Caution: The colorful buildings are homes and businesses, not outdoor studio sets. Do not block doors, sit on private steps without permission, photograph through residential windows, move personal belongings, or prevent residents from entering their homes while you compose a shot.
How to Avoid Crowds in Your Photos
Visit early, preferably on a weekday, when you want uncluttered photographs of the best-known streets. Even then, do not expect an empty neighborhood: residents, workers, vehicles, and deliveries are part of normal daily life.
When people are present, change your approach instead of waiting indefinitely for a completely empty street. Try:
- Framing a smaller section of the facade.
- Shooting vertically to eliminate distractions at the edges.
- Using a doorway, plant, or wall as foreground framing.
- Waiting for people to occupy visually useful positions.
- Using a longer focal length to isolate a detail.
- Returning to the same street from the opposite direction.
Arriving early has another advantage: you can photograph famous spots first and spend the rest of your visit exploring quieter backstreets without worrying about the classic shot.
Tripod or Handheld?
For most daytime Balat photography, shooting handheld is faster and less intrusive. You can change position quickly, step aside for residents, and react to street activity.
A tripod becomes more useful around blue hour, at night, or when you intentionally want a slow shutter speed. Choose a compact setup and position it so it does not obstruct a narrow sidewalk, doorway, stairs, café entrance, or traffic.
If tripods are restricted inside a specific attraction or private property, follow that location’s rules even if photography itself is allowed.
Post-Processing Tips for Enhancing Colors
Balat is already colorful, so editing should reveal what you photographed rather than turn every facade fluorescent.
- Correct white balance first: Make sure warm golden-hour light still feels believable and shaded streets have not become unnaturally blue.
- Set exposure and highlights: Recover bright walls and skies before increasing overall brightness.
- Use vibrance before heavy saturation: Adobe notes that Vibrance is designed to affect less-saturated colors more selectively, while global Saturation changes all colors more uniformly.
- Adjust individual colors: Use HSL/Color Mix controls when one blue, red, or yellow facade needs refinement rather than increasing every color in the frame.
- Correct lens and perspective issues: Apply a lens profile when appropriate, then straighten distracting verticals with Geometry or Upright controls.
- Add contrast carefully: Preserve texture in painted walls instead of crushing every shadow.
Compare the edit with the original before exporting. If the first thing you notice is the editing rather than the place, pull the adjustments back.
A Simple Balat Photography Workflow
- Start with the known locations. Photograph Merdivenli Yokuş and nearby colorful facades while the streets are easier to work in.
- Read the light. Decide whether the scene calls for warm directional light, even shade, or high-contrast shadow patterns.
- Set exposure for the subject. Protect bright painted facades and choose a shutter speed fast enough for the scene.
- Take a clean establishing shot. Capture the whole street or row of houses before concentrating on details.
- Change position. Shoot low, high, straight-on, across the slope, and from farther away rather than staying in one spot.
- Add human context respectfully. Include natural street activity without treating residents as props.
- Finish with details. Photograph doors, bay windows, textures, signs, plants, reflections, and architectural patterns.
- Edit with restraint. Correct exposure, color, lens distortion, and perspective while keeping Balat believable.
Frequently Asked Questions
What camera settings are best for photographing Balat’s colorful houses?
For a daylight facade, try Aperture Priority at roughly f/5.6–f/8 and ISO 100–400, then make sure the resulting shutter speed is fast enough for sharp handheld shooting. Around 1/125 second or faster is a practical starting point for static architecture. For moving people, aim closer to 1/250 second or faster and raise ISO when necessary.
Should I use a tripod or shoot handheld in Balat?
Shoot handheld during most daylight walks because it is faster and easier on Balat’s narrow streets. A tripod is useful for blue-hour, night, or deliberate long-exposure photography, but place it where it will not block residents, stairs, doorways, sidewalks, or traffic.
How do I avoid tourist crowds in my Balat photos?
Go early on a weekday and photograph the best-known streets first. When people are present, use tighter framing, vertical compositions, foreground objects, longer focal lengths, or wait until pedestrians move into useful positions rather than expecting an active residential neighborhood to become completely empty.
What lens is recommended for Balat architecture?
A moderate wide-angle or normal lens is the most flexible choice. On a full-frame camera, roughly 24–35 mm works well when streets are tight, while 35–50 mm often gives a more natural perspective. Use longer focal lengths for architectural details and ultrawide lenses only when you genuinely need the extra field of view.
Where are the best-known colorful houses in Balat?
Merdivenli Yokuş is one of the best-known starting points and is specifically highlighted by Türkiye’s official tourism portal for its colorful cumba houses. The Camcı Çeşmesi approach and surrounding Balat lanes provide additional doors, facades, stairs, and residential details worth photographing.
Can I fly a drone over Balat?
Do not assume a recreational drone flight is automatically permitted. Türkiye’s SHGM says UAS weighing 500 g or more are subject to registration requirements, and flight permission is required outside designated green/free areas. Check the current official SHGM UAS system, flight map, and permission requirements before attempting any flight in Istanbul.
Are there photography workshops in Balat?
Independent guides and photographers may offer Istanbul or Fener-Balat photo walks, but schedules and operators change. Check current listings for your travel dates and review the route, group size, cancellation policy, equipment expectations, and whether the workshop focuses on street photography, portraits, or architecture before booking.
Conclusion
The best Balat photographs balance color with place. Start with recognizable locations such as Merdivenli Yokuş, but do not stop there. Follow the steep streets, watch how the light changes from one facade to the next, straighten architectural lines when they distract from the image, and look for details that give each frame its own story.
Most importantly, photograph Balat as a living neighborhood. Respect residents and private spaces, keep sidewalks and doorways clear, and let everyday life become part of the scene naturally. Do that, and your images will show more than bright houses—they will capture some of the character that makes this corner of Istanbul memorable.
Sources
- GoTürkiye — Fener and Balat Neighbourhoods — official tourism information on Balat/Fener architecture, cumba houses, Merdivenli Yokuş, and nearby photo locations.
- Türkiye Directorate General of Civil Aviation — UAS Registry System — current UAS registration and flight-permission requirements.
- Adobe — Golden Hour Photography — characteristics of soft, warm, directional golden-hour light.
- Nikon — Basics of Exposure — relationship between aperture, shutter speed, and ISO.
- Adobe Lightroom — Adjust Image Geometry — correction of vertical, horizontal, and architectural perspective.
- Adobe Lightroom — Adjust Color — current guidance on vibrance, saturation, and targeted color adjustments.
