
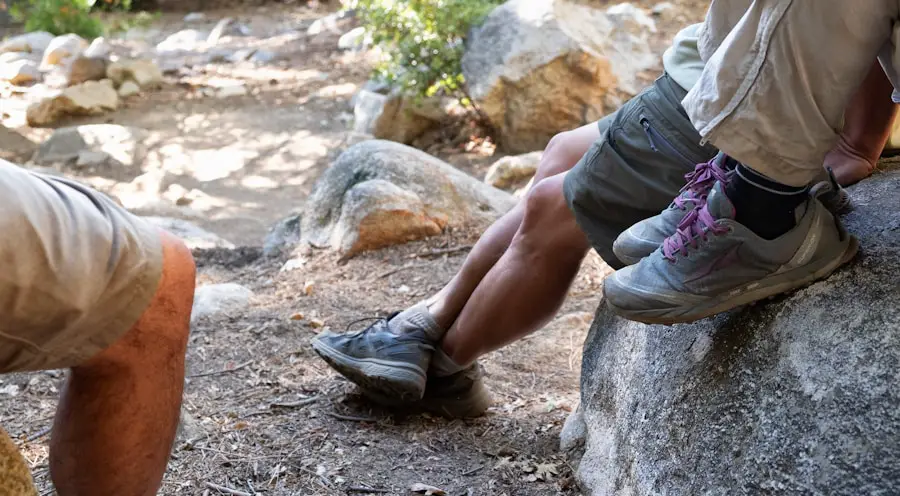
Last Updated on September 10, 2026 by Daniel Globe
Hiking blisters can turn a comfortable trail day into a painful walk back to the car. The good news is that most foot blisters give you warning signs before they fully form. Good footwear fit, dry socks, gradual conditioning, and fast action at the first warm or tender spot can greatly improve your odds of finishing a hike comfortably. Modern research also shows that hiking blisters are more complicated than simple surface rubbing: repeated shear inside the skin is the key injury to control.
Quick Answer
To prevent blisters when hiking, start with shoes that fit without heel slip or toe pressure, wear socks that stay dry, and stop at the first hot spot. Change wet socks, remove grit, adjust laces, and protect known trouble spots. On long hikes, gradual conditioning and frequent foot checks matter more than any single blister-prevention product.
Key Takeaways
- Hiking blisters form from repeated shear within the skin, not simply from an object scraping across the surface.
- Shoes should fit your foot shape from the start, with secure heels, adequate width, and room in front of your longest toe.
- Keeping socks reasonably dry matters. One study of long-distance hikers linked wet socks with a 1.94-fold higher risk of foot blisters.
- Treat warmth, burning, redness, or tenderness as an early warning. Stop, dry your foot, remove debris, adjust the fit, and protect the spot before continuing.
- Powders, lubricants, double socks, and many tapes are popular, but evidence varies. They should support—not replace—good fit, moisture control, conditioning, and early hotspot care.
At a Glance
| Time Required | About 10–15 minutes of preparation, plus 1–2 minute foot checks when a hot spot appears |
| Difficulty | Easy |
| Tools Needed | Well-fitting hiking footwear, fitted socks, spare dry socks, blister tape or moleskin, bandages, and a small first-aid kit |
| Cost | About $0–$25 for basic tape, padding, dressings, and spare socks, excluding footwear |
Disclosure: As an Amazon Associate I earn from qualifying purchases. Some links on this page are affiliate links, at no extra cost to you.
Why Hiking Blisters Form
A blister is a fluid-filled pocket within the outer layers of skin. General blisters can have many causes, including burns, skin disease, infections, and allergic reactions. Hiking blisters, however, are usually friction blisters produced by repeated mechanical stress on the foot.
A 2024 Journal of Athletic Training review of foot friction blisters describes the injury more precisely as a tear within the epidermis caused by repetitive shear deformation. In simple terms, the bones of your foot move during each step while the skin and footwear interfaces do not move in exactly the same way. Repeating that distortion enough times can damage a layer of skin, after which the space fills with fluid.
That is why several factors work together. A loose heel can increase movement. A tight shoe can increase pressure. Long mileage adds more repeated shear cycles. Moist skin can change friction conditions. Sand, wrinkled socks, seams, toe crowding, and long descents can create additional problem areas.
In a 2022 study of 203 long-distance hikers, finishing the day in wet socks was associated with a 1.94-fold greater risk of foot blisters.
The same study found that the proportion of natural versus synthetic fibers in the socks was not independently associated with blister occurrence. The practical lesson is simple: keeping your socks reasonably dry may matter more than choosing a sock solely because its label says merino, wool, or synthetic. You can read the study through PubMed.
Choosing the Right Footwear
Selecting appropriate footwear is one of the most important practical steps in preventing hiking blisters. A shoe or boot that is too tight can create pressure points. One that is too loose can allow the heel or forefoot to move excessively. Neither problem should be solved by simply enduring pain until the footwear “breaks in.”
The American Academy of Orthopaedic Surgeons recommends judging shoes by how they actually fit rather than relying only on the printed size. For hiking footwear, use these checks:
- Try footwear later in the day when your feet are somewhat larger.
- Fit the larger foot. Many people have one foot that is slightly bigger.
- Check toe space while standing. About 1/2 inch between your longest toe and the front of the shoe is a useful general benchmark.
- Check width as well as length. Your forefoot should sit comfortably in the widest part of the shoe without being squeezed.
- Keep heel movement low. The heel should feel secure rather than repeatedly lifting and sliding.
- Wear your actual hiking socks when fitting footwear. Sock thickness changes the available space inside the shoe.
- Walk around before buying. Pay attention to rubbing, pinching, toe pressure, numbness, or heel lift.
Match the footwear to the terrain as well. Hiking shoes and boots generally provide traction, durability, and trail protection, but more structure is not automatically better. Hot conditions and long distances may make moisture management more important, while rough trails may demand more underfoot protection and stability.
Pro Tip: Test new footwear on several shorter walks before committing to an all-day hike. The goal is not to force a badly fitting boot to stretch. It is to confirm that the fit stays comfortable as your feet warm up, swell, climb, and descend.
Socks Matter: The Importance of Proper Sock Selection
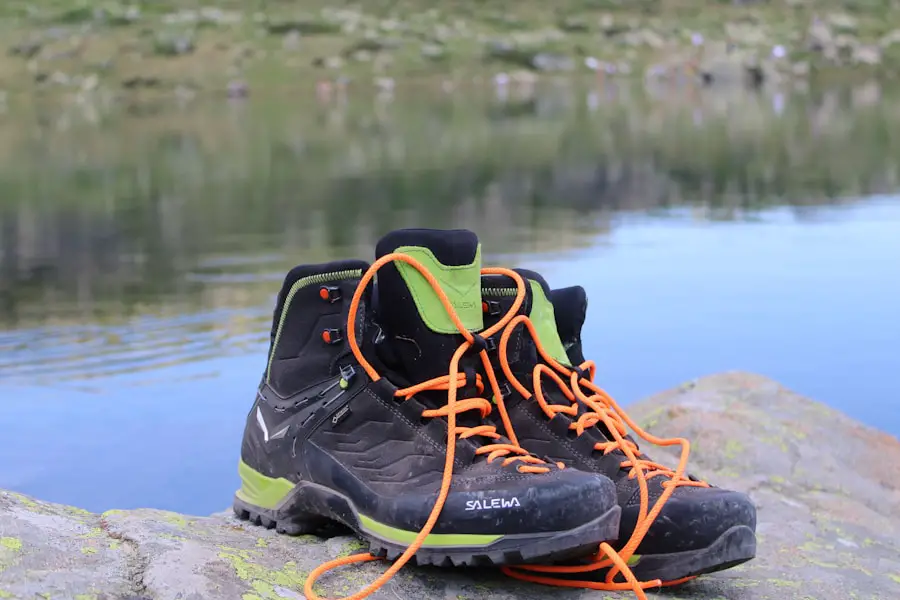
Socks form another important interface between your skin and footwear. The best hiking sock is one that fits smoothly, stays in place, manages moisture well enough for the conditions, and does not make your shoe too tight.
Synthetic fibers such as polyester, polypropylene, nylon, and acrylic can move moisture differently from cotton, and many hikers also find wool or wool-blend socks comfortable. Cotton tends to hold water and dry slowly, so a soaked cotton sock can remain uncomfortable for a long time. Still, material alone does not determine whether you will blister.
A 2024 review of blister-prevention strategies found some supporting evidence for densely padded acrylic socks, but it also concluded that many widely marketed sock strategies remain poorly studied. Evidence for double-sock systems was mixed, and toe socks have not been tested well enough to guarantee protection.
Use these practical sock rules:
- Choose a snug fit without wrinkles or bunching.
- Avoid seams that press directly on a known problem area.
- Make sure sock thickness does not make your footwear cramped.
- Carry at least one dry pair on long or wet hikes.
- Change socks when they become soaked from rain, stream crossings, or sweat.
- If one sock causes repeated hot spots, test a different thickness, construction, or fit during shorter hikes.
Note: Merino wool and synthetic hiking socks can both work well in practice, but current research does not support choosing a sock by fiber name alone. Fit, padding, moisture, footwear interaction, and your individual hot spots matter too.
Preparing Your Feet: Tips for Conditioning and Care
Your feet can adapt to repeated activity. The 2024 blister-prevention review found support for strategies that allow adaptive skin changes, including familiarity with the activity and footwear. If you are preparing for a long trek, build mileage over time rather than making your first long day dramatically longer than your normal walks.
| Conditioning and Care Tips for Feet | Benefits |
|---|---|
| Regularly washing and drying feet | Supports hygiene and gives you a chance to spot redness, cracks, or damaged skin early. |
| Trimming toenails straight across | Reduces nail-related discomfort and helps avoid toe trauma during long descents. |
| Wearing properly fitting shoes | Reduces avoidable pressure, sliding, pinching, and repeated irritation. |
| Moisturizing dry skin on feet | Can help general dry or cracked skin care; it should not be relied on as a stand-alone blister-prevention method. |
| Regularly performing foot exercises | Can support general foot strength and flexibility, although exercises are not proven to directly prevent friction blisters. |
Before a demanding hike, inspect your heels, toes, forefoot, and the sides of your feet. If you repeatedly blister in the same place, note exactly where it occurs and test your footwear, socks, and any protective padding on shorter outings first.
Do not assume that more powder or stronger antiperspirant automatically means better blister protection. The current clinical review found that talcum powder did not reliably prevent blisters and could increase risk in some testing, while nonirritating antiperspirants were not shown to reduce blister incidence.
Pack a Small Blister Kit
A few lightweight supplies can keep a minor hot spot from ending your hike. Useful items include:
- One clean, dry pair of socks
- Blister tape or paper medical tape
- Moleskin or another soft pressure-relieving pad
- Regular adhesive bandages or sterile dressings
- Petroleum jelly for wound care after a blister has opened or been drained
- Small scissors for cutting tape or padding
- Soap and clean water access, or appropriate first-aid cleaning supplies when soap and water are unavailable
Techniques for Preventing Friction
Because repetitive shear is the central problem, prevention should aim to reduce excessive movement, pressure, moisture-related friction changes, or the number of repeated damaging cycles.
Adhesive tape and soft padding are popular for areas that repeatedly blister. Research on paper tape is mixed: one controlled study failed to show protection, while another found a strong benefit when tape was placed on the participant’s known blister-prone locations. That means tape is reasonable to test, but it is not a universal guarantee.
Moleskin and similar padding can be useful when they reduce direct pressure on a problem spot. Make sure any material lies flat. A wrinkled edge or bulky pad can create a new pressure point of its own.
Lubricants can reduce surface friction and may feel helpful for some hikers, but current clinical evidence is not strong enough to call them a proven prevention method. If you use an anti-chafing balm or petroleum-based lubricant for a known trouble spot, test it before a major hike and remember that it may wear off during a long day.
Adjust Your Lacing Without Cutting Off Circulation
Lacing can help control how your foot sits inside the shoe. A heel-lock or runner’s-loop pattern may reduce noticeable heel lift in footwear that otherwise fits correctly. A strategically placed surgeon’s knot can also hold tension in one section of the laces while keeping another section less tight.
The important test is comfort. Your toes should not become numb, the top of your foot should not throb, and your laces should not create a new pressure line. Evidence for specific lacing patterns as stand-alone blister prevention is limited, so think of lacing as a fit adjustment rather than a cure for poorly sized footwear.
Warning: Do not keep tightening a shoe that is the wrong size or shape. Numbness, tingling, sharp pressure, or increasing pain are signs to stop and reassess the fit rather than cinch the laces harder.
Dealing with Hotspots: Early Intervention Strategies
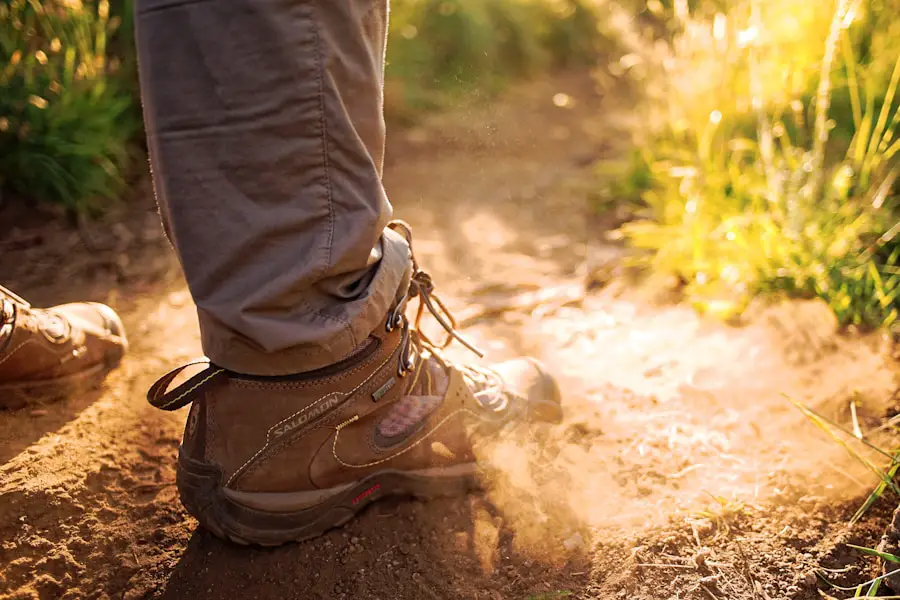
A hotspot is a warm, burning, tender, or reddened area that often appears before a full blister. This is the best time to intervene. The American Academy of Dermatology advises stopping when pain, discomfort, or skin redness begins rather than continuing until a blister develops.
When you feel a hotspot:
- Stop walking as soon as it is safe. Waiting another mile can turn mild irritation into a fluid-filled blister.
- Remove the shoe and sock. Inspect the exact area that hurts.
- Look for the cause. Check for gravel, sand, a sock wrinkle, a folded insole, a seam, heel movement, or toe pressure.
- Dry the skin and sock if possible. Put on a dry sock if the current one is soaked.
- Adjust the fit. Re-lace the shoe if you can reduce heel lift or pressure without creating numbness.
- Protect the hotspot. Smoothly applied tape or soft padding can reduce irritation at a known problem area.
- Recheck after a few minutes of walking. If pain continues to build or changes your gait, consider turning around rather than creating a larger injury.
Pro Tip: Treat the first unusual warmth or burning sensation as useful information, not something to push through. A two-minute stop early can be far easier than managing a painful blister for the final several miles.
Long-Hike and Wet-Weather Blister Prevention
Long days create more opportunities for repeated shear, and wet conditions add another challenge. Build simple foot checks into rest stops rather than waiting until your feet hurt.
- After a stream crossing: empty water and grit from your footwear and change into dry socks when practical.
- In rain: remember that waterproof footwear can still become wet from sweat or water entering from above.
- During long breaks: remove your shoes when conditions allow and give damp socks and feet a chance to dry.
- On descents: watch for your foot sliding forward and your toes striking the front of the shoe. Adjust lacing before the pressure becomes painful.
- On multi-day hikes: inspect your feet every evening, dry footwear and socks as thoroughly as conditions permit, and deal with small hot spots before the next day’s mileage.
- When increasing distance: build up over several outings so both your feet and your footwear system are familiar with the workload.
No method can promise zero blisters. Terrain, foot shape, shoe fit, pack load, moisture, distance, and individual skin response all vary. A prevention system that works on a five-mile dry hike should still be tested before you depend on it for a multi-day trek.
The Role of Hydration and Nutrition in Blister Prevention
Hydration and nutrition matter during hiking, especially on long or hot routes, but they should not be confused with proven direct blister-prevention treatments. Current blister-prevention research focuses much more strongly on repeated shear, moisture conditions, activity exposure, socks, footwear interfaces, insoles, tape, and related mechanical strategies.
Drink and eat according to the needs of your hike so you can maintain normal performance and judgment. A balanced diet that supplies adequate protein, vitamins, minerals, fats, and carbohydrates also supports overall health and normal skin maintenance. However, there is not good evidence that taking extra vitamins A, C, or E, zinc, omega-3 supplements, or simply drinking additional water will by itself stop hiking blisters.
Note: Stay properly hydrated for hiking safety and performance, but do not use hydration or supplements as a substitute for fixing heel slip, toe pressure, wet socks, or an untreated hotspot.
Post-Hike Foot Care: Treating Blisters and Preventing Infection
After a long hike, remove your footwear and inspect both feet. Clean away dirt, dry the skin gently, and decide whether you are dealing with an intact blister, an already-open blister, or something that needs medical attention.
If the Blister Is Intact
If the blister is small and tolerable, leave the roof intact. The skin covering the blister helps protect the raw tissue below. The American Academy of Dermatology recommends loosely covering a blister and using donut-shaped padding around pressure areas when needed.
Avoid the activity or footwear that keeps irritating the blister while it heals. Most uncomplicated blisters improve on their own.
If the Blister Has Burst
Wash your hands, then gently wash the area with soap and water. Do not peel away the blister roof if it is still attached. Apply a thin layer of petroleum jelly and cover the area with a clean dressing. Change the dressing when it becomes wet, dirty, or loose.
Routine harsh antiseptics and routine antibiotic ointment are not necessary for every uncomplicated friction blister. If infection develops, medical treatment may be needed.
If the Blister Is Large and Very Painful
Most blisters should not be deliberately popped. However, both the AAD and NIH MedlinePlus note that a large, very painful blister may sometimes need drainage. The AAD advises using a properly sterilized needle to pierce the blister near an edge, allowing fluid to drain while leaving the roof in place.
If you are uncertain, cannot keep the area clean, or have a medical condition that makes foot wounds higher risk, seek professional care instead of draining it yourself.
Warning: Seek medical care if a blister is producing pus or the surrounding skin becomes increasingly red, warm, swollen, or painful, or if you develop a fever. Get professional guidance for foot blisters if you have diabetes, poor circulation, significant loss of sensation/neuropathy, or another condition that makes wound healing or infection more concerning. Several unexplained or repeatedly recurring blisters also deserve medical evaluation.
This article provides general educational information and is not a substitute for diagnosis or treatment from a qualified healthcare professional.
If you’re also preparing your clothing system for a trip, see this guide to the best travel pants with hidden pockets. Comfortable, practical clothing will not replace proper foot care, but reducing unnecessary rubbing, heat buildup, and gear-management problems can make a long hiking day more comfortable.
Love travel? Join Our Facebook Community For More Tips.
Frequently Asked Questions
What are blisters and why do they occur when hiking?
A hiking friction blister is a fluid-filled injury within the outer layers of skin. Current research describes it as an intraepidermal tear caused by repeated shear deformation. Foot movement, friction forces, pressure, moisture, and thousands of repeated steps can combine until the skin is damaged and the space fills with fluid.
How can I prevent blisters when hiking?
Wear footwear that fits your foot shape without excessive heel movement or toe pressure, use fitted socks, keep wet socks from staying against your feet for long periods, build hiking distance gradually, and stop at the first hot spot. Tape or padding can help known trouble areas, but no single product replaces good fit and early intervention.
What are some tips for preventing blisters on a long hike?
Carry a dry pair of socks and a small blister kit, check your feet during breaks, remove sand or grit from your shoes, change wet socks, adjust laces when your feet swell, and treat hotspots immediately. Test your entire shoe-and-sock combination on shorter hikes before relying on it for a long-distance or multi-day route.
Are there specific lacing techniques that can help prevent hiking blisters?
A heel-lock or runner’s-loop pattern can help reduce noticeable heel lift, and a surgeon’s knot can hold tension in one part of the lacing system. Specific lacing methods are not strongly proven as stand-alone blister prevention, so use them to fine-tune otherwise well-fitting footwear. Loosen the laces if you develop numbness, tingling, or painful pressure.
What should I do if I feel a hot spot or blister forming while hiking?
Stop as soon as it is safe, remove your shoe and sock, inspect the area, clear away debris, dry the skin, change wet socks, and correct any obvious fit or lacing problem. Apply smooth tape or soft padding to a clean, dry hotspot if appropriate. Recheck it shortly after you resume walking.
Should I pop a hiking blister?
Usually, no. Leave an intact blister roof in place when possible because it protects the tissue beneath it. A very large or painful blister may sometimes need careful drainage, but the roof should remain intact. People with diabetes, poor circulation, neuropathy, infection signs, or other wound-healing concerns should seek medical guidance.
What socks are best for preventing hiking blisters?
There is no single best fiber for everyone. Choose socks that fit smoothly, stay in place, work with the available space inside your footwear, and manage moisture well. Synthetic and wool blends are common choices, while cotton tends to hold moisture longer. Research in long-distance hikers found that wet socks were associated with more blisters, while natural-versus-synthetic fiber proportion alone was not.
When should I see a healthcare professional for a blister?
Seek medical care for spreading or worsening redness, warmth, swelling, pus, increasing pain, fever, several unexplained blisters, or recurrent blistering without an obvious cause. People with diabetes, circulation problems, significant neuropathy, or other conditions that affect wound healing should get professional advice for foot wounds sooner.
Sources
- American Academy of Dermatology — How to Prevent and Treat Blisters — current prevention, hotspot, drainage, wound-care, and infection guidance.
- NIH MedlinePlus — Blisters — blister causes, prevention, treatment, warning signs, and high-risk medical conditions.
- Journal of Athletic Training — Friction Blisters of the Feet: A New Paradigm to Explain Causation — modern repetitive-shear model of friction-blister formation.
- Journal of Athletic Training — Friction Blisters of the Feet: A Critical Assessment of Current Prevention Strategies — evidence review covering socks, tape, powders, lubricants, insoles, conditioning, and other prevention strategies.
- Journal of Tissue Viability — The Influence of Sock Composition on the Appearance of Foot Blisters in Hikers — long-distance hiker study linking wet socks with higher blister risk while finding no independent association with natural-versus-synthetic fiber proportion.
- American Academy of Orthopaedic Surgeons — Shoes: Finding the Right Fit — footwear sizing, toe room, width, end-of-day fitting, and heel-fit guidance.
