
Last Updated on September 10, 2026 by Daniel Globe
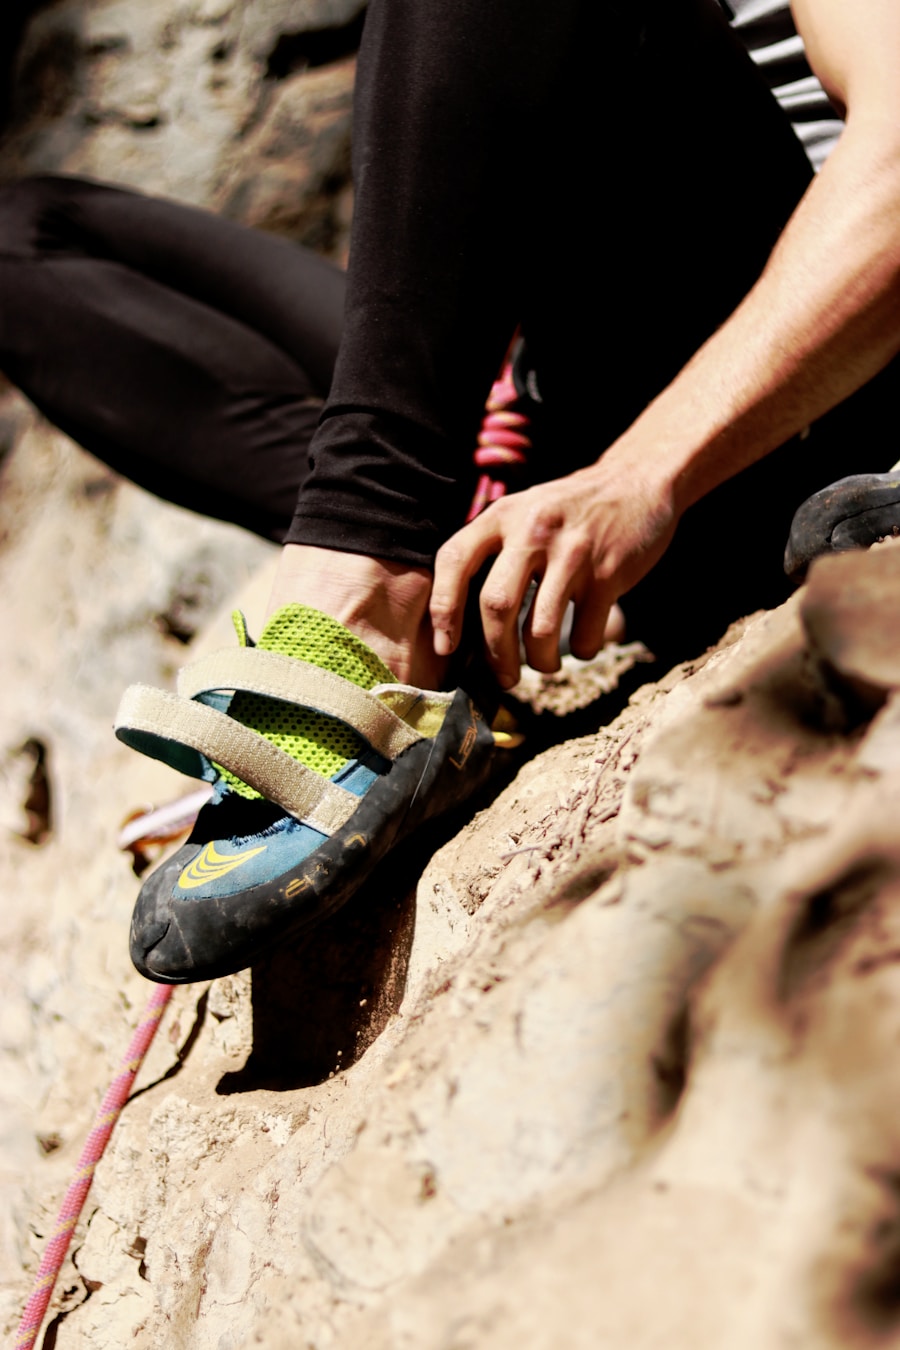
Blisters can turn an otherwise enjoyable hike into a painful walk back to the trailhead. Most hiking blisters are easier to prevent than to manage once they form. The best approach is to combine properly fitting footwear, well-fitting socks, moisture control, gradual footwear testing, and fast action when you first notice a hot spot.
Quick Answer
To prevent blisters when hiking, start with shoes that fit without pinching or excessive heel slip, pair them with well-fitting wool or synthetic socks, and keep your feet as dry as practical. Treat any hot spot immediately with tape, moleskin, or a blister bandage. Carry spare socks and stop before discomfort becomes a full blister.
Key Takeaways
- Wear hiking footwear that fits securely without squeezing your toes or allowing excessive sliding.
- Choose wool or synthetic socks that fit smoothly inside your footwear and carry a dry spare pair.
- Test new footwear on short walks and hikes instead of relying on a fixed break-in mileage.
- Stop as soon as you feel a hot spot, then dry the area and reduce the rubbing or pressure.
- Tape, moleskin, blister bandages, powder, or lubricant can help some hikers, but no single product prevents every blister.
- Keep intact blisters protected when possible and seek medical care for infection or if a health condition makes foot wounds higher risk.
At a Glance
| Time Required | A few minutes before the hike, plus immediate attention whenever a hot spot develops |
| Difficulty | Easy |
| Tools Needed | Properly fitting footwear, hiking socks, spare socks, and optional tape, moleskin, or blister bandages |
| Cost | Varies; no special purchase is required if your footwear and socks already fit well |
Disclosure: As an Amazon Associate I earn from qualifying purchases. Some links on this page are affiliate links, at no extra cost to you.
What Causes Blisters While Hiking?
A hiking blister forms when repeated movement creates shear stress within the outer layers of your skin. Friction at the skin, sock, and footwear interfaces can contribute to that movement, but the process is more complicated than simple surface rubbing. Repetition, moisture, pressure points, footwear movement, and the way your foot moves inside the shoe all affect blister risk.
A 2024 review of foot friction blisters describes repetitive shear deformation as a key part of blister formation. Moist skin can also become more vulnerable under repeated loading, which is one reason wet socks and sweaty feet often cause trouble during long hikes. See the peer-reviewed review of foot blister prevention strategies for a detailed discussion of the mechanism.
The best time to deal with a hiking blister is before it becomes one: stop at the first hot spot and correct the source of pressure, moisture, or movement.
How to Prevent Blisters When Hiking: Step by Step
- Start with the right fit. Your footwear should hold your foot securely without painful pressure or excessive heel movement.
- Wear smooth, well-fitting socks. Wool and synthetic hiking socks are practical choices because they manage moisture better than ordinary cotton socks.
- Test new footwear gradually. Use short walks and hikes to find pressure points before a long trail day.
- Start with dry feet. Put on clean, dry socks and carry a spare pair on longer or wetter hikes.
- Protect known trouble spots. Tape, moleskin, or a blister bandage can be applied before a hike if the same area repeatedly causes problems.
- Stop at the first hot spot. Remove debris, dry your foot, change socks if needed, adjust the lacing, and protect the irritated skin.
- Do not hike through worsening pain. Continuing to load an irritated area can turn a manageable hot spot into a larger blister.
Choose Footwear That Fits and Matches the Trail
The right footwear is one of the most important parts of blister prevention. A shoe that is too tight creates pressure, while one that is too loose can allow the foot to slide repeatedly. Either problem can irritate the skin over thousands of steps.
Choose footwear for the terrain, weather, pack weight, and your own experience. A sturdy hiking boot may make sense on rough dirt, gravel, snow, or demanding terrain, while a lighter hiking shoe or trail shoe may be comfortable on easier trails. The U.S. National Park Service Hike Smart guidance also stresses using appropriate walking footwear rather than treating one shoe style as correct for every hike.
Your toes should have enough room to move without repeatedly hitting the front of the shoe, especially during descents. At the same time, your heel should not slide excessively with each step. Wear the hiking socks you plan to use when checking the fit because sock thickness changes the available space inside the shoe.
Feet can become slightly larger during prolonged activity. Trying footwear when your feet are not at their smallest can therefore help you notice a fit that may become restrictive later. More importantly, walk around in the shoes, use stairs or an incline if available, and pay attention to heel lift, toe pressure, numbness, rubbing, and any obvious pressure point.
Pro Tip: Lacing can sometimes solve minor movement problems. A different lacing pattern may help hold the heel more securely or relieve pressure over the top of the foot. Lacing cannot rescue a shoe that is fundamentally the wrong size or shape.
Products Worth Considering
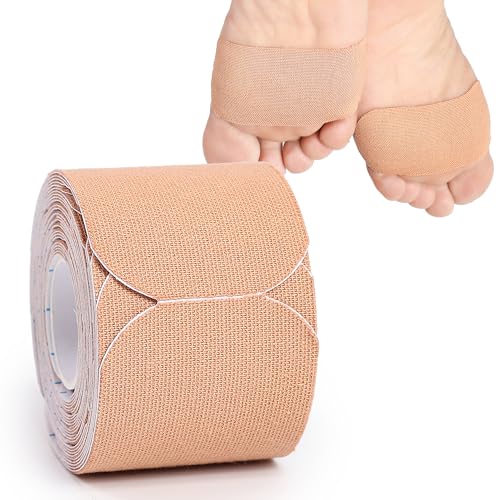
Help Prevent Blisters Caused on Feet: Put the Alimpor moleskin for blisters on the known problem areas on feet before walk. These strong foot pads do not only prevent any blisters from forming, but also no single corner rolled up or piece moved before you want to remove them!

Promifun Premium Material: Our sticky moleskin pads are made of high-quality flannel and adhesive, pre-cut, easy to apply, latex-free, non-irritating and friendly to sensitive skin. They are sized to fit you and designed to provide a comfortable experience.

No More Blister Bandages for Feet | Blister prevention to avoid the need for treatment & first aid
Proper Sock Selection
Socks provide the layer between your skin and your footwear, so both material and fit matter. The National Park Service recommends wool or synthetic moisture-wicking socks for longer hikes and suggests carrying an extra pair.
Merino wool and synthetic blends are popular hiking choices because they manage moisture and remain comfortable during prolonged activity. Sock thickness should match the available space inside your footwear. A thick sock is not an improvement if it makes your shoe tight enough to squeeze your toes or create new pressure points.
Make sure the sock lies smoothly without folds or wrinkles. The height should also work with your footwear; a sock that rises above the boot cuff can reduce direct rubbing around the ankle.
Some hikers use a thin liner sock beneath a hiking sock or wear two layers. The American Academy of Dermatology lists a second pair of socks as one option when a single pair does not provide enough protection. However, research on sock and barrier strategies is mixed, so treat double-layer systems as something to test rather than a guaranteed solution. Most importantly, the extra layer must not make the shoe too tight.
Note: Carrying one dry pair of socks can be more useful than adding more cushioning. Change socks when the pair you are wearing becomes soaked with sweat or water.
Products Worth Considering

Quality Material: Made from a durable blend of 70% wool, 23% polyester, 5% spandex, and 2% nylon, these hiking socks feature an integrated high-efficiency air circulation structure that combines natural warmth with moisture-wicking performance. The innovative HyperVentM System delivers enhanced dynamic zoned mesh ventilation—adapting to movement to boost airflow and keep feet dry and fresh during extended activity

Premium Merino Wool Blend + Breathable Design – All-Day Freshness: Crafted from 50% Merino wool mixed with tough nylon and polyamide, these hiking socks keep moisture under control and let your feet breathe easy. The breathable mesh helps you stay cool on spring hikes, summer camps, or any mild-weather adventure—no swampy, stuffy feet after hours on the trail

Comfortable Merino Wool: The innotree hiking socks women with thermoregulating merino wool and sweat wicking ventilation lanes ensure that it's cold and stay cool when it's hot weather, great for all season wearing.
Foot Care and Maintenance
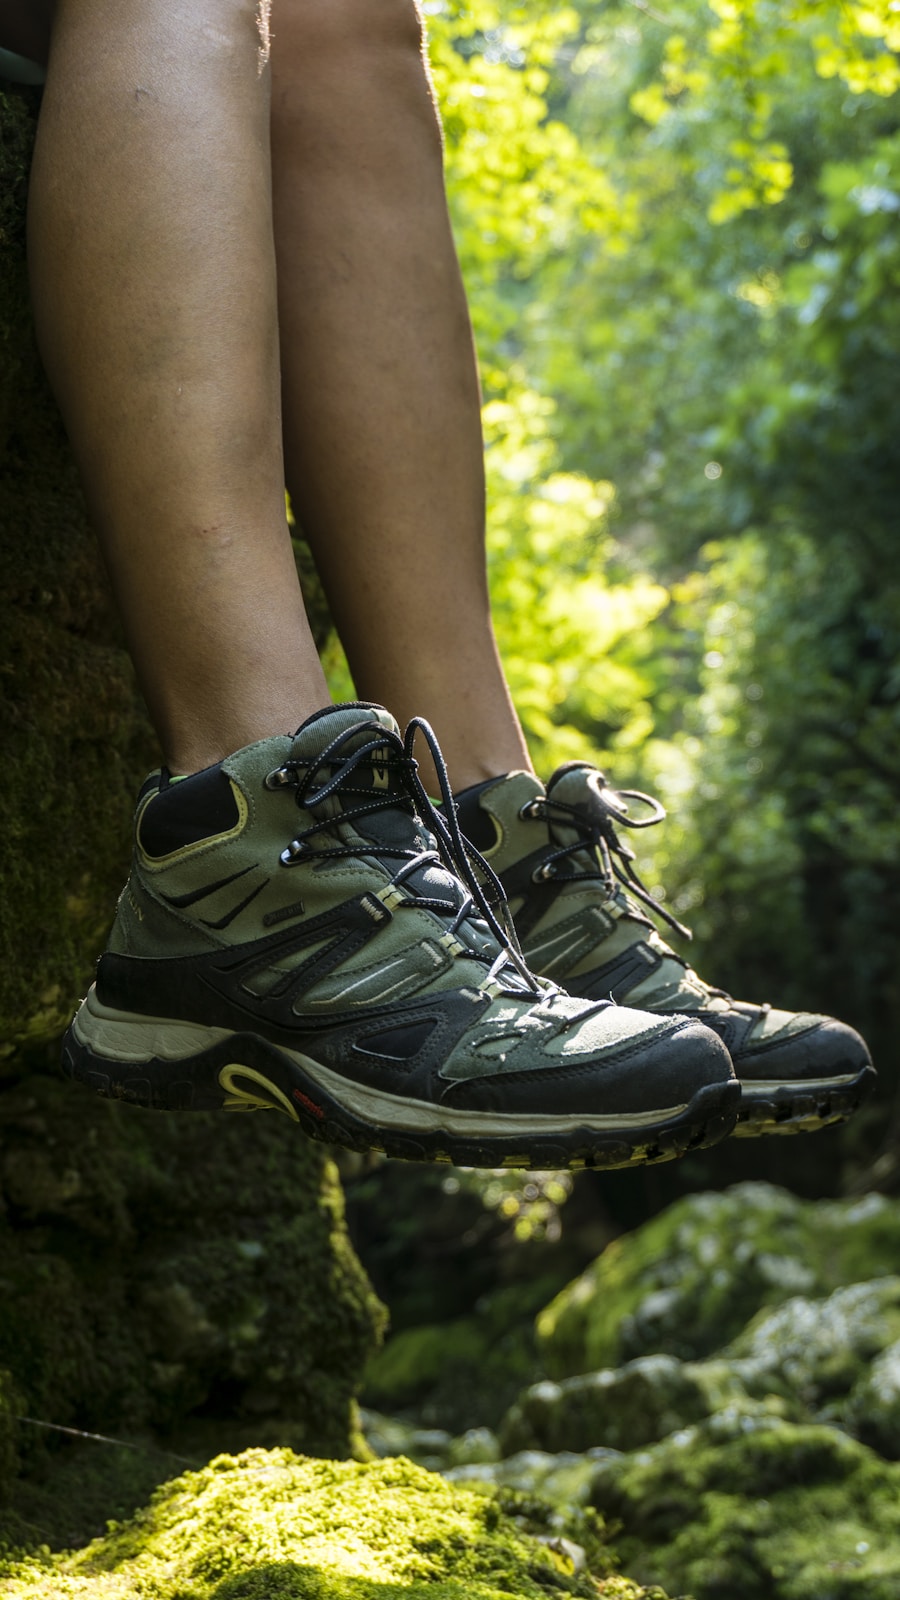
Inspect your feet before and after longer hikes. Look for redness, cracked skin, cuts, tender areas, blisters, and nail problems. Catching a small problem early makes it easier to prevent repeated pressure on the same area.
Toenails should be kept at a comfortable length so they do not repeatedly hit the front of your footwear on descents. Trim them generally straight across instead of deeply rounding the corners, which can increase the chance of an ingrown nail. Cleveland Clinic provides similar advice in its ingrown toenail prevention guidance.
If the skin on your feet becomes very dry or cracked, a moisturizer can help maintain the skin barrier. Apply it to dry areas rather than leaving damp moisturizer between the toes, where excess moisture is undesirable.
Breaking in New Shoes
| Break-In Metric | Evidence-Based Guidance |
| Number of steps | There is no universal step count. Test the footwear until you can walk comfortably without new pressure points. |
| Time | Varies by footwear construction and your feet. Flexible shoes may need little adjustment, while stiffer boots may require several progressively longer outings. |
| Distance | There is no fixed mileage. Progress from short local walks to a short trail outing before committing to a long hike. |
Breaking in hiking footwear is less about reaching a magic mileage and more about confirming that the footwear works with your feet. Start with short periods around home or on everyday walks. Then increase the duration and try the footwear on terrain similar to the trail you plan to hike.
This process gives you time to identify heel slip, pressure on the toes, rubbing near the ankle, or lacing problems before you are miles from the trailhead. If a painful pressure point remains despite reasonable adjustments, the shoe may simply be the wrong shape or size for your foot. Do not try to force a poor fit through more break-in miles.
Using Blister Prevention Products
Tape, moleskin, blister bandages, powders, and lubricants can all be useful in the right situation, but no product compensates for badly fitting footwear.
For an area that repeatedly develops a hot spot, consider placing paper medical tape, moleskin, or another soft protective barrier over clean, dry, intact skin before the hike. A randomized study of ultramarathon runners found that paper tape reduced blister formation in the studied conditions, although broader reviews show that evidence for many blister-prevention methods remains limited. See the paper-tape randomized trial and the systematic review of blister-prevention strategies.
Petroleum jelly or another suitable skin lubricant can reduce rubbing for some people. Foot powder may also help with moisture management. Test any product on shorter outings first because skin reactions, poor adhesion, or added bulk can create new problems.
Warning: Do not keep hiking through a burning or painful hot spot because you hope a product will eventually fix it. Stop, remove the shoe and sock, inspect the area, and correct the source of pressure or movement.
Products Worth Considering
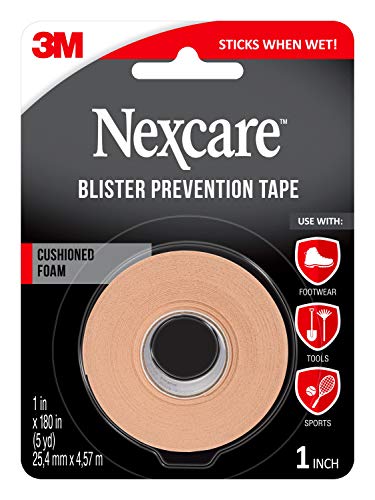
CUSHIONED PROTECTION: 1 roll of 1 in x 5 yds Nexcare Blister Prevention Tape with cushioned foam design to protect blisters and help prevent new ones

Premium Protection. KT Health Blister Prevention Tape is crafted from high-quality synthetic non-woven fabric, specifically designed to prevent blisters, chafing, and hot spots during athletic training and outdoor activities.
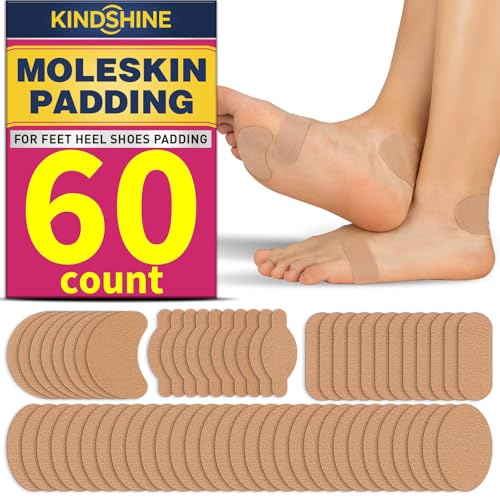
【Gentle Latex-Free Premium Fabric】Our sticky moleskin pads are made of high-quality flannel and latex-free adhesive, pre-cut for easy application. Gentle on sensitive skin with no irritation, fitting foot contours for a comfortable, non-bulky feel.
Proper Foot Hygiene
Wash your feet with soap and water after hiking, then dry them carefully, especially between the toes. The CDC’s foot hygiene guidance notes that the fungi responsible for athlete’s foot thrive in warm, dark, moist environments and recommends keeping feet and toes clean and dry and changing socks and shoes regularly.
Ordinary foot powder can help some hikers manage moisture. Antifungal medicines are different: they are treatments for fungal infections and should be used according to the product directions or advice from a pharmacist or healthcare professional rather than automatically applied as a hiking preventive.
After a wet hike, remove damp socks and let both your feet and footwear dry. On multi-day trips, rotate socks when possible instead of repeatedly putting a soaked pair back on.
During the Hike: Treat Hot Spots Early
A hot spot is an area that feels unusually warm, irritated, tender, or burning before a full blister develops. This is the best time to intervene.
- Stop walking as soon as it is safe.
- Remove your shoe and sock.
- Check for sand, grit, a folded sock, damaged insole material, or another source of pressure.
- Dry the foot and change into a dry sock if the current one is wet.
- Adjust the laces if your heel is sliding or a particular area feels compressed.
- Cover intact irritated skin with paper tape, moleskin, or a suitable blister bandage.
- Recheck the area after you resume walking.
The American Academy of Dermatology specifically recommends paying attention to pain, discomfort, and redness rather than continuing the activity until a blister forms. Its current blister prevention and treatment guidance also lists moisture-wicking socks, soft bandages, powder, and petroleum jelly among preventive options.
Adjusting Your Hiking Technique
How you move can affect how much your feet slide or strike the inside of your footwear. On steep descents, controlled shorter steps can reduce repeated toe impact at the front of a shoe. On rough ground, deliberate foot placement can also limit sudden slips that move the foot inside the footwear.
Trekking poles may improve stability on uneven ground for hikers who use them comfortably. Keep your posture relaxed and avoid rushing technical sections when fatigue starts to affect your footing.
Technique is only one part of the solution. Changing your stride will not correct shoes that pinch your toes, allow excessive heel movement, or create a persistent pressure point.
Knowing When to Rest
Rest when your feet begin to hurt rather than waiting for the discomfort to become severe. A brief stop gives you a chance to remove your shoes, check your skin, shake debris from your socks, adjust your laces, and let damp feet dry.
Longer hikes can also become harder as fatigue affects balance and decision-making. Use breaks to drink, eat as appropriate for the hike, and assess how your feet and legs feel before continuing.
If a painful area keeps getting worse after you have corrected the obvious causes, shortening or ending the hike can prevent a small foot problem from becoming a much larger one.
What to Do If a Blister Forms
If a blister is intact and not severely painful, protect it rather than deliberately popping it. The skin over the blister provides a natural protective layer. Loosely cover the area with a clean bandage or use padding around the blister to reduce pressure.
For a blister on a pressure-bearing area, moleskin or similar padding can be cut into a donut shape so the blister sits in the center instead of directly beneath the padding. Both the Mayo Clinic blister first-aid guidance and American Academy of Dermatology recommend protecting an intact blister when possible.
A large, very painful blister sometimes needs drainage to relieve pressure. If drainage is necessary and you can do it hygienically, wash your hands and the blister with soap and water, clean a needle with rubbing alcohol or another appropriate antiseptic, and puncture near the edge so the fluid can drain. Leave the skin covering the blister in place, apply petroleum jelly, and protect the area with a clean nonstick dressing.
Warning: If you have diabetes, poor circulation, a condition that affects wound healing or immunity, or a history of serious infections, do not treat a significant foot blister as routine trail first aid. Seek medical guidance. Also seek care for increasing pain, warmth, swelling, spreading redness or discoloration, pus, or other signs of infection.
Common Blister-Prevention Mistakes
- Relying on a magic break-in number: there is no universal 1,000-step, two-week, or 50-mile rule.
- Trying to break in a bad fit: footwear that consistently pinches or allows major sliding may simply be wrong for your foot.
- Ignoring the first hot spot: early action is easier than treating a developed blister.
- Making the shoe too tight with thick socks: more cushioning is not helpful when it creates pressure.
- Keeping soaked socks on all day: carry a dry pair on long or wet hikes when practical.
- Leaving grit inside the shoe: a tiny stone, wrinkle, or bit of sand can repeatedly irritate the same area.
- Popping every blister: intact skin protects the tissue underneath and should usually be preserved when possible.
- Using medicated products automatically: antifungal treatments are not a substitute for clean, dry feet and should be used for an appropriate reason.
If you’re looking to avoid blisters when hiking, socks are one part of the prevention system. Merino wool hiking socks can be comfortable and useful for moisture management, but fit and overall footwear compatibility still matter. For more information, see this guide to merino wool travel socks.
Love travel? Join Our Facebook Community For More Tips.
Frequently Asked Questions
What are blisters and why do they occur when hiking?
A friction blister is a fluid-filled separation within the outer layers of skin. During hiking, repeated shear movement contributes to that separation. Footwear fit, repeated pressure, moisture, friction at different interfaces, and thousands of repeated steps can all raise the risk.
How can I avoid getting blisters when hiking?
Wear footwear that fits without pinching or excessive sliding, use well-fitting wool or synthetic socks, test new footwear on shorter outings, keep your feet as dry as practical, and stop immediately when you feel a hot spot. Tape, moleskin, or blister bandages can protect areas that repeatedly cause trouble.
Does wearing two pairs of socks prevent hiking blisters?
It can help some hikers, and dermatology guidance lists a second sock layer as an option when one pair is not enough. However, research on sock systems is mixed. Two layers can make matters worse if they make your footwear too tight, so test the combination before a long hike.
Are there specific techniques for preventing blisters while hiking?
Yes. Keep socks smooth and reasonably dry, change wet socks when possible, protect known trouble spots, remove grit from your shoes, adjust lacing to control unwanted movement, and take action immediately when skin starts to burn or feel tender. Petroleum jelly, powder, tape, or moleskin may also help in selected areas.
What should I do if I feel a blister forming while hiking?
Stop at the first hot spot. Remove your shoe and sock, check for debris or wrinkles, dry the area, change into a dry sock if needed, adjust the fit or lacing, and cover intact irritated skin with tape, moleskin, or a blister bandage before continuing.
Should I pop a hiking blister?
Not routinely. If the blister is intact and manageable, protect it and leave the skin roof in place. A large, very painful blister may sometimes be drained carefully, but the overlying skin should generally remain intact. People with diabetes, poor circulation, impaired healing, or increased infection risk should seek medical advice instead of draining a blister themselves.
What other factors contribute to hiking blisters?
Long distances, repeated loading, sweaty or wet feet, poorly fitting shoes, wrinkled socks, debris inside the footwear, steep descents, and repeated foot movement inside the shoe can all contribute. The combination of factors matters more than any single one.
When should I get medical help for a blister?
Seek medical care if pain, warmth, swelling, redness or discoloration is increasing, if pus develops, or if the wound appears infected. People with diabetes, poor circulation, impaired wound healing, or increased infection risk should be especially cautious with foot wounds.
Sources
- American Academy of Dermatology — How to Prevent and Treat Blisters — blister prevention, hot spots, moisture-wicking socks, moleskin, petroleum jelly, and blister care.
- Mayo Clinic — Blisters: First Aid — intact blister protection, padding, drainage precautions, infection signs, and prevention.
- CDC — Healthy Habits: Foot Hygiene — washing, drying, sock changes, and athlete’s foot prevention.
- U.S. National Park Service — Hike Smart — appropriate hiking footwear, wool or synthetic socks, spare socks, and moleskin.
- Journal of Athletic Training — Friction Blisters of the Feet: A Critical Assessment of Current Prevention Strategies — modern blister mechanism and evidence review.
- Clinical Journal of Sport Medicine — Paper Tape Prevents Foot Blisters — randomized evidence concerning paper tape as a preventive barrier.
