
Last Updated on July 27, 2026 by Daniel Globe
Foot blisters can turn a comfortable hike into a painful walk back to the trailhead. They form when repeated movement creates shear stress within the outer layers of skin. Heat, sweat, wet socks, pressure points, long mileage, and footwear movement can make that damage more likely. The good news is that most hiking blisters can be prevented or limited when you manage fit, moisture, pressure, and hot spots early.
Quick Answer
To prevent blisters when hiking, wear well-fitting footwear and snug moisture-wicking socks, keep your feet as dry as practical, and stop as soon as you feel a hot spot. Dry the area, adjust your footwear, and protect the spot with tape, moleskin, or a blister bandage before a fluid-filled blister develops.
Key Takeaways
- Repetitive shear inside the skin is the direct mechanism behind friction blisters; moisture, pressure, heat, and repeated steps can increase the risk.
- Hiking shoes or boots should feel snug without pinching, hold the heel securely, and leave enough room for the toes.
- Use snug, moisture-wicking hiking socks and carry a dry spare pair on long or wet hikes. All-cotton socks dry slowly and are usually a poor choice.
- Treat a hot spot immediately. Stopping for two minutes to dry, re-lace, or tape a sore area can prevent hours of pain later.
- Leave most intact blisters unpopped, keep damaged skin clean and covered, and watch for infection.
At a Glance
| Time Required | About 5–10 minutes before a hike; 2–5 minutes to treat an early hot spot |
| Difficulty | Easy; the key is noticing discomfort early |
| Tools Needed | Well-fitting footwear, moisture-wicking socks, a dry spare pair, tape or moleskin, blister bandage, and basic first-aid supplies |
| Cost | Varies by supplies; no specialty blister product is required |
Disclosure: As an Amazon Associate I earn from qualifying purchases. Some links on this page are affiliate links, at no extra cost to you.
Why Hiking Blisters Form
A friction blister is not simply a surface “rub burn.” A 2024 review in the Journal of Athletic Training describes it as an intraepidermal tear caused by repeated shear deformation. In simple terms, the bones of your foot move while the skin is held by friction against the sock and shoe. Repeating that stress over many steps can separate layers of the epidermis and allow fluid to collect in the damaged area.
Moisture and heat still matter, but mainly because they can change how the skin and footwear interfaces behave. Mild to moderate skin hydration can increase friction, while long mileage, heavier loads, pressure points, and unfamiliar footwear can increase the number or magnitude of damaging shear cycles. See the current evidence reviews on friction-blister causation and blister-prevention strategies.
Published studies summarized in a 2024 review reported foot-blister rates ranging from 29% to 95% among hikers, depending on the population and setting. Blisters are common, but they are not something you should simply accept as part of hiking.
Choosing the Right Footwear for Hiking
Good fit is the foundation of comfortable hiking footwear. Your shoes or boots should feel snug through the heel and midfoot without creating pinching, hard pressure, or numbness. Your toes should have room to wiggle, and they should not hit the front of the shoe on descents.
Footwear choice also depends on terrain, pack weight, weather, and personal preference. Rugged routes may call for a stiffer sole or more protective boot, while maintained trails may be comfortable in lighter hiking shoes or trail runners. Ankle height alone does not guarantee blister prevention, so prioritize fit and comfort over the idea that every difficult trail requires a high boot.
REI’s current hiking-footwear fitting guidance recommends trying boots toward the end of the day, when feet are more likely to be slightly swollen, and using the same type of socks you plan to hike in. It also suggests checking for roughly a thumb’s width of room in front of the longest toe when standing on the removed insole.
Pro Tip: Walk on an incline before committing to new footwear. Your heel should not slide noticeably uphill, and your toes should not strike the front downhill. A “break-in period” can soften some stiff boots, but it cannot fix a shoe that is the wrong shape or size.
Use Lacing to Fine-Tune Fit
Lacing can solve small fit problems, although it is not a substitute for correctly sized footwear. A surgeon’s knot can help hold a hiking-boot heel in place, while a runner’s loop or heel-lock style can secure the heel in many low-cut shoes. Window lacing can reduce pressure over a tender spot on the top of the foot. REI provides step-by-step examples in its hiking-boot lacing guide.
Socks and Liners: Helpful, but Fit Comes First
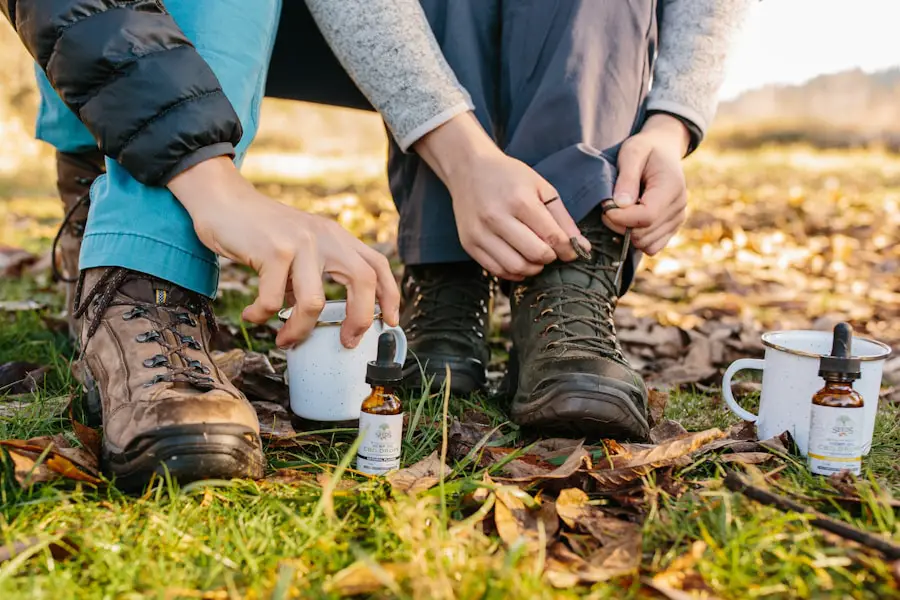
Socks can help manage moisture, cushioning, and movement inside the shoe. Choose a snug sock that does not bunch or wrinkle. Moisture-wicking synthetics and wool blends are practical hiking choices because they move moisture and dry faster than all-cotton socks. Cotton absorbs water and dries slowly, so it can stay damp during a sweaty or wet hike.
Evidence for specific sock fibers and liner systems is more complicated than many hiking guides suggest. A 2024 evidence review found support for some densely padded acrylic sock systems, while results for double-sock systems were inconsistent. That means liner socks can be worth testing if they improve your personal fit and comfort, but they are not a guaranteed blister cure.
If your socks become soaked from sweat, rain, or a stream crossing, change into a dry pair when practical. Wet conditions can raise blister risk, and a fresh pair also gives you a chance to inspect your feet for early hot spots.
Preparing Your Feet for the Trail
| Preparation Tip | What to Do |
| Choose the right footwear | Use hiking shoes or boots that fit your foot shape, terrain, and load without heel slip or pressure points. |
| Trim your toenails | Trim straight across and avoid leaving sharp corners that can catch on socks or neighboring toes. |
| Care for dry or cracked skin | Moisturize dry skin after hiking or at bedtime rather than assuming lotion is a proven pre-hike blister treatment. |
| Wear hiking socks | Choose snug moisture-wicking socks with enough cushioning for the footwear without making the shoe too tight. |
| Condition gradually | Build mileage gradually and become familiar with your footwear before a long trip. |
Before hitting the trail, check your feet for tender areas, cracked skin, old blisters, and toenails that may press against the shoe. If one spot predictably becomes sore, pre-taping that area may be reasonable. Evidence for paper tape is mixed overall, but at least one randomized endurance study found a meaningful preventive benefit, and major first-aid sources continue to recommend protective tape or moleskin for known problem areas.
Gradual conditioning is also useful. The 2024 evidence review found support for strategies that allow the skin to adapt to familiar footwear and activity. Increase hiking distance over time and test new footwear on shorter outings before relying on it for a long backpacking trip. Do not deliberately create thick calluses or ignore pain in the name of “toughening” your feet.
Note: Foot powder is often recommended in older hiking advice, but current evidence does not show that talcum powder reliably prevents friction blisters and suggests it can become abrasive when wet. Treat it as optional rather than essential.
Using Blister-Prevention Products and Techniques
Tape, moleskin, hydrocolloid blister bandages, gel pads, lubricants, and other products are widely used. Their practical value depends on the location of the hot spot, how well the product stays in place, and whether it reduces pressure or shear for you.
For a known heel or toe hot spot, smooth tape or moleskin applied before the skin breaks can create a barrier. Make sure the skin is clean and dry first, round the corners of tape so they are less likely to peel, and avoid wrinkles. For a formed blister in a pressure area, donut-shaped padding can off-load the blister instead of pressing directly on it.
Petroleum jelly can reduce skin friction for a limited period and is listed by the American Academy of Dermatology as an option for problem areas. However, clinical evidence for lubricants as a long-duration foot-blister prevention strategy is limited. Test any product on shorter hikes rather than trusting a new method on a major trip.
What to Carry in a Small Blister Kit
- Paper or athletic tape that your skin tolerates
- Moleskin or foam padding
- Hydrocolloid or other blister bandages
- Nonstick gauze and regular bandages
- Small scissors
- Soap or cleansing supplies appropriate for your trip
- Petroleum jelly
- A spare pair of dry hiking socks
Proper Foot Care During Hikes
Identify Early Warning Signs
Do not wait for a visible bubble. A hot spot may begin as warmth, tenderness, stinging, burning, or a place that suddenly feels “wrong” inside the shoe. Stop when you first notice it. Remove the shoe and sock, check for dirt or wrinkles, dry the area, and adjust the source of pressure or movement.
Manage Moisture and Foot Swelling
Feet can swell somewhat during prolonged walking, especially in warm conditions. That can make footwear that felt fine at the trailhead feel tighter later. Loosen or re-lace the shoe if needed, change out of soaked socks, and take brief breaks to air and inspect your feet.
Stay appropriately hydrated for the weather and effort because hydration is important for overall hiking safety. However, dehydration should not be described as a direct cause of foot swelling. Medical sources more commonly associate mild foot and ankle swelling with heat, gravity, and prolonged standing or walking.
Take Breaks to Rest and Assess
On long hikes, use breaks to shake out grit, smooth sock wrinkles, and check your heels, toes, and the balls of your feet. This is especially useful after stream crossings, steep descents, or long sections where your feet have been sliding inside the footwear.
Dealing with Hot Spots and Early Signs of Blisters
Recognizing hot spots early is one of the most useful blister-prevention habits. As soon as you notice discomfort, take the following steps:
- Stop walking. Continuing for another mile can turn mild irritation into a full blister.
- Remove the shoe and sock. Look for redness, damp skin, debris, wrinkles, or a pressure point.
- Dry the area. Let the skin and sock air out, and switch to a dry sock if the current one is soaked.
- Fix the cause. Re-lace the shoe, smooth the sock, remove grit, or adjust an insole if it has shifted.
- Protect the spot. Apply smooth tape, moleskin, or a blister bandage before continuing.
- Recheck it soon. If pain returns, stop again instead of hiking through it.
Pro Tip: Put blister supplies where you can reach them without unpacking your whole bag. Prevention works best when treating a hot spot feels easier than ignoring it.
Post-Hike Foot Care and Blister Treatment
After the hike, wash your feet with soap and water and dry them well, including between the toes. Check for damaged skin, nail problems, and areas that stayed tender after you removed your shoes.
How to Treat an Intact Blister
If a blister is intact and not very painful, it is usually best to leave the roof of skin in place. Cover it loosely with a bandage. In a pressure area, use donut-shaped moleskin or padding around the blister so the center is not compressed. The Mayo Clinic and American Academy of Dermatology both recommend preserving the blister roof when possible because intact skin helps protect the tissue underneath.
What If the Blister Breaks?
Wash the area gently with soap and water. Do not peel away the attached blister roof. Apply a thin layer of petroleum jelly and cover the area with a sterile nonstick dressing or suitable blister bandage. Change the dressing when it becomes dirty, wet, or loose.
Should You Drain a Large, Painful Blister?
Most blisters do not need to be drained. If a blister is large and very painful, medical first-aid guidance allows careful drainage while leaving the roof intact. Use clean hands and a needle sterilized with rubbing alcohol, puncture near the edge, allow the fluid to drain, then clean and cover the area. If you have diabetes or poor circulation, seek medical advice rather than treating a significant foot blister casually.
Warning: Get medical care for spreading redness, increasing warmth, swelling, worsening pain, pus, red streaks, fever, or a blister that is not healing. People with diabetes or poor circulation should be especially cautious with foot wounds. This article provides general first-aid information, not individualized medical advice.
Common Blister-Prevention Mistakes
- Buying footwear too tight. Tight shoes create pressure and do not guarantee less movement.
- Ignoring the first hot spot. Early discomfort is the best time to intervene.
- Assuming every liner, powder, or lubricant is proven. The research base is mixed, and many popular methods have limited clinical evidence.
- Starting a major trip in untested footwear. Familiarity with your shoes and activity is one of the better-supported preventive strategies.
- Keeping wet socks on for hours. Change to a dry pair when practical.
- Using lacing to compensate for a bad fit. Lacing can fine-tune pressure and heel hold, but it cannot correct a fundamentally wrong shoe size or shape.
For a separate travel-gear topic, the site also has this guide on the best golf travel bags. It is not a blister-care source, so use the medical and hiking references in this article for foot-care decisions.
Love travel? Join Our Facebook Community For More Tips.
Frequently Asked Questions
What causes blisters when hiking?
Hiking blisters form when repeated shear stress damages layers within the skin. Pressure, foot movement, moisture, heat, long mileage, heavy loads, and poorly matched footwear can increase the risk.
How can I prevent blisters when hiking?
Start with footwear that fits without heel slip or pressure points, use snug moisture-wicking socks, keep a dry spare pair, and treat hot spots immediately with a fit adjustment plus tape, moleskin, or a blister bandage.
What are some tips for preventing blisters on a hike?
Test footwear before a long trip, trim toenails, keep socks smooth and reasonably dry, carry blister supplies where they are easy to reach, stop at the first sign of a hot spot, and re-lace or change socks when conditions change.
How should I treat blisters if they occur during a hike?
Protect an intact blister and reduce pressure around it rather than popping it routinely. If it breaks, wash it gently with soap and water, leave the attached roof in place, apply petroleum jelly, and cover it with a clean nonstick dressing.
Are there specific lacing techniques that can help prevent blisters?
Yes. A surgeon’s knot can help control heel movement in many hiking boots, and a heel-lock or runner’s-loop style can secure the heel in many low-cut shoes. Window lacing can reduce pressure over the top of the foot. These techniques help fine-tune fit but cannot fix incorrectly sized footwear.
Are liner socks necessary to prevent hiking blisters?
No. Some hikers find liners comfortable, but research on double-sock systems is inconsistent. Use liners only if they improve fit, moisture management, and comfort in your specific footwear.
Can I keep hiking with a blister?
A small protected blister may allow you to continue if walking is comfortable and the skin is not worsening. Stop or shorten the hike if pain changes your gait, the blister tears open repeatedly, or you see signs of infection.
Sources
- Journal of Athletic Training: Friction Blisters of the Feet — A New Paradigm to Explain Causation — mechanism, shear, and hiking blister prevalence.
- Journal of Athletic Training: A Critical Assessment of Current Prevention Strategies — evidence for socks, powders, lubricants, tape, and adaptation.
- American Academy of Dermatology: How to Prevent and Treat Blisters — prevention and wound-care guidance.
- Mayo Clinic: Blisters — First Aid — intact blister care, drainage, and infection warning signs.
- REI Expert Advice: How to Choose Hiking Boots and Shoes — fit, toe room, end-of-day fitting, and break-in guidance.
- REI Expert Advice: How to Lace Hiking Boots — surgeon’s knot, window lacing, and pressure-relief techniques.

