
Last Updated on September 10, 2026 by Daniel Globe
Packing a hiking backpack well is about more than making everything fit. The goal is to keep the load stable, put dense gear close to your center of gravity, protect items that must stay dry, and keep water, navigation, rain gear, snacks, and emergency supplies easy to reach. A few minutes of thoughtful packing can make a noticeable difference in comfort on the trail.
Quick Answer
To pack a hiking backpack, put bulky lightweight gear at the bottom, dense and heavy items in the middle close to your spine, and frequently used items near the top or in exterior pockets. Balance the load side to side, protect important gear from water, tighten compression straps, and adjust the hipbelt before the shoulder straps.
Key Takeaways
- Choose backpack capacity for your actual trip and gear volume rather than automatically buying the largest pack.
- Pack light, bulky camp gear low and dense items in the middle close to your back.
- Keep navigation, water, snacks, rain gear, a headlamp, and other frequently used items easy to reach.
- Carry the Ten Essentials and add gear required by weather, terrain, wildlife, and local regulations.
- Balance the pack from left to right and use compression straps to reduce shifting.
- Fit the backpack by torso length and start adjustments at the hipbelt before fine-tuning the shoulder and load-lifter straps.
At a Glance
| Time Required | About 15–30 minutes for an initial pack and fit check |
| Difficulty | Easy |
| Tools Needed | Backpack, hiking gear, water, food, and optional stuff sacks or pack liner |
| Cost | Usually $0 if you already own your hiking gear; optional organizers or waterproof liners vary in price |
Disclosure: As an Amazon Associate I earn from qualifying purchases. Some links on this page are affiliate links, at no extra cost to you.
Choose the Right Hiking Backpack Size
Selecting the right backpack is the first step. Capacity should match the length of the trip, the season, your equipment, and how bulky your food and shelter are.
Current Gregory pack guidance gives useful planning ranges:
- Short hikes and day trips: about 18–30 liters is a practical range for water, food, extra clothing, emergency items, and other essentials.
- Overnight and weekend trips: roughly 35–50 liters can work when carrying a sleeping system, shelter, food, and cooking equipment.
- Extended backpacking: roughly 55–75 liters may be appropriate when carrying several days of food or bulkier equipment.
These are starting points rather than strict rules. An ultralight backpacker may fit an overnight kit into a smaller pack, while winter clothing, a large bear-resistant food container, family gear, or cold-weather sleeping equipment can require substantially more room.
Note: Backpack volume and backpack fit are separate issues. A 50-liter pack can have the right capacity but still fit poorly if its torso length or hipbelt does not match your body.
For a proper fit, measure your torso rather than choosing a pack according to your shirt size. Gregory’s pack fit guide measures from the C7 vertebra at the base of the neck to the level of the iliac crest at the hips. Whenever possible, try the pack with realistic weight inside before committing to it.
Organize Your Gear Before Packing
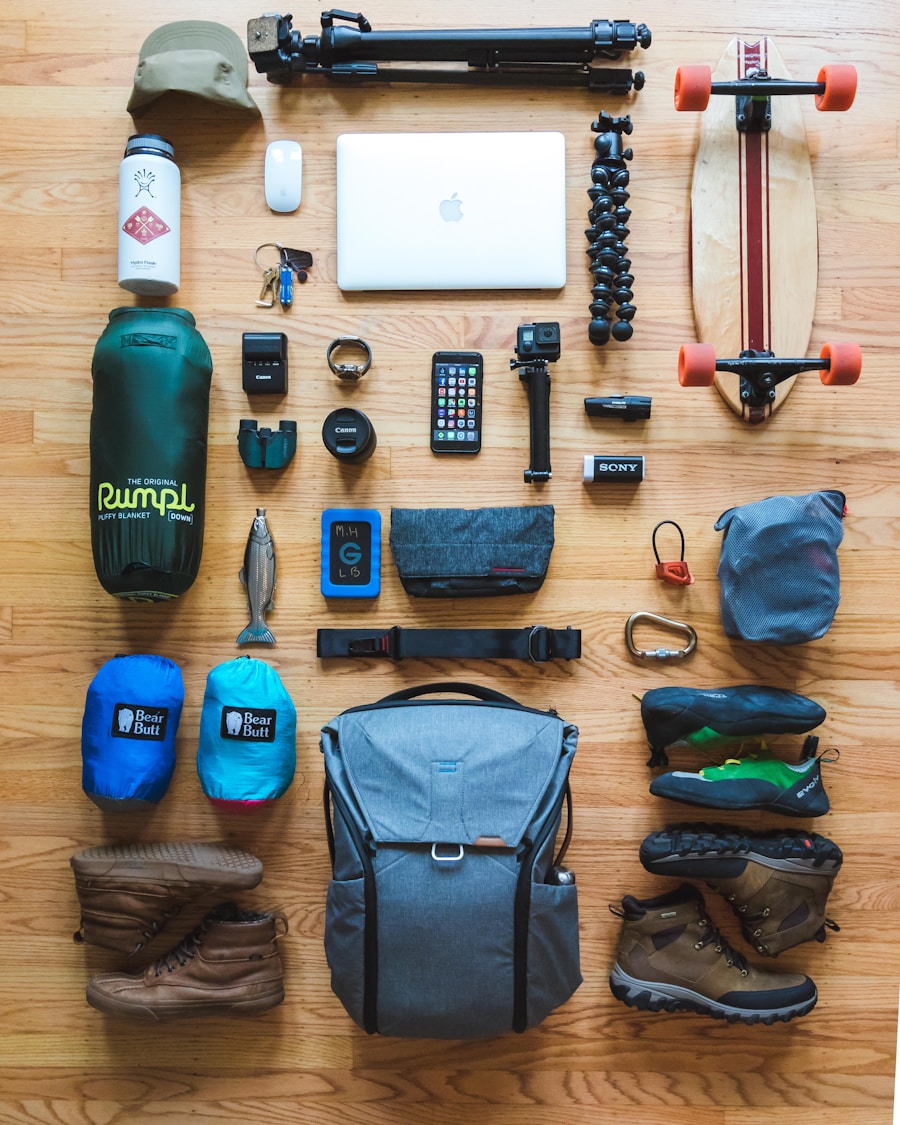
Lay everything out before putting anything in the backpack. Grouping gear first makes it easier to spot unnecessary items and decide what needs to stay accessible.
A simple system is:
- Sleep and camp gear: sleeping bag, sleep clothing, sleeping pad, shelter components.
- Dense gear: main food bag, cook kit, stove, water reservoir, and a bear-resistant container when required.
- Trail-access gear: rain shell, warm layer, first-aid kit, headlamp, water treatment, navigation equipment, and snacks.
- Small essentials: sunscreen, lip balm, insect repellent, phone, compass, map, and other items used during the day.
Packing cubes and stuff sacks can simplify organization, but do not use so many separate bags that they create wasted space. Soft items can often fill gaps around harder equipment more efficiently.
Pro Tip: Fill a hydration reservoir and place it in its sleeve before packing the main compartment. Sliding a full reservoir behind tightly packed equipment later is much harder.
How to Pack a Hiking Backpack by Zone
A useful packing method divides the backpack into a bottom zone, core zone, top zone, and exterior storage. The exact layout varies by backpack, but this system keeps the load predictable and easy to manage.
Bottom Zone: Bulky, Lightweight Gear
The bottom is best for equipment that is relatively light, compressible, and unlikely to be needed until camp.
Typical bottom-zone items include:
- Sleeping bag
- Sleep clothes
- Compressible sleeping pad
- Other soft camp-only items
A common mistake is putting the heaviest objects at the very bottom. That can make a backpack sag and pull awkwardly rather than keeping the load centered.
Core Zone: Dense and Heavy Gear
Place the densest items in the middle of the pack and close to your spine. Gregory’s backpack loading guidance specifically recommends putting the heaviest equipment above the sleeping bag and close to the spine.
Common core-zone items include:
- Main food supply
- Cook pot
- Stove
- Water reservoir
- Bear-resistant food container when required
Use softer gear around hard objects so they do not press into your back or shift while you walk.
Top Zone: Items Needed During the Day
The upper part of the pack is useful for equipment you may need without unpacking everything.
- Rain jacket
- Insulating layer
- First-aid kit
- Headlamp
- Water-treatment equipment
Exterior and Hipbelt Pockets: Frequent-Access Items
Use secure exterior pockets for things you reach for repeatedly:
- Water bottles
- Snacks
- Map and compass
- Sunscreen
- Insect repellent
- Lip balm
- Small camera or phone
Do not overload the exterior with dangling equipment. Items strapped loosely outside can swing, snag branches, become wet, or fall off.
Packing Lightweight and Compact
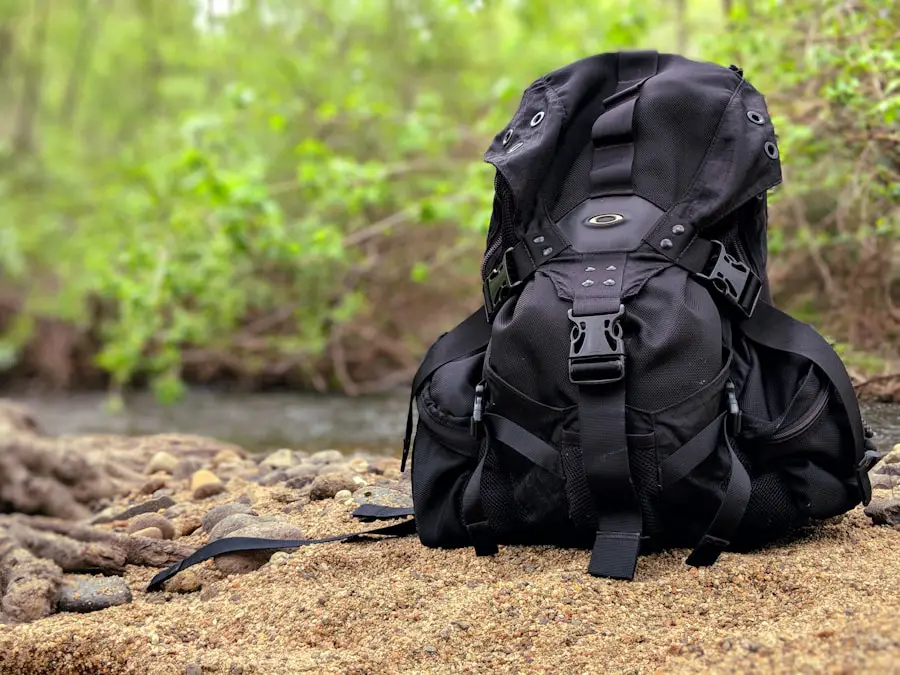
Reducing unnecessary weight can make hiking more comfortable, but “lightweight” should never mean leaving behind essential safety gear.
Start by laying out everything you intend to carry and asking three questions about each item:
- Will I realistically use this on this trip?
- Does another item already perform the same job?
- Can I safely replace it with something lighter or less bulky?
For example, a compact multi-tool may replace several individual tools. Lightweight shelter systems, compact cooking equipment, and carefully chosen clothing layers can also reduce bulk.
Do not assume one type of sleeping-bag insulation is always superior. High-fill-power down can provide excellent warmth for its weight and compress very small, while modern synthetic insulation can be a practical choice for damp conditions, budget-conscious trips, or situations where moisture management is a priority. Compare temperature rating, packed size, total weight, and expected conditions.
Food can also be made lighter without sacrificing adequate calories. Nuts, nut-butter packets, dried fruit, jerky, energy bars, tortillas, and many dehydrated meals pack substantial energy into relatively little space.
Distributing Weight Properly
Good weight distribution keeps the backpack from pulling backward, leaning to one side, or swaying with every step.
| Pack Zone | What Goes There |
| Bottom | Bulky, relatively light camp gear such as a sleeping bag and sleep clothing |
| Middle / Core | Dense items such as food, cook gear, water, or a bear canister, kept close to the spine |
| Top | Rain gear, insulation, first aid, headlamp, and other items needed during the hike |
| Exterior Pockets | Water, snacks, map, sunscreen, and other frequently used items |
Balance the backpack from left to right as well. A full water bottle on one side and nothing of similar weight on the other can create an irritating lean over several miles.
After packing, tighten the compression straps enough to keep the load from shifting. The goal is a compact load that moves with you instead of swaying independently.
A well-packed backpack should feel like one stable unit: dense weight near your body, balanced from side to side, and nothing important buried where you cannot reach it.
Essential Items to Pack
The exact gear list changes with the route, but the National Park Service Ten Essentials provide a strong safety baseline.
- Navigation: map, compass, GPS, or an appropriate combination. Know how to use your navigation system and consider a physical map as a backup.
- Sun protection: sunglasses, sunscreen, sun-protective clothing, and a hat as appropriate.
- Extra clothing: layers suited to possible rain, wind, or temperature changes.
- Illumination: a headlamp or flashlight and adequate battery power.
- First-aid supplies: a kit appropriate for the trip plus necessary personal medications.
- Fire: an emergency fire-starting method where possession and use are permitted. Always follow local fire restrictions.
- Repair kit and tools: equipment appropriate to your gear, such as repair tape or a small multi-tool.
- Food: enough for the planned outing plus a reasonable reserve for unexpected delays.
- Hydration: adequate drinking water and, when appropriate, a way to treat additional water.
- Emergency shelter: something that can provide protection if you are unexpectedly delayed, such as a bivy, tarp, emergency blanket, or suitable shelter system.
Warning: The Ten Essentials are a baseline, not a guarantee that you are prepared for every trail. Check weather forecasts, trail conditions, wildlife guidance, fire restrictions, permit requirements, and land-manager instructions before leaving.
Packing Food and Water
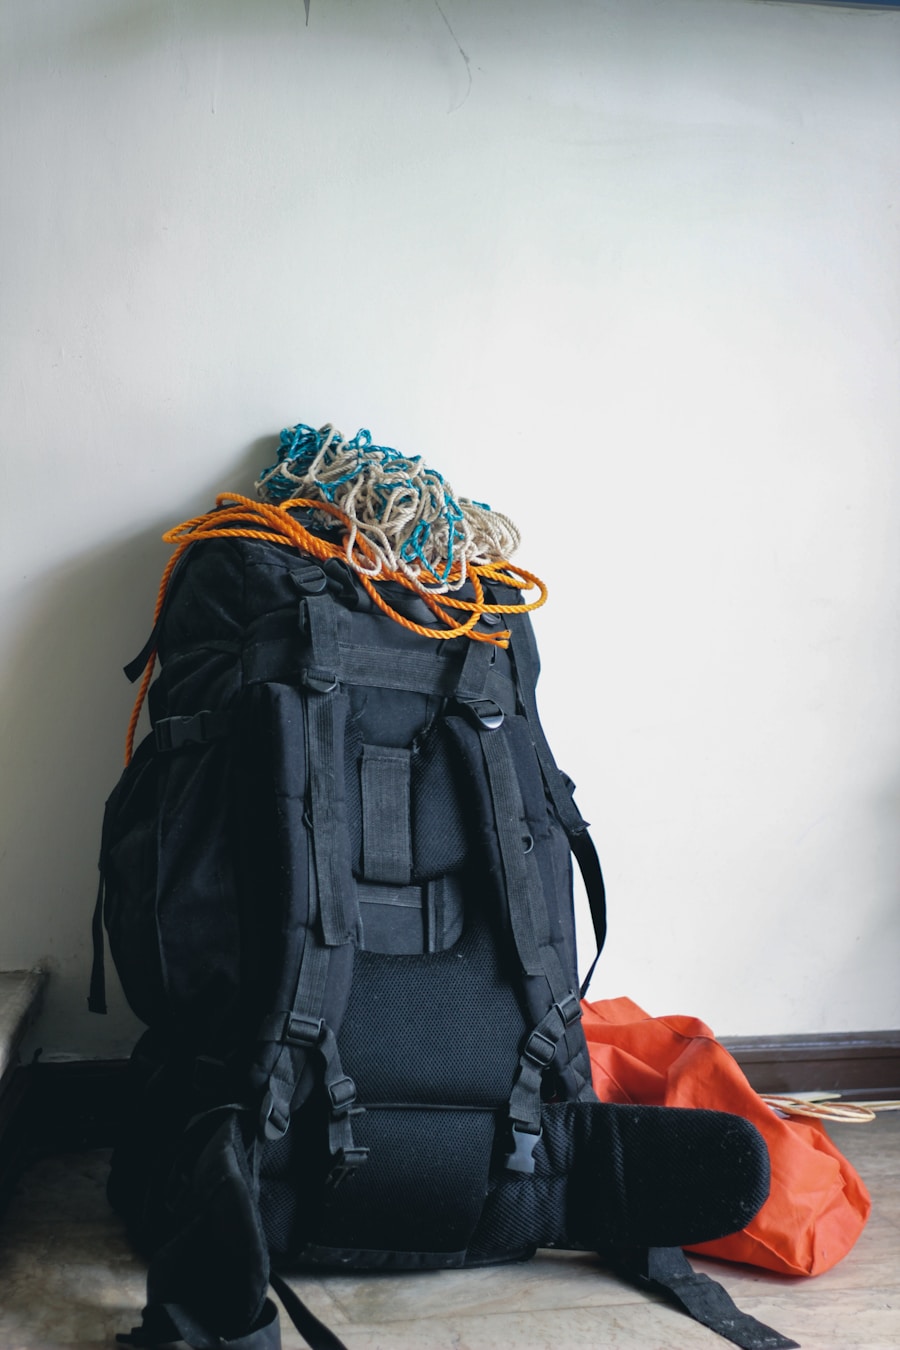
Food and water can become some of the heaviest parts of a hiking load, so plan them deliberately.
For food, choose items that match your trip length and cooking plan. Day hikers may rely on ready-to-eat snacks and a meal, while backpackers may carry compact foods such as oats, tortillas, nuts, dried fruit, jerky, instant foods, or dehydrated meals.
Keep the main food supply in the core of the backpack when its weight is significant. Put only the snacks you expect to eat while walking in hipbelt or exterior pockets.
Plan Water Around the Route and Conditions
How much water you need depends on heat, humidity, elevation, exertion, route length, your body, and whether reliable refill locations exist. Do not rely on a stream or spring until you have confirmed that water will actually be available.
Drink regularly instead of waiting until you are extremely thirsty. A hydration reservoir is convenient while walking, while bottles make it easy to see how much water remains. Either system can work well.
Treat Backcountry Water When Its Safety Is Uncertain
Clear-looking natural water is not automatically safe to drink. The CDC’s hiking and camping water guidance says boiling is the best general method for killing disease-causing germs when water safety is uncertain. The CDC describes filtration followed by disinfection as the next-best general option.
Filters, chemical treatments, purifiers, and UV systems have different capabilities, so follow the product instructions and destination-specific advice. Water contaminated by harmful chemicals or toxins cannot necessarily be made safe through normal backcountry treatment.
Protect Gear From Rain and Moisture
A rain cover can help, but it does not always stop water that runs between the pack and your back or enters through openings. For items that must remain dry, such as insulation, sleep clothing, electronics, and emergency supplies, use a waterproof pack liner or individual waterproof bags.
Keep wet gear separated from dry insulation when possible. A soaked rain shell or tent fly can be carried in an exterior stretch pocket until you have a chance to dry it.
Pro Tip: Pack as though the backpack itself may eventually get wet. Protecting your sleeping bag and dry clothing inside the pack gives you an extra layer of security during prolonged rain.
Packing for Different Types of Hikes
The correct load changes dramatically with the type of hike.
Day Hikes
For a short or all-day hike, focus on the Ten Essentials, adequate water, food, navigation, weather protection, and any route-specific equipment. Do not leave emergency gear behind simply because you expect to return before dark.
Overnight Trips
Add a shelter, sleeping bag or quilt, sleeping pad, additional food, cooking equipment if needed, hygiene supplies, and overnight clothing. Keep bulky sleep gear low and the heavier food/cooking load in the center close to your back.
Multi-Day Backpacking Trips
Food becomes a major part of the load, so planning portions matters. You may also need additional fuel, battery capacity, repair supplies, weather protection, and a larger food-storage system.
Do not automatically fill spare space just because you own a larger backpack. Extra capacity often encourages unnecessary packing.
Cold, Wet, or Remote Trips
More demanding environments require a larger safety margin. Add insulation, weather protection, reliable navigation, emergency equipment, and any specialized gear needed for snow, ice, river crossings, altitude, or remote communication.
Special Considerations in Bear Country
Bear-country requirements vary by destination. Some parks and wilderness areas require specific food-storage methods, including approved bear-resistant containers.
Food, trash, toiletries, and other scented items may all be subject to storage rules. Check the regulations for the exact place you are visiting rather than assuming that hanging food or using a particular type of canister is permitted everywhere.
Warning: Where bear spray is recommended and legally permitted, do not bury it inside your backpack. National Park Service bear-safety guidance says it should be immediately accessible. Carry it securely on your body and follow the product instructions and local rules.
Tips for Packing and Adjusting Your Backpack
A good packing job can still feel miserable if the suspension is adjusted incorrectly. Put realistic weight in the pack before making final adjustments.
1. Loosen the Straps Before Putting the Pack On
Loosen the hipbelt, shoulder straps, and load lifters enough that the backpack can settle naturally into place.
2. Position and Tighten the Hipbelt
Center the padded hipbelt over the hip bones according to the backpack manufacturer’s fit instructions. Tighten it securely without making it painful or restrictive.
The hipbelt is responsible for transferring a substantial portion of a properly fitted backpack’s load to the hips instead of leaving everything hanging from the shoulders.
3. Tighten the Shoulder Straps
Pull the shoulder straps down and back until they follow the shoulders comfortably. They should stabilize the pack without crushing the shoulders or restricting movement.
4. Adjust the Load Lifters
If your pack has load lifters, tighten them enough to draw the upper pack closer to your body. Do not crank them down simply because more tension feels more secure.
Load-lifter geometry varies by pack. The important goal is a stable load and a correctly fitted torso length rather than forcing every backpack to the same angle.
5. Adjust the Sternum Strap
Fasten the sternum strap at a comfortable height and tighten it enough to stabilize the shoulder straps. It should not interfere with normal breathing.
6. Walk With the Loaded Pack
Take a short test walk, use stairs if available, and lean gently from side to side. Listen for shifting equipment and pay attention to pressure points before you reach the trailhead.
Troubleshooting Common Fit Problems
- Shoulders become sore quickly: check hipbelt placement, torso length, and whether too much load is hanging from the shoulder straps.
- Pack sways from side to side: rebalance left and right, move dense items inward, fill empty spaces, and tighten compression straps.
- Hipbelt slides down: recheck its position and sizing. A belt that cannot tighten securely may be the wrong size or shape.
- Hard gear presses into your back: move it slightly away from the back panel and cushion it with clothing or other soft items.
- Pack pulls backward: look for dense equipment sitting too far away from your spine or too high in the pack.
- You constantly unpack the main compartment: move frequently used equipment to the top lid, hipbelt pockets, or other accessible storage.
Note: There is no universal backpack-weight percentage that works for every person. Check the manufacturer’s recommended load for your specific pack, consider your fitness and trip conditions, and reduce unnecessary weight whenever the load causes pain, instability, numbness, or loss of balance.
Final Packing Check Before You Hike
Before leaving the trailhead, run through a quick check:
- The backpack matches your torso and the hipbelt fits securely.
- Dense items are centered and close to your back.
- The load feels balanced left to right.
- Nothing hard or sharp is pressing into your back.
- Compression straps are secure.
- Water and snacks are easy to reach.
- Navigation, headlamp, rain gear, and first aid are accessible.
- Dry insulation and emergency gear are protected from water.
- Wildlife and food-storage requirements have been checked.
- Someone knows your route and expected return plan when appropriate.
If you’re looking to pack your hiking backpack efficiently, you may also want to consider the best ultralight tent for backpacking. Reducing shelter bulk can make it easier to keep the rest of your load organized without sacrificing necessary trail equipment.
Love travel? Join Our Facebook Community For More Tips.
Frequently Asked Questions
What should I pack in my hiking backpack?
Start with the Ten Essentials: navigation, sun protection, extra clothing, illumination, first aid, emergency fire-starting equipment where permitted, repair gear, food, hydration and water treatment, and emergency shelter. Then add equipment required for the weather, trip length, terrain, wildlife, and your personal needs.
How should I organize my hiking backpack?
Put bulky lightweight camp gear at the bottom, dense gear in the middle close to your spine, and equipment you may need while hiking near the top. Use hipbelt and exterior pockets for water, snacks, navigation, sunscreen, and other frequently used items. Balance the load from side to side.
How much weight should I carry in my hiking backpack?
There is no single percentage that is correct for every hiker. The appropriate load depends on the backpack’s manufacturer-rated carrying ability, your body and conditioning, terrain, trip length, water needs, and required safety gear. Keep unnecessary weight out and test the fully loaded pack before the trip.
What are some tips for packing a hiking backpack?
Lay out your gear first, protect important items from water, keep dense weight near your back, fill empty spaces so equipment cannot shift, balance both sides, tighten compression straps, and keep frequently used items accessible. Take a short test walk before the hike and repack anything that causes pressure or sway.
How do I adjust my hiking backpack for a comfortable fit?
Start with a backpack sized for your torso. With the pack loaded, position and tighten the hipbelt first, then tighten the shoulder straps, fine-tune the load lifters, and adjust the sternum strap. Walk with the pack and make small changes until it feels stable without painful pressure or restricted breathing.
Should heavy items go at the bottom of a hiking backpack?
Usually not. Bulky lightweight gear such as a sleeping bag works well at the bottom. Dense items such as the main food supply, cook gear, water, or a bear-resistant container generally belong in the middle or core of the pack close to your spine.
Should bear spray go inside my hiking backpack?
No, not where bear spray is recommended and permitted. It needs to be immediately accessible, such as in a secure belt or chest holster. Check the rules and wildlife guidance for your destination and follow the bear-spray manufacturer’s instructions.
Sources
- National Park Service — Ten Essentials — navigation, first aid, clothing, hydration, emergency shelter, and other baseline hiking safety systems.
- Centers for Disease Control and Prevention — Water Treatment When Hiking, Camping, or Traveling — backcountry water-treatment methods and limitations.
- Gregory — Pack Selection and Capacity Guidance — backpack capacities for day hiking, overnight trips, and extended backpacking.
- Gregory — Pack Fit & Sizing — torso measurement, hipbelt position, shoulder straps, and load-lifter fit.
- Gregory — Backpack FAQs — pack loading, weight placement, and model-specific maximum carry guidance.
- National Park Service — Safety in Bear Country — bear-spray accessibility and food/wildlife precautions.

