

Last Updated on September 10, 2026 by Daniel Globe
How you lace your hiking boots can make the difference between a secure, comfortable fit and a hike spent dealing with heel slip, pressure points, or sore toes. The goal is not to pull every section as tight as possible. Instead, you want even tension over the foot, a stable heel, enough toe room, and comfortable movement at the ankle.
Quick Answer
To tie hiking boots correctly, seat your heel at the back of the boot, center the tongue, and tighten the laces evenly from the toes upward. Keep the forefoot snug but comfortable, use a heel lock or surgeon’s knot if your heel slips, and loosen any section that causes pressure, tingling, or numbness.
Key Takeaways
- Hiking boots should feel snug and secure, but never painfully tight.
- Use a heel lock or surgeon’s knot when your heel lifts or your foot slides forward.
- Window lacing can relieve pressure across a high instep or sensitive area on top of the foot.
- Adjust tension for the terrain: more heel security can help on descents, while slightly more ankle flexibility may feel better on climbs.
- Lacing can improve fit, but it cannot correct a boot that is the wrong size, shape, width, or volume for your foot.
At a Glance
| Time Required | About 2–5 minutes |
| Difficulty | Easy |
| Tools Needed | Your hiking boots, hiking socks, and intact laces |
| Cost | $0 with your existing boots and laces; replace worn laces when necessary |
Proper lacing helps hold the foot securely inside the boot and can reduce unwanted heel lift, forward sliding, and concentrated pressure. That is especially useful on rocky trails and steep ascents or descents. The National Park Service also emphasizes appropriate, sturdy footwear as part of basic hiking preparation.
Note: Secure lacing can improve fit and control, but it should not be treated as a guarantee against ankle sprains. Research on whether high-top footwear itself prevents ankle sprains has produced mixed clinical results.
Understanding Different Lacing Techniques for Hiking Boots
There is no single lacing pattern that works best for every foot. Boot shape, foot width, instep height, heel volume, terrain, and personal comfort all affect how much tension you need in different areas.
Standard Crisscross Lacing
The standard crisscross pattern is the best starting point for most hikers. Run the laces evenly through the lower eyelets, cross them over the tongue, and continue upward while removing slack a little at a time.
Aim for balanced tension rather than maximum tightness. Your forefoot should feel secure without being squeezed, your heel should stay reasonably stable, and your toes should still be able to move.
Alternative Lacing Methods
When standard lacing does not solve a specific fit problem, targeted techniques can help. Current Salomon hiking-boot guidance describes heel-lock, window, toe-relief, and terrain-specific adjustments.
Heel lock or lace lock: This method is useful when your heel lifts or your foot slides forward. Lace normally until the upper eyelets. Create a small loop on each side, cross the lace ends through the opposite loops, pull them snug, and finish with your normal knot. Use enough tension to hold the heel without causing pressure around the ankle.
Surgeon’s knot: A surgeon’s knot locks tension at a specific point. Cross the lace ends and wrap one around the other twice instead of once, then tighten. This can keep the lower section of the boot snug while allowing you to use different tension above it.
Window lacing: If the boot presses painfully across the top of your foot, unlace to just below the pressure point. Instead of crossing the laces over that spot, run each lace vertically to the next eyelet or hook on the same side. Resume normal crisscross lacing above the sensitive area.
Specialized Lacing Methods
Toe-relief lacing can reduce pressure near the front of the boot. Depending on the boot’s hardware, this may involve skipping the lowest crossing or loosening the forefoot section. It can be useful as a temporary adjustment, but persistent toe pain usually indicates that the boot’s size or shape needs attention.
Some hiking boots also use two-zone lacing systems that let you set different tension over the forefoot and ankle. Follow the boot manufacturer’s instructions when using locking eyelets, cams, hooks, or tongue-mounted lacing hardware.
Pro Tip: Do not make every section equally tight. Many hikers are more comfortable with moderate forefoot tension, firmer heel hold, and enough room at the ankle for a natural walking motion.
Tips for Finding the Right Fit for Your Hiking Boots
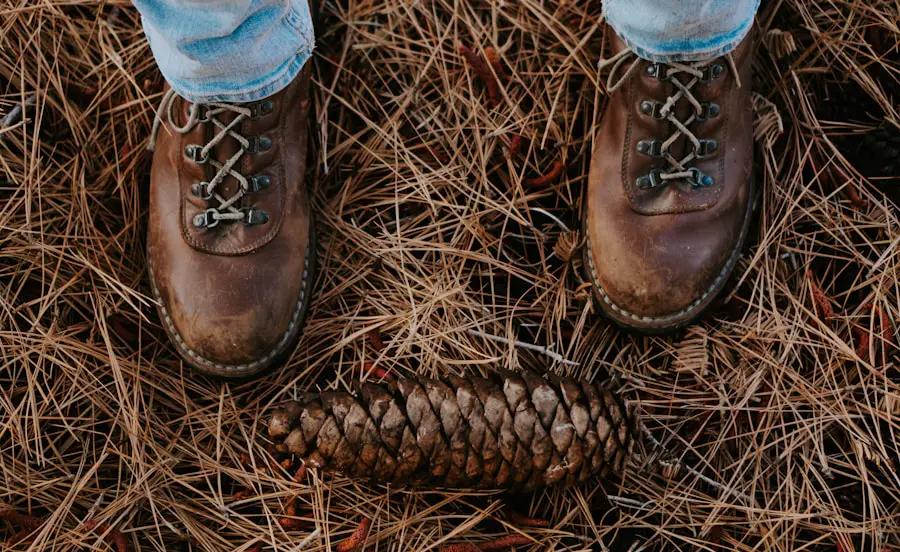
Lacing works best when the boot already matches your foot. A boot that is too short, too narrow, too wide, or too high-volume cannot reliably be fixed by pulling the laces differently.
Measure both feet and try boots while wearing the socks you expect to hike in. Feet can become larger as the day goes on and during prolonged walking, so testing boots later in the day can provide a more realistic idea of trail fit.
When trying on hiking boots, check these areas:
- Toe box: Your toes should have room to move and should not repeatedly hit the front when walking downhill.
- Heel: A small amount of movement may occur, but persistent lifting and rubbing can cause discomfort.
- Instep: The top of the boot should feel secure without painful pressure.
- Width: The sides of the forefoot should not feel pinched.
- Volume: If the boot still feels loose even when properly laced, its internal volume or shape may not match your foot.
Walk on an incline or ramp when possible. A downhill test is particularly helpful because it reveals whether your toes slide into the front of the boot.
Warning: Numbness, tingling, throbbing, unusual coldness in the toes, or sharp pressure are signs that something is wrong. Stop and loosen or reposition the laces. If discomfort remains after adjustment, the boot itself may not fit correctly.
Products Worth Considering

PERFORMANCE FIT: No slipping, no bunching, and no blisters. Socks are designed with med-compressed and elasticity to gently support and protect the arches, ankles, heels, and stay up, holds the sock securely on the calf

SLOUCHY FIT: Strechy slouchy socks can be adjusted to whatever height you want.Easily extended to cover calf as knee high socks.Mid-calf long socks to style up your stacked look.Also work out great as normal crew socks when worn scrunched.

Engineered for heavy tactical use: Fox River's Tactical Boot Lightweight Mid-Calf Military Sock is built for demanding conditions. Made with 69% polypropylene, 26% nylon, 3% polyester, and 2% spandex, this lightweight military boot sock uses hydrophobic, abrasion-resistant multi-filament yarn construction to stand up to hard daily use. Mile after mile, shift after shift.
Step-by-Step Guide to Tying Hiking Boots for Maximum Support
The best general-purpose method is to start loose and gradually build even tension from the bottom of the boot upward.
| Step | What to Do |
| 1 | Loosen the laces enough to put the boot on without forcing your foot through the opening. |
| 2 | Seat your heel at the back of the boot and center the tongue so it has no folds or obvious pressure points. |
| 3 | Beginning at the lowest eyelets, remove slack gradually and create an even crisscross pattern. |
| 4 | Keep the forefoot snug but not compressed. You should still be able to move your toes comfortably. |
| 5 | At the instep or ankle, add a surgeon’s knot or heel lock if you need more heel security. |
| 6 | Use all appropriate upper hooks or eyelets unless your boot manufacturer recommends another configuration. |
| 7 | Tie a secure bow. A double knot can help if your laces tend to loosen, but make sure you can still untie them when needed. |
Walk for a minute and pay attention to the heel, toes, and top of the foot. Fine-tune individual sections rather than tightening the entire boot at once.
LOWA’s hiking guidance also recommends keeping the tongue centered, securing loose lace ends, and checking the fit again after roughly 30–45 minutes because the foot, boot, and laces can settle during activity.
Products Worth Considering

No Tie Lacing System: Never waste time lacing up your boots again. With our Black Boot Laces Lock Laces, you can turn all of your boots into adjustable slip-ons.
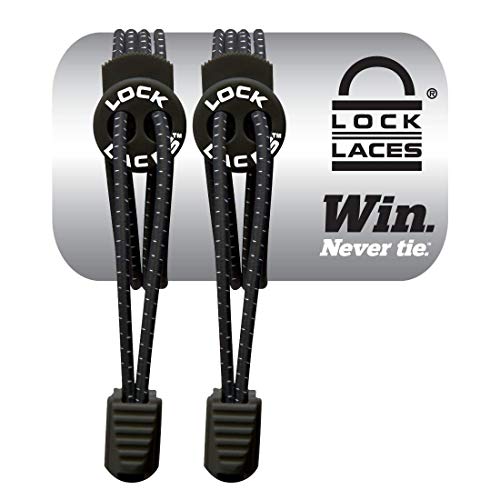
No-tie Lacing System: Turn any pair of lace-up tennis shoes into slip on sneakers. Lock Laces are the original, no tie shoelaces with over 8 million pairs sold worldwide

No Tie Lacing System: Never waste time lacing up your boots again. With our Lock Laces Camo Boot Laces, you can turn all of your boots into adjustable slip-ons.
How to Prevent Blisters and Hotspots with Properly Tied Hiking Boots
Blisters often develop when repeated friction and pressure act on the skin. Moisture can make the problem worse. Lacing is therefore only one part of blister prevention: boot fit, socks, foot moisture, and early attention to hot spots also matter.
To reduce rubbing:
- Use a heel lock when the heel repeatedly lifts.
- Use window lacing when one area on top of the foot feels compressed.
- Wear hiking socks that manage moisture rather than slow-drying everyday cotton socks.
- Smooth wrinkles in your socks before tightening the boot.
- Stop when you first notice a hot spot rather than waiting for it to become painful.
- Use appropriate blister tape, padding, or another proven friction barrier when needed.
Research on hiking-related foot blisters supports the importance of friction and moisture management, although no lacing method can guarantee that blisters will not occur. A 2022 study of hikers and sock composition also examined the relationship between socks, moisture, and blister formation.
Note: If you must keep tightening your boots to stop major heel movement, the problem may be boot volume or shape rather than your lacing technique.
Products Worth Considering
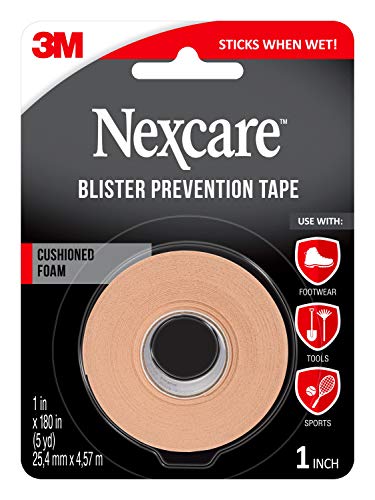
CUSHIONED PROTECTION: 1 roll of 1 in x 5 yds Nexcare Blister Prevention Tape with cushioned foam design to protect blisters and help prevent new ones

Premium Protection. KT Health Blister Prevention Tape is crafted from high-quality synthetic non-woven fabric, specifically designed to prevent blisters, chafing, and hot spots during athletic training and outdoor activities.
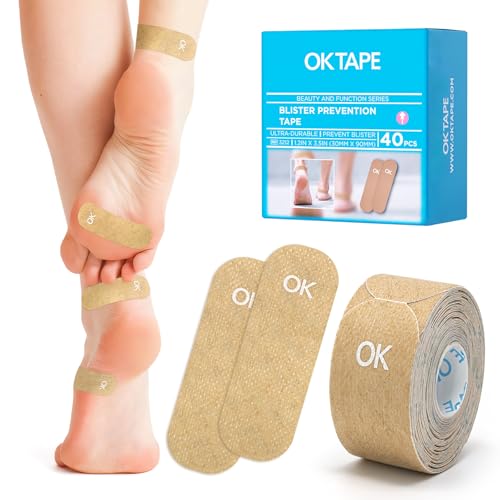
PROTECT & PREVENT: Millions of tiny air holes in our blister tape cushion and protect corns, calluses, bunions, sore heels from shoe pressure and friction without retaining sweat
Adjusting Lacing Techniques for Different Terrains and Conditions
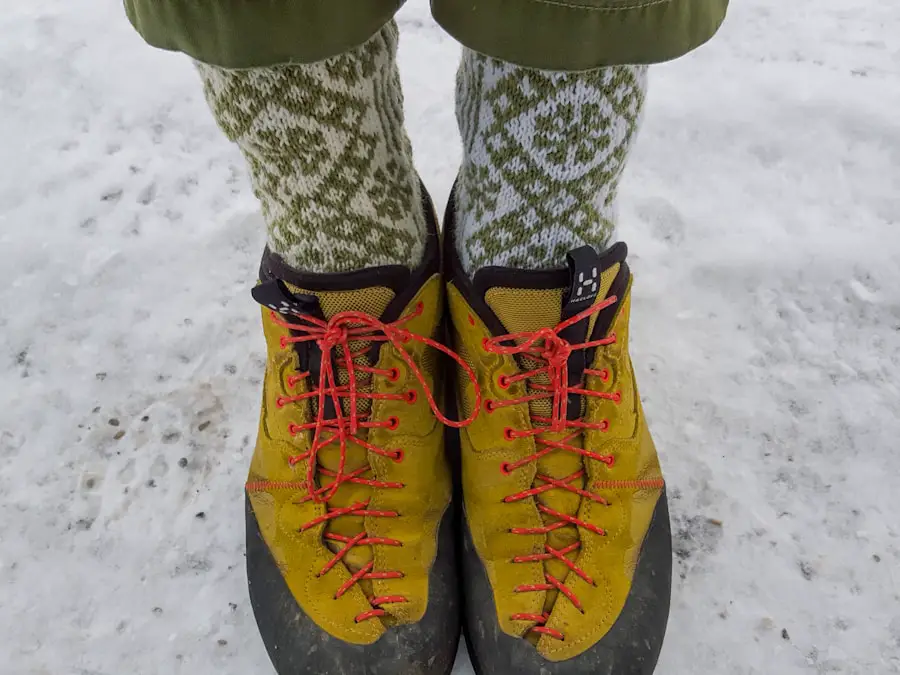
Different terrain can change where your foot moves inside the boot. Small tension adjustments can improve comfort and control without making the entire boot excessively tight.
Uphill Hiking
On long climbs, some hikers prefer slightly more freedom around the ankle while keeping the instep and heel secure. This can allow easier ankle flexion during uphill steps. Do not loosen the boot so much that the heel begins rubbing.
Downhill Hiking
On descents, the main goal is to prevent the foot from sliding forward and repeatedly driving the toes into the front of the boot. Seat your heel fully back, snug the forefoot and instep without crushing them, and use a heel lock when needed.
If your toes still hit the front after careful adjustment, do not simply pull harder on the laces. The boot may be too short, too high-volume, or otherwise mismatched to your foot.
Rocky or Uneven Terrain
A secure heel and evenly tensioned laces can reduce unwanted movement inside the boot. Keep all loose loops and lace ends contained so they cannot catch on vegetation or become a tripping hazard.
Wet, Muddy, or Snowy Conditions
Do not overtighten your boots in an attempt to create a waterproof seal around your ankle. Use waterproof footwear when appropriate and consider gaiters when you need extra protection from snow, mud, sand, or trail debris.
Wet laces can also behave differently from dry ones, so check your knot periodically and retie it if it starts loosening.
How to Adjust Lacing for Different Foot Shapes
High Instep or Pressure on Top of the Foot
Use window lacing across the uncomfortable section. Running the laces vertically instead of crossing directly over the pressure point creates more space while still allowing you to tighten the areas above and below it.
Narrow Heel
Keep the forefoot comfortable and use a heel lock or surgeon’s knot nearer the ankle to reduce heel lift. This provides targeted tension without squeezing the toes.
Wide Forefoot
Loosen the lower lacing zone and avoid aggressively pulling the forefoot together. Some boots can also be laced with fewer crossings across the widest area, but if the sides of your feet remain compressed, a wider boot is the better solution.
Sensitive Toes
Toe-relief lacing can reduce pressure temporarily, but recurring toe pain or toenails striking the boot on descents deserves a fit check rather than increasingly complex lacing.
How to Tell If Hiking Boots Are Too Tight or Too Loose
Your boots may be too tight if you notice:
- Numbness or tingling
- Throbbing pressure
- Pain across the top of the foot
- Pinched forefoot or toes
- Deep lace marks accompanied by discomfort
Your boots may be too loose if you notice:
- Persistent heel lifting
- Your foot sliding forward downhill
- Rubbing at the heel or sides of the foot
- Your foot shifting laterally on uneven ground
- The tongue moving excessively despite correct placement
The ideal fit is secure without being restrictive: snug everywhere, painful nowhere.
When Should You Retie Hiking Boots?
Do not wait for a fixed number of hours if the fit already feels wrong. Check your laces whenever your boots begin to feel looser, tighter, or uncomfortable.
A useful first check is after roughly 30–45 minutes of hiking. Feet can swell with activity, while the boot materials and laces can also settle. After that, retie them whenever terrain changes or comfort changes.
Pro Tip: Before a long descent, stop for a quick lace check. Re-seat your heel and correct any forward sliding before your toes begin repeatedly striking the front of the boot.
Troubleshooting Common Issues with Tying Hiking Boots
One Side Feels Tighter Than the Other
Loosen the boot several eyelets down from the uncomfortable area and rebuild the tension gradually from the bottom upward. Trying to fix one tight crossing by pulling harder elsewhere usually creates another pressure point.
The Heel Keeps Lifting
Try a heel lock or surgeon’s knot near the ankle. If substantial heel movement remains even when the boot is securely laced, reassess the boot’s volume and heel shape.
The Top of the Foot Hurts
Use window lacing over the pressure point. Also check that the tongue is centered and not folded.
The Toes Hit the Front Downhill
Seat the heel farther back, increase heel hold, and make sure the midfoot is secure. If your toes still strike the front, the boot may be too short or unsuitable for your foot shape.
The Laces Keep Coming Undone
Make sure the bow is tied correctly and consider a double knot if necessary. Replace laces that have become badly worn, damaged, or unusually slippery.
The Boot Feels Fine at First but Gets Tight Later
Your feet may have swollen during the hike. Loosen the affected zone rather than continuing through numbness or pain.
Expert Advice on Maintaining and Caring for Tied Hiking Boots
Clean boots last longer and allow the eyelets, hooks, tongue, and laces to work as intended. After muddy hikes, remove loose dirt and debris before storing the boots.
Salomon’s footwear-care instructions recommend removing dirt and mud with a soft wet brush and clean water, then drying shoes at room temperature without an external heat source such as a radiator or direct sun.
Care products should match the boot material. Smooth leather, nubuck, suede, fabric, and waterproof membranes can require different treatment, so follow the boot manufacturer’s instructions rather than applying a generic conditioner to every type of hiking boot.
Inspect the laces regularly for fraying or damage. Replace them before they fail on the trail, preferably with laces of the correct length and type for the boot’s eyelets and hooks.
Store clean, fully dry boots in a cool, ventilated location. Avoid prolonged storage in a hot vehicle, damp container, or other place where heat and moisture can damage materials and adhesives.
If you’re looking for tips on how to properly tie your hiking boots, you may also be interested in learning about the best golf travel bags. These bags are useful for golfers who want to protect their clubs while traveling. Check out this article on the best golf travel bags when planning a golf trip.
Love travel? Join Our Facebook Community
Frequently Asked Questions
What are the benefits of properly tying hiking boots?
Proper lacing can improve heel hold, reduce unwanted foot movement, distribute pressure more comfortably, and help keep the boot secure on changing terrain. It can also reduce some rubbing that contributes to hot spots and blisters. It cannot compensate for boots that are the wrong size or shape.
What is the best way to tie hiking boots for ankle support?
Start with even crisscross lacing and use the boot’s upper hooks or eyelets as designed. If your heel lifts, add a heel lock or surgeon’s knot near the ankle. The boot should feel secure without limiting circulation or causing pain. Lacing improves fit but does not guarantee protection from ankle sprains.
How do you tie hiking boots to prevent blisters?
Use enough tension to stop excessive heel lift and sliding without creating tight pressure points. A heel lock can help with heel movement, while window lacing can relieve pressure on top of the foot. Properly fitting boots, moisture-managing socks, and treating hot spots early are also important because lacing alone cannot guarantee blister prevention.
What is the best way to tie hiking boots for downhill hiking?
Seat your heel firmly at the back of the boot, keep the midfoot secure, and use a heel lock when needed to reduce forward sliding. Your forefoot should remain comfortable rather than crushed. If your toes continue hitting the front on descents, check the boot’s length and overall fit.
How often should I re-tie my hiking boots during a hike?
Check the fit whenever it changes. A useful first adjustment is after roughly 30–45 minutes, when your feet, laces, and boot materials may have settled. Recheck again before long climbs or descents and anytime you notice rubbing, pressure, heel lift, numbness, or forward sliding.
How tight should hiking boots be?
Hiking boots should feel snug enough that your foot does not slide excessively, but they should not squeeze your toes, cause numbness, or create sharp pressure. Your toes should still have room to move, and the ankle should flex comfortably while walking.
Why do my toes hit the front of my hiking boots downhill?
Your foot may be sliding forward because the heel or midfoot is not secure, or the boot may be too short or too high-volume. Re-seat the heel and try a heel-lock technique. If your toes still strike the front, changing the boot fit is usually a better solution than tightening the laces harder.
Sources
- Salomon — Master Hiking Boot Lacing for Comfort and Support — heel locks, surgeon’s knots, window lacing, toe relief, foot shapes, and terrain adjustments.
- LOWA — Safety on the Mountain — hiking-boot fit, lace security, tongue position, and rechecking tension during a hike.
- U.S. National Park Service — Hike Smart — general hiking-footwear and trail-safety guidance.
- PubMed — The Role of Shoes in the Prevention of Ankle Sprains — evidence and limitations surrounding footwear and ankle-sprain prevention.
- PubMed — The Influence of Sock Composition on Foot Blisters in Hikers — research related to socks, moisture, and blister formation.
- Salomon — Footwear Care — cleaning, drying, leather care, and lace replacement guidance.
