
Last Updated on July 27, 2026 by Daniel Globe
Wearing a hiking backpack correctly can make a long trail feel much easier. The goal is not simply to tighten every strap. You need a pack that matches the trip, a load that stays close to your center of gravity, and a fit that transfers much of the weight to your hips while keeping the pack stable as you walk.
Quick Answer
To wear a backpack for hiking, place the hip belt over your hip bones, tighten it first, snug the shoulder straps, then adjust the load lifters and sternum strap. Pack dense gear close to your back, balance the load from side to side, and readjust the straps when the load changes during your hike.
Key Takeaways
- Choose a backpack with enough capacity for your trip, but prioritize torso fit and load support over volume alone.
- Pack the Ten Essentials, including navigation, water treatment, food, layers, first aid, light, fire, repair tools, sun protection, and emergency shelter.
- Set the hip belt over your hip bones before tightening the shoulder straps, load lifters, and sternum strap.
- Keep dense gear close to your back and balance weight from left to right instead of placing the heaviest items at the bottom.
- Walk at a sustainable pace, use controlled steps on descents, and adjust the pack as food and water are consumed.
At a Glance
| Time Required | About 10–15 minutes to pack, fit, and test before hiking |
| Difficulty | Easy once you know the adjustment order |
| Tools Needed | Hiking backpack, trip gear, water, and the pack’s built-in adjustment straps |
| Cost | No extra cost beyond your normal hiking gear |
Disclosure: As an Amazon Associate I earn from qualifying purchases. Some links on this page are affiliate links, at no extra cost to you.
Choose the Right Hiking Backpack for the Trip
Selecting the appropriate backpack is the first step. Capacity should match the length of your hike, weather, food load, water needs, and the size of your shelter and sleeping gear.
For many day hikes, a pack in the 15- to 30-liter range is a practical starting point. Overnight and weekend trips may require roughly 35 to 50 liters, while longer or more self-supported backpacking trips often move into the 50- to 75-liter range. These are guidelines rather than hard rules. Deuter and Gregory both emphasize matching capacity to the gear and trip rather than choosing a pack by volume alone.
Fit matters just as much as capacity. A backpack should match your torso length and provide a hip belt that wraps securely over your hip bones. Adjustable shoulder straps, a supportive hip belt, load lifters, compression straps, and a ventilated back panel can all improve comfort when used correctly.
A lighter empty pack can reduce the weight you carry, but the lightest model is not automatically the best choice. A lightly built pack that lacks enough structure for your load may become less comfortable than a slightly heavier pack with better support.
Pro Tip: Try a backpack with real weight inside before committing to it. Gregory and Osprey both recommend testing fit with a loaded pack rather than judging an empty backpack in the store.
Packing Essentials for a Successful Hike
Pack for the conditions you may face, not only the conditions you expect at the trailhead. The National Park Service Ten Essentials provides a useful baseline for both short hikes and longer trips.
- Navigation: map, compass, GPS device, or another navigation system you know how to use.
- Sun protection: sunglasses, sunscreen, hat, and protective clothing as conditions require.
- Insulation: extra clothing and layers suitable for changing temperatures and weather.
- Illumination: a headlamp or flashlight with enough power for delays after dark.
- First aid: a trip-appropriate kit plus personal medications and the knowledge to use the supplies.
- Fire: a suitable emergency fire-starting method where fires are legal and appropriate.
- Repair kit and tools: items such as a small multi-tool, repair tape, or gear-specific repair supplies.
- Nutrition: food and snacks, including extra food for unexpected delays when appropriate.
- Hydration: enough water plus a treatment method when natural sources may be used.
- Emergency shelter: an emergency blanket, bivy, tarp, tent, or another shelter appropriate to the trip.
Food should be easy to reach and suitable for the length and intensity of the trip. Trail mix, bars, dried fruit, sandwiches, jerky, and other compact foods can work well depending on your dietary needs and the conditions.
For clothing, use layers instead of relying on one heavy garment. A moisture-managing base layer can help move sweat away from the skin, an insulating layer adds warmth, and a weather-resistant outer layer protects against wind or precipitation. Wear hiking shoes or boots that fit well and provide traction suitable for the terrain.
Warning: Do not assume clear-looking stream or lake water is safe to drink. The CDC says boiling is the most reliable way to kill germs. When boiling is not practical, filtering followed by an appropriate disinfection method provides broader protection than many portable filters alone. Always follow the treatment product’s instructions.
Properly Adjusting and Fitting Your Backpack
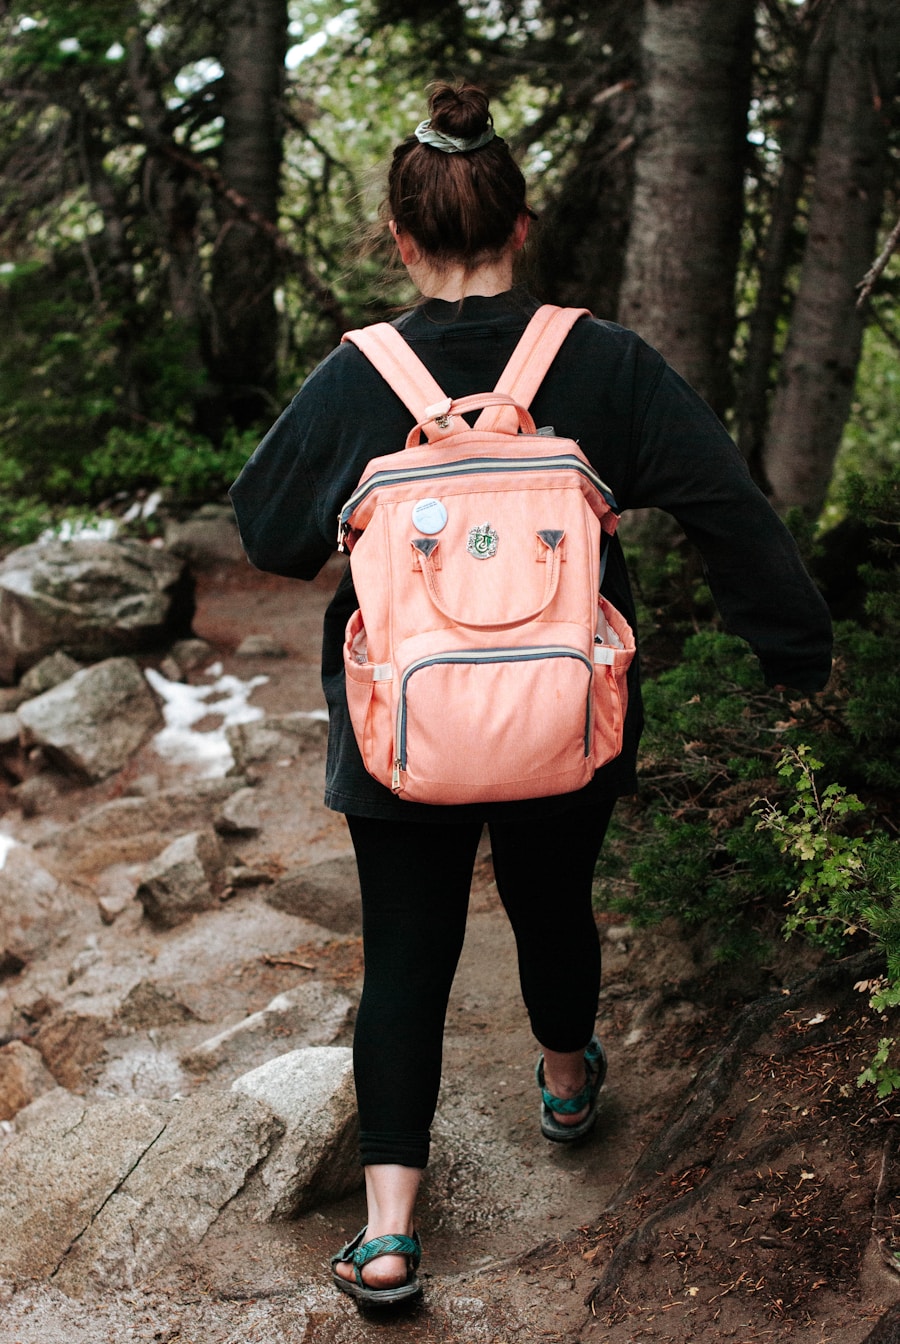
A backpack can have excellent padding and still feel uncomfortable if the torso length or strap settings are wrong. Fit the pack while it contains a realistic load so you can feel how the suspension behaves.
1. Loosen the Main Adjustment Straps
Before putting the pack on, loosen the hip belt, shoulder straps, load lifters, and sternum strap. This gives you room to set each part in the correct order instead of fighting against straps that are already tight.
2. Position and Tighten the Hip Belt
Put on the backpack and center the hip-belt padding over your hip bones, also called the iliac crest. Tighten the belt until it feels secure without pinching or restricting movement. The goal is to let your hips support much of the load rather than hanging the entire pack from your shoulders. Both Gregory’s fit guide and Osprey’s fit instructions start with correct hip-belt placement.
3. Snug the Shoulder Straps
Pull the shoulder straps down and back until they follow the shape of your shoulders without digging in. They should stabilize the pack, not carry the whole load. Large gaps, severe pressure points, or straps that begin too far down the back can indicate that the torso setting or pack size is wrong.
4. Adjust the Load Lifters
Load lifters connect the upper shoulder straps to the pack. Tighten them gently to draw the upper pack closer to your body and improve stability. Do not crank them down so far that the shoulder straps lift away from your shoulders.
5. Set the Sternum Strap
Buckle the sternum strap across your chest and tighten it only enough to keep the shoulder straps comfortably positioned. It should not restrict breathing or pull the shoulder straps inward so aggressively that they rub your neck.
6. Finish With Stabilizer and Compression Straps
If the backpack has hip-belt stabilizers or side compression straps, snug them so the load moves with your body instead of swaying independently. Recheck the fit after walking for several minutes.
Note: There is no universal rule that the top of every hiking backpack must sit just below the shoulders. Pack designs vary. Torso length, hip-belt position, shoulder-harness contact, and stable load transfer are better indicators of proper fit.
Distributing Weight and Balancing Your Load
| Pack Area | What to Put There | Why |
| Bottom | Sleeping bag, spare clothing, and other light bulky gear | Fills space without dragging the center of gravity downward with dense weight |
| Middle, close to back | Water, food, stove, tent components, and other dense gear | Keeps the heaviest mass close to your center of gravity |
| Middle, away from back | Soft clothing and other moderate or light items | Pads denser gear and fills gaps without pulling the pack backward |
| Top and quick-access pockets | Rain shell, first aid, map, snacks, headlamp, gloves, and other frequently used items | Lets you reach important gear without unpacking everything |
| Side pockets | Water bottles and other small items balanced from side to side | Reduces side-to-side pulling and keeps commonly used items accessible |
Deuter’s backpack-packing guidance recommends keeping the heaviest portion of the load close to the body. On ordinary trails, dense items can sit around the middle-to-upper back. On rough or technical terrain, carrying that dense mass slightly lower can improve stability by lowering the center of gravity.
Do not automatically put your heaviest gear at the bottom. A sleeping bag or light clothing is better suited to the lower compartment, while water, food, cooking equipment, and other dense items normally ride closer to the spine.
Balance the pack from left to right as well. A heavy bottle on one side and almost nothing on the other can cause a constant sideways pull. Use compression straps to stop the contents from shifting as you walk.
Techniques for Efficiently Hiking With a Backpack
A loaded backpack changes your balance, so a steady pace is usually more efficient than repeated bursts of speed. On steep climbs, shorten your stride and keep a rhythm you can maintain. Take breaks when you need them rather than waiting until fatigue starts affecting your balance or footing.
Eat and drink regularly according to your needs and the conditions. As water and food disappear from the pack, the load changes. Recheck your compression straps, shoulder straps, and hip belt during breaks so the backpack does not become loose or lopsided.
Trekking poles can provide extra points of contact on uneven terrain and can be especially useful on descents. A controlled study of 15 experienced male hikers found that pole use reduced several measures of lower-extremity joint loading during downhill walking while carrying different backpack loads. The study supports poles as a load-management tool, but it does not prove that poles prevent every knee injury. See the study on PubMed.
In a controlled study of 15 experienced male hikers, trekking poles reduced several measures of lower-extremity joint loading during downhill walking across multiple backpack-load conditions.
Watch the trail ahead for roots, loose rocks, and step-downs. With a heavy pack, allow enough room to place each foot securely rather than rushing through obstacles.
Maintaining Proper Posture and Body Mechanics
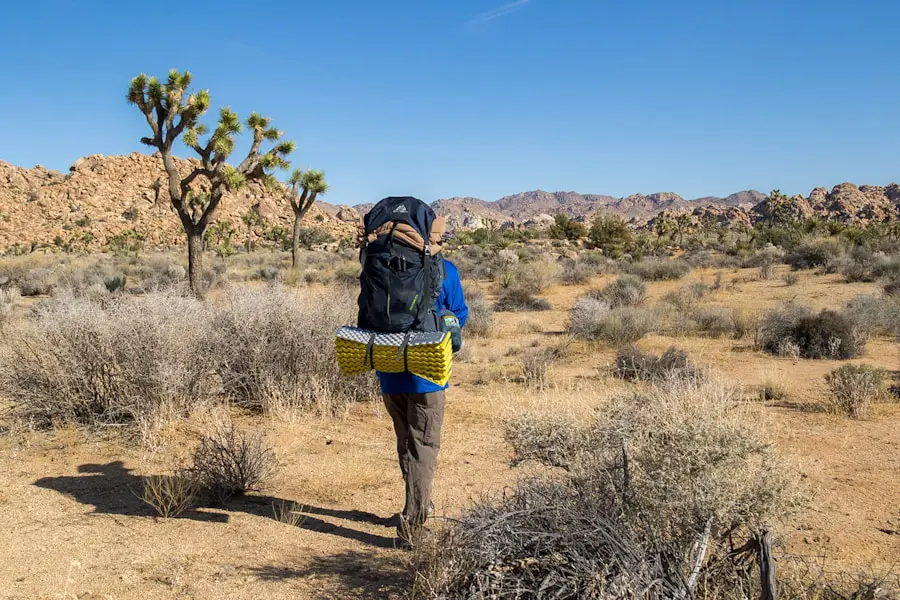
Keep your spine in a comfortable, neutral position with your shoulders relaxed. A properly packed and fitted backpack should stay close enough to your body that you do not need to hunch forward simply to keep it from pulling you backward.
Keep your head generally aligned with your spine and look far enough ahead to choose stable foot placements. Lightly engaging your core can help control unwanted torso movement when stepping over rocks or uneven ground.
Going Uphill
On climbs, use shorter steps and allow a small forward lean from the ankles when the slope requires it. Avoid folding sharply at the waist, which can make breathing and balance more difficult.
Going Downhill
Stay centered over your feet rather than leaning far backward. Keep your knees slightly bent, shorten your stride, and place each foot under control. On loose or steep ground, slower steps and trekking poles can give you more time to react to changing traction.
Avoid locking the knees or taking large braking steps. Both can make descents feel harsher and harder to control, especially with a loaded pack.
Tips for Staying Comfortable and Avoiding Injuries
Comfort starts with clothing and footwear that suit the conditions. Moisture-managing socks and well-fitted hiking shoes or boots can reduce rubbing, while layered clothing lets you adapt as your effort level and the weather change.
Pay attention to small problems early. A shoulder strap that begins rubbing after the first mile is unlikely to improve by ignoring it. Stop, loosen or tighten the appropriate strap, and check whether the load has shifted.
As you drink water or eat food, the backpack may feel different because its weight and balance have changed. Use breaks to tighten compression straps and fine-tune the hip belt, shoulder straps, and load lifters.
Warning: Stop and correct the fit if you develop sharp pain, numbness, tingling, severe chafing, or a pack that feels unstable enough to affect your footing. Do not keep tightening straps in an attempt to force a poorly sized backpack to fit.
Troubleshooting Common Backpack Fit Problems
Your Shoulders Are Carrying Most of the Weight
Check the hip belt first. It may be sitting too low, may be too loose, or may not match your body. Reset the pack by loosening the upper straps, placing the hip belt correctly over your hip bones, tightening it, and then readjusting the shoulder straps.
The Hip Belt Keeps Sliding Down
Make sure the belt is centered on the hip bones and tightened evenly. If it still slides when the pack is properly loaded, the belt may be the wrong size or shape for you.
The Backpack Pulls You Backward
Dense items are probably too far from your spine, too low, or both. Move water, food, cooking gear, and other heavy items closer to your back, then tighten the compression straps to bring the load inward.
The Pack Sways From Side to Side
Check for uneven side pockets and loose internal gear. Balance bottles and dense equipment from left to right, fill empty spaces with soft gear, and snug the compression and stabilizer straps.
The Shoulder Straps Have Large Gaps
A little variation is normal between pack designs, but large gaps can indicate the wrong torso setting or pack size. Recheck the pack’s torso adjustment rather than simply tightening every strap harder.
Pro Tip: Do a short loaded shakedown walk before a full-day or multi-day hike. Walk uphill, downhill, and over uneven ground, then make final strap and load-placement changes while you are still close to home or the trailhead.
Mastering the Art of Packing and Unpacking Your Backpack
A consistent packing system saves time and keeps important gear accessible. Group similar items together, such as clothing, cooking equipment, sleep gear, and first-aid supplies. Packing cubes, stuff sacks, and dry bags can help with organization, but avoid using so many containers that they add unnecessary bulk or make critical gear difficult to reach.
Pack light, bulky items such as a sleeping bag toward the bottom. Keep dense equipment close to your back, with softer items filling the space around it. Put rain gear, snacks, navigation tools, first aid, and other frequently used items near the top or in accessible pockets.
When you reach camp, establish one place for unpacked gear instead of scattering equipment around the site. This makes it easier to find small items and confirm that everything is repacked before you leave.
If you’re looking for another visual packing reference, see this hiking backpack packing guide. The same basic rule applies: keep dense gear near your back, balance the load from side to side, and keep important trail items easy to reach.
Frequently Asked Questions
What is the proper way to wear a backpack for hiking?
Place the hip belt over your hip bones and tighten it first. Then snug the shoulder straps, adjust the load lifters to bring the pack closer to your body, and set the sternum strap so the shoulder straps stay stable without restricting breathing.
How should the weight be distributed in a hiking backpack?
Keep dense items such as food, water, and cooking equipment close to your back. Light bulky items can go lower, while frequently used gear should remain near the top or in accessible pockets. Balance the load from left to right and tighten compression straps to stop gear from shifting.
Should the backpack be adjusted while hiking?
Yes. Water and food disappear during the day, clothing may be added or removed, and the load can settle. Use breaks to check the hip belt, shoulder straps, load lifters, and compression straps so the pack remains stable and comfortable.
What are some tips for wearing a backpack on a long hike?
Keep unnecessary weight out of the pack, carry the Ten Essentials, place dense items close to your back, walk at a sustainable pace, take breaks when needed, and correct hot spots or strap discomfort early. A short loaded test hike before a long trip can reveal fit problems before they become painful.
How should the straps be adjusted for a hiking backpack?
Start with the hip belt, then tighten the shoulder straps. Next, gently adjust the load lifters and finish with the sternum strap and any stabilizer straps. The pack should move with your body without forcing you to hunch forward or restricting your breathing.
How tight should a hiking backpack hip belt be?
It should be snug enough to remain centered over your hip bones and resist sliding, but not so tight that it pinches, restricts movement, or causes numbness. If you cannot achieve a secure fit without excessive pressure, the hip-belt size or pack shape may not suit you.
Why does my hiking backpack pull me backward?
The load may be too far from your spine or concentrated too low in the pack. Move dense items closer to your back, fill empty spaces with lighter gear, and use the compression and load-lifter straps to bring the load closer to your center of gravity.
Sources
- U.S. National Park Service — Ten Essentials — supports the hiking safety and emergency-equipment checklist.
- Centers for Disease Control and Prevention — Water Treatment While Hiking, Camping, and Traveling — supports backcountry-water treatment guidance.
- Gregory — Backpack Fit Guide — supports hip-belt, shoulder-harness, sternum-strap, and load-lifter fitting guidance.
- Osprey — Pack Size and Fit Guide — supports loaded fitting and strap-adjustment guidance.
- Deuter — How to Pack a Backpack — supports center-of-gravity and load-placement guidance.
- PubMed — Effects of Hiking Downhill Using Trekking Poles While Carrying External Loads — supports the discussion of trekking poles and lower-extremity joint loading.

