
Last Updated on September 10, 2026 by Daniel Globe
Mud, grit, sweat, and moisture are normal parts of hiking, but leaving them on your boots can shorten the life of the materials and make the tread harder to inspect. Regular cleaning also helps you spot loose seams, damaged lugs, worn hardware, and other problems before your next hike. The safest method depends on whether your boots use full-grain leather, suede or nubuck, synthetic fabric, or a waterproof membrane.
Quick Answer
To clean hiking boots, remove the laces and insoles, brush away loose dirt, wash the uppers gently with water and a cleaner approved for the boot material, scrub mud from the tread, and rinse thoroughly. Air-dry the boots at room temperature away from direct sun, radiators, fires, or other strong heat.
Key Takeaways
- Brush or rinse off mud and grit before they work deeper into leather, fabric, seams, and tread.
- Remove the laces and insoles before a thorough cleaning so the tongue, eyelets, and inside of the boot can dry properly.
- Do not machine-wash hiking boots unless the footwear manufacturer specifically says the model is machine-safe.
- Dry boots at room temperature with good airflow and keep them away from direct sun, fires, radiators, and other strong heat.
- Restore exterior water repellency when water stops beading rather than following an arbitrary number of weeks.
- Use cleaners, conditioners, and waterproofing products made for the exact upper material and follow the boot manufacturer’s care instructions first.
At a Glance
| Time Required | About 10–20 minutes of active cleaning, plus drying time |
| Difficulty | Easy |
| Tools Needed | Soft brush or old toothbrush, lukewarm water, cloth or sponge, and a boot-compatible cleaner if needed |
| Cost | Often $0 with supplies you already own; specialty cleaner or DWR treatment costs extra |
Disclosure: As an Amazon Associate I earn from qualifying purchases. Some links on this page are affiliate links, at no extra cost to you.
How to Clean Your Hiking Boots
Cleaning hiking boots does not require aggressive scrubbing or harsh chemicals. In fact, gentler cleaning is usually safer for leather, fabric, adhesives, and waterproof membranes. GORE-TEX footwear-care guidance recommends removing the laces, shaking out dirt, brushing the footwear, and washing it by hand rather than using a washing machine.
1. Remove the Laces and Insoles
Take out the laces so you can clean around the tongue, hooks, and eyelets. Remove the insoles or footbeds if they are designed to come out. Shake loose sand, gravel, and dirt from inside the boots.
2. Brush Away Dry Dirt and Debris
Use a soft boot brush, vegetable brush, or old toothbrush to remove loose soil from the upper, seams, rand, and tread. Work carefully around mesh and stitched areas rather than grinding grit into the material.
3. Wash the Uppers Gently
Use lukewarm water and a cleaner that is compatible with your boot material. The safest approach is to check the footwear manufacturer’s instructions before applying soap, leather cleaner, detergent, stain remover, or another chemical.
Full-grain leather, suede, nubuck, and textile footwear do not always use the same cleaning products. A product that is safe for one material may change the appearance, softness, breathability, or water repellency of another.
Warning: Do not put hiking boots in a washing machine unless the footwear manufacturer explicitly permits it. Agitation, prolonged soaking, heat, and unsuitable detergents can damage boot materials, adhesives, or waterproof components.
4. Scrub the Outsoles
The lugs and grooves on the soles are important for traction. Use a small brush to remove mud, pebbles, and compacted debris. Rinse stubborn dirt from the outsole while avoiding unnecessary soaking of the entire boot.
Cleaning the tread has another benefit. Soil, seeds, plant material, insects, and other organisms can hitchhike on outdoor equipment. The USDA Animal and Plant Health Inspection Service recommends brushing dirt, seeds, and plant material from boots and removing remaining soil after outdoor activities to help prevent the spread of invasive pests.
5. Rinse Away Cleaner
Rinse off any cleaner according to its directions. Do not leave soap or cleaning-product residue on the boot simply because the surface looks clean.
6. Air-Dry the Boots
Let the boots dry at room temperature in a ventilated location. Remove the insoles and dry them separately. A fan can increase airflow without exposing the boots to strong heat.
Newspaper or other absorbent paper can be placed loosely inside very wet boots to draw out moisture. Replace it when it becomes damp rather than leaving wet paper inside for long periods.
Pro Tip: Clean heavy mud soon after the hike. Once mud dries into the upper and tread, removal usually takes more work and dried grit can continue rubbing against fibers and leather as the boot flexes.
Cleaning Different Hiking Boot Materials
The same basic process works for most boots, but the products you apply afterward should match the upper material.
Full-Grain Leather
Brush off grit, clean the leather with a compatible footwear cleaner, and condition it only when appropriate for that leather. Full-grain leather may benefit from occasional conditioning when it becomes dry, but too much conditioner can soften supportive leather. Avoid applying random oils, household treatments, or heavy waxes without checking the boot manufacturer’s instructions.
Suede and Nubuck
Use a product specifically labeled for suede or nubuck. Heavy conditioners intended for smooth leather can change the texture and appearance of these materials.
Synthetic and Textile Boots
Clean fabric and synthetic uppers with water, a soft brush, and an approved cleaner if necessary. Regularly removing grit is especially helpful around flex points and mesh panels.
Waterproof-Membrane Boots
A waterproof membrane such as GORE-TEX is normally inside the footwear. Cleaning the outside of the boot does not mean you are replacing that membrane. Instead, periodic treatment may be needed to restore the water-repellent performance of the outer material.
Storing Your Hiking Boots Properly
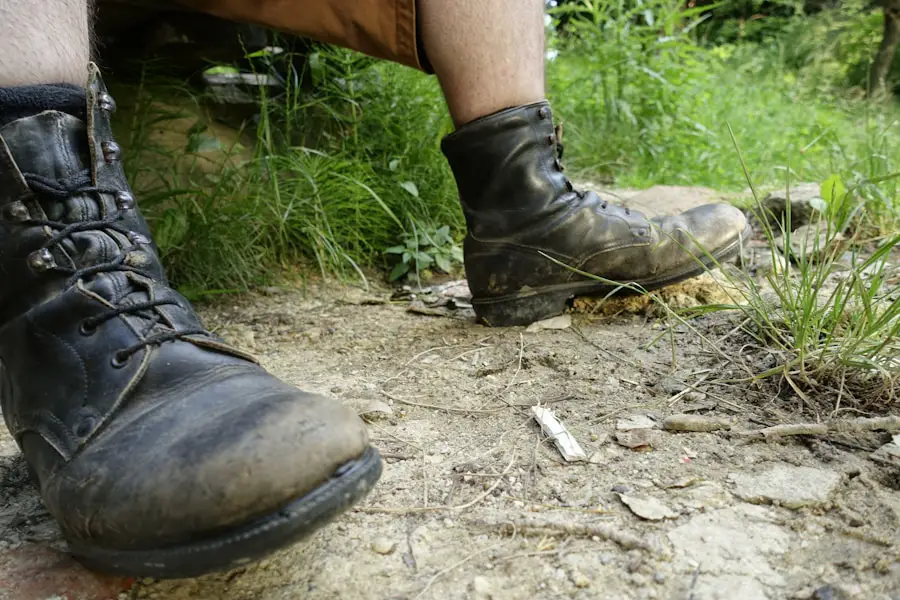
Store clean, fully dry hiking boots in a cool, ventilated area with stable temperatures. Damp basements, hot attics, vehicle trunks, and sealed containers can expose footwear to moisture or excessive heat.
Salomon’s hiking-footwear care guidance recommends storing cleaned footwear in a dry place away from sunlight and avoiding airtight storage.
If the boots need help holding their shape, insert an appropriate boot tree or lightly support the inside without tightly packing it. Keep the laces untangled and store removable insoles only after every component is completely dry.
If you own several pairs, organizing them by use—such as lightweight day hiking, backpacking, or winter conditions—can make pre-trip preparation easier.
Maintaining the Waterproofing of Your Hiking Boots
| Method or Feature | When It May Be Appropriate | When to Reapply or Maintain |
|---|---|---|
| Silicone Spray | Only when the product is approved for the exact boot material and construction | Follow the boot and treatment manufacturer’s instructions rather than a fixed number of weeks |
| Wax-Based Waterproofing | Some compatible leather footwear; not a universal choice for membrane-lined boots | As recommended for the specific leather and treatment |
| Membrane Lining | Provides the waterproof/breathable barrier inside compatible footwear | The membrane is not periodically “reapplied”; clean the boot and restore exterior DWR when needed |
| Regular Cleaning and Drying | Essential for all hiking footwear | After muddy or dirty hikes and before long-term storage |
Waterproof hiking boots often combine two different systems: a waterproof barrier inside the boot and a water-repellent treatment on the exterior material. These should not be confused.
The exterior durable water-repellent treatment, often called DWR, helps droplets bead and roll away instead of immediately soaking the face material. According to GORE-TEX, it is time to restore this treatment when water no longer beads and runs off the footwear.
Note: A boot’s exterior becoming saturated does not automatically mean its internal waterproof membrane has failed. The outer DWR may simply need cleaning or renewal.
Before applying a treatment, clean the boots and check both the footwear and treatment manufacturer’s directions. Some products work best on damp material, while others have different preparation requirements.
Do not assume that waxes, greases, silicone sprays, and water-based DWR treatments are interchangeable. GORE-TEX advises using a water-based restorative for its footwear and cautions against waterproofing waxes or greases because they can affect breathability. The footwear manufacturer’s directions should take priority when they are more specific to your boot.
After treatment, dry the boots as directed before using them again.
Dealing with Odor and Bacteria in Your Hiking Boots
Sweaty boots that remain damp can develop odor. The simplest prevention method is to remove the insoles after a hike and let both the footwear and insoles dry thoroughly in moving air.
Wear clean, moisture-managing socks and avoid storing damp footwear in a closed bag. Salomon also recommends periodically cleaning footwear linings and airing shoes after hikes to reduce odor buildup.
For stronger odor, use an interior footwear treatment approved by the boot manufacturer. Home remedies such as vinegar or baking soda are sometimes suggested, but lining materials, foams, adhesives, leather, and waterproof membranes differ between models. Check the manufacturer’s care instructions before putting an unapproved substance inside the boot.
If removable insoles remain smelly after cleaning and drying, replacing the insoles may be reasonable. Persistent moisture inside otherwise dry-looking boots can also justify checking the lining and waterproof barrier for damage.
Repairing and Resoling Your Hiking Boots
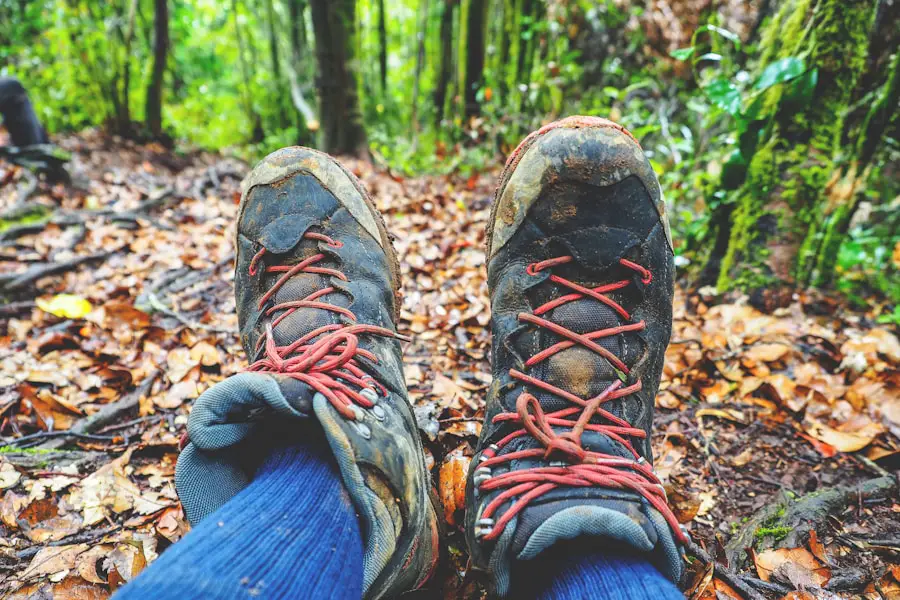
Hiking boots eventually develop worn tread, damaged hardware, loose seams, cuts, or sole separation. Small cosmetic problems do not always mean the whole boot must be replaced, but structural repairs should restore the footwear without weakening its fit or waterproof construction.
Professional footwear-repair shops can sometimes replace outsoles and repair leather, stitching, or hardware. However, not every hiking boot is designed to be resoled. Construction method, midsole condition, upper damage, and manufacturer design all matter.
For example, Danner’s official recrafting guidance distinguishes between recraftable and non-recraftable models and recommends confirming a model’s eligibility before arranging a resole or rebuild.
Minor cosmetic repairs may sometimes be possible at home with a compatible footwear adhesive or repair product. Follow the product and boot manufacturer’s directions rather than using a general household glue on structural seams, waterproof liners, or major upper damage.
Warning: Replace or professionally evaluate boots when the outsole is separating extensively, the upper is torn through, the midsole has degraded, important hooks or eyelets cannot hold the laces securely, or damage affects support and stability.
Tips for Extending the Lifespan of Your Hiking Boots
The best way to extend boot life is to deal with dirt, moisture, and small damage before they become bigger problems.
- Choose footwear suited to the hike. Match traction, support, protection, and construction to the terrain and load you expect to carry.
- Remove grit regularly. Dirt lodged around flex points can abrade leather and fabric over repeated steps.
- Dry boots between outings. Remove the insoles and give damp footwear enough ventilation to dry fully.
- Wear appropriate socks. Moisture-managing hiking socks can improve comfort and reduce the amount of sweat that remains against the lining.
- Treat leather correctly. Full-grain leather may need occasional conditioning, while suede and nubuck generally require different products.
- Fix damage early. A loose edge, worn lace, or damaged hook is easier to deal with before it develops into a trail-ending problem.
The best hiking-boot maintenance schedule is based on what your boots have been through: clean them when dirty, dry them when wet, and restore exterior water repellency when water stops beading.
The Best Practices for Keeping Your Hiking Boots Ready for Adventure
Before every hike, inspect your boots rather than assuming they are ready because they were fine last time. Look at the tread, laces, hooks, eyelets, seams, rand, upper, and the bond between the sole and the rest of the boot.
Check that the laces are not badly frayed and that the outsole still has enough intact tread for the planned terrain. Test any repaired areas before committing to a long route.
Weather matters too. Before a wet trip, pour or spray a little clean water on the outer material. If droplets bead and roll away, the exterior water-repellent finish is still working. If the material immediately absorbs the water, clean the boot and restore the appropriate DWR treatment according to the manufacturer’s instructions.
Keeping spare laces in your hiking kit can solve one of the easiest trail problems. An extra dry pair of socks can also make a major comfort difference on wet or sweaty hikes.
After each outing, shake out debris, remove the insoles if the boots are damp, and let everything dry before storage. Clean heavily muddy boots instead of putting them away dirty.
Regular care does more than improve appearance. It preserves the materials, keeps the tread clear, makes damage easier to notice, and helps your boots remain dependable across future hikes.
If you’re an avid hiker, you know the importance of keeping your gear in top condition. Hiking boots are one of the most important items to maintain, and a simple cleaning routine can help keep them ready for future trips. For another travel-gear guide, see this article on the best travel toothbrush.
Love travel? Join Our Facebook Community
Frequently Asked Questions
What is the best way to clean hiking boots?
Remove the laces and removable insoles, brush away loose dirt, clean the upper gently with lukewarm water and a cleaner approved for the material, scrub dirt from the outsole, rinse away cleaner, and air-dry the boots at room temperature. Check the manufacturer’s care instructions before using detergents, conditioners, waterproofing products, or stain removers.
Can I use a washing machine to clean my hiking boots?
Usually, no. GORE-TEX and Salomon both advise against machine washing their hiking footwear because it can damage materials or construction. Hand cleaning is the safer default unless the manufacturer of your exact boot explicitly states otherwise.
How often should I clean my hiking boots?
Air out damp boots after each hike and clean them whenever they become muddy or noticeably dirty. There is no universal cleaning interval because trail conditions vary. Heavy mud, sand, road salt, or contaminated soil should be removed promptly rather than waiting for a set number of hikes.
Can I use a leather conditioner on my hiking boots?
Yes, on compatible leather when the footwear manufacturer recommends it. Full-grain leather may benefit from occasional conditioning when it becomes dry, but suede and nubuck usually require different products. Avoid over-conditioning because excessive softening can reduce the support of some leather hiking boots.
How should I store my hiking boots after cleaning?
Let the boots and removable insoles dry completely, then store them in a cool, dry, ventilated location away from direct sunlight and strong heat. Avoid damp rooms, hot vehicle trunks, and airtight storage that traps moisture.
How do I know when hiking boots need waterproofing treatment?
Watch the exterior rather than the calendar. If water that once beaded on the upper begins soaking into the outer material, clean the boots and restore the appropriate water-repellent treatment. Choose a product approved for the boot material and follow the footwear manufacturer’s directions.
Can all hiking boots be resoled?
No. Some hiking boots are built for professional resoling or recrafting, while others are not. Repairability depends on the construction and condition of the sole, midsole, and upper. Check with the boot manufacturer or a qualified footwear-repair shop before arranging a resole.
Sources
- GORE-TEX — Footwear Care Instructions — cleaning, drying, DWR restoration, machine-washing, and waterproofing-product guidance.
- Salomon — How to Clean and Care for Your Hiking Shoes — cleaning frequency, drying, insoles, odor prevention, and storage.
- USDA APHIS — Clean Outdoor Gear Before You Leave — cleaning mud, seeds, soil, and other material from hiking equipment to reduce pest spread.
- National Park Service — Boot Brushing — preventing the spread of invasive species on hiking footwear.
- Danner — Boot Recrafting — resoling, recrafting eligibility, and repair limitations.

