Last Updated on July 30, 2026 by Caleb Warren
Choosing the right backpacking pack is less about buying the largest or lightest model and more about matching the pack to your body, gear, and trip. Start with a realistic gear list, choose a suitable capacity, measure your torso and hips, then test the pack with weight. The best pack should feel stable, balanced, and comfortable without pinching or pulling you backward.
Quick Answer
Choose a backpacking pack by matching its capacity to your actual gear, sizing it to your torso length and hip circumference, and testing it with a realistic load. Prioritize a supportive hip belt, stable suspension, useful access, compression straps, and dependable rain protection. Comfort under load matters more than brand, pack weight, or extra pockets.
Key Takeaways
- Fit comes first: Torso length and hip circumference matter more than your height or clothing size.
- Capacity depends on your gear: A compact summer kit needs less space than bulky winter equipment, group gear, or a bear canister.
- Test with weight: Adjust the hip belt first, then the shoulder straps, load lifters, and sternum strap.
- Check the whole system: Frame type, ventilation, pockets, access, compression, fabric, and rain protection should match the way you hike.
- Do not buy by specifications alone: Walk in the loaded pack and reject any model that causes numbness, sharp pressure, major sway, or restricted breathing.
At a Glance
| Time Required | 30–60 minutes to measure, compare, adjust, and complete a short loaded walk |
| Difficulty | Easy, but a second person helps with torso measurement and fit checks |
| Tools Needed | Flexible tape measure, gear list, realistic test load, and a mirror or helper |
| Cost | Free to assess and fit; the pack price varies by capacity, materials, and suspension |
Disclosure: As an Amazon Associate I earn from qualifying purchases. Some links on this page are affiliate links, at no extra cost to you.
Understanding Fit and Capacity
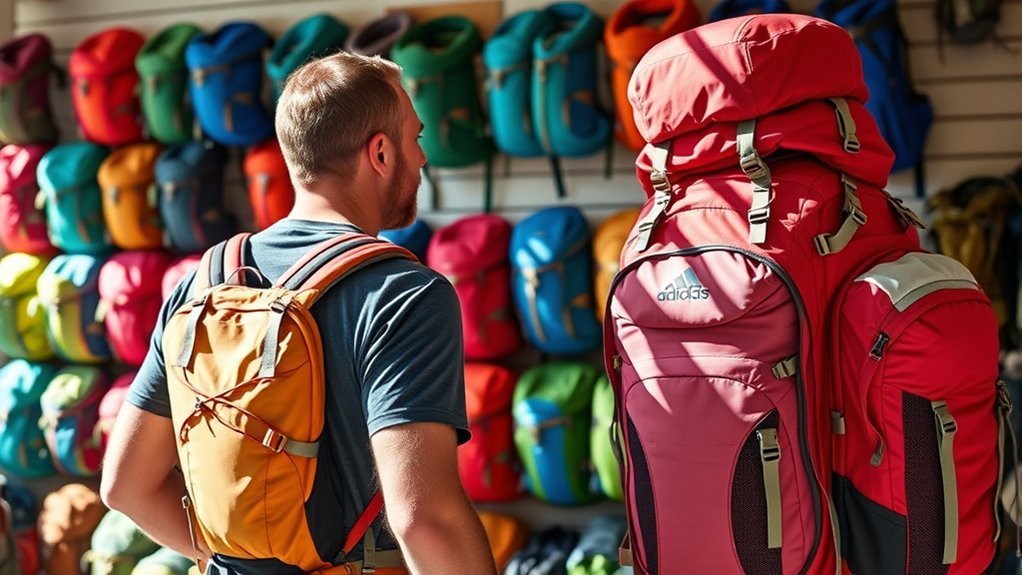
Fit and capacity work together. A pack that is the right size in liters can still be uncomfortable if its frame is too long, its hip belt cannot tighten correctly, or its shoulder straps do not match your body. Likewise, a perfectly fitted pack will not work well if your sleeping system, food, water, and required safety gear do not fit inside it.
Choose Capacity by Trip and Gear
The following ranges are useful starting points, not strict rules. REI’s backpack selection guide lists 30–50 liters for many 1–3-night trips, 50–80 liters for 3–5-night trips, and 70 liters or more for extended or bulky winter trips.
| Trip Type | Common Starting Range | What Changes the Size |
|---|---|---|
| Light overnight or weekend | 30–50 L | Compact gear, warm weather, shared shelter, and reliable water sources can reduce volume. |
| Multiday trip | 50–80 L | Extra food, group equipment, colder nights, and longer water carries increase volume. |
| Extended or winter trip | 70 L or more | A warmer sleeping bag, insulated clothing, a four-season shelter, and more food take substantial space. |
Before selecting a capacity, lay out the gear you truly plan to carry. Include food, water containers, insulation, rain gear, first-aid supplies, cookware, shelter parts, and any required wildlife-storage system. If your route has frequent resupply points, you may not need the same volume as a remote trip of equal length.
Pro Tip: Bring your bulkiest items to the store or use the store’s weighted fitting bags. Empty-pack comfort can disappear once the pack is filled.
Measure Torso Length and Hips
Your height does not determine backpack size. Torso length is measured from the C7 vertebra—the noticeable bump at the base of your neck—to an imaginary horizontal line across the top of your hip bones. A friend and flexible tape measure make this easier. Then measure around the top of your hips at the iliac crest, which is usually higher than your pants waist. Follow the detailed method in REI’s torso and hip sizing guide.
Compare both measurements with the exact size chart for the model you are considering. Do not assume that a “medium” from one brand matches a medium from another. Torso ranges, hip-belt ranges, and adjustment systems vary by manufacturer and model.
Consider Body Shape, Not Just Pack Labels
Men’s, women’s, youth, extended-size, and unisex labels describe different starting shapes, not rules about who can wear a pack. Some women’s models use shorter torso ranges, narrower shoulder spacing, or more contoured straps and hip belts. The correct choice is the pack whose harness clears your neck, wraps your shoulders without gaps, and centers the hip-belt padding over your hip bones.
Evaluating Suspension Systems
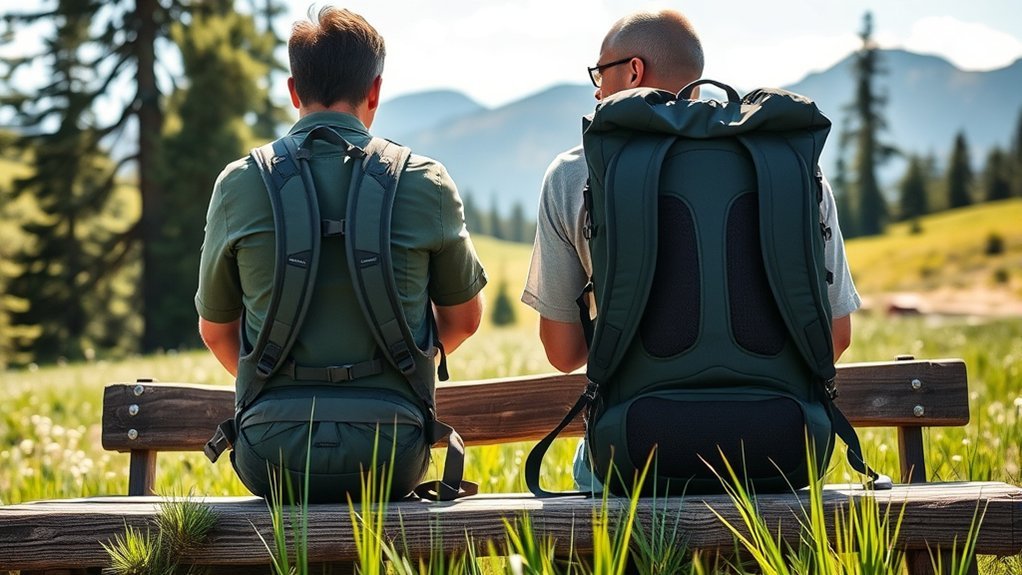
The suspension system includes the frame, back panel, shoulder harness, hip belt, load lifters, and stabilizer straps. Its job is to keep the load close to your center of gravity, transfer much of the weight to your hips, and prevent the pack from swaying as you move.
Types of Suspension Systems
There are three main frame styles:
- Internal frame: The frame is hidden inside or behind the back panel. This is the standard choice for most modern backpacking because it keeps the load close to the body and works well on uneven terrain.
- External frame: The frame sits outside the pack bag. It can provide excellent airflow and handle bulky or irregular equipment, but it usually feels less body-hugging.
- Frameless: This design saves weight and works best with a compact, carefully packed load. Without a firm structure, comfort can fall quickly as load weight increases.
Do not choose a frame type by pack weight alone. A light pack with minimal structure may be ideal for a refined ultralight kit but uncomfortable with dense food, extra water, or winter equipment. Check the manufacturer’s recommended load range when one is published.
Load Distribution Mechanics
A properly fitted backpack should place most of the load on your hips rather than hanging from your shoulders. REI advises that the hips support about 80% or more of the pack’s weight, while the shoulder straps stabilize the load. That figure is a fitting target, not a guaranteed performance specification for every pack or person.
Good load transfer depends on several parts working together:
- The hip belt must wrap the top of your hip bones without bottoming out at the buckle.
- The frame length must match your torso closely enough for the shoulder harness to sit in the correct position.
- The shoulder straps should follow your shoulders without carrying most of the weight.
- Load lifters should draw the upper pack toward your body without lifting the shoulder straps away from your shoulders.
- Compression straps should reduce shifting inside the pack.
Comfort and Airflow Factors
Suspended mesh back panels create a gap between your back and the pack bag, which can improve airflow. Foam channels can also help move heat and moisture. Ventilation is valuable in warm weather, but it should not come at the cost of poor load control. A pack that sits farther from your spine can feel less stable if it is overloaded or packed badly.
Padding thickness is not a reliable shortcut to comfort. Thick padding can still create pressure points, while a firmer, thinner hip belt may carry well when its shape matches your body. Fit, frame stiffness, load weight, and how you pack the bag matter more than softness alone.
| Frame Style | Best Match | Main Strength | Main Tradeoff |
|---|---|---|---|
| Internal frame | Most overnight and multiday hikers | Close, stable carry on uneven ground | Back contact can feel warm unless ventilated |
| External frame | Bulky or irregular loads | Airflow and external organization | Less compact and less body-hugging |
| Frameless | Experienced hikers with light, compact kits | Low pack weight and simple design | Limited support as load weight rises |
How to Test Backpack Fit With Weight
Never judge a backpack only while it is empty. Start with about 15 pounds for an initial fitting, as recommended in the REI fitting process, or use a realistic version of your expected trail load if the pack and your body can safely handle it.
- Set the torso length: Adjust the harness to match your measured torso before tightening the other straps.
- Loosen all straps: This prevents one tight strap from hiding a poor frame setting.
- Position and tighten the hip belt: Center the padding over the top of your hip bones. It should feel snug without pinching.
- Tighten the shoulder straps: Pull down and back until the harness follows your shoulders. The straps should stabilize the pack, not carry most of the load.
- Set the load lifters: Tighten them gently so the upper pack moves closer to your body. Around a 45-degree angle is a common target on packs designed for load lifters, but the exact angle varies with pack geometry.
- Adjust the sternum strap: Place it at a comfortable height, then tighten only enough to keep the shoulder straps positioned. It should not restrict breathing.
- Walk and move: Walk for 10–20 minutes, use stairs if available, bend slightly, and turn your upper body. Recheck the fit after the load settles.
Warning: Stop the test if you feel numbness, tingling, sharp pain, restricted breathing, or severe pressure. Do not assume you can “break in” a pack that is the wrong size or shape.
Fit Red Flags
- The hip belt slides down even when snug.
- The buckle reaches its limit before the padding grips your hips.
- The shoulder straps gap behind the shoulders or dig into the neck.
- The pack pulls strongly backward or sways from side to side.
- The load lifters must be overtightened to control the pack.
- The sternum strap must be tight enough to limit breathing.
- Pressure remains concentrated in one small area after several adjustments.
Exploring Pack Design Features
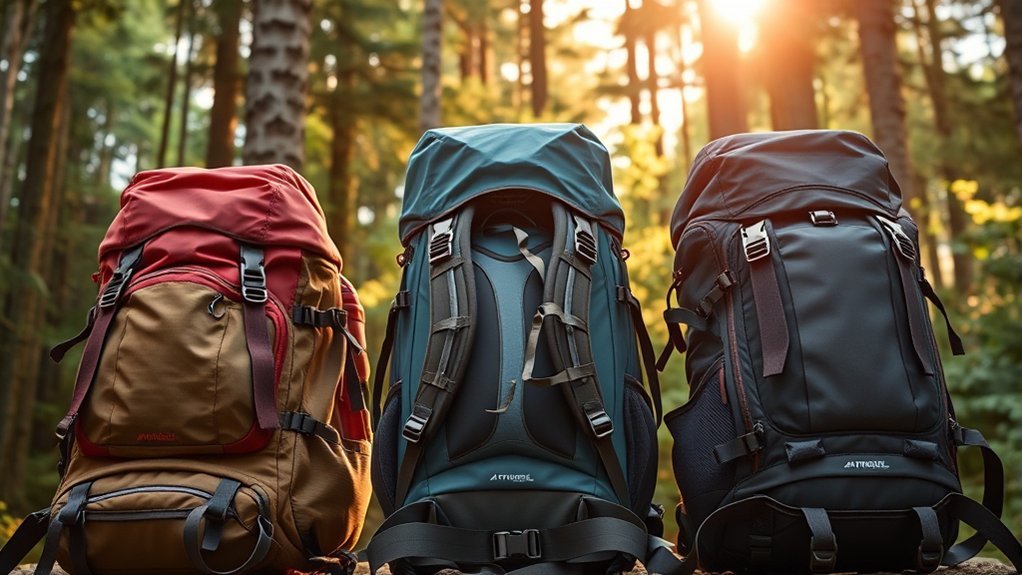
Design features should solve problems you actually have. Every zipper, divider, pocket, and removable panel adds some combination of weight, cost, and complexity. Compare features only after you have found packs that fit your torso and hips.
Adjustable Torso Length
An adjustable torso system lets you raise or lower the shoulder harness to fit a range of back lengths. It is useful when you fall between fixed sizes, when several people share a pack, or when you need a precise fit. Adjustment ranges are model-specific, so do not rely on a universal 15–20-inch range.
After changing the torso setting, repeat the entire fit sequence. Shoulder straps and load lifters cannot fully correct a frame that is set too long or too short.
Access Methods
Most backpacking packs use one or more of these access styles:
- Top-loading or drawcord opening: Simple, light, and dependable, but deep gear can be harder to reach.
- Roll-top opening: Adjustable and easy to compress. It can shed some rain, but the closure alone does not make the whole pack waterproof.
- Panel or front zipper: Makes buried gear easier to reach, though long zippers add weight and create another possible water-entry point.
- Bottom compartment: Offers quick access to a sleeping bag or other camp gear. A removable divider can turn it into one large compartment.
Choose the simplest access system that supports your routine. If you pack consistently in zones, a basic top-loader may be all you need.
Removable Components
Some packs include a removable top lid, frame sheet, stays, sleeping-bag divider, hip-belt pockets, or daypack. These parts can reduce weight or change organization, but the function varies by model. A detachable “brain” does not automatically convert into a comfortable daypack unless the manufacturer designed straps or a hip-belt mode for that purpose.
Test the pack both with and without any component you expect to remove. Taking out a frame part may lower the pack’s safe or comfortable load capacity.
Pack Weight Versus Load Support
A lighter empty pack leaves more of your total load for food and gear, but lower weight is not always better. Stronger frames, adjustable harnesses, generous hip belts, extra access zippers, and durable fabric add ounces. Select the lightest pack that still supports your expected load comfortably and provides the features your route requires.
Maximizing Pocket and Storage Options
A well-organized backpack saves time, but too many pockets can encourage overpacking. Favor pockets you can reach and use while wearing the pack:
- Top lid pocket: Good for a headlamp, map, gloves, or small repair items.
- Hip-belt pockets: Useful for snacks, sunscreen, lip balm, or a small camera.
- Stretch side pockets: Commonly used for bottles, tent poles, or wet gear. Confirm that you can reach a bottle without removing the pack if that matters to you.
- Shoulder-strap pockets: Helpful for a phone, soft flask, glasses, or navigation device.
- Front stretch or shovel pocket: Provides quick storage for a damp rain jacket, water filter, or other light item.
Check whether the pack has a hydration-reservoir sleeve and hose port if you use a bladder. Make sure the sleeve can hold the filled reservoir without forcing it against sharp or bulky gear.
Bear Canister and Route-Specific Storage
Some destinations require a bear-resistant food container or another approved storage method. The National Park Service advises checking the rules for the specific park before entering the backcountry. If a canister is required, confirm that your preferred model fits inside the main compartment in a stable position. Do not assume that strapping a heavy canister high on the outside will carry well.
Note: Route rules can change. Check the land manager’s current food-storage, fire, and permit requirements before each trip.
Considering Attachment Points and Compression
Attachment points add flexibility for trekking poles, an ice axe, a foam pad, tent components, or specialized equipment. Look for reinforced loops and secure retainers rather than relying on loose cord. Sharp tools such as crampons need a reinforced patch or protective cover so they do not damage the pack.
Compression straps help compact a partly filled pack and stop the load from shifting. They should be easy to tighten without blocking the main access you use most. Side compression straps can also hold long items, but keep heavy equipment as close to your back and as centered as possible.
Use external storage carefully. Loose gear can snag vegetation, affect balance, get soaked, or fall off. Keep dense and essential items inside whenever practical.
Exploring Additional Features for Convenience
Materials and Durability
Ripstop nylon and high-tenacity polyester are common pack fabrics because they can provide a useful balance of strength and weight. Fabric denier can help compare yarn size within similar materials, but it does not measure durability by itself. Weave, coating, fiber quality, seam construction, and reinforcement at the bottom and other wear points also matter.
Inspect the stitching where shoulder straps, hip belts, haul loops, and compression straps join the pack. Work every zipper, buckle, and adjustment point. Replaceable buckles and accessible frame parts can make field repair or long-term service easier.
Rain Covers, Liners, and Water Resistance
Most conventional backpacking packs are water-resistant rather than fully waterproof. Coated fabric may slow water entry, but seams, zippers, openings, and abrasion points can leak. REI recommends a rain cover or waterproof internal storage, while Osprey describes pack liners and dry sacks as added protection for gear in wet conditions.
- Rain cover: Protects much of the exterior and reduces water absorbed by the pack fabric. Wind can pull a poorly secured cover loose.
- Pack liner: Protects the main contents even when the outside of the pack becomes wet.
- Dry bags or waterproof stuff sacks: Add separate protection for sleep gear, clothing, electronics, or maps.
For frequent heavy rain, a liner plus protected critical items is more dependable than relying only on a cover. Treat “waterproof” as a specific construction claim, not a conclusion based only on nylon or polyester fabric.
Final Buying Checklist
- The capacity fits your complete gear list without forcing essential items outside.
- The torso range and hip-belt range include your measurements.
- The pack remains comfortable with your expected load.
- The hip belt grips the iliac crest and has adjustment room left.
- The shoulder harness follows your shoulders without neck rub or large gaps.
- The suspension controls sway on stairs and turns.
- You can reach the pockets and openings you plan to use.
- A hydration reservoir, bear canister, or specialty tool fits if required.
- The rain strategy protects your sleep system and insulating layers.
- The manufacturer’s care instructions, repair support, and warranty meet your needs.
The best backpacking pack is not the one with the most features. It is the one that fits your body, supports your real load, and makes required gear easy to carry safely.
Packing a Backpack Efficiently
A balanced load helps the suspension do its job. REI’s loading guide divides the pack into practical zones:
- Bottom: Soft, bulky camp items that you will not need while hiking, such as a sleeping bag or sleep clothing.
- Core: Dense items such as food, a cook kit, or a bear canister, placed close to your back and centered.
- Top: Layers and essentials you may need during the day.
- Quick-access pockets: Navigation, snacks, rain gear, first aid, and other frequently used items.
Balance the left and right sides, fill empty spaces to reduce movement, and tighten compression straps after packing. Keep liquid fuel upright, sealed, and below food. Do not lift a heavy pack by one shoulder strap; use the haul loop, bend your knees, and control the pack as you put it on.
Cleaning and Maintaining Your Backpack
Empty every pocket after a trip, shake out dirt, and allow damp fabric to dry before storage. Follow the care label and manufacturer instructions because frames, coatings, foam, and removable parts vary.
- Remove detachable parts when the instructions allow it.
- Use mild soap, warm water, and a sponge or soft brush for hand cleaning.
- Rinse away all soap residue.
- Air-dry the pack completely in a ventilated place away from direct sunlight.
- Clean dirt from zipper teeth and inspect webbing, stitching, buckles, and frame parts.
Osprey’s cleaning guidance warns against machine washing because it can harm the pack’s structure and fabric. Unless your pack’s label clearly says otherwise, avoid a washing machine, dryer, bleach, harsh cleaners, and direct heat.
Frequently Asked Questions
What materials are best for backpack durability and weight?
Ripstop nylon and high-tenacity polyester are both common, practical choices. Compare the complete construction rather than material name alone. Reinforced high-wear areas, strong stitching, dependable hardware, fabric coating, and repairability can matter as much as denier.
How do I clean and maintain my backpack?
Empty it, remove loose dirt, and follow the manufacturer’s label. Hand-clean with mild soap and warm water, rinse thoroughly, and air-dry out of direct sunlight. Do not use a machine washer or dryer unless the manufacturer specifically permits it.
Can I use a backpacking pack for activities other than backpacking?
Yes. It can work for travel, hut trips, gear-heavy day hikes, or carrying shared equipment. However, the frame, straps, and large capacity may be excessive for commuting or short walks, and external dimensions may not meet airline carry-on limits.
What is the best way to pack my backpack efficiently?
Place soft camp gear at the bottom, dense items close to your back in the center, and frequently used items near the top or in accessible pockets. Balance both sides and tighten compression straps so the load does not shift.
How do I know if a backpack is waterproof?
Read the manufacturer’s construction claim. Waterproof packs normally need more than nylon or polyester fabric; seams, zippers, and closures must also resist water entry. Most backpacking packs are only water-resistant, so protect critical gear with a liner or dry bags.
How much should an empty backpacking pack weigh?
There is no single ideal weight. Minimal packs can be very light, while load-hauling models weigh more because of their frames, padding, access zippers, and durable fabric. Choose the lightest model that carries your expected load comfortably rather than chasing a number.
Should I choose a men’s, women’s, or unisex pack?
Choose by fit, not by label. Compare torso range, shoulder spacing, strap shape, and hip-belt contour. Try any model that matches your measurements and keeps the harness clear of your neck while the hip belt wraps securely around your hips.
Conclusion
Choosing the right backpacking pack becomes much easier when you follow a clear order: define the trip, lay out your gear, select a realistic capacity, measure your torso and hips, and test the pack with weight. After fit is confirmed, compare suspension, access, pockets, attachment points, durability, and rain protection. Take your time with the loaded walk. A pack that feels balanced and secure in the store is far more valuable than one chosen only for its low weight, large capacity, or long feature list.
Sources
- REI Co-op: How to Choose a Backpack — capacity ranges, frame types, features, fit, and rain protection.
- REI Co-op: How to Size and Fit a Backpack — torso and hip measurement plus loaded adjustment steps.
- REI Co-op: How to Pack and Hoist a Backpack — loading zones, balance, compression, and safe hoisting.
- Osprey: How to Clean Your Backpack — hand cleaning, rinsing, drying, and machine-washing warning.
- Osprey: Organise and Protect Your Gear — rain covers, pack liners, and dry storage.
- National Park Service: Bear Safety—Storing Food — route-specific food-storage rules and bear-resistant containers.