Last Updated on September 10, 2026 by Daniel Globe
Packing a hiking backpack well is about more than fitting everything inside. The goal is to carry the gear you actually need, keep the load balanced, protect essentials from weather, and make frequently used items easy to reach. The right setup depends on your trip length, terrain, forecast, water availability, and the rules for the area you plan to visit.
A properly fitted pack also matters. Backpack capacity tells you how much gear the pack can hold, while torso length and hip-belt fit determine how comfortably you can carry that load. Before heading to the trail, load your backpack with realistic weight and walk around with it so you can adjust the fit and catch problems early.
Quick Answer
Pack bulky lightweight gear at the bottom, place dense items such as food close to your spine in the middle, and keep rain gear, first aid, snacks, water, navigation tools, and other frequently used items easy to reach. Carry the Ten Essentials and adjust the final load for your route, weather, water sources, and local regulations.
Key Takeaways
- Choose backpack capacity for the trip length and gear volume, then size the pack to your torso and hips.
- Keep heavy, dense gear centered close to your back rather than at the very top or outside of the pack.
- Carry the Ten Essentials, including navigation, illumination, first aid, emergency shelter, extra food, hydration, and water-treatment supplies.
- Keep rain gear, snacks, water, sunscreen, navigation tools, and other frequently used items within easy reach.
- Plan water for the actual route and conditions instead of relying on one universal amount.
- Check the weather, local trail rules, fire restrictions, and wildlife food-storage requirements before leaving.
- Tell someone where you are going and when you expect to return, especially for remote hikes.
At a Glance
| Time Required | About 10–20 minutes once your gear is gathered |
| Difficulty | Easy |
| Tools Needed | Fitted backpack, trip checklist, packing sacks or dry bags as needed; luggage scale optional |
| Cost | No extra cost if you already own the required hiking gear |
Disclosure: As an Amazon Associate I earn from qualifying purchases. Some links on this page are affiliate links, at no extra cost to you.
Choose the Right Backpack Size and Fit
Selecting the appropriate backpack size is the first step. Capacity should match the length of your trip, weather conditions, and the volume of the equipment you need rather than simply choosing the largest pack available.
As a general starting point, small packs can work for short outings, while roughly 21–35 liters is a common range for multi-hour or full-day hikes. Backpacking packs become larger as shelter, sleeping equipment, food, cooking supplies, and extra clothing are added. REI’s current backpack guidance places many 1–3-night trips around 30–50 liters and 3–5-night trips around 50–80 liters, although compact ultralight equipment can change those needs considerably. See REI’s backpack capacity and fit guidance for more detail.
| Typical outing | Common capacity range |
| Short, light day hike | About 10–20 L |
| Multi-hour or full-day hike | About 21–35 L |
| 1–3 nights | About 30–50 L |
| 3–5 nights | About 50–80 L |
| Extended trip | Often 70 L or more |
Capacity is only half of the decision. A well-fitted backpack distributes weight across your body and reduces unnecessary strain on the shoulders. Backpack sizing is primarily based on torso length rather than overall height. Your hip measurement also matters because a backpacking hip belt should wrap securely around the top of the hips.
When trying on a pack, add realistic weight before judging the fit. Position the hip belt over the upper part of your hip bones, snug the shoulder straps, fasten the sternum strap, and adjust the load lifters if your backpack has them. The load should feel close to your body rather than pulling backward.
Pro Tip: Walk around for several minutes with the pack fully loaded before a trip. Stairs or a short neighborhood walk can expose pressure points, loose straps, poor balance, or gear that rattles long before you reach the trail.
Packing Lightweight and Compact Gear
Lightweight and compact equipment makes hiking easier, but weight should not be reduced at the expense of safety. Modern tents, sleeping systems, cookware, clothing, and water-treatment products are available in compact designs that can substantially reduce bulk.
Ultralight shelters may use high-tenacity nylon, polyester, or materials such as Dyneema. Down sleeping bags and quilts can provide excellent warmth for their packed size, while synthetic insulation can be useful when persistent moisture is a concern. Your best choice depends on temperature, precipitation, budget, durability requirements, and the conditions you expect to encounter.
Compact gear also saves space. Nesting cookware, collapsible containers, compressible clothing, and carefully selected multi-tools can reduce clutter. Avoid carrying several tools that perform the same task unless your route or activity genuinely requires them.
Before removing an item solely to save weight, ask whether it belongs to your emergency systems. Navigation, first aid, weather protection, illumination, hydration, food, and emergency shelter deserve priority over convenience items.
Organizing Gear for Easy Access

Efficient organization saves time on the trail and keeps the load stable. Packing cubes, dry bags, or stuff sacks can separate clothing, sleeping gear, cooking supplies, and first-aid equipment, but avoid using so many separate bags that they add unnecessary bulk.
A useful way to pack is to divide the backpack into four zones:
- Bottom: bulky, lightweight items you normally will not need while hiking, such as a sleeping bag, sleep clothing, or other soft camp gear.
- Core: dense items such as food, a bear canister, cookware, or a water reservoir. Keep the heaviest gear centered and close to your spine.
- Top: items you may need during the day, such as an insulating layer, rain shell, or first-aid kit.
- External and hip-belt pockets: snacks, water bottles, sunscreen, lip balm, map, compass, insect repellent, or other small items you use often.
This loading pattern follows established backpacking guidance: heavy, dense gear is most stable when it sits in the pack’s core rather than hanging far from your body or sitting at the extreme top. See REI’s backpack-loading guidance.
If your pack supports a hydration reservoir, insert and fill it before tightly packing the rest of the bag. A full reservoir is much harder to slide into an already stuffed pack.
Limit loose items hanging from the outside. Dangling equipment can swing, catch on branches or rocks, become wet, or fall off. Secure trekking poles and other exterior equipment tightly.
Note: A backpack’s fabric and zippers are not automatically waterproof. In wet conditions, use the pack’s intended rain protection and consider a waterproof liner or individual dry bags for sleeping gear, spare clothing, electronics, and other moisture-sensitive equipment.
Packing Essentials for Safety and Comfort
A hiking checklist should start with the National Park Service Ten Essentials. These are systems rather than one rigid set of products, so the exact equipment should be adapted to the trail, season, weather and trip length.
| Essential system | What to pack | Why it matters |
| Navigation | Map, compass, GPS or offline navigation as appropriate | Route finding and orientation |
| Sun protection | Sunscreen, sunglasses, hat, protective clothing | Protection from UV exposure |
| Insulation | Weather-appropriate extra layers and rain protection | Protection when temperature or weather changes |
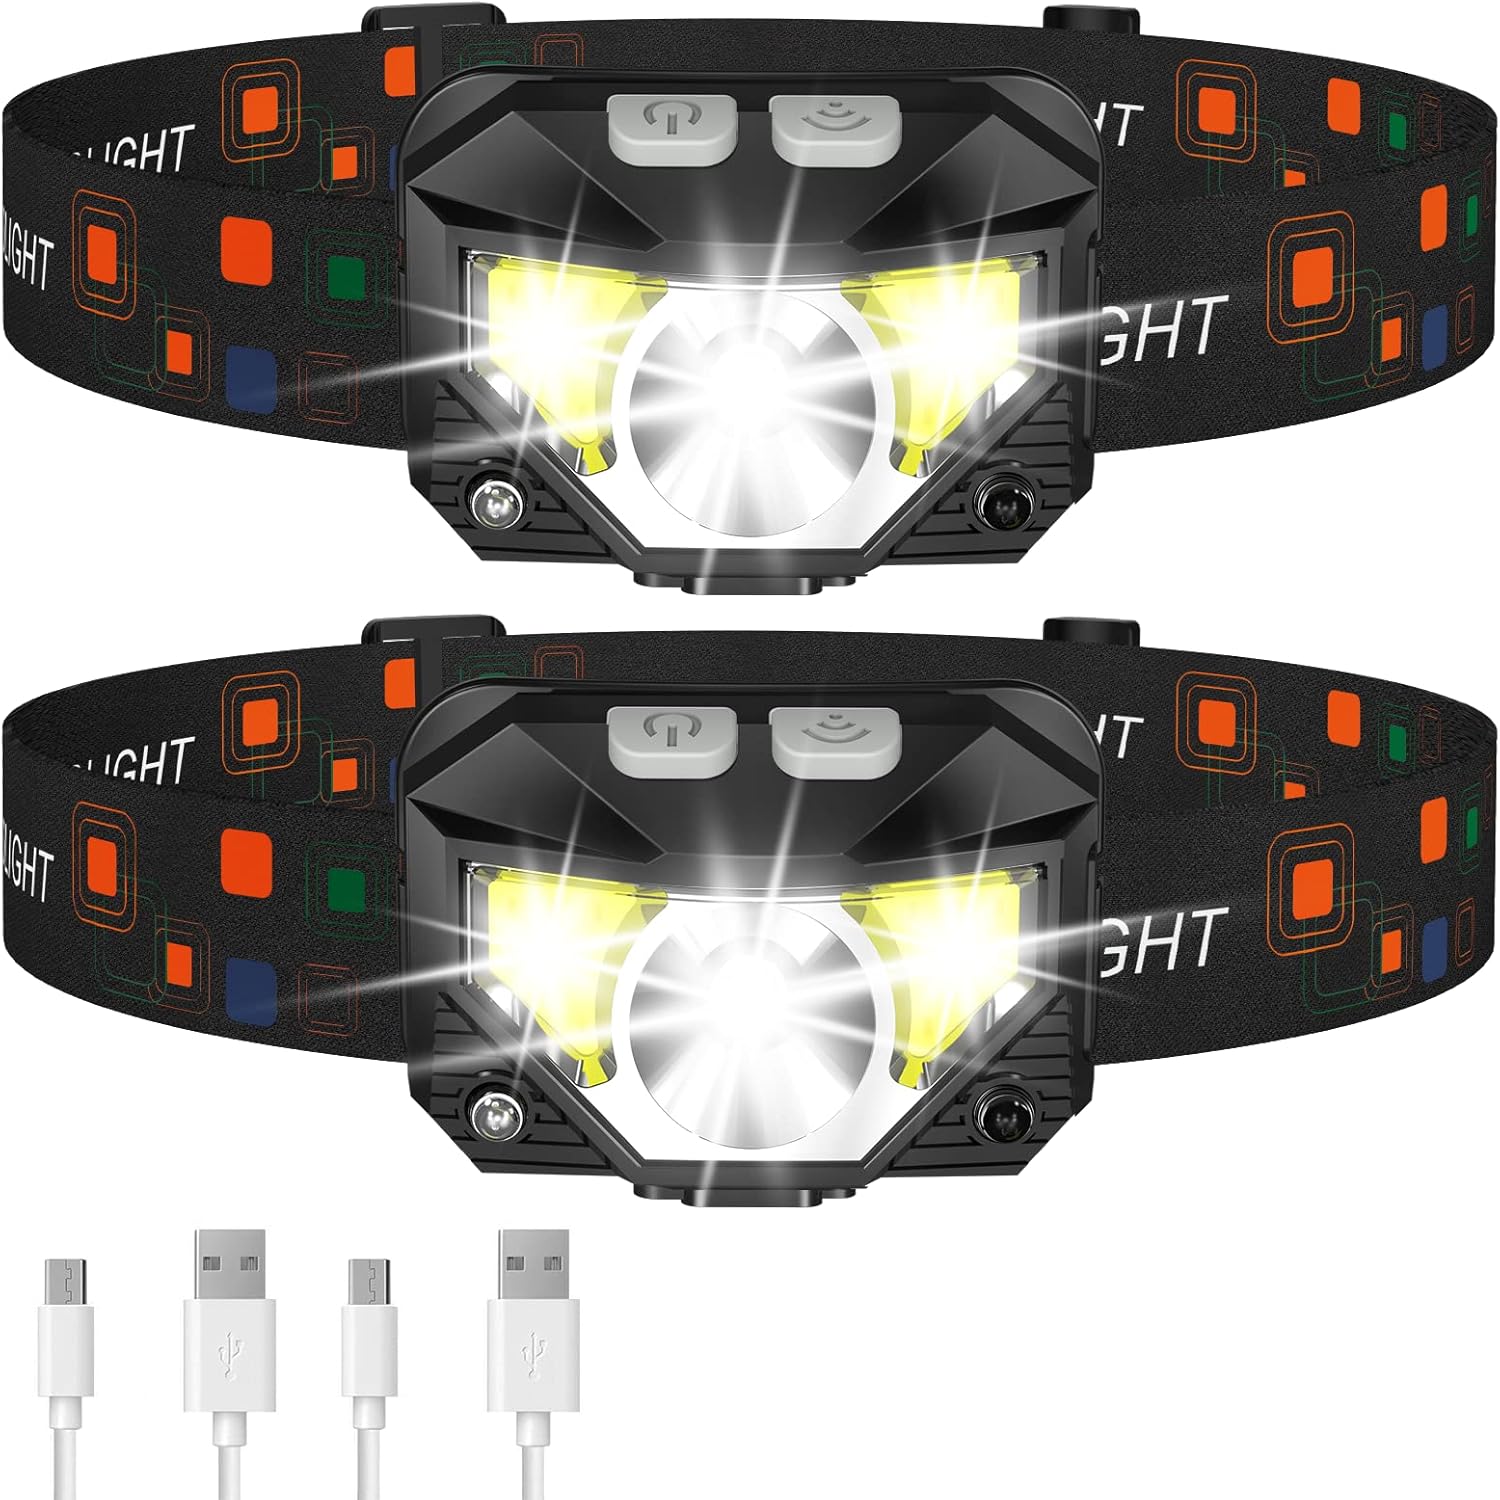
| Illumination | Headlamp or flashlight plus suitable spare power | Visibility if the hike takes longer than planned |
| First aid | First-aid kit and personal medications | Minor injuries and emergency care |
| Fire | Emergency fire-starting supplies where legal, appropriate, and safe | Emergency warmth or signaling in suitable conditions |
| Repair kit and tools | Knife or multi-tool, tape, and trip-specific repair supplies | Temporary gear repairs |
| Nutrition | Meals or snacks plus emergency extra food | Energy during delays or longer-than-planned travel |
| Hydration | Water plus treatment supplies when applicable | Hydration and access to safer backcountry water |
| Emergency shelter | Emergency bivy, space blanket, tarp, or suitable shelter | Protection during an unexpected overnight stay or severe conditions |
A practical first-aid kit may contain adhesive bandages, gauze, wound-cleaning supplies, blister care, and any personal medications you may need. Carrying a whistle is also useful because it can help you signal for assistance without exhausting your voice.
Comfort matters too. Wear well-fitting hiking shoes or trail footwear appropriate for the terrain. Moisture-managing clothing, extra insulation, rain protection, sunscreen, and insect repellent can prevent minor discomfort from becoming a serious problem.
Warning: The Ten Essentials are a baseline, not a guarantee of safety. Check trail closures, weather alerts, water availability, fire restrictions, wildlife precautions, permit rules, and food-storage requirements for your exact destination before leaving.
Plan How Much Water to Carry
There is no single amount of water that is correct for every hike. Heat, humidity, altitude, distance, pace, body size, available shade, and the availability of reliable water sources can all change how much you need.
As one current planning benchmark, Great Smoky Mountains National Park advises carrying at least 1 liter of water per two hours of hiking. That should not be treated as a universal prescription; hot, exposed or strenuous routes can require a different plan.
Water planning should be based on the actual route and conditions, not a fixed “one bottle” or “two liters per day” rule.
Research water availability before your trip. If your route relies on streams, lakes or backcountry sources, carry a suitable treatment method and know how to use it. Do not assume clear-looking natural water is safe to drink. The National Park Service recommends treating backcountry water where required.
Drink regularly during activity rather than deliberately waiting until you are severely thirsty. Hot-weather exercise increases the risk of dehydration and heat illness; CDC guidance advises drinking more water than usual during hot-weather activity and not waiting until thirst becomes intense.
Distributing Weight for Balance and Comfort
Good weight distribution keeps the backpack close to your natural center of gravity. Instead of putting the heaviest equipment at the very bottom or very top, place dense gear in the middle portion of the pack, centered and close to your spine.
A sleeping bag and other bulky, lightweight equipment can fill the bottom of the pack. Food, cookware, a bear-resistant container when required, and other dense items belong in the core. Rain gear, insulation, first aid, or anything you may need quickly can sit near the top.
Side pockets are useful for water bottles and other comparatively light items, but try to keep the left and right sides balanced. Secure trekking poles or other externally carried equipment so it cannot swing.
As you drink water and eat food, the weight distribution changes. Repacking during a long trip can restore balance and prevent a lopsided pack from pulling on one shoulder.
Preparing for Various Weather Conditions
Check the forecast for the actual trail area before leaving, not just the weather at home. Mountain, desert, coastal and high-elevation conditions can differ greatly from nearby towns and may change quickly.
If rain is possible, carry appropriate rain protection and keep critical clothing and sleeping equipment dry. In cold conditions, use a layering system that includes moisture-managing base layers, insulation, and weather protection suitable for the expected temperature and wind.
In hot weather, choose lightweight breathable clothing, sun protection, sufficient water, and a pace suited to the conditions. Consider whether the route offers shade and whether heat will be more severe during the middle of the day.
Warning: A tent, open picnic shelter, or rocky overhang is not safe lightning shelter. The National Weather Service advises moving to a substantial enclosed building or hard-topped vehicle when thunder is heard. If thunderstorms are expected on exposed mountain terrain, adjust your route or timing before the hike rather than relying on last-minute shelter.
See the National Weather Service outdoor lightning guidance for current safety recommendations.
Packing Nutritious and Lightweight Food
Food should provide useful energy without adding unnecessary bulk. For overnight backpacking, dehydrated or freeze-dried meals can be practical because most of their water has been removed. They do, however, require sufficient water and usually fuel for preparation.
For snacks, trail mix made from nuts, seeds and dried fruit is compact and calorie-dense. Energy bars, nut or seed butter packets, dried fruit, crackers, jerky or other shelf-stable foods can also work well. Choose foods you already tolerate during physical activity rather than experimenting with an unfamiliar diet on the trail.
Fresh fruit such as apples or oranges can provide fluid and carbohydrates but is heavier because of its water content. Pack out peels, cores, wrappers and all other food waste rather than leaving biodegradable scraps behind.
In bear and other wildlife habitat, food storage is part of trip planning. Regulations differ by location. Some destinations require approved bear-resistant containers, and scented items such as toiletries, sunscreen and trash may be subject to the same storage rules as food. Check the rules for the specific land-management area before departure.
Note: Do not assume that hanging food is acceptable everywhere. Some parks require an approved bear-resistant container and prohibit alternative storage methods in designated areas.
Carrying Essential Navigation and Communication Tools
A paper map and compass remain useful because they do not depend on cellular service or a charged phone. Carry the navigation tools appropriate for your route and learn how to use them before you need them.
A smartphone or GPS device can supplement traditional navigation. Download maps for offline use before leaving coverage and begin the hike with charged batteries. A portable power bank can extend the useful life of your phone or other rechargeable equipment, but it does not create cellular reception and should not be treated as your only emergency plan.
If you’re planning a hiking trip, the existing guide 3 Portable Phone Chargers You Need for Your Next Getaway can help you compare backup-power options for keeping rechargeable devices running while traveling.
For remote areas without dependable cell service, consider whether a satellite communication device or personal locator beacon is appropriate. A 406 MHz personal locator beacon (PLB) is a dedicated emergency device that can transmit a distress alert through the international search-and-rescue satellite system. NOAA notes that PLBs are designed for individuals traveling in remote environments where mobile phones may not work. Learn more from NOAA SARSAT.
A PLB is not the same as a two-way satellite messenger. Traditional PLBs are primarily emergency distress devices, while compatible satellite communicators may provide two-way messaging and other features depending on the model and service plan.
Before any remote hike, tell a trusted person where you are going, your intended route, vehicle or trailhead information when useful, and when you expect to return. Give them clear instructions about what to do if you miss your planned check-in.
Final Backpack Check Before You Leave
Once the backpack is loaded, perform a final check instead of heading directly to the trail.
- Confirm that the backpack fits your torso and the hip belt sits securely on your hips.
- Make sure heavy gear is centered close to your back.
- Check that nothing hard or sharply shaped is pressing directly into your back.
- Verify that water, snacks, rain protection, navigation and first aid are easy to reach.
- Confirm that the Ten Essentials are present and matched to the trip.
- Protect sleeping gear, spare clothing and electronics from expected moisture.
- Secure all exterior equipment so it cannot swing or fall off.
- Check the latest local weather, trail conditions and closures.
- Review water sources and treatment plans.
- Check food-storage and wildlife regulations.
- Leave your route and expected return time with someone you trust.
- Put the pack on and walk with it before departure; readjust anything that shifts or causes pressure.
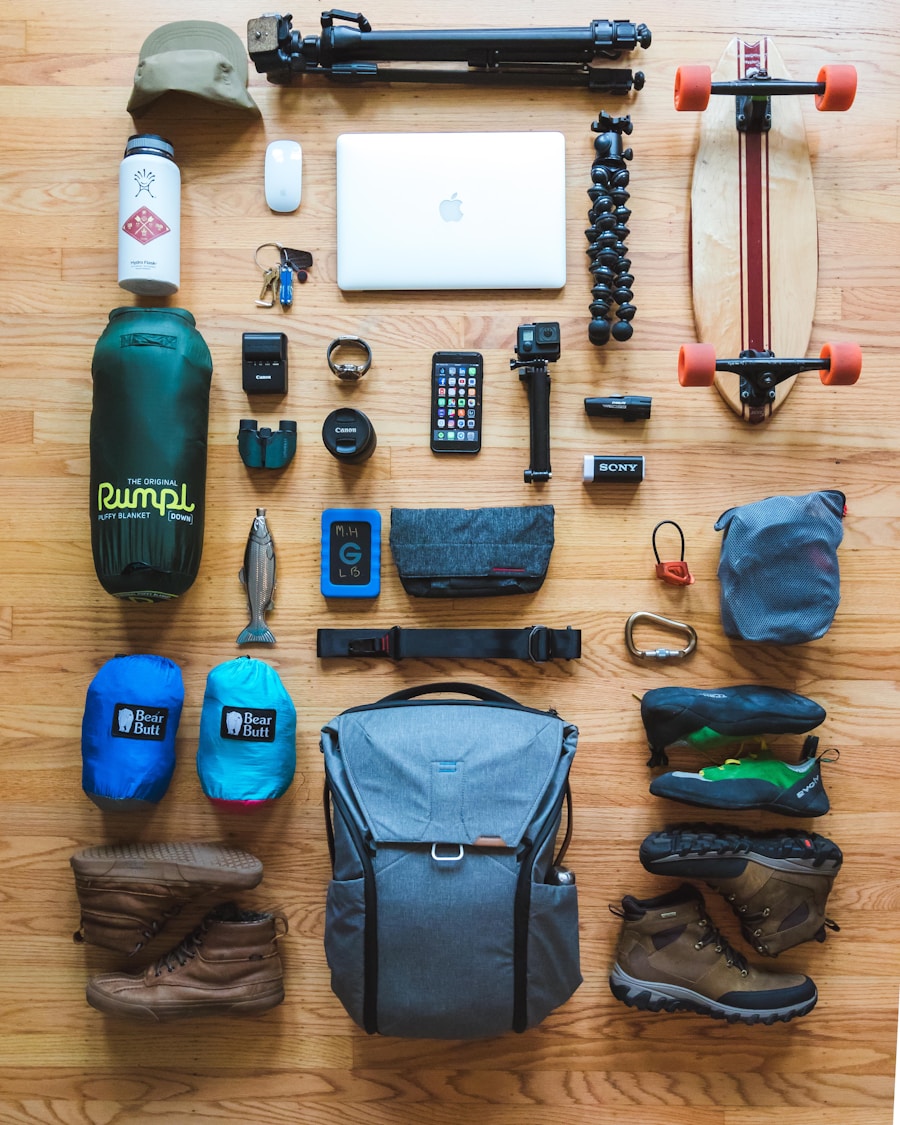
Pro Tip: Lay every item on the floor before packing. Group it into “essential,” “trip-specific,” and “comfort” gear. This makes duplicate equipment and forgotten safety items much easier to spot.
Love travel? Join Our Facebook Community
Frequently Asked Questions
What should I pack in my hiking bag?
Start with the Ten Essentials: navigation, sun protection, insulation, illumination, first aid, emergency fire capability where appropriate and permitted, repair tools, extra food, hydration and water treatment, and emergency shelter. Then add route-specific gear such as insect repellent, trekking poles, required wildlife food storage, personal medications, and suitable clothing.
How should I organize my hiking bag?
Place bulky lightweight items such as sleeping gear at the bottom, dense items in the middle close to your spine, and items you may need during the hike near the top. Keep water, snacks, sunscreen, navigation tools and other frequently used gear in easy-access pockets.
What type of backpack is best for hiking?
Choose a pack that matches your trip length, gear volume and body measurements. Torso length is more important than overall height for backpack sizing, and the hip belt should fit securely around the top of your hips. A full-day hiker may use roughly 21–35 liters, while overnight and multiday trips commonly require larger packs.
How much water should I pack for a hike?
There is no universal amount for every hike. Duration, heat, exertion, altitude, water availability and individual needs all matter. Great Smoky Mountains National Park uses at least 1 liter per two hours of hiking as a planning benchmark, but conditions may require more or a different strategy. Research the route and carry water-treatment supplies when relying on backcountry sources.
What are some tips for packing a hiking bag efficiently?
Choose compact gear, eliminate unnecessary duplicates, group similar items in lightweight sacks, keep dense equipment close to your spine, and reserve accessible pockets for items you use often. After packing, put the backpack on and walk with it so you can correct pressure points or an unbalanced load.
Should heavy items go at the bottom of a hiking backpack?
Usually not. Bulky lightweight items can go at the bottom, while the heaviest dense items generally belong in the middle of the pack close to your back. Putting too much heavy gear at the extreme bottom can make the pack sag, while placing it too high can make the pack feel unstable.
Do I need a personal locator beacon for hiking?
Not every hike requires one, but a PLB or suitable satellite communicator can provide an important backup on remote routes where cellular service is unreliable or unavailable. NOAA describes 406 MHz PLBs as emergency beacons designed for individuals traveling in remote environments. Choose equipment based on the remoteness and risk of your route and learn how to use it before leaving.
Sources
- U.S. National Park Service — Ten Essentials — navigation, sun protection, first aid, illumination, hydration, emergency shelter and other baseline hiking systems.
- Great Smoky Mountains National Park — Hiking — current Ten Essentials and hiking hydration guidance.
- REI Expert Advice — How to Choose a Backpack — backpack capacity and fit guidance.
- REI Expert Advice — How to Pack a Backpack — bottom, core and quick-access loading principles.
- National Weather Service — Outdoor Lightning Safety — thunderstorm planning and safe-shelter guidance.
- NOAA SARSAT — 406 MHz Emergency Distress Beacons — personal locator beacons and wilderness emergency communication.