
Last Updated on September 10, 2026 by Daniel Globe
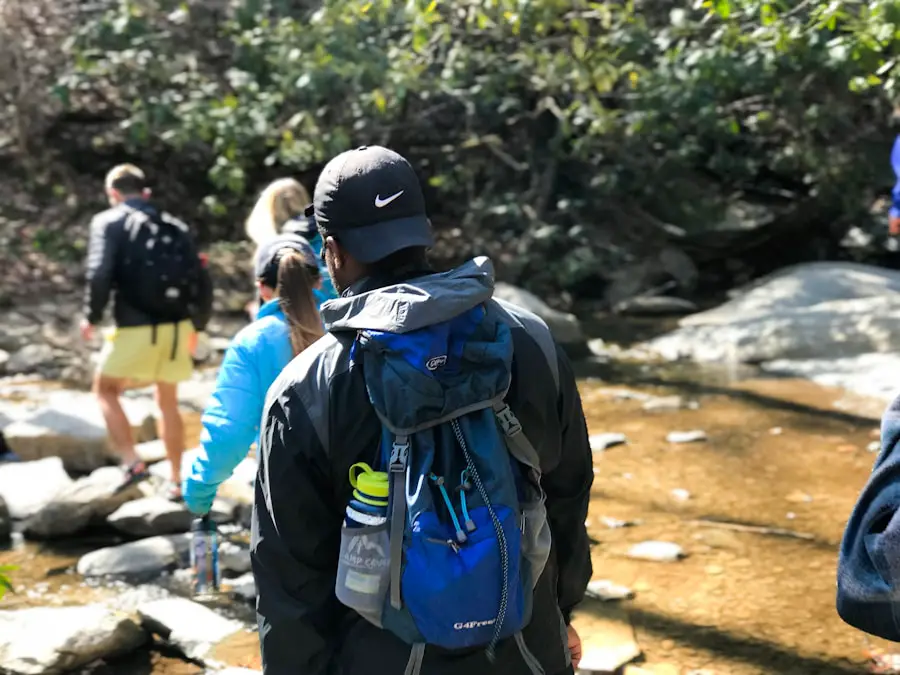
Carrying water while hiking is not just a question of choosing a bottle or hydration pack. You also need enough capacity for the route, easy access while walking, a backup plan for unexpected delays, and a safe way to treat natural water when refilling. The best setup depends on hike length, temperature, pace, elevation, and whether reliable water sources exist along the trail.
Quick Answer
For most hikes, carry water in reusable bottles, a hydration reservoir, or a combination of both. A common planning starting point is about 0.5 liter per hour in moderate conditions, but hot weather and hard hiking can raise your needs. Carry extra water when refill sources are uncertain, and treat all questionable natural water before drinking it.
Key Takeaways
- Water bottles are simple, easy to clean, and let you see exactly how much water remains.
- Hydration reservoirs give you convenient hands-free access and work especially well when you want to sip without stopping.
- Plan water around hike duration, weather, pace, elevation, and the reliability of refill sources rather than following one fixed number.
- Treat questionable stream, lake, spring, and river water. Clear-looking water can still contain harmful microorganisms.
- Both dehydration and excessive fluid intake can be dangerous, so drink enough for your conditions without deliberately forcing more fluid than you are losing.
At a Glance
| Time Required | About 5–10 minutes to plan water before a day hike; hydration continues throughout the hike |
| Difficulty | Easy, but backcountry routes require more careful water-source planning |
| Tools Needed | Water bottle, hydration reservoir, soft flask, or a combination; treatment equipment when natural water may be used |
| Cost | No added cost if you already own suitable bottles; reservoirs and treatment systems vary by capacity and design |
Note: General hiking hydration guidelines are not a substitute for individualized medical advice. People with kidney or heart conditions, prescribed fluid restrictions, electrolyte disorders, or other relevant medical conditions should follow their healthcare professional’s guidance.
Disclosure: As an Amazon Associate I earn from qualifying purchases. Some links on this page are affiliate links, at no extra cost to you.
How Much Water Should You Carry While Hiking?
There is no single amount of water that works for every hiker. Body size, fitness, pace, temperature, humidity, sun exposure, elevation, pack weight, and trail difficulty all change how much fluid you may need.
A commonly used planning estimate is about 0.5 liter (17 ounces) per hour during moderate activity in moderate temperatures. Treat that as a starting point rather than a rule. Hot desert conditions or strenuous climbing can require considerably more. The CDC/NIOSH heat-stress guidance, for example, recommends about 8 ounces every 15–20 minutes for moderate activity in heat lasting less than two hours.
Before leaving, estimate how long you expect to be hiking and identify reliable refill locations. Then build in extra water for wrong turns, an unexpectedly dry source, injury, slower-than-planned travel, or hotter weather.
Water is also heavy: one liter weighs about one kilogram, or roughly 2.2 pounds. On long routes with dependable backcountry water, carrying an appropriate treatment method can reduce how much water you need to haul at one time.
Pro Tip: Check the park, land manager, ranger station, trail report, or current route information before leaving. A stream shown on a map may be seasonal or dry, so never make a critical refill your only plan unless its current reliability is confirmed.
Research on physically active people consistently finds that dehydration around 2% of body mass can reduce endurance performance, particularly in warm conditions.
Choosing the Right Water Bottle
A reusable bottle remains one of the simplest ways to carry water while hiking. Bottles are easy to fill, easy to monitor, and generally easier to clean thoroughly than a hydration reservoir.
Durability and Insulation
Stainless steel bottles are durable and insulated models can keep water cool for long periods. They are useful for day hikes, hot weather, and cold-weather outings where drinking temperature matters. Their main disadvantage is weight.
Hard plastic bottles are usually lighter. Soft bottles and collapsible flasks can become smaller as you drink, which saves space, but they may be less convenient to stand upright or refill from some natural sources.
Weight and Affordability
For lightweight hiking, a simple plastic bottle or soft flask usually weighs less than an insulated stainless steel bottle. Hikers who value cold water and durability may accept the extra weight of stainless steel, while backpackers often prioritize lighter containers.
Capacity and Features
Choose enough total capacity to reach the next dependable water source with a reasonable reserve. Helpful features include a secure leak-resistant cap, a mouth wide enough for cleaning and filling, volume markings, and a shape that fits your backpack’s bottle pockets.
Bottle vs. Hydration Reservoir vs. Soft Flask
| Method | Best For | Main Advantage | Main Drawback |
|---|---|---|---|
| Hard bottle | Day hikes and simple setups | Easy to fill, clean, and monitor | May require stopping or reaching behind you |
| Hydration reservoir | Long hikes and frequent sipping | Hands-free drinking through a hose | Harder to see remaining volume and clean |
| Soft flask or collapsible bottle | Trail running, backups, and space-conscious packing | Lightweight and compressible | Less rigid and sometimes awkward to refill |
Purifying Water on the Trail
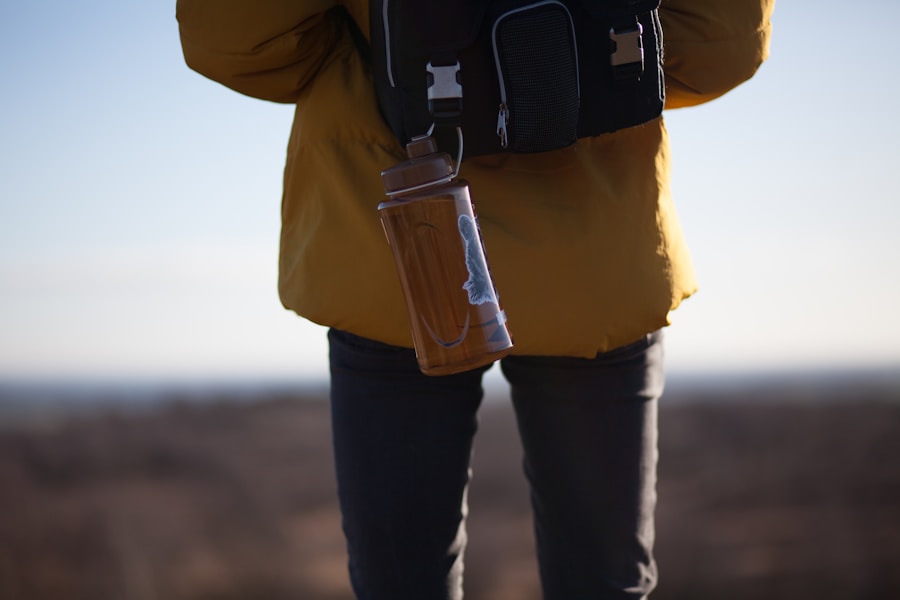
Natural water should not be assumed safe simply because it looks clear. The CDC’s hiking and camping water-treatment guidance warns that lakes, rivers, springs, and streams can contain bacteria, viruses, and parasites from human or animal waste.
Boiling
Boiling is the most reliable field method for killing disease-causing microorganisms when you have enough fuel and time. CDC recommends bringing clear water to a rolling boil for 1 minute, or 3 minutes at elevations above 6,500 feet, then allowing it to cool safely before drinking.
Portable Filters
Do not assume every backpacking filter removes every type of germ. According to CDC guidance:
- A filter with an absolute pore size of 1 micron or smaller, or one certified to applicable NSF cyst-reduction standards, can remove parasites such as Giardia and Cryptosporidium.
- A filter with an absolute pore size of 0.3 micron or smaller can remove bacteria as well as parasites.
- Most ordinary portable microfilters do not reliably remove viruses.
Always check the manufacturer’s specifications for the exact filter you carry.
Chemical Disinfection
Iodine, chlorine, and chlorine-dioxide products have different limitations. Chlorine and iodine work against many bacteria and viruses but do not work well against some parasites. Chlorine dioxide performs better against Giardia and has some effectiveness against Cryptosporidium, but required contact times can be long.
Follow the treatment manufacturer’s dose and waiting time exactly. CDC recommends filtering first and then disinfecting when you cannot boil and need broader protection.
People who are pregnant, have thyroid problems, or are hypersensitive to iodine should avoid iodine-treated drinking water. CDC also advises against using iodine-treated water continuously for more than a few weeks.
UV Treatment
Portable UV treatment can kill bacteria, viruses, and parasites in small quantities of clear water when used correctly. Cloudy water should be filtered first because suspended particles can shield microorganisms from UV light.
Warning: Boiling, ordinary disinfection, and most backpacking filters cannot make water contaminated with harmful chemicals, toxins, fuel, mine runoff, or similar pollutants safe. If chemical contamination is suspected, use a different water source.
Hydration Packs and Reservoirs
Hydration reservoirs let hikers sip through a hose without removing a bottle. This can be especially convenient on long hikes, rough terrain, and routes where frequent drinking stops are inconvenient.
The original brand-only comparison did not identify specific products, making its weights and prices impossible to verify. The table below uses current reservoir models from each manufacturer’s official listing instead. Prices were checked on July 27, 2026 and can change.
| Current Reservoir Example | Capacity | Empty Weight | Listed Price |
|---|---|---|---|
| CamelBak Crux 3L Reservoir | 3 L | 8.3 oz (235 g) | $42.00 |
| Osprey Hydraulics LT 2.5 L Reservoir | 2.5 L | 5.9 oz (0.37 lb) | $44.00 |
| Gregory Hydro 3L Reservoir | 3 L | 6.4 oz (0.40 lb) | $39.95 |
Reservoirs commonly sit inside a dedicated sleeve close to the hiker’s back, which helps keep the water load stable. Many hiking packs also provide storage for snacks, first-aid supplies, layers, and treatment equipment.
The main disadvantages are that you cannot always see how much water remains without opening the pack, leaks can be harder to notice, and the hose and bite valve require more cleaning than a simple bottle.
Pro Tip: For longer or more remote hikes, a reservoir plus a small separate bottle provides redundancy. If a hose, bite valve, cap, or reservoir develops a leak, you still have another container.
Monitoring Your Water Intake
Water needs vary too much for one rigid hourly target to work for everyone. Instead, combine your planned supply with how you feel, environmental conditions, how heavily you are sweating, and how much fluid remains.
Dark or unusually concentrated urine, thirst, fatigue, headache, reduced performance, weakness, and dizziness can occur with dehydration, although no single symptom proves your hydration status by itself.
For hikers who want a more individualized estimate, weighing yourself before and after a representative training hike can help approximate sweat-related fluid loss. A peer-reviewed National Athletic Trainers’ Association position statement recommends tailoring fluid replacement to individual sweat losses and avoiding body-weight gain from excessive drinking during exercise.
Electrolytes and the Risk of Overhydration
Plain water is generally adequate for many shorter hikes. When strenuous activity and heavy sweating continue for several hours, replacing sodium and other electrolytes through normal food, salty snacks, or an appropriate electrolyte beverage may become useful. CDC/NIOSH guidance similarly recommends considering balanced electrolyte drinks during prolonged sweating.
More fluid is not always better. Drinking water or sports drinks faster than your body is losing fluid can dilute blood sodium and contribute to exercise-associated hyponatremia. The Wilderness Medical Society guidance identifies prolonged overconsumption of fluid as the most important preventable risk factor.
Warning: Headache, nausea, weakness, dizziness, confusion, and collapse can occur in both dehydration/heat illness and exercise-associated hyponatremia. Severe confusion, seizures, collapse, or altered mental status is a medical emergency. Do not assume that giving a collapsed hiker large quantities of water is always the correct response.
Tips for Staying Hydrated on the Trail
Start the hike reasonably hydrated and keep drinking access convenient. A bottle buried at the bottom of your backpack is much less useful than one in a reachable side pocket or a reservoir hose clipped near your shoulder strap.
- Drink regularly: take comfortable amounts throughout the hike rather than waiting until you are extremely thirsty and then drinking a large volume at once.
- Adjust for heat: higher temperatures, direct sun, strenuous climbs, and heavy sweating can increase fluid needs.
- Carry a reserve: do not plan to reach the trailhead with your final sip if a delay could leave you without water.
- Eat normally: food supplies energy and electrolytes, especially on longer outings.
- Use water-rich foods as a supplement: fruit and vegetables can contribute fluid, but they should not replace an adequate drinking-water supply.
- In cold weather: remember that hoses and bite valves can freeze more quickly than water stored inside a protected pack or insulated bottle.
The National Park Service Hike Smart guidance recommends planning water needs before leaving, carrying extra when conditions require it, and knowing whether dependable water sources exist along the route.
Emergency Water Sources
If you unexpectedly run low on water, a mapped stream, river, lake, spring, or other natural source may provide refill water, but it should not be considered safe merely because it is clear or flowing. Treat questionable natural water before drinking it.
Flowing water may be easier to collect and less silty than stagnant water, but both can contain microorganisms. Avoid collection points immediately downstream from campsites, livestock areas, heavily used crossings, obvious sewage, dead animals, or other visible contamination whenever another source is available.
Dew collected from vegetation and water that seeps into a shallow hole near a larger water source can sometimes provide small quantities in a true emergency, but neither method is dependable and neither automatically produces safe drinking water. Any collected water should still be treated when possible.
Warning: If a planned source is dry and you still have reserve water, turning back or changing the route early is usually safer than continuing toward another uncertain source. Never rely on boiling or ordinary backpacking treatment to fix water suspected of chemical or toxic contamination.
Properly Storing and Carrying Water
Start with clean containers and close all caps, reservoir openings, and bite-valve shutoffs before putting water into your pack. Store heavier water close to your back and near the center of the pack rather than allowing several pounds of water to swing at the outside edge.
Keep at least one drinking source easy to reach. Side pockets work well for bottles, while hydration hoses should be secured where they will not drag on the ground or collect dirt.
An insulated bottle can keep water at a more pleasant drinking temperature, especially in hot or freezing weather, but insulation does not make microbiologically unsafe water safe.
Cleaning Bottles and Hydration Reservoirs
Clean water containers regularly and follow the manufacturer’s care instructions. Reservoirs need particular attention because moisture can remain inside the bladder, hose, and bite valve.
- Empty unused water after the trip.
- Wash the reservoir or bottle with appropriate soap and warm water according to its care instructions.
- Flush the drinking tube and bite valve if the system uses them.
- Rinse thoroughly.
- Leave all components open until completely dry before storage.
Sugary drink mixes can leave residue, so systems used for electrolyte or flavored beverages usually need more thorough cleaning than containers used only for plain water.
Hydration gear and campsite lighting solve different problems. Once your water setup is covered, our guide to solar-powered camping lanterns can help with lighting around camp after dark.
Frequently Asked Questions
What are the best ways to carry water when hiking?
The main options are reusable hard bottles, hydration reservoirs, soft flasks, and collapsible bottles. Hard bottles are simplest to clean and monitor, reservoirs provide hands-free drinking, and soft containers save weight and space. Many hikers use more than one type for redundancy.
What is a hydration pack and how does it work?
A hydration pack carries a flexible water reservoir inside the backpack. A hose runs from the reservoir to a bite valve near the shoulder strap, allowing the hiker to drink without removing a bottle or taking off the pack.
What are the advantages of using a hydration pack?
The biggest advantage is convenient hands-free access to water. A reservoir also places the water close to your back, which can keep the load stable, and larger reservoirs can carry several liters without requiring multiple bottles.
What are the disadvantages of using a hydration pack?
Reservoirs take more effort to clean and dry, their hoses or bite valves can leak or freeze, and it is harder to see how much water remains. Carrying a separate small bottle can provide useful backup.
How much water should I carry for a hike?
A common starting estimate is about 0.5 liter per hour during moderate hiking in moderate weather, but actual needs vary widely. Heat, direct sun, heavy sweating, strenuous climbs, body size, elevation, and unreliable water sources can increase the amount you should carry.
Is it safe to drink directly from a mountain stream?
Not simply because the water looks clear. Natural water can contain bacteria, parasites, viruses, or other contamination. CDC recommends treating water when you are not sure it is safe, with boiling as the preferred germ-killing method and filtering followed by disinfection as another strong option.
What should I consider when choosing a water-carrying method for hiking?
Consider hike duration, temperature, water-source availability, total capacity, empty container weight, ease of refilling, ease of cleaning, whether you want hands-free drinking, and whether carrying two separate containers would give you useful backup.
Sources
- CDC — Water Treatment Options When Hiking, Camping, or Traveling — boiling, filtration, disinfection, UV treatment, and contaminant limitations.
- CDC/NIOSH — Heat Stress Recommendations — hydration during heat and prolonged sweating.
- National Park Service — Hike Smart — hiking preparation, water planning, and reliable water-source considerations.
- Wilderness Medical Society — Exercise-Associated Hyponatremia Clinical Practice Guidance — risks of excessive fluid intake and prevention of overhydration.
- Journal of Athletic Training — Fluid Replacement for the Physically Active — dehydration, performance, sweat-rate planning, and avoiding excessive fluid replacement.

1 Comment
Pingback: Discover The Best Hydration Backpacks For Hiking In 2026