
Last Updated on July 27, 2026 by Daniel Globe
A good hiking packing list does more than make a trip comfortable. It helps you handle changing weather, navigation problems, minor injuries, unexpected delays, and a longer day on the trail than you planned. What you carry should match the route, season, distance, terrain, available water, and how far you will be from help.
Quick Answer
For a hiking trip, pack navigation, sun protection, extra layers, a headlamp, first-aid supplies, emergency shelter, food, water and treatment supplies, plus basic repair tools. Add comfortable trail footwear and a properly fitted backpack. Overnight hikes also require a tent or shelter, sleeping system, cooking gear, and destination-specific food storage.
Key Takeaways
- Build your packing list around the National Park Service Ten Essentials, then adjust it for the route, weather, season, and trip length.
- Wear comfortable, tested footwear with traction suited to the terrain rather than assuming every hike requires heavy waterproof boots.
- Carry a map or another reliable navigation method and a backup; do not assume you will have cell service.
- Pack water plus an appropriate treatment method when you may depend on untreated natural water.
- Bring a headlamp, first-aid supplies, extra food, extra insulation, and emergency shelter even when you expect to finish before dark.
- For overnight trips, add a weather-appropriate shelter, sleeping bag or quilt, sleeping pad, cooking system when needed, and required wildlife-resistant food storage.
- Before leaving, check the forecast, trail alerts and regulations, and tell a trusted person your route and expected return time.
Disclosure: As an Amazon Associate I earn from qualifying purchases. Some links on this page are affiliate links, at no extra cost to you.
Hiking Packing Checklist at a Glance
At a Glance
| Navigation | Current map or offline map, compass when appropriate, GPS/phone, backup navigation |
| Clothing & Sun Protection | Moisture-managing layers, weather shell, hat, sunglasses, sunscreen, extra socks |
| Food & Water | Enough water for the route, extra food, trail snacks, and water treatment if natural sources may be used |
| Emergency Gear | First-aid kit, headlamp, whistle, emergency shelter, repair supplies, fire starter where legal and appropriate |
| Overnight Additions | Tent or shelter, sleeping bag/quilt, sleeping pad, stove and fuel if needed, extra meals, hygiene supplies, required food-storage system |
Footwear
Footwear is one of the most important comfort and safety choices for hiking, trekking, or mountaineering. The best option depends on the trail surface, weather, distance, pack weight, and your own feet.
For steep, rocky, loose, or muddy terrain, choose footwear with dependable tread and enough support for the route. Hiking boots can be useful when you want more protection or support, while well-fitting hiking shoes or trail shoes may be comfortable for many maintained trails. The National Park Service likewise recommends matching footwear to the actual route rather than treating one style as correct for every hike.
Fit matters more than the label on the shoe. Try footwear with the socks you plan to hike in and make sure your toes have room without letting your heel slide excessively. Test new footwear on shorter walks or hikes before taking it on a long trip. If a shoe repeatedly rubs, pinches, or creates hot spots, do not assume more break-in time will automatically solve a poor fit.
Waterproof footwear can be helpful in cold rain, snow, wet vegetation, or muddy terrain, but it is not automatically the best choice for every wet hike. In warm conditions or repeated water crossings, some hikers prefer footwear that drains and dries quickly. Choose based on the actual environment.
Pro Tip: Pack a small blister kit and deal with a hot spot as soon as you notice it. Waiting until friction becomes a blister can turn a comfortable hike into a painful walk back.
For additional footwear ideas, see these waterproof sneaker options for travel and outdoor use.
Clothing
Hiking clothing should help you manage sweat, wind, precipitation, sun, and temperature changes. Layering is useful because you can add or remove clothing as conditions change.
Base, Mid, and Outer Layers
A base layer should move moisture away from your skin. Merino wool and many synthetic fabrics work well for this purpose. A mid-layer such as fleece or an insulated jacket adds warmth, while a rain shell or weather-resistant outer layer protects against wind and precipitation.
For cold-weather or multi-day hiking, you may also need thermal bottoms, an insulated jacket, warm gloves, and a hat. In hot climates, lightweight, breathable clothing and sun-protective coverage may be more useful. A neck gaiter can provide warmth, sun protection, or light dust protection depending on the conditions.
Sun and Insect Protection
Sun protection is one of the NPS Ten Essentials. Pack sunscreen, sunglasses, and a brimmed hat, and consider long sleeves or other sun-protective clothing for exposed routes.
In areas with mosquitoes or ticks, carry an appropriate insect repellent and check yourself for ticks after hiking. Current CDC Lyme disease prevention guidance recommends measures such as EPA-registered repellents, protective clothing, tick checks, and prompt removal of attached ticks.
Note: Pack for the coldest, wettest, or windiest conditions reasonably expected on your route, not just the temperature at the trailhead when you start.
Navigation Tools
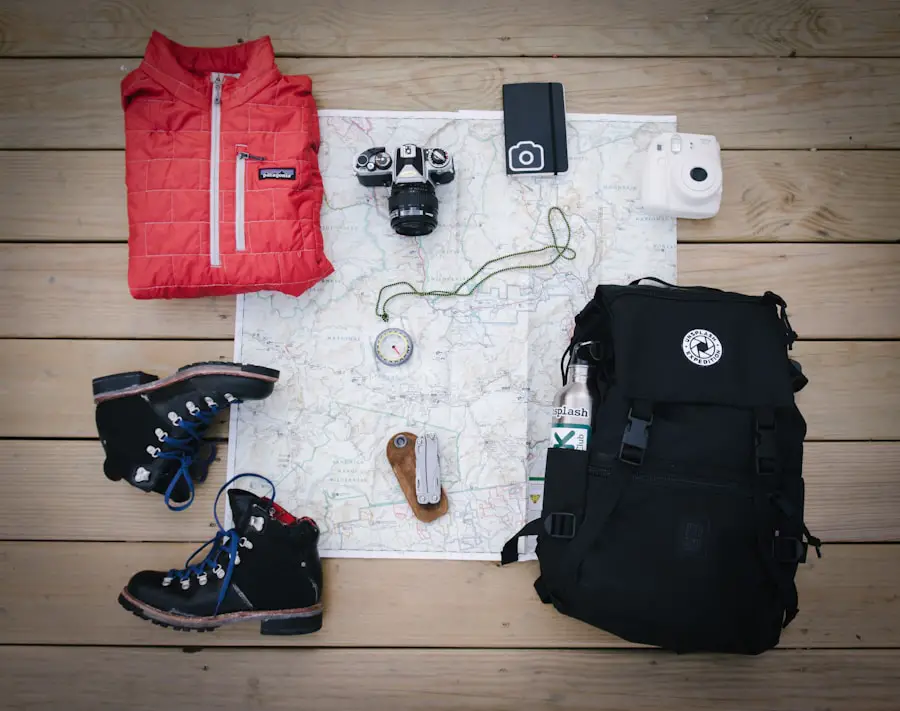
Reliable navigation matters most when the route becomes confusing, visibility drops, or electronics stop working. A current trail map, compass, GPS device, or offline mapping app can all have a role depending on the route. For remote hikes, carry a backup rather than relying on one electronic device.
A topographic map is especially useful for understanding terrain. According to the U.S. Geological Survey, contour lines represent the shape and elevation of the land. A topo map may also show natural and human-made features, but hikers should still use current trail information because routes, crossings, and access conditions can change.
Learn how to use your navigation tools before the hike. Download offline maps at home, charge electronic devices, and carry a power bank when the trip justifies it. In remote areas, a satellite messenger or personal locator beacon can provide an additional way to call for help.
Warning: Do not assume your cellphone will have reception in the backcountry. The National Park Service specifically advises hikers not to rely on cellular coverage as their only communication plan.
Safety Gear and Emergency Essentials
Hiking safety gear should match the hazards you may actually encounter. For a normal trail hike, the priorities are usually illumination, emergency shelter, first aid, signaling, repair supplies, food, water, navigation, and weather protection. Specialized protective equipment becomes important for technical or unusually hazardous terrain.
| Safety Item | When It Makes Sense | Purpose |
| Helmet | Climbing, mountaineering, via ferrata, or routes with rockfall exposure | Head protection from route-specific hazards |
| Protective eyewear | Snow, high-altitude sun, wind, blowing debris, or technical terrain | Eye and UV protection |
| Gloves | Cold weather, snow travel, scrambling, or routes with fixed cables | Warmth or hand protection |
Headlamp and Signaling
Carry a headlamp or flashlight even when you expect to return before sunset. Unexpected delays can turn a day hike into a walk after dark. Pack spare batteries when your light uses replaceable batteries. A whistle is a lightweight signaling tool that can help attract attention during an emergency.
Emergency Shelter, Fire, and Repair Gear
The NPS Ten Essentials include emergency shelter such as a lightweight tarp, bivy, tent, or emergency blanket. A day hiker does not need to carry a full camping setup, but a compact shelter can provide valuable protection if an injury, navigation problem, or sudden weather change forces an unplanned stop.
Where fire is legal, safe, and appropriate, waterproof matches or a lighter and fire starter can serve as emergency equipment. Always follow current fire restrictions. A knife or multi-tool plus a small amount of repair tape, cord, or similar repair material can help with damaged equipment.
For snow-covered mountains or avalanche terrain, ordinary hiking gear is not enough. Avalanche transceiver, probe, shovel, route knowledge, and formal avalanche education may be required. Do not enter avalanche terrain simply because you own rescue equipment.
Personal flotation devices remain essential for water-based activities such as kayaking and canoeing, but they are not standard hiking equipment unless your route specifically involves boating or another activity requiring one.
Hydration and Nutrition
Bring enough water for the route, weather, exertion level, and reliable refill opportunities. Hot weather, altitude, long climbs, exposed terrain, and individual sweat rates can all increase fluid needs, so a single universal water quantity is not appropriate for every hike.
A hydration bladder can make it easy to drink while moving, while bottles make it easier to see how much water remains. Whichever system you choose, check your route in advance to determine whether dependable water sources exist.
Treat Natural Water Correctly
Do not assume clear stream, lake, or spring water is safe to drink. The CDC’s current backcountry water-treatment guidance says boiling is the most reliable way to kill germs. When boiling is impractical, treatment needs to be chosen carefully because ordinary backpacking filters and chemical disinfectants do not all remove or kill the same organisms.
CDC guidance calls for bringing clear water to a rolling boil for 1 minute, or 3 minutes above 6,500 feet. When boiling is not practical, filtering followed by disinfection provides broader protection than relying on many common filters alone.
Food and Trail Snacks
Pack foods that provide useful energy without unnecessary weight. Trail mix, nuts, dried fruit, energy bars, jerky, sandwiches, and similar foods are convenient for day hikes. For longer trips, dehydrated or freeze-dried meals can reduce weight, although they require enough water and often fuel for preparation.
Bring some extra food in case the hike takes longer than planned. Accommodate allergies, dietary restrictions, and personal food preferences when planning meals.
Food Storage in Bear Country
Wildlife rules vary by destination. Some parks and wilderness areas require bear-resistant containers or specific food-storage methods. The National Park Service bear-safety guidance also treats garbage and many scented toiletries as attractants. Check the rules for the exact area you are visiting before packing.
Shelter and Sleeping Gear
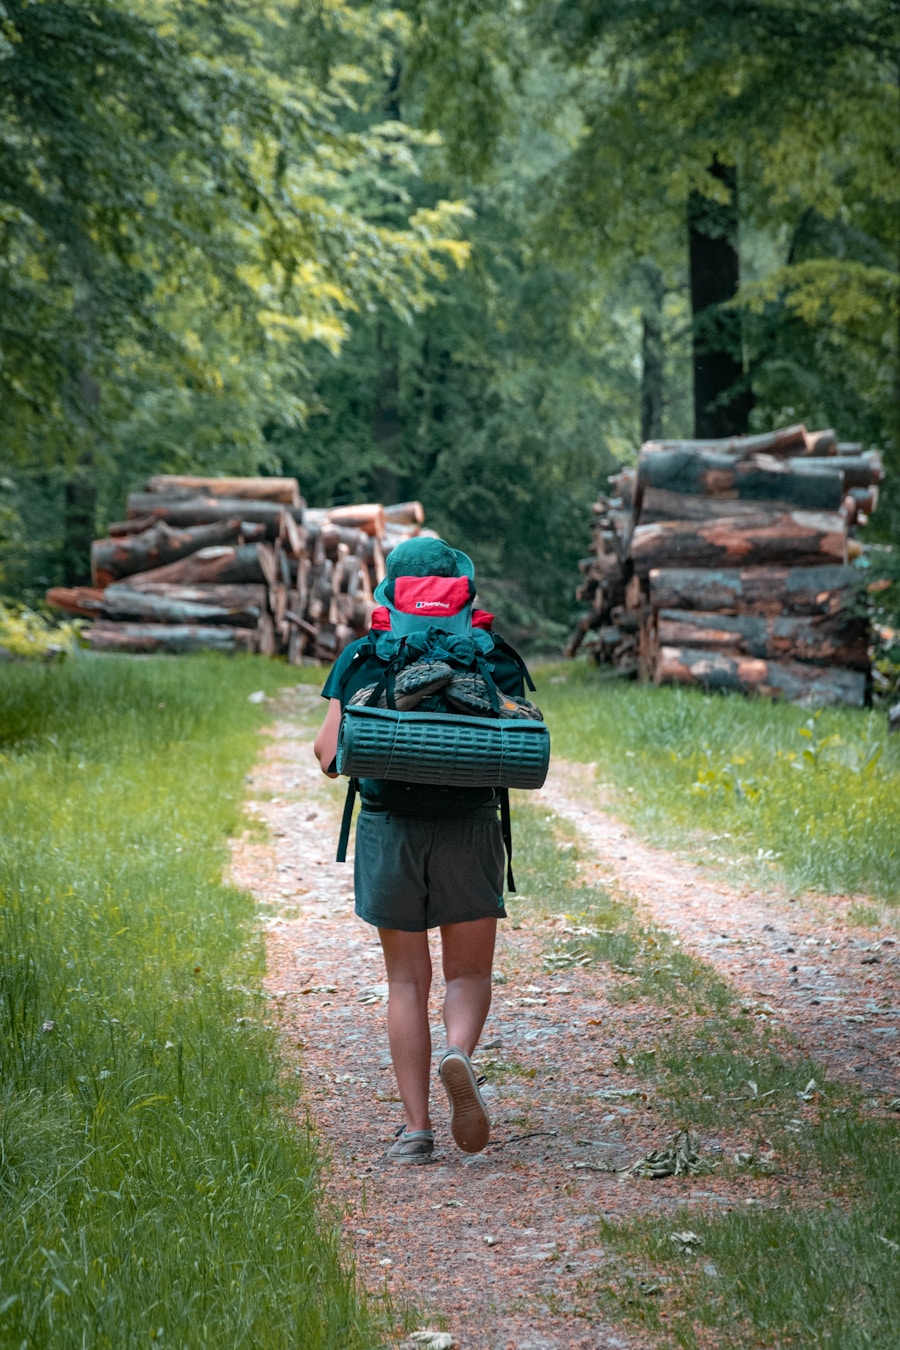
For an overnight hiking trip, choose a shelter that fits the number of people, expected weather, campsite conditions, and the amount of weight you are willing to carry. Backpacking tents emphasize packed size and weight, while car-camping tents can be larger and heavier because they do not need to be carried far.
Your sleeping system should match expected nighttime temperatures and conditions. Select a sleeping bag or quilt with an appropriate temperature rating, and remember that a sleeping pad does more than add cushioning: it also insulates you from the ground.
Inflatable pads are popular when packed size and weight matter. Foam pads are simple, durable, and resistant to punctures. Either can work well when its insulation and comfort suit the trip.
Note: A backpacking tent and sleeping bag are normally overnight gear. A compact emergency bivy, tarp, or emergency blanket serves a different purpose and belongs in the emergency system for many day hikes.
First Aid Kit
Carry first-aid supplies suited to the group size, trip length, remoteness, and activities planned. A basic hiking kit commonly includes adhesive bandages, gauze, medical tape, wound-cleaning supplies, blister treatment, tweezers, and any personal medications you may need.
Inspect the kit before each trip. Replace expired or depleted supplies and make sure you know how to use what you carry. A wilderness first-aid course can be especially valuable for people who regularly travel far from immediate medical help.
Ticks and Insect Bites
Fine-tipped tweezers are useful for splinters and attached ticks. According to the CDC, an attached tick should be removed as soon as possible by grasping it close to the skin and pulling upward with steady, even pressure. Specialized tick-removal gadgets are optional; ordinary clean tweezers work well.
Warning: A first-aid kit does not replace emergency medical care. Before remote trips, know how you would contact rescuers or evacuate an injured member of your group.
Backpack and Packing Essentials
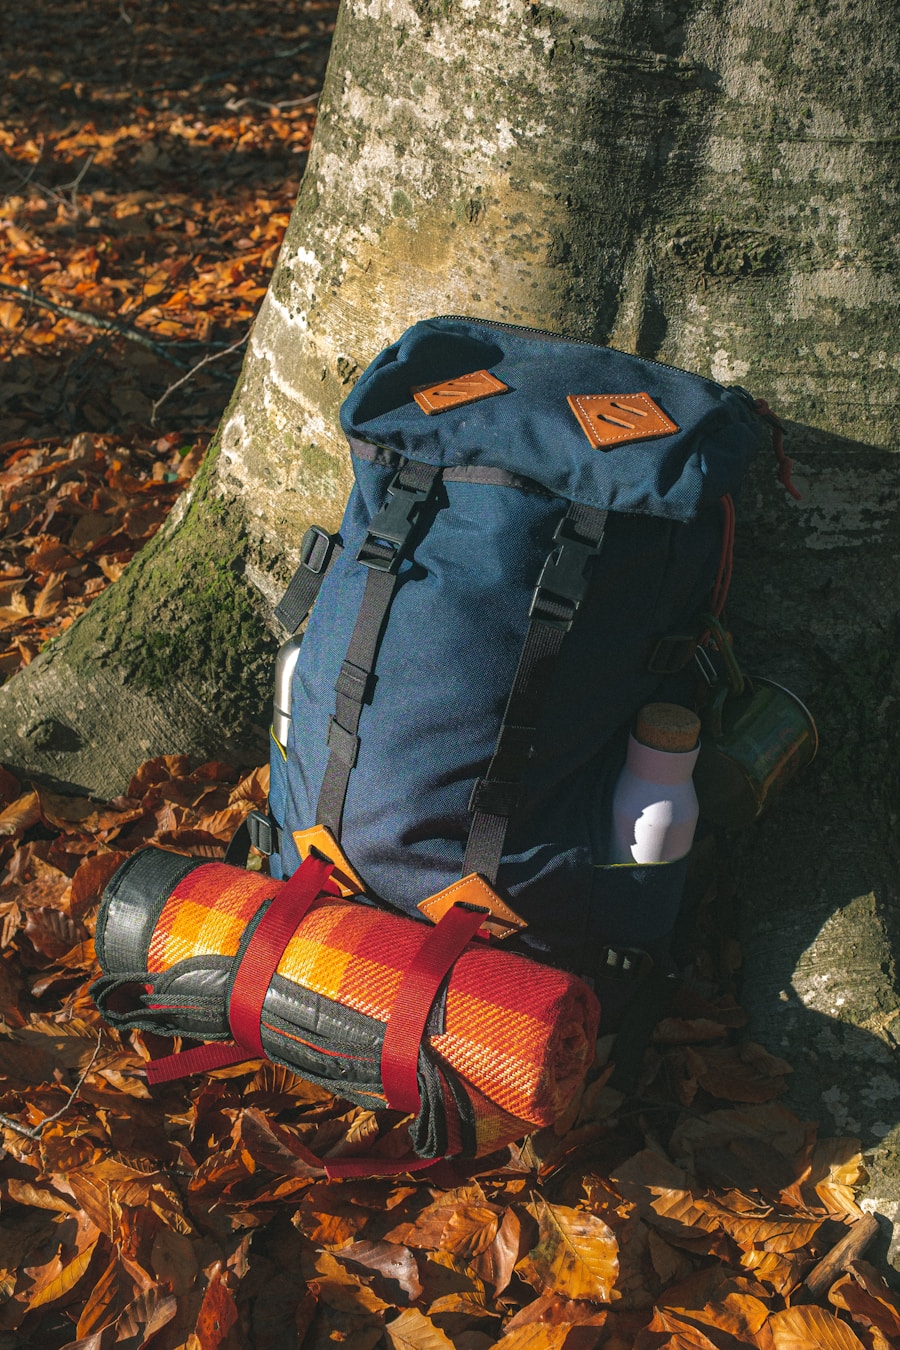
Your backpack is the central storage system for the trip. Choose its capacity according to the length of the outing and the amount of clothing, water, shelter, food, and safety equipment you need. Fit matters: the pack should match your torso and allow you to adjust the shoulder straps and hip belt comfortably.
Organize gear so frequently needed items are easy to reach. Rain gear, water, navigation tools, snacks, sunscreen, and first-aid supplies should not be buried beneath everything else. Dry bags, waterproof liners, or resealable bags can protect clothing, electronics, and emergency gear from moisture.
As a general packing principle, place dense or heavier gear close to your back rather than hanging it far away from your body. Avoid attaching unnecessary loose objects that swing as you walk.
Useful Extras
- Trekking poles for balance, steep grades, or uneven terrain.
- Traction devices when the route has snow or ice and conditions call for them.
- Power bank and charging cable for electronic navigation or communication equipment.
- Toilet paper or other hygiene supplies where appropriate, plus a resealable bag for packing out waste that must not be left on the trail.
- Hand sanitizer.
- Prescription medication and other personal necessities.
- A small rechargeable hand warmer for trips where cold conditions justify one; see this rechargeable hand warmer guide.
For hikers or travelers you are shopping for, this travel gifts for women guide also includes additional gift ideas.
Plan Before You Pack
Gear is only one part of hiking preparation. Before leaving home, review the route distance, elevation change, difficulty, trail conditions, weather forecast, sunset time, water availability, wildlife concerns, permit requirements, and current closures or alerts.
The National Park Service Hike Smart guidance recommends leaving a trip plan with a trusted person. Include your route, trailhead, who is going, when you expect to return, and what that person should do if you do not check in.
Also decide on a turnaround time. Reaching a summit, waterfall, or viewpoint is optional; getting back safely is not. Weather, injury, fatigue, route-finding problems, high water, wildfire, or other changing conditions are all valid reasons to turn around.
Day Hike vs. Overnight Hiking Gear
A short day hike and a multi-day backpacking trip share the same basic safety systems, but the amount of gear changes considerably.
For a Day Hike
- Daypack.
- Appropriate footwear and clothing.
- Navigation and backup navigation.
- Water and extra food.
- Sun protection.
- Headlamp.
- First-aid supplies.
- Basic repair tool or multi-tool.
- Emergency shelter.
- Extra insulation or rain protection.
- Whistle and communication equipment appropriate to the route.
For an Overnight or Multi-Day Hike
Carry the same core safety equipment, then add:
- Backpacking tent, tarp, hammock system, or other suitable overnight shelter.
- Sleeping bag or quilt.
- Sleeping pad.
- Additional clothing.
- Meals and extra food.
- Stove, fuel, lighter, and cookware when your meal plan requires them and regulations allow their use.
- Additional water capacity and water-treatment supplies.
- Food storage that meets local wildlife regulations.
- Hygiene and sanitation supplies.
- Repair supplies appropriate to your shelter, sleeping pad, and other critical gear.
Pro Tip: Do a final pack check the night before the hike. Test your headlamp, verify that offline maps are downloaded, confirm the weather and trail status, refill first-aid supplies, and make sure everyone knows the route and turnaround plan.
Love travel? Join Our Facebook Community For More Tips.
Frequently Asked Questions
What are the essential items to pack for a hiking trip?
Start with the Ten Essentials: navigation, sun protection, insulation, illumination, first aid, fire where appropriate, repair tools, food, hydration and water treatment, and emergency shelter. Also pack suitable footwear, a comfortable backpack, personal medications, and any equipment required for the specific terrain or destination.
What type of clothing should I pack for a hiking trip?
Use layers that match the expected conditions: a moisture-managing base layer, insulating layer when needed, and rain or wind protection. Pack suitable socks, a sun hat, sunglasses, and extra insulation for unexpected temperature changes. Cold trips may require gloves, thermal layers, and an insulated jacket.
What kind of footwear is best for hiking?
Choose footwear that fits well, has traction suited to the trail, and has already been tested on shorter walks. Hiking boots can provide extra protection or support on demanding terrain, while hiking shoes or trail shoes work well for many maintained trails. Waterproof footwear is useful in some wet or cold conditions but is not mandatory for every hike.
What should I pack for food and snacks on a hiking trip?
Choose portable foods such as nuts, dried fruit, trail mix, energy bars, jerky, sandwiches, or other foods you tolerate well. Bring enough for the planned outing plus some extra in case of delay. For overnight trips, add lightweight meals and the cooking equipment required by your meal plan.
What safety items should I pack for a hiking trip?
Carry first-aid supplies, a headlamp, whistle, navigation and backup navigation, emergency shelter, extra food and clothing, and basic repair equipment. Depending on the route, a satellite communicator, traction devices, trekking poles, bear spray where recommended and legal, or specialized climbing or avalanche equipment may also be appropriate.
Do I need a water filter for every hike?
No. If you can carry all the safe drinking water you need, a filter may not be necessary. Carry treatment equipment when you may depend on natural water sources or when your emergency plan calls for it. Remember that different filters and disinfectants protect against different organisms, so follow CDC guidance and the treatment manufacturer’s instructions.
Should I carry a headlamp on a daytime hike?
Yes, especially on longer, remote, or unfamiliar hikes. A delay caused by weather, route finding, injury, or slower-than-expected progress can keep you out after sunset. A small headlamp provides hands-free light without depending on your phone battery.
Sources
- National Park Service — Ten Essentials — core hiking emergency and preparedness systems.
- National Park Service — Hike Smart — trip planning, trail conditions, communication, footwear, weather, and emergency preparation.
- CDC — Water Treatment When Hiking, Camping, or Traveling — safe treatment of water from uncertain sources.
- CDC — What to Do After a Tick Bite — current tick-removal guidance.
- National Park Service — Bear Safety: Storing Food — food, garbage, and scented-item storage in bear country.
- U.S. Geological Survey — Topographic Maps — explanation of contour lines, terrain, and mapped features.

