
Last Updated on July 27, 2026 by Daniel Globe
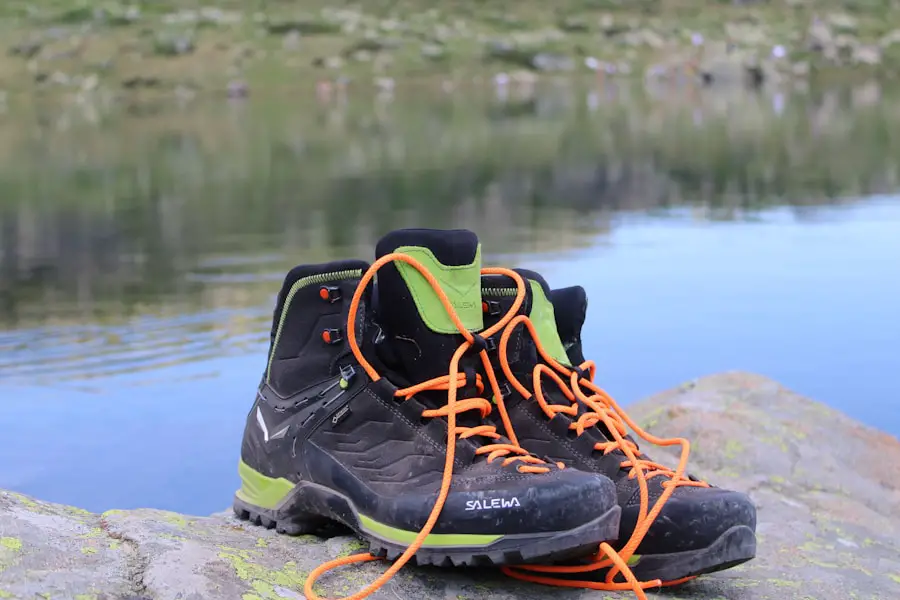
New hiking boots should feel good before you ever take them on a serious trail, but some models still need time to flex and settle around your feet. The amount of break-in depends mostly on the boot’s materials, stiffness, construction, and how well its shape matches your foot.
Quick Answer
There is no universal break-in mileage. Lightweight synthetic hiking footwear may need only a few short walks, while stiff leather backpacking boots can take several outings or a few weeks. Start indoors, progress to short walks, then easy trails. Your boots are ready when they stay comfortable with your normal hiking socks, insoles, and pack.
Key Takeaways
- Modern lightweight hiking shoes may need little formal break-in, while stiff leather boots generally need more gradual wear.
- A break-in period can improve an already good fit, but it cannot turn the wrong size or shape of boot into the right one.
- Wear the same socks and insoles you plan to use on the trail and increase distance, terrain difficulty, and pack weight gradually.
- Stop and address hot spots early instead of trying to “push through” rubbing or pain.
- Avoid shortcuts such as soaking, heating, or immediately taking new boots on a long hike.
At a Glance
| Time Required | A few short walks for flexible footwear to several outings or a few weeks for stiff leather boots |
| Difficulty | Easy; the key is progressing gradually and paying attention to fit |
| Tools Needed | Your hiking socks, normal insoles, and eventually the daypack or backpack you plan to carry |
| Cost | Usually $0 if you already own your trail socks and insoles; blister protection or manufacturer-approved care products are optional |
Disclosure: As an Amazon Associate I earn from qualifying purchases. Some links on this page are affiliate links, at no extra cost to you.
How Long Does It Take to Break In Hiking Boots?
There is no single number of hours or miles that tells you when every hiking boot is broken in. Current REI break-in guidance notes that light hiking footwear can feel comfortable immediately, while heavy leather boots may require weeks of use before they fully settle in.
Salomon’s footwear guidance makes a similar distinction: many modern synthetic hiking shoes need minimal break-in, while traditional leather footwear usually takes more time to soften and adapt.
That means your calendar matters more than chasing a specific mileage target. If you have an important backpacking trip coming up, start wearing new boots well in advance so you have enough time to discover fit problems, experiment with lacing, and exchange the boots if necessary.
Note: “Broken in” does not mean stretched until a bad fit becomes tolerable. The goal is for an already well-fitting boot to flex naturally with your foot and remain comfortable during progressively longer walks.
Start With the Right Fit
Break-in starts before you leave the store. Hiking footwear should feel secure without squeezing your foot. Your toes should have room to move, your heel should not lift excessively, and your toes should not strike the front of the boot when walking downhill.
REI’s current hiking-boot fit guidance describes a good fit as snug rather than tight and emphasizes checking heel position, toe room, friction points, seams, and overall boot volume.
Try the boots with the socks and insoles you will actually use. A different sock thickness or aftermarket insole can change heel hold, toe clearance, and the amount of space over the top of the foot.
Warning: Break-in cannot fix the wrong size or a boot shape that does not match your foot. Persistent pinching, toes hitting the front, severe heel slip, numbness, or immediate painful rubbing are reasons to reassess the fit rather than simply wearing the boots longer.
Factors Affecting Break-in Time
The biggest factor is the construction of the boot. Lightweight hiking shoes and flexible synthetic boots usually change relatively little with wear. Their main “break-in” period is often a chance for you to confirm that the fit, socks, insoles, and lacing work over real walking distances.
Stiffer backpacking and mountaineering boots can require more gradual use because their uppers, midsoles, padding, and leather components need more time to flex comfortably with your stride. Full-grain leather generally takes longer to soften than lightweight textile or synthetic uppers.
Your foot shape also matters. Two people wearing the same model may have very different experiences because of differences in heel width, forefoot width, arch shape, foot volume, and walking mechanics.
The difficulty of your intended hike is another factor. Boots that feel fine on flat pavement may behave differently on steep descents, side slopes, rocky ground, or under a loaded backpack. A proper break-in process therefore tests more than distance alone.
Methods for Breaking in Hiking Boots
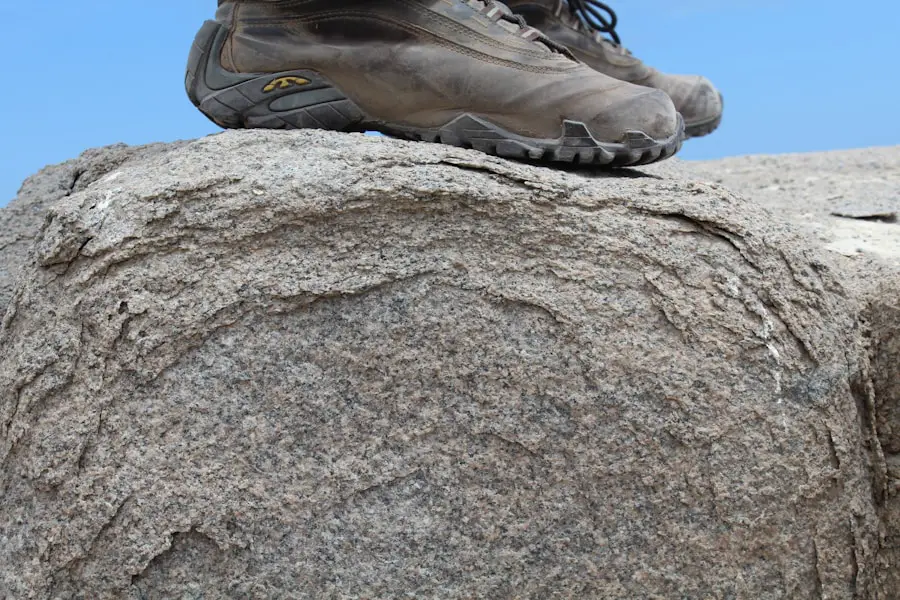
The safest method is gradual exposure. REI and LOWA both recommend starting with short periods of wear and increasing the challenge only when the boots remain comfortable.
1. Wear Them Indoors First
Put on your normal hiking socks and insoles, lace the boots snugly, and wear them around the house. This lets you check basic fit while the footwear is still clean and easier to return under many retailers’ policies.
Make sure the tongue and gussets sit flat. Pay attention to pressure on the toes, sides of the forefoot, heel, ankle bones, and top of the foot.
2. Take Short Walks Near Home
Once the boots feel good indoors, walk around the block or take another short outing close to home. Stay near enough that you can stop rather than being forced to continue if a hot spot develops.
3. Increase Distance Gradually
Add time and distance only after the previous outing was comfortable. There is no benefit to turning the break-in process into an endurance test.
4. Move Onto Easy Trails
Introduce dirt, gravel, small hills, and uneven ground. This is where you can evaluate downhill toe clearance, heel movement on climbs, ankle comfort, and how the boot flexes on real terrain.
5. Add Your Normal Pack
Before a long backpacking trip, complete at least one shorter outing carrying a representative load. Extra weight can change your gait and increase friction, so a boot that feels fine without a pack still deserves a loaded test.
Pro Tip: Change only one variable at a time. If you alter the socks, insoles, and lacing all at once, it becomes difficult to tell which change solved—or created—a fit problem.
Duration of the Break-in Period
| Boot Type | Typical Break-in Pattern |
| Trail runners and very light hikers | Often little formal break-in; use a few short outings to confirm fit and eliminate surprises. |
| Flexible synthetic hiking boots | Usually several progressive walks or hikes rather than a long conditioning period. |
| Stiff leather backpacking boots | May need multiple outings and potentially a few weeks before they flex comfortably on longer hikes. |
| Mountaineering or especially rigid boots | Expect the slowest adjustment; follow the manufacturer’s model-specific advice and test them extensively before a demanding trip. |
These are practical expectations, not deadlines. Your boots are ready based on how they behave on your feet, not because you have reached a certain number on a pedometer.
If a flexible boot already feels natural and remains comfortable on several progressively longer walks, there is no reason to force an artificial break-in period. Likewise, a stiff leather boot that still creates pressure after repeated gradual outings may need professional adjustment or may simply be the wrong model for your foot.
Signs of a Properly Broken-in Boot
A properly broken-in hiking boot should feel predictable. You should be able to focus on the trail rather than constantly thinking about your footwear.
- No recurring hot spots: You are not developing burning or rubbing in the same location as distance increases.
- Secure heel: Minor movement can occur, but the heel should not repeatedly lift and rub.
- Enough toe room: Your toes do not strike the front of the boot on descents.
- No pinching or numbness: The forefoot and top of the foot remain comfortable when the boot is laced securely.
- Natural flex: The boot bends with your stride without creating painful creases or pressure.
- Comfort over realistic terrain: You have tested the boots on hills and uneven ground, not just indoors.
- Comfort with your pack: If you will backpack, the boots have also passed a shorter loaded hike.
Do not use improved traction as a sign that a boot is broken in. Outsole grip depends mainly on the sole design, rubber compound, terrain, contamination, and surface conditions rather than whether the upper has softened.
Common Mistakes to Avoid
Taking New Boots Straight Onto a Long Hike
A long first outing leaves little room to respond if the boots rub. Start with short walks where stopping or changing footwear is easy.
Trying to Push Through Pain
Normal new-boot stiffness is different from sharp pressure, numbness, severe rubbing, or toe impact. Small problems usually become worse as distance increases.
Using the Wrong Socks During Break-in
Do not deliberately use very thick socks simply to force the boot to stretch. Use socks similar to those you will actually wear on the trail. Moisture management and a secure fit matter more than maximum thickness.
Ignoring Lacing
Lacing can change heel hold and pressure across the top of the foot. A slightly different tension pattern may solve a minor issue, although lacing cannot correct a fundamentally wrong boot size or shape.
Soaking or Heating the Boots
REI specifically advises against soaking boots or attempting to force the process with a very long walk. Excess heat can also damage leather, adhesives, and other footwear components.
Warning: Do not put hiking boots in an oven, dryer, beside a heater, or in a hot car to accelerate break-in. LOWA warns that direct heat can shrink or crack leather, and manufacturers may have additional care restrictions for specific materials.
Using the Wrong Leather Product
Conditioning products can be appropriate for some leather boots, but use only products approved for your footwear. LOWA notes that unsuitable oils and greases can over-soften leather, interfere with breathability, and potentially affect adhesives. A care product should protect the boot, not serve as a shortcut for a poor fit.
Tips for a Comfortable Break-in Process
Keep your feet as dry as practical and change damp socks when necessary. A 2022 study of 203 hikers published in the Journal of Tissue Viability found that finishing the day with wet socks was associated with a 1.94-times greater risk of foot blisters. The researchers did not find that natural versus synthetic fiber composition itself determined whether hikers developed blisters.
In a study of 203 hikers, wet socks were associated with about 1.94 times the risk of developing foot blisters.
The American Academy of Dermatology recommends well-fitting footwear, moisture-wicking socks, and protecting known friction areas with soft bandages such as moleskin.
At the first sign of a hot spot, stop and investigate. Smooth a wrinkled sock, remove grit, adjust the laces, or protect the area before continuing. Waiting until a hot spot becomes a fluid-filled blister makes the rest of the hike much harder.
Different terrain is useful during break-in because it exposes different fit problems. Flat pavement tests basic comfort, hills expose heel movement and downhill toe clearance, and uneven trails show how the footwear behaves during side-to-side movement.
When to Seek Professional Help
If the same painful pressure point or blister keeps returning despite gradual break-in, talk with an experienced footwear fitter. A specialist can determine whether the problem is related to size, width, volume, lacing, insoles, or the basic shape of the boot.
Some leather footwear can be professionally stretched at a specific pressure point, but stretching should be considered a limited adjustment rather than a way to turn an undersized boot into the correct size.
If a blister develops, keep the area clean and protected. The American Academy of Dermatology advises seeking medical care when a blister shows possible infection signs such as increasing redness, pus, worsening pain, or swelling.
Also inspect the boots themselves. Separating soles, failed seams, damaged hardware, or abnormal internal ridges can indicate a product problem rather than a normal break-in issue. Check the manufacturer’s warranty or the retailer’s return policy rather than continuing to hike in defective footwear.
If you’re wondering how long it takes to break in hiking boots because you are preparing for a trip that also involves flying, your luggage setup matters too. Check out our article on the best carry-on luggage for international travel as part of your trip preparation.
Love travel? Join Our Facebook Community For More Tips.
Frequently Asked Questions
What is the break-in period for hiking boots?
There is no universal mileage or hour requirement. Lightweight synthetic hiking footwear may feel comfortable after only a few short walks, while stiff leather backpacking or mountaineering boots can require several outings or a few weeks of progressive wear.
How can I speed up the break-in process for hiking boots?
The safest way is not to force it. Wear the boots indoors with your normal hiking socks and insoles, progress to short walks, then try easy trails and gradually add distance and pack weight. Avoid soaking, heating, or immediately wearing new boots for a long hike.
What are the signs that hiking boots are fully broken in?
The boots should flex naturally with your stride without creating recurring hot spots, pinching, numbness, excessive heel rubbing, or downhill toe impact. They should also remain comfortable during progressively longer walks on terrain similar to your planned hike.
What happens if I don’t break in my hiking boots properly?
You are more likely to discover rubbing, pressure points, poor lacing, or fit problems during the hike itself, when correcting them is harder. The result can be hot spots, blisters, toe pain, or an uncomfortable trip. A gradual trial period gives you time to solve those problems before committing to a long route.
Do modern hiking boots still need to be broken in?
Many flexible synthetic hiking shoes need very little physical softening compared with traditional leather boots. Even so, wearing them on several shorter outings is worthwhile because it confirms the fit, socks, insoles, lacing, and downhill toe clearance before a bigger hike.
Can I break in hiking boots overnight?
Not reliably. Flexible footwear may already feel comfortable enough for short use, but stiff boots need repeated movement rather than an overnight trick. Avoid soaking, heating, freezing, or aggressively stretching the boots unless the manufacturer specifically recommends a treatment for that model.
Sources
- REI Co-op — How to Break in Your Hiking Boots — gradual break-in process, fit limitations, and avoiding shortcuts.
- Salomon — How to Break in Your Hiking Shoes — modern synthetic footwear versus traditional leather boots.
- LOWA — Break in Hiking Boots — progressive walking, socks, lacing, terrain, and pressure-point guidance.
- American Academy of Dermatology — How to Prevent and Treat Blisters — footwear fit, moisture-wicking socks, friction protection, and signs requiring medical attention.
- PubMed — Influence of Sock Composition on Foot Blisters in Hikers — evidence linking wet socks with increased blister risk.
