

Last Updated on August 2, 2026 by Daniel Globe
Hiking boots protect your feet from rough ground, provide traction, and help make long days on the trail more comfortable. But even a well-made pair eventually wears out. The key is knowing what to inspect rather than waiting for a sole to fail halfway through a hike. Tread wear, compressed cushioning, sole separation, damaged uppers, poor fit, and age can all signal that repair or replacement is due.
Quick Answer
Replace hiking boots when the tread no longer grips reliably, the midsole is cracked or permanently compressed, the sole is separating, the upper has structural damage, or the boots no longer fit and support your feet comfortably. Mileage can be a rough guide, but the boot’s actual condition matters more than a fixed number.
Key Takeaways
- Do not replace hiking boots by mileage alone. Terrain, construction, pack weight, care, storage, and material age all affect lifespan.
- Worn-flat tread, cracked or crumbling midsoles, sole separation, structural tears, and a collapsed heel are stronger replacement signals than cosmetic scuffs.
- Old boots can deteriorate even when rarely worn, especially models that use polyurethane components in the sole.
- Laces, hooks, some seams, heels, insoles, and the soles of certain boots may be repairable or replaceable. Check the manufacturer before assuming your model can be resoled.
- Regular cleaning, room-temperature drying, correct waterproofing treatment, and proper storage can help hiking boots last longer.
At a Glance
| Time Required | About 5–10 minutes for a basic pre-hike inspection |
| Difficulty | Easy |
| Tools Needed | Good lighting, your hands, and a soft brush or damp cloth if the boots are dirty |
| Cost | $0 for inspection; cleaning, repair, waterproofing, or replacement costs vary by boot |
Disclosure: As an Amazon Associate I earn from qualifying purchases. Some links on this page are affiliate links, at no extra cost to you.
How Long Do Hiking Boots Last?
There is no single mileage or age at which every hiking boot should be replaced. A commonly quoted range is roughly 500–1,000 miles, but it should be treated as a rough planning estimate rather than an expiration date. Lightweight footwear used on sharp rock may wear much faster, while a durable, repairable boot used on gentler trails may remain serviceable for much longer.
Boot construction, hiking frequency, abrasive terrain, mud and moisture, body and pack weight, storage, cleaning habits, and the materials used in the sole all affect lifespan. Cold temperatures and high altitude can also accelerate material fatigue, since repeated freeze-thaw cycles and UV exposure at elevation stress adhesives and foam faster than mild, low-altitude conditions. For that reason, inspecting the boot is more useful than relying on a mileage counter alone.
Age also matters. LOWA explains that polyurethane midsoles can undergo hydrolysis, a normal aging process that can make the material brittle, cracked, crumbly, or prone to separation. This can happen even when an older pair has spent much of its life in storage — boots that sit unused for long stretches can actually degrade faster than boots worn regularly.
Note: Low mileage does not automatically mean an old pair is trail-ready. Inspect boots that have been stored for a long time before trusting them on a long or remote hike.
Signs of Wear and Tear on Hiking Boots
Some wear is cosmetic. Scratches, faded fabric, and dirt do not automatically make a hiking boot unsafe. The more important question is whether wear has reduced traction, cushioning, structural integrity, fit, or weather protection.
1. The Tread Is Worn Smooth
Start with the outsole, the rubber surface that contacts the trail. Look at the heel, forefoot, outer edges, and toe. Rounded, shallow, or smooth lugs provide less bite than an intact tread pattern, particularly on mud, loose soil, steep terrain, and wet surfaces.
LOWA advises checking the sole profile before hiking and notes that heavily worn soles can no longer provide their intended grip.
Uneven outsole wear also deserves attention. If one part of a boot is dramatically more worn than the other, check whether the boot still sits flat and feels stable when you walk.
2. The Midsole Is Cracked, Crumbling, or Permanently Compressed
The midsole provides much of a boot’s cushioning and support, yet its deterioration can be less obvious than worn tread. Inspect exposed foam or polyurethane for deep compression lines, cracks, brittleness, crumbling, or deformation.
Compare both boots on a flat surface. A boot that visibly leans, twists unusually easily, or feels much harsher underfoot than it once did may have lost useful structure or cushioning.
Crumbling polyurethane is especially important because it can signal age-related hydrolysis rather than normal surface wear.
3. The Sole Is Separating From the Upper
Check the entire line where the sole joins the upper. Small cosmetic gaps should be monitored, while growing separation, loose sections, or extensive delamination require professional assessment.
Do not assume that adhesive is a permanent fix for major sole separation. Some boots can be professionally resoled or rebuilt, while others are not designed for that service.
4. The Upper Has Structural Cracks, Holes, or Tears
Inspect leather, textile panels, stitching, seams, the toe area, and flex points. Minor surface scuffs are normal. Deep leather cracks, torn fabric, failed seams, or holes that continue to spread are more serious because they can allow debris and moisture into the boot and weaken the upper.
Delamination between layers or around protective rands also deserves inspection before another demanding hike.
5. The Heel or Overall Fit Has Collapsed
A hiking boot should hold the heel securely without crushing the foot. If the heel counter has collapsed, the collar has lost its shape, or your heel now slides far more than it did when the boots were new, check whether a replaceable insole or lacing adjustment solves the problem.
A fresh insole or orthotic can sometimes restore support and fit in an otherwise sound boot, so it’s worth trying before assuming the whole boot is finished. If the underlying boot structure has changed and you cannot regain a secure, comfortable fit even with a new insole, replacement may be the better choice.
6. Laces, Hooks, or Eyelets Are Failing
Damaged laces alone are not a reason to retire a boot. Replace them. Loose hooks, worn eyelets, and some stitching problems may also be repairable, depending on the construction.
However, a failed lacing system can prevent you from securing the boot properly, so repair it before a demanding hike rather than continuing to use it loose.
7. Water Resistance No Longer Recovers After Proper Care
Wet-looking outer material does not necessarily mean a waterproof membrane has failed. The water-repellent treatment on the outer material can wear down while the membrane remains intact.
REI recommends renewing appropriate waterproofing treatment when the exterior stops beading water. Use a product intended for the actual upper material and follow the boot manufacturer’s care instructions.
If water repeatedly enters through damaged seams, holes, or a failed liner even after correct cleaning and treatment, repair or replacement may be necessary.
8. The Boots Cause New Hotspots or Discomfort
Pay attention when a previously comfortable pair begins rubbing, slipping at the heel, feeling noticeably harder underfoot, or causing persistent hotspots. Those changes can indicate compressed cushioning, a damaged insole, altered fit, or structural wear.
Discomfort can have many causes, so inspect the sock, insole, lacing, and fit before assuming the entire boot is finished. Persistent pain should not be ignored or blamed automatically on footwear.
Importance of Replacing Hiking Boots
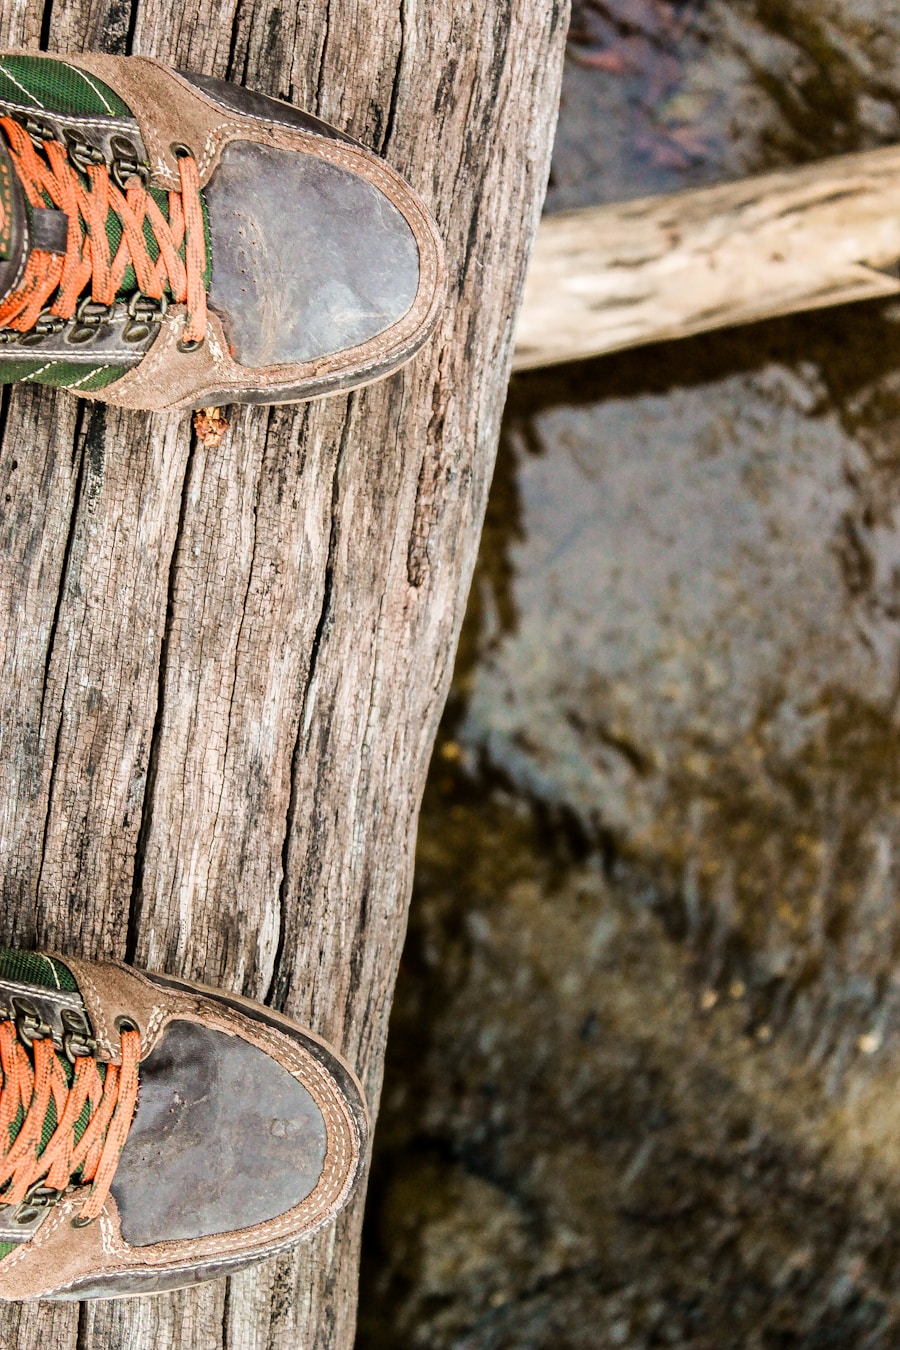
A hiking boot’s tread, sole structure, upper, and lacing system work together to give you traction, protection, and a secure fit on uneven ground. Once those parts are badly worn, the boot may no longer perform as intended.
Flat tread can reduce grip. Damaged uppers can admit water and debris. Failed cushioning can make rocks and roots feel harsher underfoot. A loose or damaged closure system can make the boot harder to secure.
You do not need to discard a pair because it looks old. The goal is to replace or repair it when meaningful performance has been lost.
Warning: Do not rely on boots with a crumbling midsole, rapidly spreading sole separation, or major structural damage for a remote hike. A failure that is inconvenient near home can become a serious problem many miles from the trailhead.
How to Inspect Hiking Boots Before a Hike
A quick inspection is especially useful before a long trip or when the boots have been stored for months or years.
- Clean enough dirt away to see the boot. Mud can hide cracks, worn lugs, and separation.
- Inspect the outsole. Look for smooth tread, uneven wear, cuts, hardened rubber, or pieces beginning to detach.
- Check the midsole and sole bond. Look for cracking, crumbling, deep compression, gaps, or delamination around the perimeter.
- Inspect the upper and hardware. Check seams, leather or fabric, hooks, eyelets, laces, toe protection, heel area, and lining.
- Put both boots on. Lace them normally and walk on stairs, slopes, and uneven ground near home. Make sure the heel stays secure and there are no new pressure points.
Pro Tip: After a long period of storage, wear the boots on a short local walk before taking them into the backcountry. Age-related sole problems are much easier to discover close to home.
Repair, Resole, or Replace Hiking Boots?
Deciding whether to repair or replace hiking boots depends on the part that has failed and how the boot was constructed. A small problem does not always justify buying a new pair, especially when the upper and sole structure are still sound.
| Condition | Best Next Step |
| Worn laces or replaceable insoles | Replace the individual part if the rest of the boot is sound. |
| Loose hook, eyelet, limited seam damage, or a small repairable upper problem | Ask the manufacturer, retailer, or qualified footwear repairer whether the specific repair is practical. |
| Worn outsole but healthy upper on a model designed for resoling | Consider a professional resole before wear becomes severe. |
| Crumbling midsole, major structural tears, badly damaged lining, or nonrepairable sole construction | Replacement is usually the more dependable choice. |
| Several major problems at once | Compare the repair scope with the cost and expected life of a replacement pair. |
Repairability varies greatly. Danner identifies specific recraftable models, while LOWA explains that some trekking and mountaineering footwear can be resoled but some lightweight constructions cannot.
If you have invested in high-quality boots that still fit well and have healthy uppers, professional repair may extend their useful life. On the other hand, extensive delamination, crumbling sole material, major structural damage, or several failures at once can make replacement more sensible.
Tips for Extending the Lifespan of Hiking Boots
| Habit | What to Do |
| 1. Clean your boots regularly | Remove dirt, mud, grit, and debris that can hide damage or remain packed into the tread and upper. |
| 2. Dry them thoroughly | Remove insoles when needed and let boots air-dry at room temperature rather than beside a heater or fire. |
| 3. Renew water repellency correctly | Use a treatment designed for your boot’s leather, nubuck, suede, textile, or mixed-material upper. |
| 4. Store them properly | Choose a dry, ventilated location with stable indoor temperatures rather than a hot trunk, damp basement, or other extreme environment. |
| 5. Replace worn laces and insoles | Do not retire an otherwise sound boot because a replaceable component has worn out. |
| 6. Use them for their intended purpose | Avoid unnecessary abrasion and chemical exposure from jobs or activities such as construction work when the boots are intended primarily for hiking. |
Proper fit also helps. A boot that is far too loose can allow excessive movement and rubbing, while one that is too tight can create pressure points. Wear the type of hiking sock you normally use when assessing fit.
Moisture-wicking synthetic or merino-wool socks can also help manage moisture inside the boot. Change wet socks during long outings when practical.
How to Properly Care for Hiking Boots
Cleaning methods vary by material, so the boot manufacturer’s instructions should take priority. As a general routine, Salomon recommends removing dirt and mud with a soft wet brush and clean water, while REI gives similar advice for hiking footwear.
1. Remove the Laces and Insoles
Taking out the laces makes it easier to clean around the tongue, eyelets, and flex points. Remove insoles when the boots are wet so the insoles and interior can dry separately.
2. Brush Away Mud and Debris
Use a soft brush to remove loose dirt from the upper. Clean packed mud and small stones from the outsole so you can inspect the tread properly.
3. Wash According to the Boot Material
Use clean water and, when necessary, a footwear cleaner approved for the material. Avoid washing machines and harsh household cleaners unless the manufacturer specifically says they are safe for that model.
4. Air-Dry at Room Temperature
REI recommends drying hiking boots at normal temperature and away from direct heat. A fan can improve airflow. High heat can prematurely age leather and weaken footwear adhesives.
Warning: Do not dry hiking boots against a radiator, beside a campfire, on a heater, or with another intense heat source. Slow air-drying is safer for the leather, foam, and adhesive bonds.
5. Restore Water Repellency When Needed
New hiking boots often arrive with a factory-applied water-repellent finish. Reapply a suitable treatment when water stops beading and begins soaking readily into the exterior.
Match the treatment to the upper. Full-grain leather, suede, nubuck, textile, and combination uppers can require different products. A waterproof/breathable membrane inside the boot does not mean every exterior treatment is appropriate.
6. Condition Leather Only When Appropriate
Full-grain leather can benefit from an appropriate conditioner when it becomes dry. Suede and nubuck are treated differently, so do not apply a generic leather oil simply because the boot contains leather.
If you hope to resole the boots later, check the manufacturer’s care guidance before using heavy waxes or oils. Some treatments can complicate adhesive bonding during a future resole.
7. Store the Boots in a Stable Environment
Store clean, dry boots in a ventilated indoor location away from direct sunlight, excessive heat, and persistent dampness. Do not leave them forgotten in a hot car trunk or another place with major temperature swings.
Choosing the Right Replacement Hiking Boots
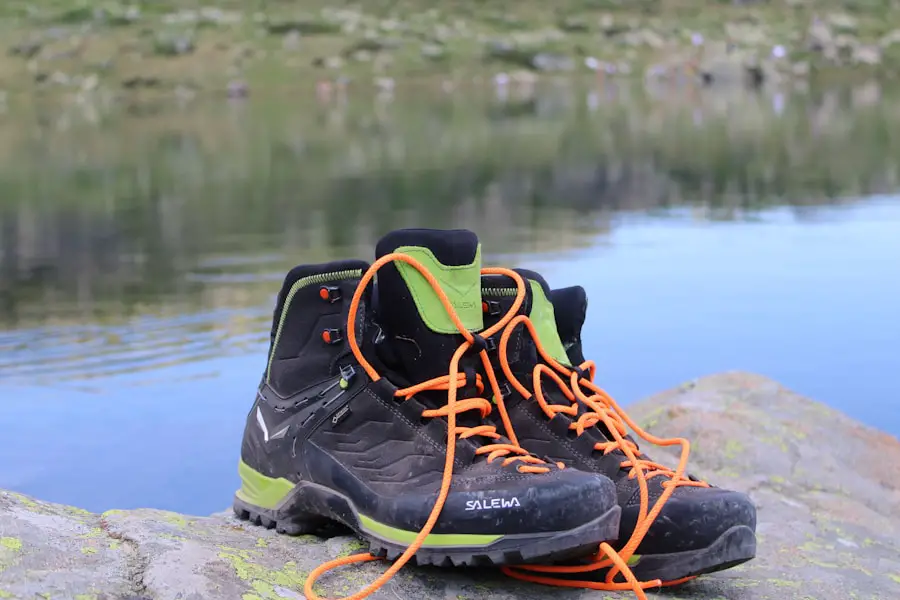
When replacement is the better option, start with the hiking you actually do. Lightweight hiking shoes can work well on maintained trails with light loads. More protective hiking or backpacking boots may suit rougher terrain, longer trips, or heavier packs.
Fit matters more than brand reputation alone. REI recommends hiking footwear that feels snug without being tight and still gives the toes room to move.
- Try boots with the hiking socks you normally wear.
- Make sure your toes do not hit the front when walking downhill.
- Check that the heel stays reasonably secure rather than lifting excessively.
- Look for pressure points across the toes, sides, instep, and ankle.
- Choose tread and construction that match your usual terrain and weather.
- Consider waterproof footwear for consistently wet conditions, but remember that waterproof designs can feel warmer than highly breathable non-waterproof footwear.
- Check whether the model is repairable or resoleable if long-term serviceability matters to you.
Even when new boots feel comfortable in the store, wear them on shorter walks before committing them to a long trip. That gives you time to adjust lacing, socks, or insoles and catch fit problems close to home.
What to Do With Old Hiking Boots
A pair that is no longer suitable for technical trails may still have limited use if it remains structurally sound. For example, boots with reduced tread but no dangerous separation may be kept for simple dry-weather chores where dependable trail traction is not required.
Only donate footwear that is genuinely wearable. Boots with crumbling soles, major separation, severe structural damage, or other failures should not be passed to someone else as dependable hiking footwear.
For footwear that is truly finished, check whether local shoe, textile, or sporting-goods stores participate in take-back or recycling programs, such as retailer in-store recycling bins or municipal textile-recycling collection. Availability varies by location and material, so check with retailers and your local waste-management program directly.
Note: If your next hiking trip also involves air or international travel, you may want to review the best carry-on luggage for international travel. Travelers who bring cigars can also compare the best travel humidor, while a set of universal travel adapters can help keep electronics compatible with outlets at your destination.
Conclusion and Final Thoughts
Hiking boots are an investment in traction, protection, and comfort, but there is no single mileage number that tells you exactly when a pair is finished. Inspect the tread, midsole, sole bond, upper, heel, lacing hardware, waterproofing, and fit instead.
Minor problems such as worn laces, replaceable insoles, loose hardware, or a worn outsole on a repairable model may justify repair rather than replacement. Crumbling sole material, severe structural damage, uncontrollable fit problems, or major failure in a nonrepairable boot are stronger reasons to move on.
Regular cleaning, room-temperature drying, appropriate conditioning or waterproofing, and stable storage can extend useful life. Just as important, inspect an older pair before a major trip even if it has spent most of its life in the closet.
Frequently Asked Questions
What are signs that it’s time to replace hiking boots?
Strong replacement signs include tread that has worn smooth, a cracked or crumbling midsole, growing sole separation, major tears in the upper, a collapsed heel structure, or a fit that can no longer be made secure and comfortable. Minor problems such as worn laces or replaceable insoles do not necessarily require a new boot.
How often should hiking boots be replaced?
There is no universal replacement interval. A range around 500–1,000 miles is often used as a rough guideline, but actual lifespan can be shorter or longer depending on construction, terrain, load, care, storage, and material age. Inspect the boots rather than replacing them solely because they reach a mileage number.
Can hiking boots be repaired instead of replaced?
Yes, in some cases. Laces, insoles, hooks, eyelets, seams, heels, and outsoles may be repairable depending on the boot. Some manufacturers also offer resoling or rebuilding for specific models. Check the exact model before paying for a repair because not every lightweight or molded boot is designed to be resoled.
What factors should be considered when deciding to replace hiking boots?
Check outsole grip, midsole condition, sole separation, upper damage, heel structure, lacing hardware, fit, water resistance, age, and whether the model can be professionally repaired. Several major failures at once usually make replacement more practical than repairing each problem separately.
How can I prolong the life of my hiking boots?
Remove mud and grit regularly, let wet boots air-dry at room temperature, keep them away from strong heat, replace worn laces and insoles, use care products designed for the upper material, and store the boots in a dry, ventilated location with stable temperatures.
Can hiking boots wear out even if I rarely use them?
Yes. Some polyurethane sole components can deteriorate with age through hydrolysis, and boots that sit unused in storage can actually degrade faster than boots worn regularly. An older boot can therefore develop brittle, cracked, crumbling, or separating sole material despite having relatively low mileage. Inspect long-stored boots carefully before a demanding trip.
Do leaking hiking boots always need to be replaced?
No. The exterior water-repellent treatment may simply need cleaning and renewal. Replacement becomes more likely when water enters through structural holes, failed seams, severe delamination, or a damaged waterproof liner that cannot be repaired effectively.
Sources
- REI — How to Clean Hiking Boots — cleaning, drying, storage, and leather-care guidance.
- REI — How to Waterproof Hiking Boots — exterior water repellency and material-appropriate waterproofing treatment.
- Salomon — Footwear Care — cleaning, room-temperature drying, leather treatment, laces, and general care.
- LOWA — Warranty and Hydrolysis Guidance — polyurethane aging, cracking, crumbling, and sole separation.
- Danner — Boot Recrafting — model-specific resoling and rebuilding guidance.
- REI — How to Choose Hiking Boots and Hiking Shoes — footwear type and fit guidance.

