
Last Updated on September 10, 2026 by Daniel Globe
Planning a hiking trip starts with choosing a trail that matches your experience, fitness, available time, and the conditions you are likely to face. A scenic destination can be tempting, but distance alone does not tell you how difficult a hike will be. Elevation gain, terrain, heat, altitude, trail condition, pack weight, and daylight all affect the effort required.
Beginners usually have a better experience on well-marked trails with modest elevation gain and easy access to help. More experienced hikers may be comfortable with rugged terrain, longer distances, remote routes, or navigation-heavy trips. In either case, research the environment you will enter. Coastal routes, forests, deserts, mountains, and wetlands can require very different clothing, water, navigation, and emergency plans.
Quick Answer
To plan a hiking trip, choose a trail that fits your group, verify permits and current conditions, study the route, check the weather, pack the Ten Essentials, arrange enough food and safe water, leave your itinerary with someone you trust, and set a turnaround time before you start hiking.
Key Takeaways
- Choose a trail that matches the fitness, experience, and comfort level of the least-experienced person in your group.
- Check permits, reservations, trail closures, weather, parking, water availability, and other current conditions before leaving home.
- Carry the Ten Essentials, including navigation, illumination, first aid, extra layers, food, water, emergency shelter, and repair supplies.
- Download an offline map, carry a backup map when appropriate, and do not assume your phone will have cell service.
- Leave a trip plan with a trusted person and turn back when weather, daylight, water, injuries, or trail conditions make continuing unsafe.
At a Glance
| Time Required | About 30–60 minutes for a simple local day hike; longer for remote, overnight, permit-controlled, or unfamiliar routes |
| Difficulty | Beginner to advanced; choose the route for the least-experienced member of the group |
| Tools Needed | Trail map, weather and alert information, navigation backup, hiking pack, and trip-appropriate Ten Essentials |
| Cost | Varies; local hikes may be free, while parking, permits, park passes, transportation, rentals, and specialized gear can add cost |
Disclosure: As an Amazon Associate I earn from qualifying purchases. Some links on this page are affiliate links, at no extra cost to you.
Choose the Right Hiking Destination
Start with the experience you want and the amount of effort you can safely manage. Look beyond the advertised mileage. A short trail with steep climbing, loose rock, exposed ledges, deep sand, snow, or high elevation can be harder than a longer trail on gentle ground.
Consider the scenery and environment as well. Coastal trails may involve tides and exposed weather. Forest routes can be shaded but muddy or difficult to navigate. Desert hikes may have little water or shade. Mountain routes can bring sharp temperature changes, high winds, thunderstorms, snow, and altitude concerns.
Season matters too. A trail that is comfortable in fall may be snow-covered in winter or dangerously hot in summer. Research recent conditions instead of relying only on older trail descriptions or photographs.
Pro Tip: Pick the route for the least-experienced or slowest person in your group. A hike that everyone can complete comfortably is usually more enjoyable than one that pushes part of the group beyond its limits.
Check Permits, Closures, and Trailhead Logistics
Before committing to a route, check the land manager’s official website. The National Park Service Trip Planning Guide recommends reviewing current alerts, regulations, permits, reservations, weather, terrain, wildlife, and available drinking water.
- Confirm whether a permit, timed-entry reservation, backcountry permit, campsite reservation, or entrance pass is required.
- Check current trail, road, bridge, campground, and wildfire closures.
- Verify trailhead parking rules, gates, seasonal roads, shuttle schedules, and opening hours.
- Find out whether drinking water, toilets, food storage, or visitor services are available.
- Check local wildlife, fire, pet, camping, and food-storage regulations.
- Create a backup hike in case the parking area is full or conditions change.
Do this again shortly before departure. Weather, fires, floods, snow, road conditions, and maintenance work can change access with little notice.
Packing Essentials for Your Hike
The basic packing system for a hike is often called the Ten Essentials. You may not use every item, but the system helps you prepare for an injury, sudden weather change, navigation mistake, or unexpected delay.
Navigating the Trail
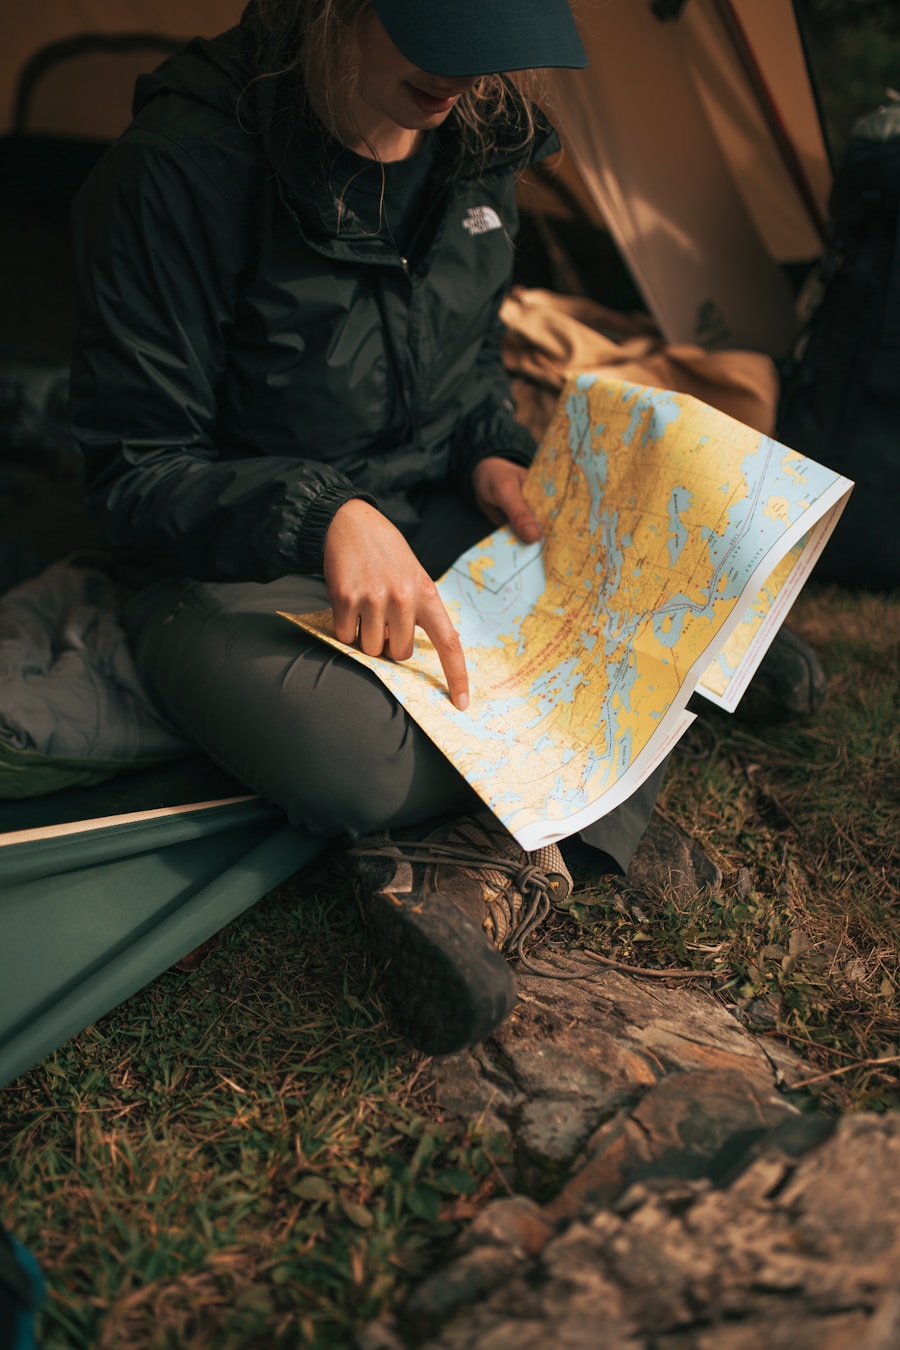
Carry a map, compass, GPS device, or reliable navigation app appropriate for the route, and know how to use it. Download maps before leaving areas with reliable service. A physical map is a useful backup on remote or complicated routes because phones can lose signal, run out of power, become wet, or break.
Start with a fully charged phone and consider a power bank on longer trips. In remote terrain, a satellite messenger or personal locator beacon can provide an additional emergency option, but it does not replace navigation skills or a trip plan.
First-Aid and Multi-Tool
Carry a first-aid kit sized for the trip and group. Useful contents may include adhesive bandages, gauze, tape, blister care, antiseptic supplies, gloves, and personal medications. A small repair kit or multi-tool can help with damaged gear, loose hardware, food preparation, or other minor problems.
Check expiration dates and replace used or damaged items before the next hike.
Clothing and Footwear
Dress in layers so you can adapt as temperature, wind, precipitation, and effort change. A moisture-managing base layer, insulating layer when needed, and rain or wind shell are more flexible than one heavy garment. Carry extra insulation for conditions colder than you expect.
Choose footwear for the actual terrain. Comfortable hiking shoes or trail shoes can work well on maintained trails, while rugged or snowy routes may call for more protective footwear. Fit and traction matter more than appearance. Test footwear before a long hike instead of wearing an unfamiliar pair for the first time on the trail.
The Complete Ten Essentials Checklist
- Navigation: map, compass, GPS, or offline navigation.
- Sun protection: sunscreen, sunglasses, hat, and protective clothing.
- Extra clothing: insulation and rain or wind protection appropriate to the route.
- Illumination: headlamp or flashlight plus spare power.
- First aid: supplies tailored to your group and medical needs.
- Fire or emergency warmth: appropriate fire-starting or warming equipment where legal and suitable; always obey fire restrictions.
- Repair kit and tools: multi-tool, tape, or equipment-specific repair items.
- Extra food: more than you expect to eat during the planned hike.
- Hydration: enough safe water plus treatment equipment when relying on natural sources.
- Emergency shelter: an emergency bivy, tarp, space blanket, or other trip-appropriate shelter.
Note: The Ten Essentials are a starting system, not a universal packing list. Snow travel, desert hiking, scrambling, river crossings, high altitude, overnight trips, and wildlife areas may require specialized equipment and skills.
Planning Your Route and Trail
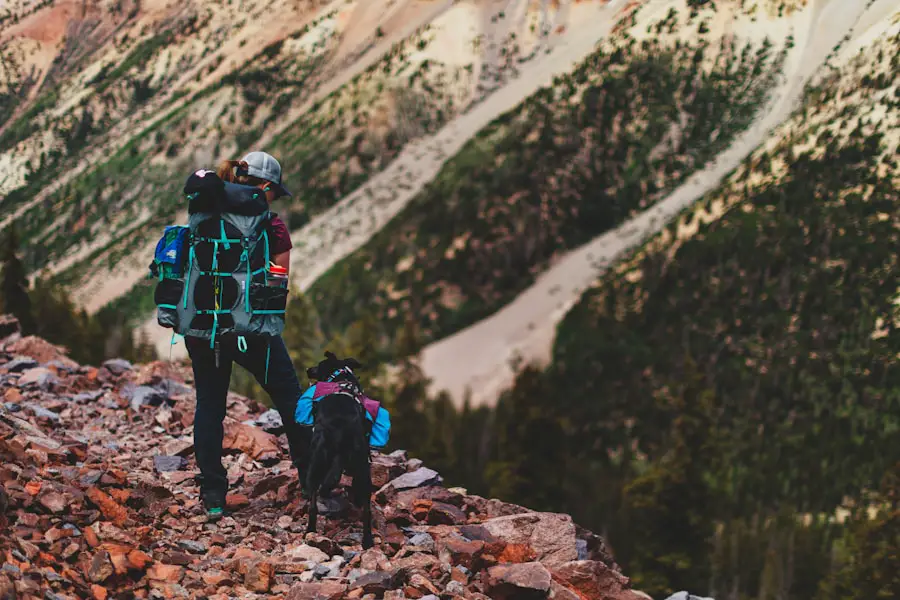
Study the complete route before you leave. Record total distance, elevation gain and loss, trail junctions, water crossings, exposed sections, potential hazards, and the estimated time needed to return to the trailhead.
Difficulty labels such as easy, moderate, and strenuous are useful only as a starting point because rating systems vary. Compare the trail’s distance, climbing, elevation, terrain, and conditions with hikes you already know you can complete comfortably.
Set a Turnaround Time
Choose a firm turnaround time before the hike. The National Park Service Hike Smart guidance recommends tracking both time and distance and turning around when a trip is taking longer than planned.
Your turnaround time should leave enough daylight and reserve energy to return safely. Reaching a summit, lake, or viewpoint is optional; getting back safely is not.
Check Recent Trail Conditions
Look for official alerts and recent reports covering snow, ice, high water, washed-out bridges, fallen trees, wildfire, mud, rockfall, damaged trails, or seasonal closures. A trail that was easy last year may be very different today.
Leave a Trip Plan
Tell a trusted person who is not on the hike where you are going and when you expect to return. Include:
- Trail name and trailhead.
- Planned route and destination.
- Vehicle description and parking location when useful.
- Names of people in the group.
- Expected start and return times.
- A clear time at which your contact should seek help if you have not checked in.
Let that person know when you return. If you make a major route change before starting, update the plan.
Safety Tips for Hiking
| Safety Check | What to Do |
|---|---|
| Route | Plan the route and leave it with a trusted contact. |
| Weather | Check the forecast and current warnings before leaving. |
| Supplies | Carry trip-appropriate Ten Essentials, food, and safe water. |
| Clothing | Dress for changing conditions and carry extra protection. |
| Navigation | Know your route and carry an offline or physical backup. |
| Wildlife | Follow local distance and food-storage rules and never feed wildlife. |
| Pacing | Let the slowest member set a sustainable pace and take breaks. |
| Emergency signaling | Carry a whistle and consider remote communication on isolated routes. |
| Turnaround decision | Turn back when daylight, weather, water, injury, or trail conditions make continuing unsafe. |
| Environment | Follow local rules and Leave No Trace practices. |
Hiking with a companion can provide help during an emergency, but people do hike alone. Solo hikers should take extra precautions, including leaving a detailed trip plan, carrying reliable navigation, understanding local hazards, and considering emergency communication in areas without cell service.
Stay alert to trail markers, junctions, weather changes, fatigue, injuries, water levels, and your group’s pace. A whistle is useful because it can signal farther and with less effort than repeatedly shouting.
Warning: Do not keep pushing toward a destination when conditions are deteriorating. Severe weather, lightning, darkness, high water, an injury, navigation uncertainty, or unexpectedly low water supplies are all valid reasons to turn around.
Emergency Communication and Cell Service
Do not assume a cell phone will work everywhere. Keep the battery charged, download important maps in advance, and reduce unnecessary battery use when service is weak. Remote backcountry hikers may also choose a satellite messenger or personal locator beacon.
If a serious emergency occurs and communication is available, contact emergency services and give the clearest location information you can, including the trail name, landmarks, coordinates when available, and the nature of the emergency. Once rescuers know your location, avoid unnecessary movement unless remaining there creates an immediate danger.
Proper Nutrition and Hydration
Eat before and during the hike so your energy does not depend on one large meal. A balanced pre-hike meal can include carbohydrates for readily available energy along with protein and fat for longer-lasting fuel. Trail mix, nuts, dried fruit, sandwiches, bars, and similar easy-to-carry foods can work well during a day hike.
Carry extra food in case the trip takes longer than planned. Long, hot, or strenuous hikes may also increase salt losses through sweat, making salty foods or electrolyte-containing drinks useful for some hikers.
How Much Water Should You Carry?
There is no single fluid amount that is correct for every hiker. Heat, humidity, altitude, exertion, body size, sweat rate, route length, water availability, and individual physiology all change how much you may need.
About 0.5 liter per hour of moderate activity in moderate conditions is sometimes used as a rough planning starting point, but it should not be treated as a forced drinking target. Hot or strenuous conditions can require substantially more. At the same time, deliberately drinking excessive amounts can contribute to dangerous exercise-associated hyponatremia. Wilderness-medicine guidance therefore emphasizes adjusting intake to the individual and conditions rather than following one rigid fluid schedule.
Plan enough water for the route, heat, and expected delays, but do not force yourself to meet a fixed drinking quota that ignores your body’s needs and the conditions.
Never Assume Natural Water Is Safe
Lakes, streams, and springs can look clean while still containing disease-causing microorganisms. If you are not certain a source is safe, treat it before drinking. The CDC recommends treating uncertain backcountry water; boiling is highly effective, while properly selected filtration followed by disinfection is another option.
Check water availability before the trip. Seasonal streams can dry up, pumps can fail, and water systems can be temporarily shut down.
Choosing the Right Gear
Footwear: The Key to Safe Navigation
The best hiking footwear is comfortable, fits correctly, provides enough traction for the surface, and gives you the protection you need. Lightweight hiking shoes or trail-running shoes can work well on maintained trails, while rough terrain, snow, heavy loads, or certain off-trail routes may justify more protective footwear.
Wear your footwear before the trip so you know where it rubs and how it performs on hills. Pack blister treatment for longer outings.
Packing Essentials: Backpack and Accessories
A backpack should comfortably carry your gear without concentrating pressure on your shoulders or lower back. Adjust the shoulder straps, hip belt, and sternum strap where provided. Keep frequently used items such as water, snacks, rain gear, navigation, sunscreen, and first-aid supplies accessible.
Avoid packing unnecessary weight simply because there is empty space. Every extra item has to be carried up every climb.
Additional Essentials for Comfort and Safety
Trekking poles can improve stability on loose or uneven ground and may make steep descents more comfortable. Sunglasses, sunscreen, a hat, insect protection, and an extra pair of socks can also improve comfort depending on the environment.
Before leaving, test unfamiliar equipment. Know how to operate your headlamp, navigation device, water filter, stove, trekking poles, satellite communicator, and other gear before you need them under stress.
Leave No Trace Principles
Low-impact hiking protects trails, wildlife, water, and other visitors. The seven Leave No Trace principles cover planning ahead, durable surfaces, proper waste disposal, leaving natural objects in place, minimizing campfire impacts, respecting wildlife, and being considerate of others.
Stay on established trails in high-use areas unless local regulations or the nature of the route specifically allow off-trail travel. Cutting switchbacks can damage vegetation and increase erosion.
Pack out trash, food scraps, hygiene products, and other waste. Never feed wildlife, and follow the area’s required food-storage practices.
Human Waste in the Backcountry
Use established toilets whenever they are available. Where catholes are permitted, Leave No Trace guidance generally recommends digging a hole about 6–8 inches deep and at least 200 feet from water, camp, and trails, then covering and disguising it afterward.
That method is not allowed everywhere. Fragile alpine areas, deserts, river corridors, heavily used recreation areas, and other regulated locations may require solid human waste to be packed out. Always follow the rules for the place you are visiting.
Preparing for Different Weather Conditions
Check the forecast before leaving, but also plan for weather to change. Mountain temperatures can drop quickly, thunderstorms can develop during the day, and a mild forecast at the trailhead may not reflect conditions at higher elevation.
Rain and Cold
Carry a rain shell when precipitation is possible and enough insulation to stay warm if you become wet, injured, or delayed. Moisture-managing clothing generally performs better than clothing that stays wet for a long time.
Hot Weather
Start earlier when possible, reduce the pace, take breaks, use sun protection, and carry enough water for the actual conditions. Heat makes the same trail more demanding. Dizziness, weakness, unusual confusion, or feeling faint are reasons to stop, cool down, and reassess.
Lightning and Thunderstorms
Review the forecast before entering exposed terrain. The National Weather Service recommends having a clear lightning safety plan before outdoor activity. When thunderstorms threaten, do not let a desire to reach a summit or viewpoint override the need to seek safer shelter.
Avoid committing yourself to exposed ridges, summits, or other terrain when thunderstorms are likely during the period you expect to be there.
Have a Plan B
A good hiking plan includes an alternative. Choose a shorter route, a lower-elevation trail, or another activity you can use when weather, closures, parking, fires, or your own condition make the original plan a poor choice.
Day Hikes vs. Overnight Hiking Trips
A day hike can still require emergency supplies, but an overnight trip adds another level of planning. Check campsite and backcountry permit requirements, campfire restrictions, food-storage rules, water sources, and campsite regulations before leaving.
Overnight hikers may need a tent or other shelter, sleeping bag, sleeping pad, stove and fuel where allowed, additional food, larger water capacity or treatment gear, more substantial repair supplies, and weather protection suitable for nighttime temperatures.
If you’re planning a hiking trip that includes an overnight stay, a suitable sleeping system is just as important as your daytime gear. See our guide to the best sleeping bag for backpacking travel when building your overnight kit.
Love travel? Join Our Facebook Community
Frequently Asked Questions
What is a hiking trip?
A hiking trip is travel primarily on foot through outdoor terrain such as forests, mountains, deserts, coastal areas, parks, or wilderness. It can be a short local walk, a full-day hike, or a multi-day backpacking trip that includes overnight camping.
How do I plan a hiking trip?
Choose a trail that matches your group, check permits and current conditions, study the route and elevation, check the weather, pack the Ten Essentials, plan food and safe water, download navigation for offline use, leave your itinerary with a trusted person, and establish a turnaround time.
What should I consider when choosing a hiking destination?
Consider distance, elevation gain, terrain, altitude, weather, seasonal conditions, daylight, trailhead access, current closures, permits, water availability, wildlife concerns, and the experience and fitness of everyone in your group.
What gear do I need for a hiking trip?
Start with the Ten Essentials: navigation, sun protection, extra clothing, illumination, first aid, emergency warmth or legal fire-starting supplies where appropriate, repair tools, extra food, water and water treatment, and emergency shelter. Add footwear, a suitable pack, insect protection, trekking poles, or specialized equipment as conditions require.
What safety precautions should I take when planning a hiking trip?
Leave a trip plan with someone you trust, check official alerts and weather, carry reliable navigation and emergency supplies, know where safe water will come from, stay within your abilities, monitor the group’s condition, and be willing to turn around when circumstances become unsafe.
How can I prepare physically for a hiking trip?
Build up gradually with regular walking and hiking. Before a demanding trip, practice on terrain with similar distance and elevation while carrying a realistic pack. Strength, balance, and cardiovascular training can help, but your training should progress gradually rather than jumping directly to a difficult route.
How much water should I take hiking?
There is no universal amount. Your needs depend on the heat, humidity, altitude, hike intensity, duration, sweat rate, body size, and access to safe refill sources. About 0.5 liter per hour in moderate conditions can be a rough planning estimate for some hikers, but adjust it to the situation rather than forcing a fixed drinking target.
What should I do if there is no cell service on my hike?
Download your route before leaving, carry an appropriate navigation backup, keep your phone charged, and leave a detailed trip plan with someone who knows when to seek help. On remote routes, consider carrying a satellite messenger or personal locator beacon for emergencies.
Sources
- National Park Service — Trip Planning Guide — permits, reservations, alerts, offline maps, trip plans, backup planning, and current-condition checks.
- National Park Service — Ten Essentials — recommended outdoor emergency and preparation systems.
- National Park Service — Hike Smart — route planning, turnaround times, communication, pacing, weather, and hiking safety.
- Centers for Disease Control and Prevention — Water Treatment When Hiking, Camping, or Traveling — safe treatment of uncertain natural water sources.
- Leave No Trace — Dispose of Waste Properly — backcountry waste disposal and cathole guidance.
- Wilderness Medical Society — Exercise-Associated Hyponatremia Clinical Practice Guideline — individualized hydration and risks associated with overhydration.

