
Last Updated on September 11, 2026 by Daniel Globe
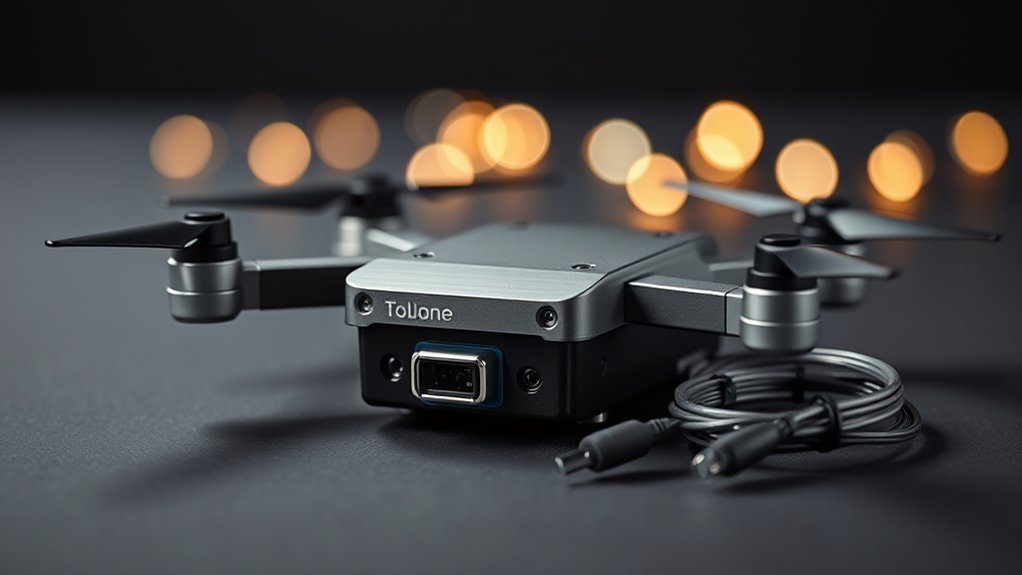
The Toladrone TD12LCD is a compact beginner drone built around simple controls, brushless motors, optical-flow positioning, a 1080p dual-camera system, and an LCD-screen remote that can show the live camera view without requiring a phone for basic flying. Published specifications list about 19 minutes of flight time, a 3.7V 1800mAh battery, a 70-meter control range, and support for microSD cards up to 32GB. It is easy to learn, but it is important to understand its limits: optical flow is not GPS, the camera has no documented gimbal stabilization, and the reviewed manual states that there is no automatic Return-to-Home function.
Quick Answer
The Toladrone TD12LCD is an entry-level foldable drone with 1080p dual cameras, a 90° motorized main camera, brushless motors, optical-flow hover assistance, and an LCD remote. Its published flight time is about 19 minutes. It lacks GPS Return-to-Home, and owners should verify the aircraft’s actual weight before relying on U.S. under-250g rules.
Key Takeaways
- Published specifications list a 1080p dual-camera system, a 90° motorized main camera, brushless motors, and optical-flow positioning.
- The 3.7V 1800mAh battery is rated for about 19 minutes of flight and roughly two hours of charging.
- The LCD remote provides a live camera view and direct camera/media controls; some additional flight functions require the phone app.
- The TD12LCD uses optical flow rather than documented GPS positioning, and the reviewed manual states that it has no automatic Return-to-Home function.
- A manual mirror lists 112g aircraft weight and 150g takeoff weight, but retail weight fields conflict, so weigh the flight-ready aircraft before relying on an under-250g regulatory exemption.
- U.S. recreational pilots still need TRUST and must follow airspace, visual-line-of-sight, altitude, and other FAA rules even when registration is not required.
Toladrone TD12LCD Overview and Key Specs
The Toladrone TD12LCD is designed mainly for beginners and casual recreational flying. Published documentation describes a foldable plastic airframe, four brushless motors, optical-flow positioning, altitude hold, three speed modes, headless mode, one-touch takeoff and landing, a 360° flip function, and a controller with an integrated LCD display.
The camera system is listed as a 1080p dual-camera setup with a main camera that can tilt through a 90° motorized range. The controller can display the live camera feed and provides dedicated controls for photos, video recording, camera angle, display modes, and media playback.
A TD12LCD manual mirror lists the aircraft itself at 112g and takeoff weight at 150g, with unfolded dimensions of about 22.5 × 17 × 7.5cm. However, some current retailer fields display much higher item weights around 630–660g. Those figures may represent packaged weight rather than flight-ready aircraft weight, but the discrepancy means you should weigh your actual drone with its flight battery and attached accessories before making a regulatory decision.
The published remote-control distance is about 70 meters, while the recommended user age is 14+. Treat 70 meters as a product specification rather than a target: safe and legal range may be shorter because the pilot must maintain visual line of sight and avoid obstacles, interference, and restricted airspace.
At a Glance
| Time Required | About 5–10 minutes for setup after the battery is charged |
| Difficulty | Beginner-friendly |
| Tools Needed | Included screwdriver; optional microSD card up to 32GB |
| Cost | No extra setup purchase is required if the kit is complete; a microSD card is optional |
| Rated Flight / Recharge | About 19 minutes / about 2 hours |
Toladrone TD12LCD Package Contents
The documented TD12LCD package includes the drone, an LCD-screen remote control, one modular 3.7V 1800mAh battery, four spare propellers, four propeller guards, a USB charging cable, a screwdriver, an instruction manual, and a carrying case.
The spare propellers and included screwdriver are useful because damaged or bent propellers should be replaced rather than flown. Propeller guards can also add protection during early practice sessions, although any accessory fitted to the aircraft contributes to its actual takeoff weight.
The carrying case keeps the folding drone, controller, battery, and small accessories together between flights. Before your first launch, check the package against the manual and do not fly if a battery, propeller, motor, or structural part appears damaged.
How to Set Up the TD12LCD
Charge the modular battery first, install it with the drone powered off, check the A/B propeller positions and guards, and place the aircraft on a flat surface. Power on the drone and controller, pair them with the left-stick sequence described in the manual, then perform the one-touch calibration before takeoff.
Charge and Install Battery
Connect the 3.7V 1800mAh modular battery to the supplied USB charging cable and a suitable USB power source. Published documentation lists a full charging time of about two hours. Disconnect the pack after it is fully charged and let it cool before installing it if it feels warm from charging.
With the drone switched off, slide the battery into its compartment until it is secure. Check that it cannot move or disconnect during flight.
Warning: Lithium batteries can overheat or ignite if damaged, overheated, improperly charged, or short-circuited. Do not charge or fly a visibly swollen, punctured, leaking, or damaged pack. Use the intended charging equipment, keep charging away from easily ignited materials, and remain where you can monitor the battery.
| Step | Action | Check |
|---|---|---|
| 1 | Charge battery | Allow about 2 hours |
| 2 | Install battery | Pack is fully seated |
| 3 | Match propellers | A/B positions are correct |
| 4 | Fit guards if used | All guards are secure |
| 5 | Inspect aircraft | No cracks, loose parts, or obstructions |
Checking every connection before launch reduces the chance of a simple installation problem turning into a loss of control.
Pair Remote and Calibrate
Place the TD12LCD on a flat, level surface. Power on the drone and then the remote control. According to the reviewed manual, moving the left joystick up and then down initiates pairing. The aircraft lights should stop flashing and remain steady when pairing succeeds.
After pairing, use the controller’s calibration control while the drone remains level. This calibrates the flight system before takeoff. Do not hold the aircraft in your hand while calibrating it.
If you plan to record locally, insert a compatible microSD card of up to 32GB into the card slot described in your manual. The reviewed TD12LCD manual places this slot on the remote controller. Card placement can vary between product revisions, so follow the hardware and manual supplied with your unit rather than forcing a card into an unfamiliar slot.
Pro Tip: Calibrate on a rigid, level surface before the first flight and again after a hard landing or when the drone begins drifting unexpectedly. Avoid calibrating on a tilted table, soft cushion, or moving surface.
TD12LCD Preflight Checklist
- Confirm the flight battery and controller have enough charge.
- Check every propeller for cracks, bends, looseness, or incorrect A/B placement.
- Make sure nothing is wrapped around a motor shaft.
- Confirm the battery is locked in place.
- Pair and calibrate the aircraft on level ground.
- Start in the lowest speed mode while learning.
- Choose an open area away from trees, wires, traffic, people, and animals.
- Check local airspace and temporary restrictions before an outdoor flight.
- Keep the drone where you can see its orientation with your own eyes.
- Avoid strong wind, rain, and other conditions beyond the drone’s capabilities.
TD12LCD Flight Controls and Smart Modes
The standard control layout uses the left joystick for altitude and yaw and the right joystick for forward/backward pitch and left/right roll. Beginner aids include altitude hold, headless mode, one-touch takeoff and landing, and three speed levels.
Flight Control Basics
Push the left joystick upward to climb and downward to descend. Moving it left or right rotates the aircraft. The right joystick moves the drone forward, backward, left, and right.
The TD12LCD does not document separate adjustable joystick-sensitivity settings, but the three selectable speed modes change how quickly the aircraft responds. Beginners should start on the lowest setting and make small inputs until they understand how quickly the drone accelerates and stops.
Altitude hold can reduce the amount of throttle correction required, but it does not eliminate drift or replace active piloting. Optical flow can help the aircraft hold horizontal position close to the ground when the downward system has useful surface detail to track.
One-Touch Smart Modes
After pairing and calibration, one-touch takeoff can raise the drone into a low hover, while the same takeoff/landing control can initiate an automatic descent.
- Place the aircraft in a clear launch area.
- Complete pairing and calibration.
- Press the takeoff control to lift into a hover.
- Use small joystick inputs to establish control.
- Press the landing control when the landing area is clear.
The manual also documents a 360° flip function. Leave extra space around and below the aircraft before using it, and avoid aerobatic functions when battery power is low or conditions are windy.
Headless Mode and Speed
Headless mode makes directional commands relative to the pilot’s reference direction rather than requiring you to continually track which way the drone’s nose is pointing. It can make first flights easier, but learning normal orientation control is still valuable because headless mode is not a substitute for knowing the aircraft’s position.
Use low speed for first flights and confined practice areas, then move to higher modes only after your control becomes smooth. Higher response can help in some outdoor conditions, but increasing speed does not make the drone windproof.
App-Controlled Functions
The TD12LCD manual also lists Trajectory Flight and Gravity Sensing. These functions use the companion phone app rather than the LCD controller alone. Trajectory Flight lets you draw a route in the app, while Gravity Sensing uses phone movement as a control input.
Follow the QR code or app instructions supplied with your particular drone because companion-app names and versions can change. Practice normal manual control before relying on app-based modes.
Toladrone TD12LCD Camera Quality
Published TD12LCD specifications describe a 1080p dual-camera system with a main camera that can be adjusted through a 90° motorized range. That gives you more control over framing than a camera fixed at one angle.
The LCD controller can display the live camera view, making it possible to frame a shot without using a phone for basic FPV viewing. Dedicated controls are documented for taking photos, starting and stopping video, and moving the main camera up or down.
Keep expectations realistic. A 1080p resolution specification tells you the recording resolution, not the sensor size, bitrate, dynamic range, or stabilization quality. The reviewed documentation does not specify a mechanical gimbal or dedicated electronic image-stabilization system.
Note: Optical flow helps the aircraft hold position; it is not the same thing as a stabilized camera gimbal. A steadier hover can make framing easier, but turns, wind, vibration, and pilot inputs can still show up in recorded video.
For better casual footage, fly in bright conditions, use slow inputs, avoid abrupt yaw movements, keep the lens clean, and avoid pushing the drone into wind that requires constant correction.
Battery Life and SD Card Storage
The supplied 3.7V 1800mAh modular battery is rated for approximately 19 minutes of flight, while charging takes about two hours. Another current retail description advertises up to 20 minutes, so it is best to treat 19–20 minutes as a published ideal range rather than a guaranteed real-world result.
Actual flight time can be shorter because of wind, repeated climbs, high-speed flying, flips, battery age, temperature, and the point at which you choose to land.
| Spec | Published Value |
|---|---|
| Battery | 3.7V 1800mAh modular lithium battery |
| Flight time | Approximately 19 minutes |
| Recharge time | Approximately 2 hours |
For longer storage, the reviewed manual recommends keeping the battery in a cool, dry location and around 50% charge rather than leaving it completely full or deeply discharged for extended periods.
The system supports microSD cards up to 32GB. Transfer important photos and videos regularly instead of using the card as permanent storage, and confirm available capacity before a flight you intend to record.
| Storage Item | Guidance |
|---|---|
| microSD capacity | Up to 32GB |
| Card location | Reviewed manual shows the slot on the remote; verify your hardware revision |
| File handling | Back up recordings regularly and keep free space available |
TD12LCD Flight Stability Explained
The TD12LCD combines optical-flow positioning, altitude hold, and brushless motors to make low-altitude control easier. These features can reduce the amount of correction a beginner needs, but they do not turn the drone into a GPS-positioned aircraft.
Optical Flow Hovering
Optical flow uses a downward-facing sensor or camera to recognize surface detail beneath the drone and estimate horizontal movement. The aircraft can then make corrections to reduce drift.
- The downward system observes surface texture.
- The flight controller compares changes in that texture as the aircraft moves.
- Small corrections help the drone maintain a more consistent low-altitude position.
- The pilot still remains responsible for controlling the aircraft and avoiding obstacles.
Optical flow generally works best when the surface below the drone has visible texture and enough light. Very dark, reflective, transparent, repetitive, or featureless surfaces can give an optical system less useful information to track.
Brushless Motor Control
The TD12LCD uses four brushless motors. Compared with simple brushed designs, brushless motors generally offer lower mechanical wear and efficient power delivery because they do not rely on physical brushes rubbing against a commutator.
Published TD12LCD specifications also advertise Level 3 wind resistance. Treat that as a product rating rather than permission to fly in difficult weather. A lightweight beginner drone can still drift rapidly when gusts exceed its ability to hold position, so calm conditions are the safest place to learn.
No GPS or Automatic Return-to-Home
The reviewed TD12LCD manual does not document GPS positioning and specifically states that the model has no automatic Return-to-Home function. That is one of its most important limitations.
If the aircraft drifts away or the signal becomes unreliable, you cannot assume it will navigate back to its launch point. Keep it comfortably inside your visual range, turn back before the battery becomes low, and avoid flying downwind to the edge of the published control distance.
TD12LCD LCD Remote Screen Features
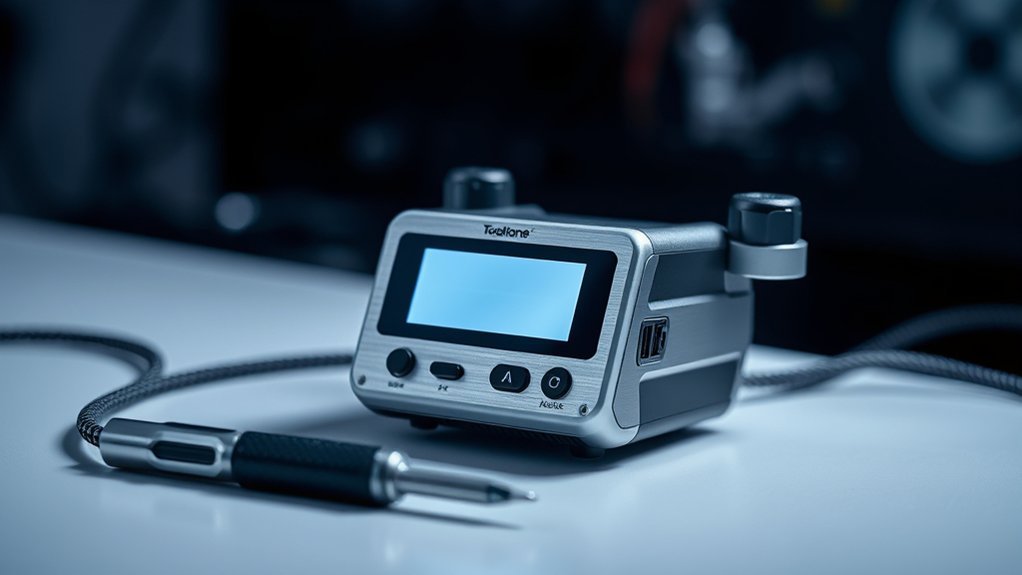
The built-in LCD is one of the TD12LCD’s most practical beginner features because it provides real-time camera transmission on the controller instead of requiring a smartphone for the basic live view.
The reviewed manual documents controls for:
- Viewing the live camera image.
- Taking a photo.
- Starting and stopping video recording.
- Adjusting the motorized main-camera angle.
- Switching display modes.
- Viewing previous and next recorded files.
- Playing media and returning to the main interface.
Some general Toladrone marketing refers to LCD-controller flight information, but the specific TD12LCD manual reviewed here does not clearly document numerical altitude and speed readouts. For that reason, do not depend on the screen as an instrument panel unless your own controller and manual explicitly provide those readings.
Common TD12LCD Problems and Fixes
Most basic TD12LCD problems can be traced to battery charge, pairing, calibration, propeller condition, storage, interference, or the flying environment. Start with the simplest checks before assuming a motor or controller has failed.
| Problem | What to Check | Next Step |
|---|---|---|
| No response | Drone and controller power; pairing | Recharge if needed and repeat the pairing sequence |
| Drifting flight | Calibration, propellers, surface, wind | Recalibrate level and move to calmer conditions |
| Short runtime | Charge level, battery age, wind, aggressive flying | Fully recharge; replace an aged or damaged battery |
| Poor image/video | Lens cleanliness, card capacity, signal distance | Clean the lens, check storage, and fly closer |
| Motors will not spin | Pairing, arming, propeller obstruction | Power down and remove any obstruction before retrying |
| Lights keep flashing after startup | Controller pairing | Repeat the documented up/down left-stick pairing sequence |
If the drone becomes jittery or difficult to hold, land instead of continuing to fight the controls. Inspect the propellers, recalibrate on level ground, and retry in a larger area with calmer air.
Do not automatically interpret every red or flashing LED as a particular fault. The reviewed TD12LCD manual does not provide a specific “blinking red” diagnostic code. Use the behavior described in the manual—such as flashing lights becoming steady after successful pairing—and troubleshoot according to the actual symptom.
U.S. Drone Rules Before You Fly
Being small or lightweight does not make a drone exempt from the basic rules of the U.S. National Airspace System. Recreational pilots should review the current FAA recreational flyer requirements before taking off.
- Take TRUST: Recreational drone flyers must pass the free Recreational UAS Safety Test and carry proof of passage when flying.
- Check registration: A drone below 250g can qualify for the recreational registration exception when it is flown exclusively under the recreational exception. Drones operated under Part 107 must be registered regardless of weight.
- Maintain visual line of sight: Keep the aircraft where you or a properly positioned visual observer can see it directly.
- Respect altitude limits: Recreational flights in Class G airspace are generally limited to 400 feet above ground level.
- Get authorization in controlled airspace: Applicable Class B, C, D, and surface Class E airport airspace requires prior FAA authorization, commonly through LAANC or DroneZone.
- Check restrictions: Use an FAA-approved B4UFLY service and check temporary flight restrictions before flying.
- Understand Remote ID: Drones that are required to be registered, or that are registered, generally must comply with Remote ID unless an applicable exception such as FRIA operation applies.
Under current FAA rules, the under-250g registration exception is tied to qualifying recreational operation. Part 107 aircraft must be registered regardless of weight.
Also remember that FAA permission deals with airspace. Local laws, park rules, privacy requirements, and permission to take off or land on particular property can create additional restrictions.
Who Should Buy the TD12LCD
The TD12LCD makes the most sense for someone who values easy controls, an integrated live-view screen, portability, and a low learning barrier more than advanced navigation or professional image quality.
- Beginners: one-touch takeoff and landing, altitude hold, headless mode, optical flow, and low-speed practice can make the first flights easier.
- Casual hobbyists: the 1080p camera and adjustable angle are useful for recreational photos and simple aerial clips.
- Travelers: the folding design and carrying case make the kit easier to pack, subject to airline lithium-battery rules and destination drone laws.
- Experienced pilots: it can work as an inexpensive casual flyer, but the lack of documented GPS Return-to-Home and camera gimbal stabilization will feel limiting compared with more advanced drones.
It is not designed for professional aerial imaging, long-range flying, autonomous navigation, or jobs where losing positioning would create a serious risk.
Note: A TD12LCD manual mirror lists 112g aircraft weight and 150g takeoff weight, but current retailer weight fields conflict. In the U.S., verify your actual flight-ready weight before relying on the recreational under-250g registration exception. TRUST and other operating rules still apply even when registration does not.
Frequently Asked Questions
What is the 1:1 rule for drones?
The term is commonly used in European EASA guidance for certain A2 operations. It means keeping the drone’s lateral distance from an uninvolved person at least equal to the drone’s height—for example, about 30 meters away when flying 30 meters high—while also observing the applicable minimum distance. It is not a U.S. FAA rule requiring one mile from airports or one foot from people.
Do I need to register a Toladrone TD12LCD with the FAA?
If your actual flight-ready drone weighs less than 250g and you fly only under the U.S. recreational exception, it can qualify for the FAA registration exemption. All drones flown under Part 107 must be registered regardless of weight. Because published TD12LCD weight fields conflict, weigh your own aircraft before deciding. Recreational pilots must still take TRUST and follow FAA operating rules.
Does the TD12LCD have GPS or Return-to-Home?
The reviewed TD12LCD documentation describes optical-flow positioning rather than GPS positioning and specifically states that the drone does not have an automatic Return-to-Home function. Keep it comfortably within visual and control range instead of expecting it to navigate back by itself.
What is the Toladrone TD12 Pro?
The TD12 Pro is a different Toladrone model. Toladrone’s current brand page describes the TD12 Pro with a 1080p camera, altitude hold, real-time transmission, and beginner-oriented controls. Do not assume its battery, controller, camera, storage, or other specifications are identical to the TD12LCD; check the exact model listing and manual.
What does it mean when my TD12LCD lights are blinking?
During startup, flashing lights can indicate that pairing has not completed; the reviewed manual says the lights become steady after successful controller pairing. It does not provide a universal red-blink fault code, so do not assume red flashing always means a particular problem. Land if airborne, check battery power, repeat pairing, recalibrate if needed, and consult the manual supplied with your exact revision.
What should I consider before buying a drone?
Compare actual takeoff weight, battery life, replacement-battery availability, camera stabilization, GPS, Return-to-Home, control range, wind capability, repair parts, and local legal requirements. For the TD12LCD specifically, the built-in screen and beginner controls are advantages, while the lack of documented GPS Return-to-Home and gimbal stabilization are important limitations.
Conclusion
The Toladrone TD12LCD is best viewed as a beginner-oriented recreational drone rather than a miniature professional camera platform. Its main attractions are the integrated LCD live view, brushless motors, optical-flow hover assistance, 90° motorized camera angle, one-touch controls, and a published flight time of about 19 minutes.
The tradeoffs matter just as much. The reviewed documentation does not describe GPS positioning, automatic Return-to-Home, or a stabilized camera gimbal, and published weight information is inconsistent across available sources. For practice flights, family recreation, and basic aerial video, the TD12LCD offers a useful set of easy controls. For dependable autonomous navigation, long-range work, or polished cinematic footage, a more advanced drone is the better fit.
Sources
- Toladrone official website — current model lineup, LCD-controller features, companion-app guidance, and TD12 Pro information
- Toladrone TD12LCD product page — camera angle, battery, LCD transmission, optical flow, motors, and storage specifications
- TD12LCD user-manual mirror — setup, 112g/150g published weight figures, controls, 70m range, flight time, microSD support, maintenance, and Return-to-Home limitation
- Federal Aviation Administration — Recreational Flyers — TRUST, visual line of sight, altitude, airspace, and recreational operating requirements
- Federal Aviation Administration — Drone Registration — under-250g recreational exception, Part 107 registration, and Remote ID requirements
- European Union Aviation Safety Agency — Easy Access Rules for UAS — current definition and context of the drone 1:1 distance rule
