
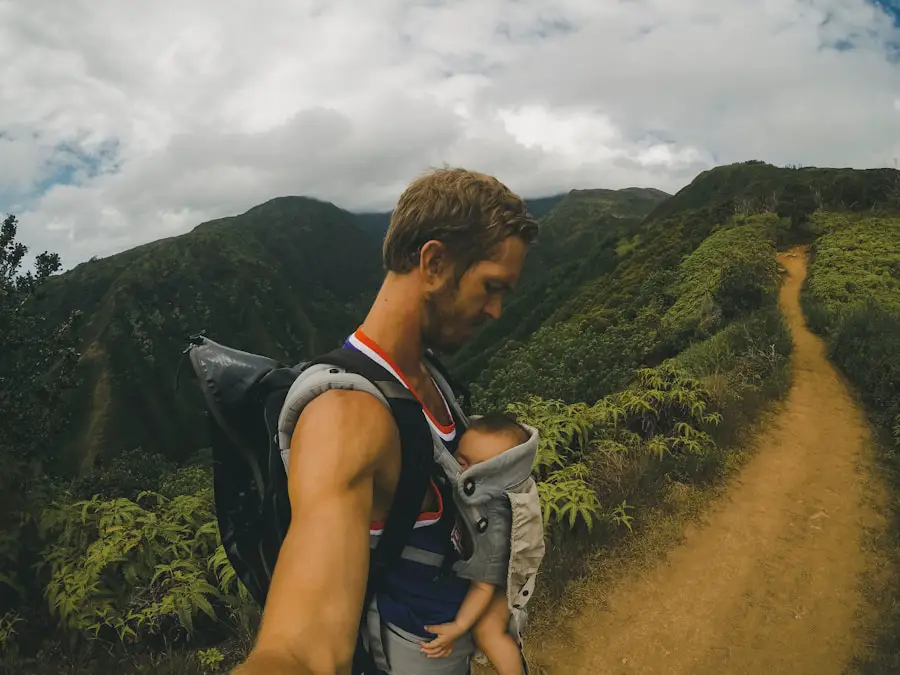
Last Updated on July 27, 2026 by Daniel Globe
Carrying a camera while hiking is a balance between quick access, comfort, protection, and trail safety. A camera that is buried deep in a backpack may cause you to miss a shot, while one that swings freely from your neck can hit rocks, strain your shoulders, or get in the way on steep terrain. The best setup keeps the camera secure when you are moving and easy to reach when conditions are safe for shooting.
Quick Answer
The safest way to carry a camera while hiking is with a properly fitted cross-body strap, locking camera clip, chest harness, or padded backpack. Use a secondary tether with quick-release systems, stow the camera during scrambles or crossings, and add rain, dust, cold, and condensation protection when conditions require it.
Key Takeaways
- Choose a carry system based on your camera weight, trail difficulty, and how quickly you need access.
- Check every strap, clip, plate, buckle, and attachment point before starting the hike.
- A locking clip or harness can reduce camera swing, but a secondary tether adds useful backup security.
- Stow your camera when scrambling, crossing water, using trekking poles for balance, or moving through terrain where a fall is more likely.
- Weather resistance is model-specific and is not the same as waterproofing. Use a rain cover or dry bag when needed.
- Carry a warm spare battery in cold weather and let cold camera gear warm gradually to reduce condensation.
At a Glance
| Time Required | About 5–10 minutes to fit and safety-check your carry system before hiking |
| Difficulty | Easy, with extra care required on steep or technical terrain |
| Tools Needed | Camera strap, clip, harness, or camera backpack; optional safety tether, rain cover, and dry bag |
| Cost | $0 if your existing strap or backpack is suitable; dedicated clips, harnesses, tethers, and weather protection cost extra |
Disclosure: As an Amazon Associate I earn from qualifying purchases. Some links on this page are affiliate links, at no extra cost to you.
Choose the Right Way to Carry a Camera While Hiking
There is no single camera-carrying method that works best on every hike. An ultralight mirrorless camera on a flat trail is very different from a heavy camera with a telephoto lens on a steep mountain route. Start with the total weight of the camera and lens, then consider how rough the trail will be and how often you expect to take photographs.
| Carry Method | Best For | Main Trade-Off |
| Cross-body or sling strap | Frequent shooting on easy to moderate trails | Camera can swing unless the strap is adjusted well |
| Neck strap | Short walks and lighter cameras | Can put concentrated pressure on the neck during long hikes |
| Wrist strap | Compact cameras and short shooting stops | Occupies one hand and offers little protection when you need both hands |
| Locking camera clip | Fast access with less camera movement | Compatibility, plate installation, strap fit, and locking design must be checked carefully |
| Chest harness | Long hikes where centered weight and quick access matter | Can conflict with backpack sternum straps or ventilation |
| Camera backpack | Rough terrain, larger kits, bad weather, and maximum protection | Usually slower to access than an exposed strap or clip |
A padded strap can make a heavier setup more comfortable, but padding alone does not solve poor fit. Adjust the strap so the camera stays close to your torso or hip and does not swing into rocks, trekking poles, trees, or other hikers.
Properly Securing Your Camera
Once you choose a carry method, inspect every connection before leaving the trailhead. A strap should be threaded exactly as directed by its manufacturer and attached only to suitable mounting points on the camera, lens, plate, or carrying system.
Do not assume that every camera-body lug or third-party screw mount is suitable for every heavy lens combination. Large lenses may have their own collar or support recommendations, so check the manuals for the camera, lens, and carrying accessory when using a heavy setup.
- Pull firmly on each strap connection to confirm it cannot slip.
- Check quick-release plates for movement before every hike.
- Lock any safety lock provided by the clip or quick-release system.
- Inspect cords, webbing, anchors, buckles, and stitching for wear.
- Keep enough strap tension to control the camera without restricting normal movement.
Pro Tip: When using a quick-release clip, consider attaching a lightweight secondary camera tether to an independent secure point. It can provide backup protection if the primary plate or release is accidentally opened.
When carrying the camera on a sling, position it where you can steady it with one hand as you walk. With a neck strap, shorten excessive slack so the camera does not bounce against your chest. With a backpack-mounted clip, check that the extra weight does not pull one shoulder strap into an uncomfortable position.
Utilizing a Camera Clip or Holster
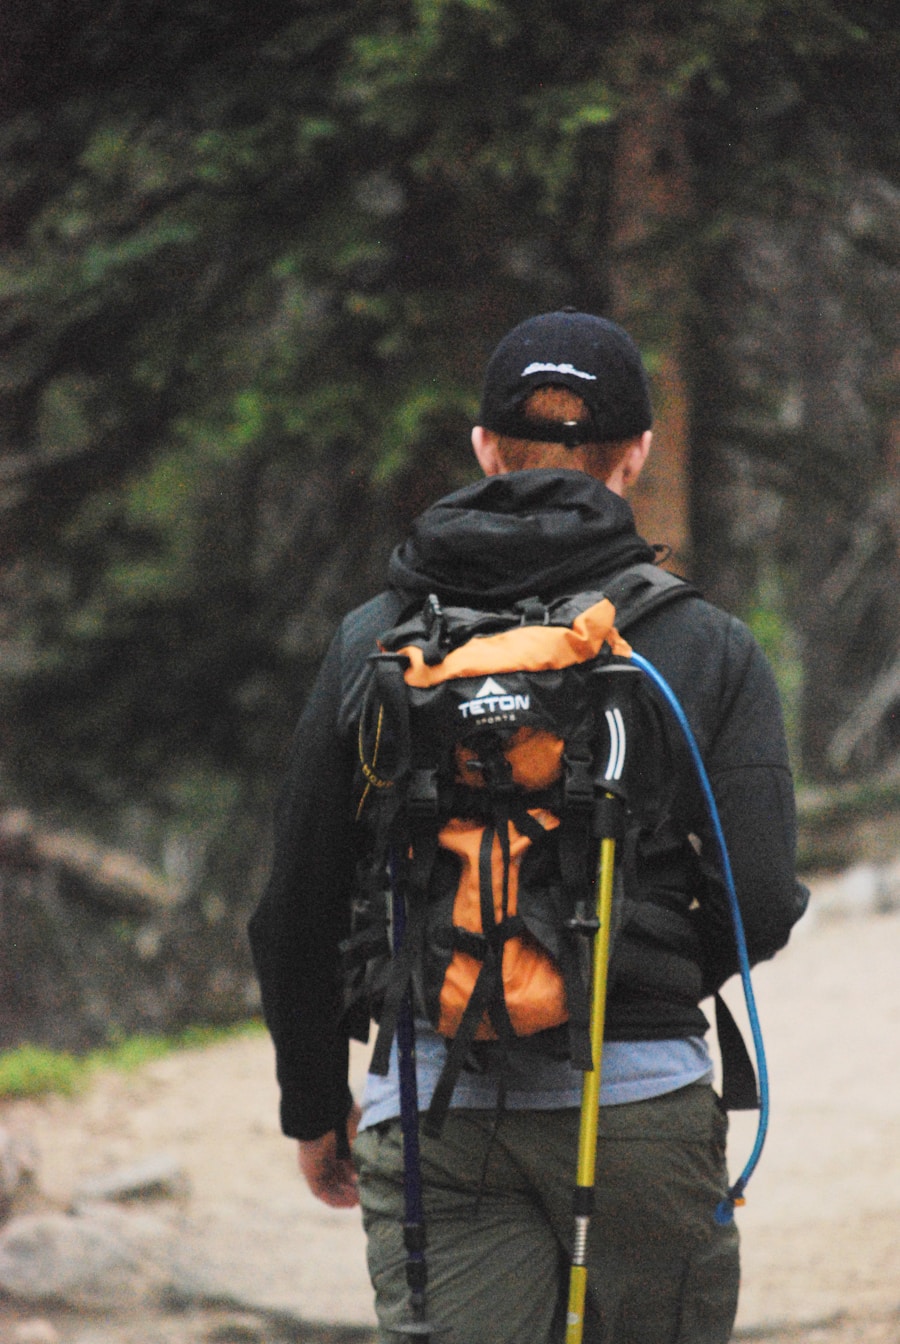
A camera clip or holster can provide faster access than opening a backpack. These systems normally attach to a backpack strap, belt, or harness and hold the camera against the body instead of letting it swing freely.
For example, the current Peak Design Capture camera clip uses a quick-release plate plus a separate safety lock intended to reduce accidental release. Other systems use different mechanisms, dimensions, and load limits, so always follow the instructions for the exact model you own.
Mount the clip where you can reach the camera without twisting your shoulder excessively. Before committing to a long hike, walk around at home with your loaded pack, climb a few stairs, bend forward, and simulate reaching for trekking poles. The camera should remain stable and should not strike your arm or leg.
Warning: A camera that is safe on a smooth trail may become a hazard during scrambling, steep descents, stream crossings, or sections where you need both hands. Stow and secure the camera before entering terrain where a dangling or exposed camera could affect your balance.
Protecting Your Camera from the Elements
| Element | Protection Method |
| Rain / Snow | Model-appropriate rain cover; waterproof dry bag for storage or crossings |
| Dust / Sand | Closed camera bag, minimal lens changes, blower for loose dust, caps kept clean |
| Cold | Charged spare battery kept warm inside clothing; gradual temperature acclimation |
| Heat / Sun | Shade when possible; do not leave the camera heating unnecessarily in direct sun |
| Water Crossing | Camera switched off and sealed inside a protected backpack or dry bag before crossing |
Weather resistance varies from one camera and lens to another. Do not assume that a weather-sealed model is waterproof. Check the operating and weather precautions in the manual for your exact equipment. Nikon recommends optional rain covers for shooting in rain or snow, and Sony sells dedicated camera rain covers for additional protection in poor weather.
Note: Weather resistance reduces risk under specified conditions; it does not make every camera safe for immersion, heavy rain, stream crossings, or prolonged exposure.
Rain and Snow
Keep a compact rain cover where you can reach it before the storm arrives. A dry bag inside your hiking pack adds another layer of protection when the camera is not being used or when you must cross water.
After shooting in wet conditions, wipe external moisture away with a clean, dry cloth before opening battery, memory-card, or connector doors.
Dust, Sand, and Wind
Interchangeable-lens cameras are vulnerable whenever the lens mount is open. Sony recommends changing lenses in a clean environment when possible, having the replacement lens ready, keeping the opening exposed for as little time as possible, and pointing the camera downward during the change.
On a windy ridge, dusty trail, or beach, it may be safer to keep one versatile lens mounted rather than repeatedly changing lenses. A protective filter can shield the front element from fingerprints, spray, or blowing grit, but it does not protect the rest of the lens or camera from environmental intrusion.
Cold Batteries
Cold temperatures can temporarily reduce battery performance. Nikon recommends keeping a spare battery inside your coat where body heat keeps it warmer, then rotating batteries if the one in the camera begins to lose power.
Preventing Condensation
A major cold-weather problem occurs after the hike, when a cold camera is brought directly into a warm, humid vehicle, cabin, or home. Water can condense on the lens and potentially inside the equipment.
Nikon recommends allowing cold camera gear to warm gradually inside a camera bag or dry bag. Keep the bag closed while the equipment begins adjusting toward indoor temperature rather than immediately exposing the cold camera to warm air.
Desiccant can be useful for humidity control when used correctly in an appropriate closed container. It should complement proper drying and temperature acclimation rather than replace them.
If Your Camera Gets Wet
If water gets into a camera that is not designed for immersion, do not keep testing it. Sony’s wet-camera guidance recommends moving the camera to a dry location, not turning it on, wiping off exterior water, removing the battery and recording media when it is safe to do so, and allowing the equipment to dry before attempting to power it again. Follow the instructions for your own model and obtain service if necessary.
Adjusting Your Camera Gear for Comfort
Comfort becomes increasingly important as hiking distance and camera weight increase. Adjust the system while wearing the same backpack, jacket, hydration equipment, and layers you plan to use on the trail.
Check whether the camera interferes with your backpack hip belt, sternum strap, trekking poles, water-bottle pockets, or arm movement. A setup that feels fine for five minutes can become uncomfortable after several miles.
If you carry multiple lenses, position the heaviest items near your body inside the backpack rather than allowing dense equipment to pull the pack away from your back. Keep left-to-right weight reasonably balanced.
With an exposed camera, limit movement as much as practical. A short stabilizing strap, harness connection, or properly positioned clip can prevent the camera from repeatedly bouncing against your body.
Being Mindful of Your Surroundings
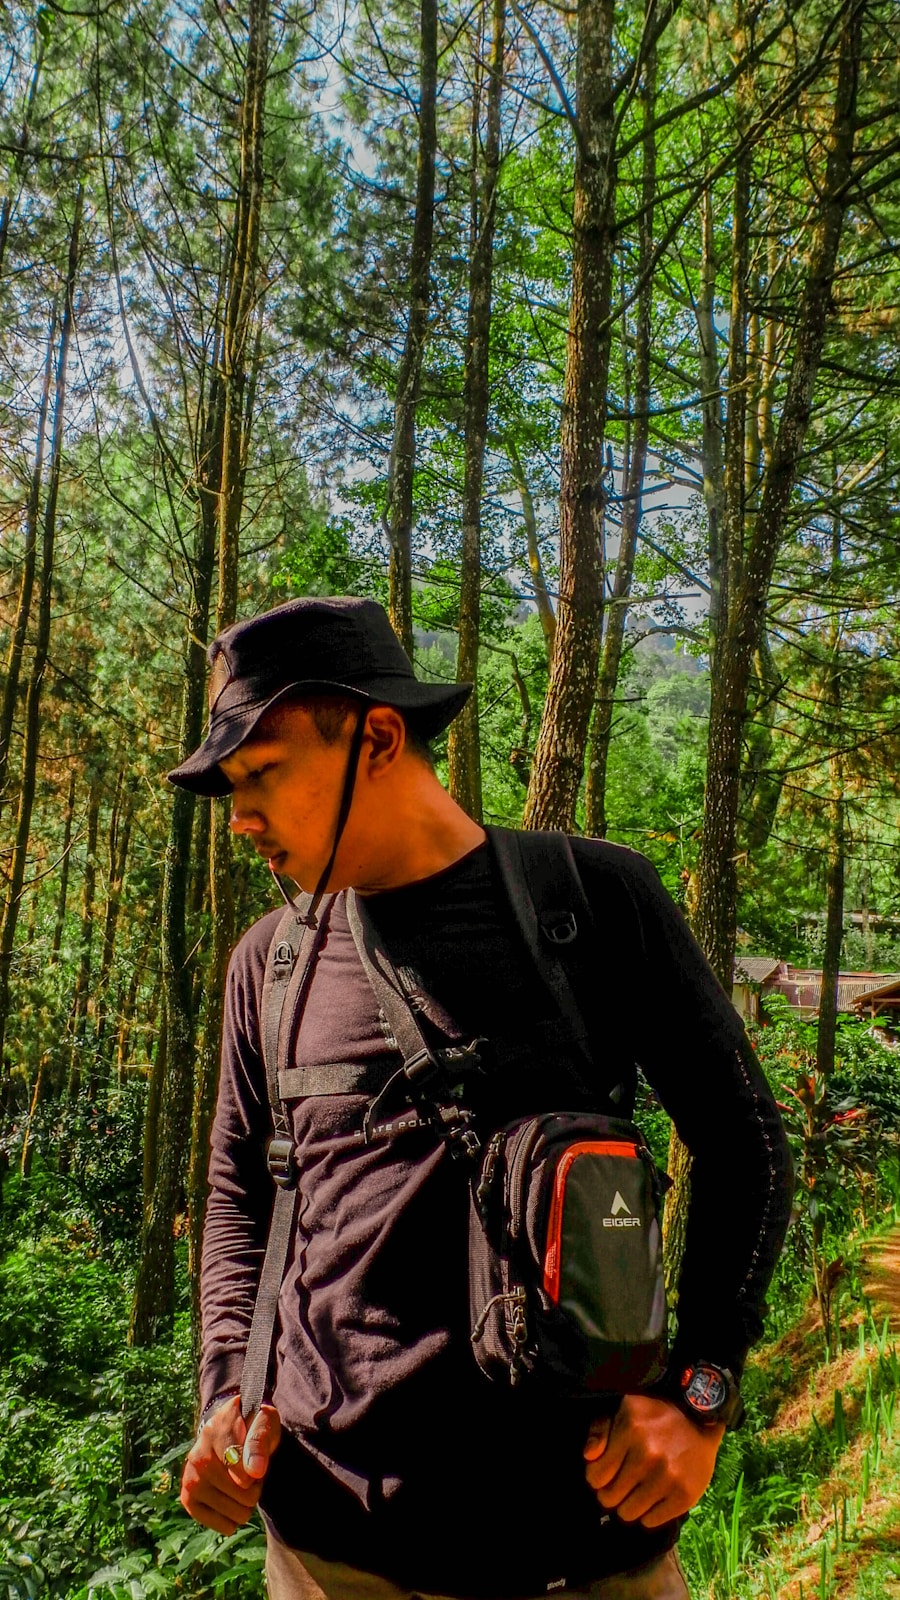
Photography can pull your attention away from the trail. Stop in a stable location before looking through the viewfinder or reviewing images, especially near cliffs, loose rock, roots, traffic, fast-moving water, or crowded overlooks.
Do not back up while looking through the camera without first checking what is behind you. When passing other hikers, keep straps, tripods, long lenses, and dangling accessories from extending across the trail.
Respect Wildlife While Taking Photos
Wildlife photography should never require approaching an animal simply to fill the frame. The National Park Service recommends giving wildlife room, using binoculars or a zoom lens, and checking the rules for the specific park.
Many national parks use minimum viewing distances such as 25 yards from most wildlife and 100 yards from predators such as bears and wolves, but requirements vary by park. Always follow the rules where you are hiking.
Stay on established trails where required and avoid disturbing vegetation or habitat for a photograph. If an animal changes its behavior because of your presence, increase your distance.
Taking Advantage of Quick Access Pockets
Quick-access pockets reduce the number of times you need to remove your backpack. Use them for small items that you may need without exposing the entire camera compartment.
- A charged spare battery.
- Empty memory cards in a protective card case.
- Lens cloth or appropriate cleaning cloth.
- Lens cap when temporarily removed.
- A compact rain cover.
- A small secondary camera tether when your setup supports one.
Keep full and empty memory cards separated so you do not accidentally format or reuse a card containing photographs. Nikon recommends developing a consistent card-storage system and formatting cards in-camera after photographs have been safely transferred and backed up.
Do not place unprotected batteries, memory cards, or small camera parts in a pocket with keys, loose dirt, food, or liquids.
Considering a Camera Backpack
A camera backpack is often the best option for hikers carrying multiple lenses, a large telephoto setup, or equipment that needs greater protection from weather and impacts. Compared with a simple shoulder bag, a properly fitted backpack distributes the load across both shoulders and can transfer part of the weight to a hip belt.
Look for padded dividers that prevent cameras and lenses from striking each other. Side or rear camera access can also reduce the time required to reach your equipment without exposing the entire pack contents.
External tripod attachments should hold the tripod tightly enough that it cannot sway or catch easily on vegetation. If mounting camera gear outside the backpack, check that it does not interfere with your arm swing or unbalance the pack.
A backpack also gives you a safer place to put the camera when trail conditions become difficult. Quick access is useful, but protection and balance take priority when a fall could damage you or your equipment.
Stow Your Camera on Scrambles and Stream Crossings
There are times when the safest way to carry a camera while hiking is not to carry it exposed at all. Before a scramble, ladder, steep descent, river crossing, unstable boulder field, or any section where you expect to use both hands, stop and secure the camera.
- Move to a stable location away from the immediate hazard.
- Turn the camera off.
- Fit the lens cap when practical and secure loose accessories.
- Place the camera in its padded compartment.
- Use a dry bag or other appropriate waterproof barrier when water exposure is possible.
- Close and secure the backpack.
- Continue only after both hands and your normal range of movement are available.
Warning: Do not let the desire to keep a camera immediately available interfere with handholds, trekking poles, footing, or your ability to arrest a stumble. Camera access is secondary to safe movement through the terrain.
Pre-Hike Camera Carry Checklist
- Charge the camera battery and pack at least one suitable spare for a long or cold-weather outing.
- Check available memory-card capacity.
- Inspect strap webbing, attachment cords, clips, screws, plates, and buckles.
- Confirm every quick-release lock functions correctly.
- Adjust the carry system while wearing your loaded hiking backpack.
- Walk, bend, and climb stairs to check for camera swing or interference.
- Pack a rain cover or dry bag when wet conditions are possible.
- Keep a clean lens cloth and caps accessible.
- Check the camera and lens manufacturer’s operating-temperature and weather precautions.
- Plan to stow the camera before technical trail sections rather than improvising while already in a hazardous spot.
When hiking, the best camera-carrying setup is the one that lets you photograph efficiently without compromising your balance or the protection of your equipment. On easy terrain that may mean a sling or locking clip. On rough, wet, or technical sections, a secure padded backpack or dry bag is the better choice.
Frequently Asked Questions
What are the different ways to carry a camera while hiking?
Common options include a neck or cross-body strap, wrist strap, locking camera clip, camera holster, chest harness, shoulder bag, or backpack with a padded camera compartment. The best choice depends on camera weight, trail difficulty, weather, and how quickly you need access.
What is a camera strap and how is it used for hiking?
A camera strap secures the camera to your body. Neck straps work best with lighter setups and shorter hikes, while cross-body or sling straps can distribute the load differently and keep the camera closer to your hip. Adjust the strap to minimize bouncing and always use manufacturer-approved attachment points.
What is a camera clip and how is it used for hiking?
A camera clip attaches a compatible plate and camera to a backpack strap, belt, or harness. It keeps the camera relatively stable while providing quick access. Check plate tightness, compatibility, locking mechanisms, and strap fit before hiking, and consider a secondary tether for backup security.
What is a camera bag and how is it used for hiking?
A camera bag protects the camera and lenses with padded compartments. For hiking, a backpack-style camera bag generally provides better load distribution than carrying a heavy bag from one shoulder. It also gives you a secure place to stow the camera during rough terrain or poor weather.
What is a chest harness and how is it used for hiking?
A chest harness holds the camera at the front of the torso, where it can be reached quickly while remaining more controlled than a freely swinging strap. Check that the harness does not interfere with your backpack’s sternum strap, ventilation, breathing, or arm movement.
What should I consider when choosing a method to carry my camera while hiking?
Consider the combined weight of the camera and lens, hike length, terrain, weather, frequency of shooting, backpack design, and whether you use trekking poles. Easy trails favor quick-access systems, while rough or wet terrain often favors protected backpack storage.
Should I keep my camera outside my backpack for the whole hike?
No. External carry is convenient on stable terrain, but the camera should be stowed when scrambling, crossing streams, climbing ladders, moving through dense brush, or navigating any section where you need both hands or where the camera could strike the terrain.
How do I protect a camera from rain while hiking?
Check the weather-resistance limits for your exact camera and lens. Use a fitted rain cover while shooting and a waterproof dry bag or similarly protected compartment when the camera is stored. Weather sealing should not be treated as permission to immerse the camera or expose it indefinitely to heavy rain.
How should I carry camera batteries in cold weather?
Start with charged batteries and keep a spare in an inside jacket pocket where it stays warmer. Cold can temporarily reduce battery performance, so rotating a cold battery with a warmer spare can help during extended winter shooting.
Sources
- Nikon — Memory Cards and Batteries — supports cold-weather spare-battery handling and memory-card care.
- Nikon — Photographing Arctic Wildlife — supports cold-weather battery and gradual camera-warming guidance.
- Sony — Preventing Dust, Dirt, or Moisture from Reaching the Sensor — supports safer lens-changing practices.
- Sony — What to Do if a Camera Gets Wet — supports wet-camera response precautions.
- U.S. National Park Service — 7 Ways to Safely Watch Wildlife — supports wildlife-distance and responsible-photography guidance.
- Peak Design — Capture Camera Clip — manufacturer reference for a current locking backpack-mounted camera clip system.

